I’ve been a huge fan of Fideli Sundquist‘s paper art work for a number of years now. She creates the most impeccably beautiful vignettes out of paper cuttings. They’re drool-worthy. Such precision! I anxiously bought her book, I Love Paper, and was thrilled to find out that she recently released another book, Paper Garden. Unfortunately, Paper Garden is only available in Swedish at the moment. I asked her if she’d be willing to share one of the projects with you in English and she generously agreed. Hooray! I selected one of my favorites from the book, the medinilla. I’d love to have a medinilla in real life, but this paper version is just as delightful.
See how to make it below!
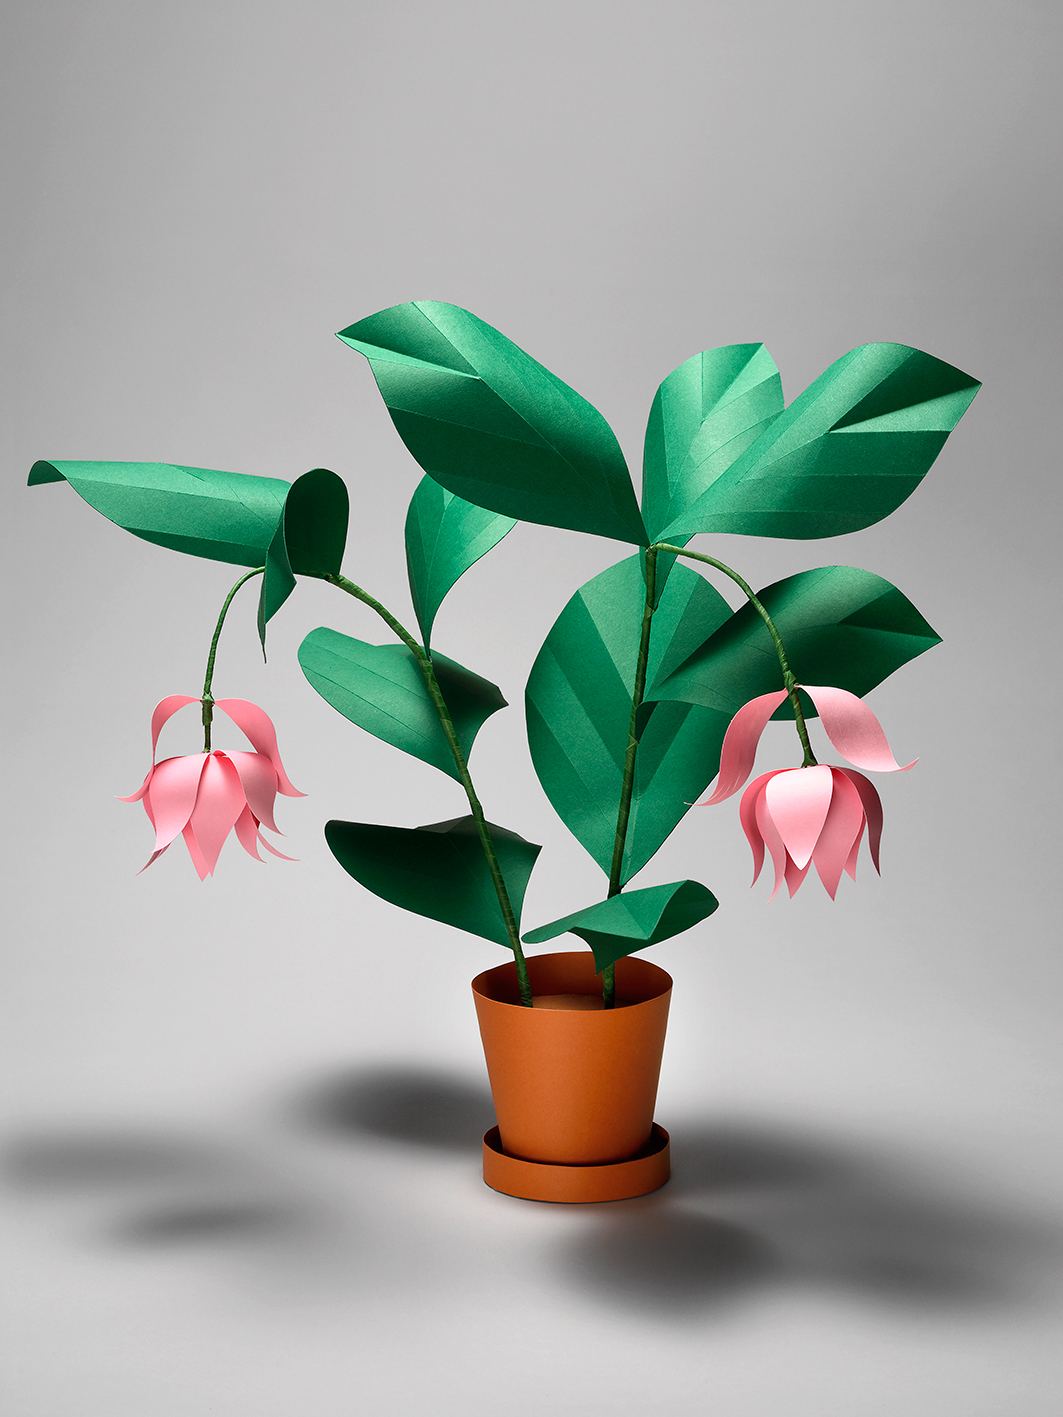
 DIY paper medinilla by Fideli Sundquist from Paper Garden
1. Start by preparing a pot.
2. Trace the leaf pattern (download here) onto wax paper to create a stencil.
3. Place the stencil on the paper of your choice. Using paper tape, attach the stencil to the paper
so that the stencil doesn’t slide around. Cut along the lines using an exact-o knife.
4. Crease the petals, alternating front and back side, along the stencil lines. Be sure to firmly press
down on each crease.
5. Make approx. 10 leaves. Feel free to vary the sizes of the leaves.
6. Gather a few steel wire pieces for the flower’s stem. I have made two different sizes for my
plant. One size works well too.
7. Wrap floral tape around the wires from the bottom up. Periodically fold one of the wires down
until that the stem has as many petioles as you do leaves. As you reach the end of each wire,
thin the stem by cutting off a few of the wire’s individual wires.
8. Make a hole as big as the stem’s diameter with the craft knife in the pot’s dirt. Place the stem
in the hole.
9. Glue a leaf to each petiole.
10. Trace the flower pattern onto wax paper to make another stencil. Place the stencil on the paper
of your choice and cut out like you did before.
11. Shape the petals using the back of a paint brush.
12. Use a sewing awl or needle to make a hole (see the mark on the template). Thread the flower onto
the petiole. Dab glue on the bottom side of the flower to ensure that it doesn’t slide off. You can
also wrap extra flower tape around both sides to keep it in place.
13. For both of the flowers I have made, I have attached two petals a bit above the flower itself –
just to give the flower character.
14. When the petals and leafs are attached, carefully shape the stem to make it feel more organic.
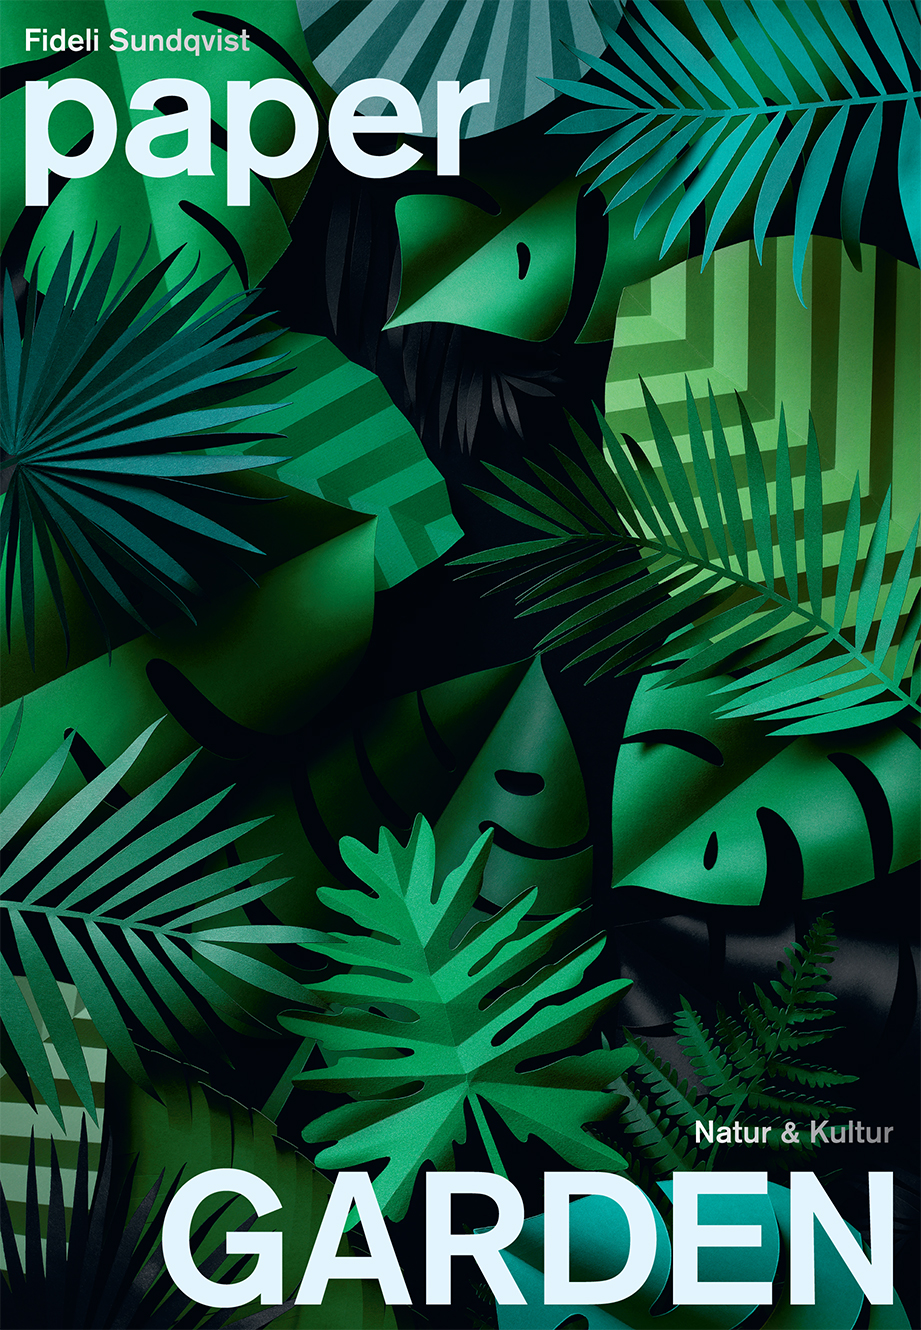
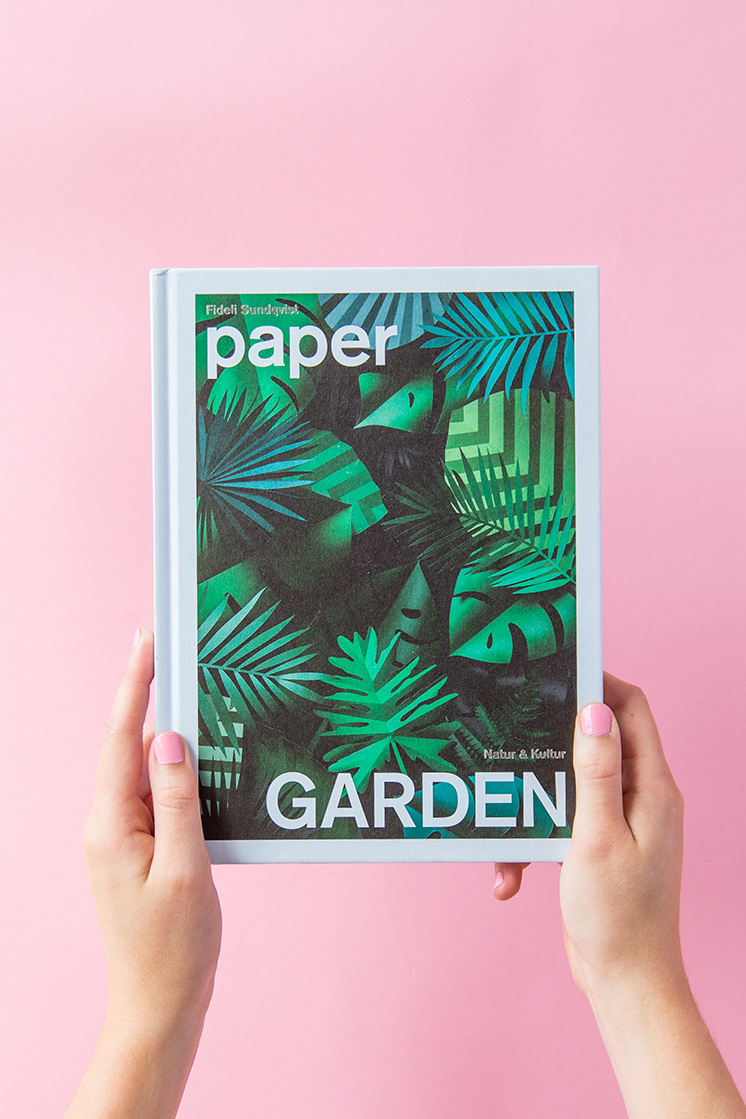
See more beautiful paper garden tutorials in Fideli’s new book, Paper Garden.