

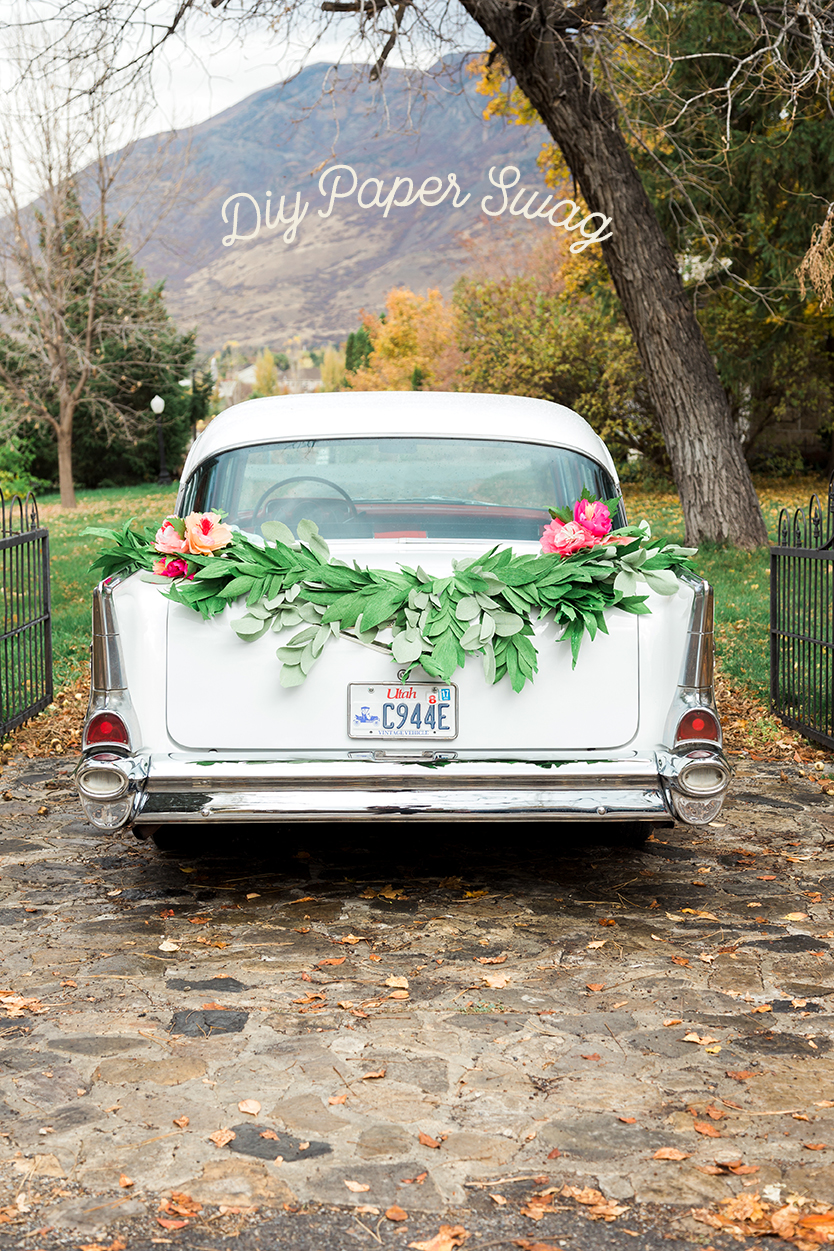
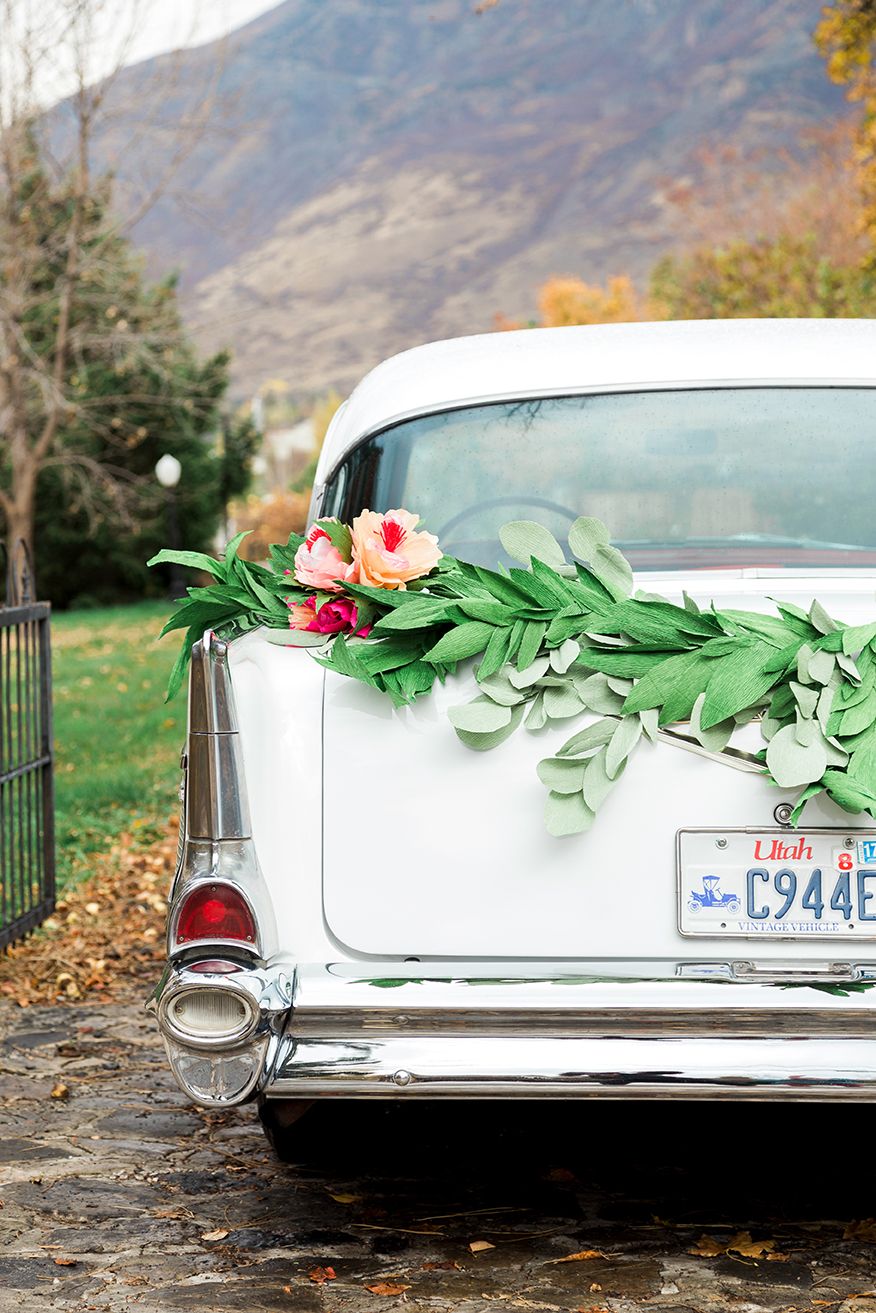
One of the perks to living and working in Provo, Utah is a nearby university, which supplies us with some talented and hard-working interns every semester. I’m so lucky! And because I went to the same university myself, I get to see them interact in a similar environment, though they’re much cooler than I ever was (or am! ha!). Some of them are already married, getting married, or super close to getting married, which I definitely didn’t do in college (ahem, late bloomer here…) and it’s fun to hear about what’s going on in this phase of life. We have one who will be getting married soon and we came up with this DIY paper garland for her car send off at the wedding. Isn’t it beautiful?!

Their exciting phase in life also reminds me of some of the harder parts of newlywed life like budgeting or buying a car together. Such a big decision! We’ve partnered up with Capital One, a trusted auto lender to so many that has an Auto Navigator® site that makes it easy to find your dream car by giving you the option to “test drive” your different options of term length, price and vehicles.
Here’s how it works: First, you can find out in minutes if you pre-qualify for auto financing – with no risk to your credit score. From there, you can test drive your financing options, simply by looking at different term lengths, prices and vehicles. The Capital One Auto Navigator site will show you your estimated monthly payment and APR on cars you choose. You can even use the Capital One Auto Navigator site to find the perfect car for you, simply by searching over 12,000 dealerships’ inventory by make, model, price and more. So handy. Being in the same boat myself, I see this has a SUPER handy tool.
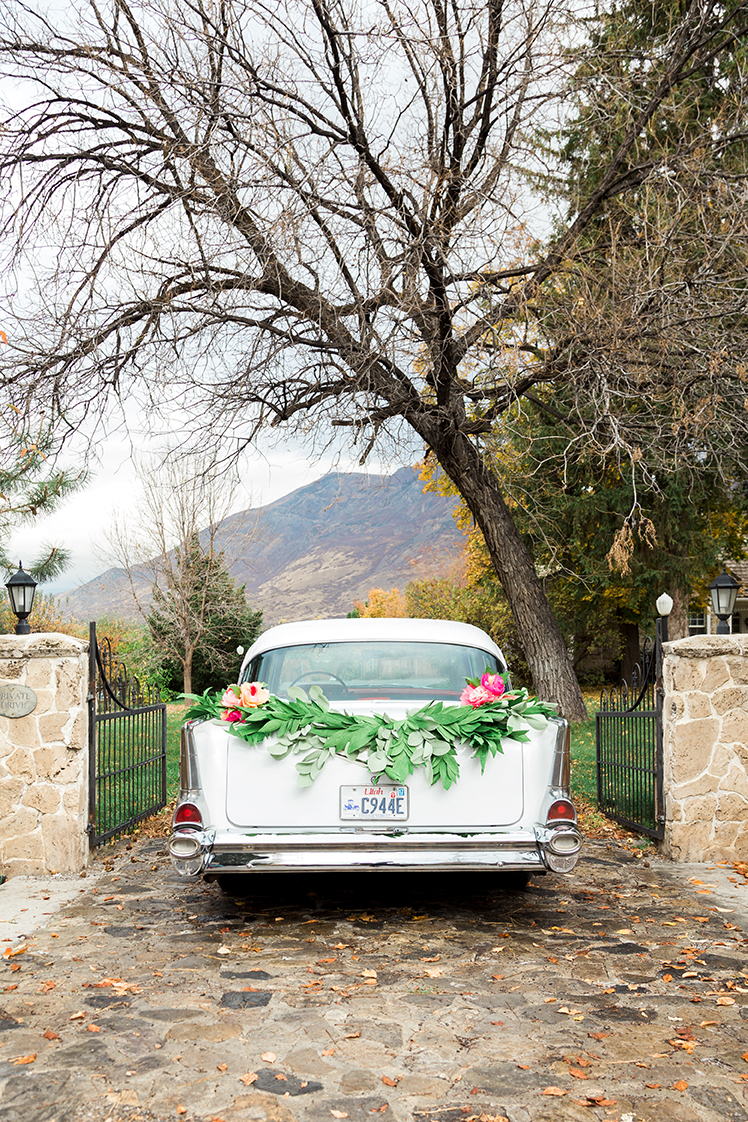
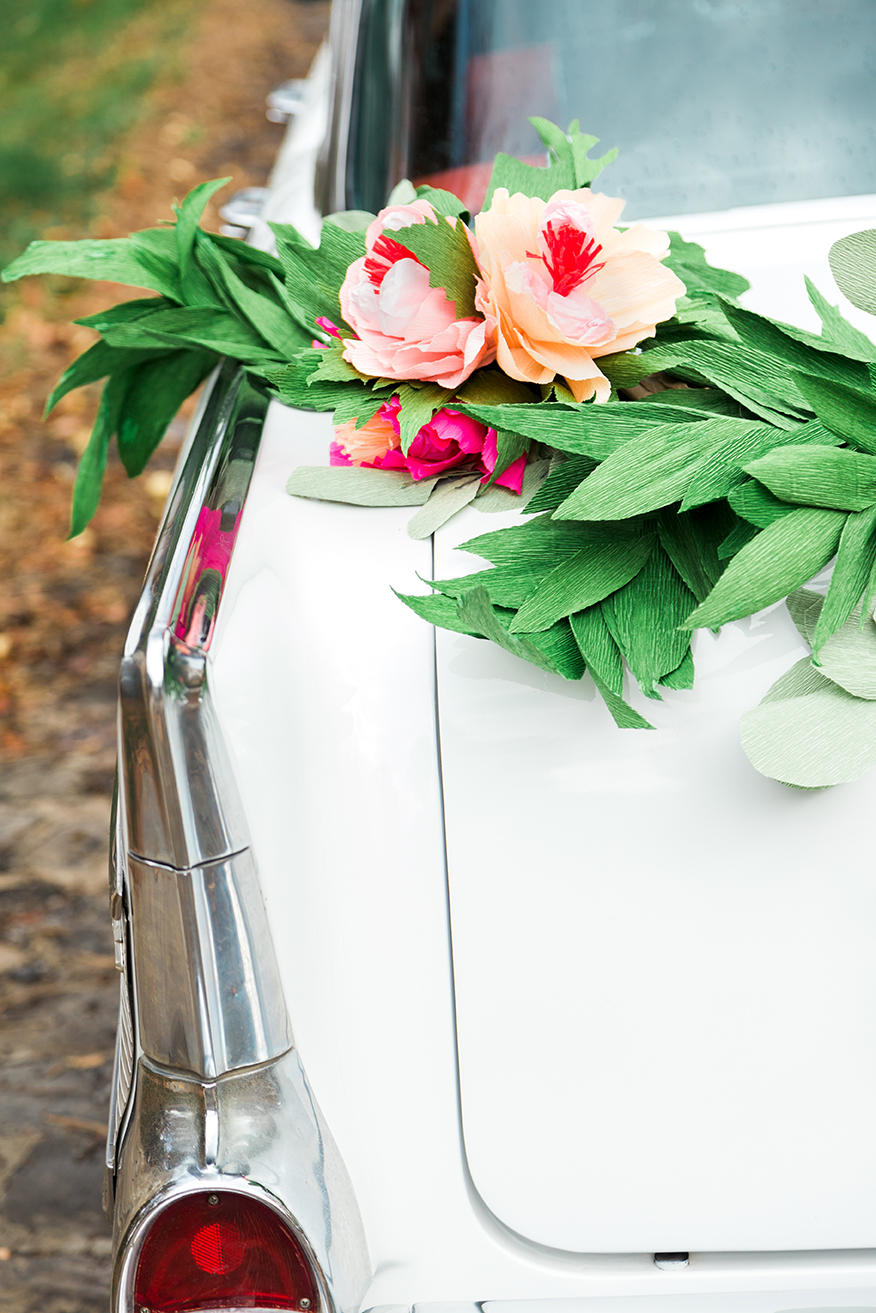

This crepe paper garland swag is perfect for a wedding send off. AND SO MUCH CHEAPER! All you need is a few rolls of crepe paper and some willing hands. I LOVE how it turned out! Please note: crepe paper is dyed and when it gets wet it will dye your car. So, it must only be used in dry weather (we learned this the hard way!).
DIY Paper garland swag for send-off car
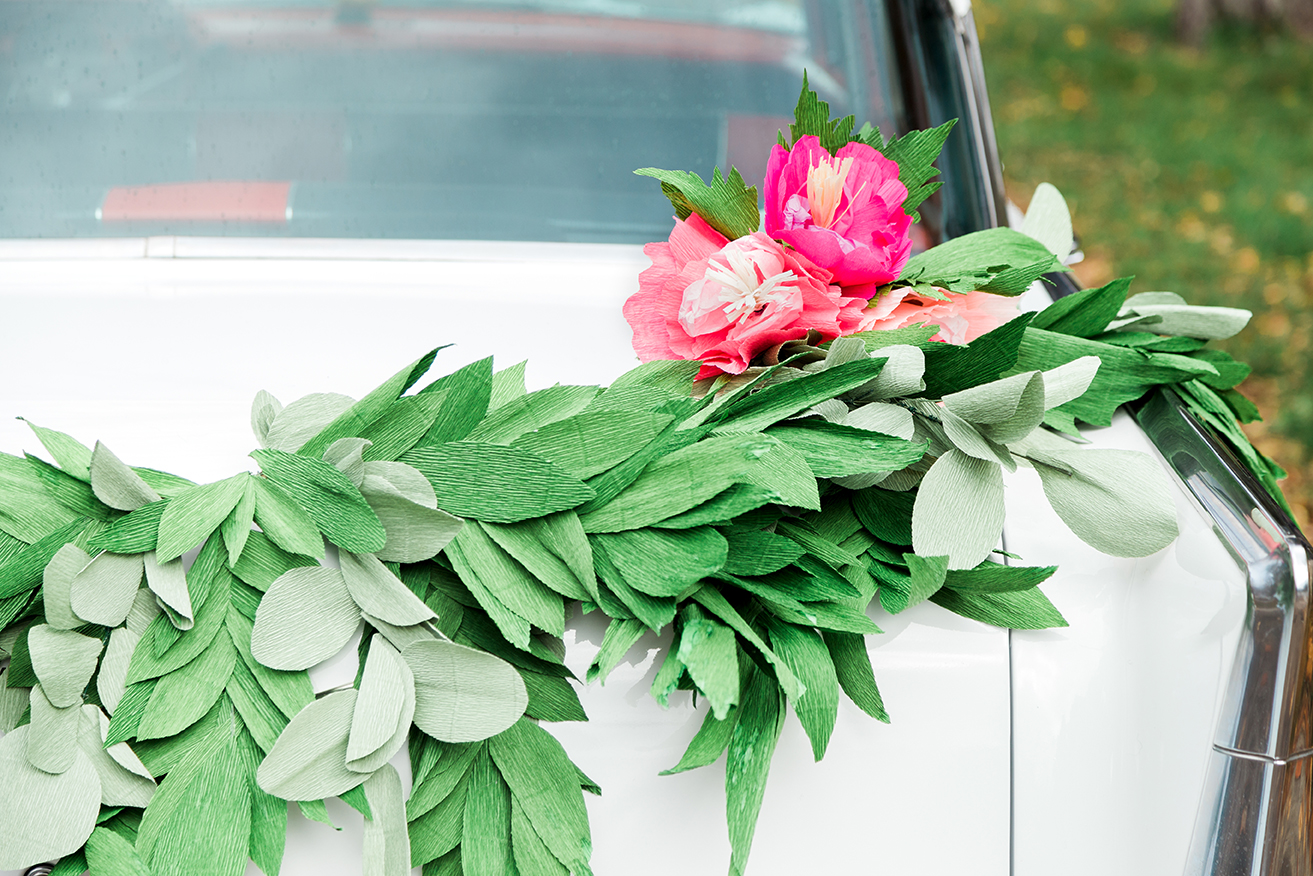
Leaf boughs
Materials:
- Crepe paper in two shades of green
- Covered Floral wire
- Green wire
- Glue gun
- Scissors
- templates
Instructions:
- We opted for two types of leaves for our garland. For both, use the templates provided.
- Cut out the leaves, with the template lying parallel to the grain of the crepe paper. You’ll need 10-15 leaves for each bough. The number of boughs will depend upon the size of the car and the desired fullness of the garland
- For the pointier leaves, glue a large leaf at the end of the wire, about 1 inch up the leaf.
- Continue gluing on leaves, decreasing in size as you go up, along the floral wire. Overlap the leaves a little and just glue on the base of the leaf.
- For the rounder leaves, Cut small lengths of wire, about 3 inches long.
- Glue the wire pieces to the back and base of the leaves, extending ½ inch up.
- Begin attaching the wired leaves to a piece of floral wire, starting with a big leaf at one end and decreasing in size as you go up.
- The wire allows the leaves more movement and flow, to appear like Eucalyptus leaves.
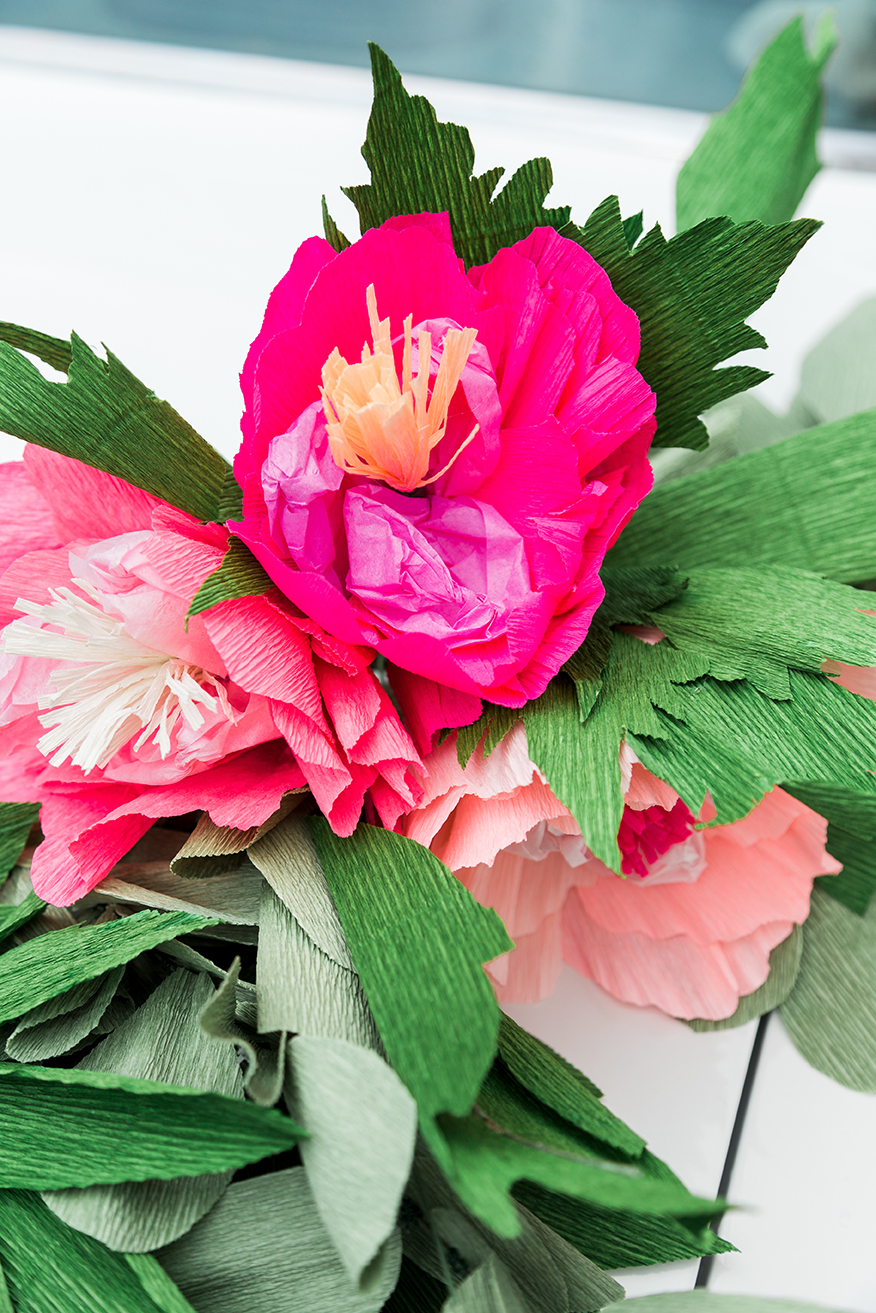
Peonies
Materials:
- Crepe paper in shade of pinks, whites, reds, and green
- Tissue paper in shades of pinks
- Glue gun
- Wire
- Floral tape
- Scissors
- templates
Instructions:
- Cut out a 2” by 5” piece of crepe paper. Fringe the edge by cutting slits into the longer side about 3/4ths of the way down.
- Place the floral wire onto the edge of the fringed piece and wrap around the wire. Secure with floral tape.
- Cut 3 2″ by 8″ stripes of tissue paper. Twist each piece of tissue paper in the middle. Fold in half and the pleat the edges to make a cupping shape.
- Surround the fringed center with the three tissue petals.
- You will need 12 petals total for one peony: 3 small, 5 medium, and 4 large. Use the templates provided to cut out the petals
- Ruffle the edges of each petal by gently pulling apart small sections along the edge of the petal.
- Surround the center first with the small petals, then the medium, then the large. Secure with hot glue and floral tape.
- Create 6, 3 for each end of the garland
To create the garland, gently scrunch brown butcher paper to make a long roll to act as the base of the garland. Attach the flower clusters to the edges of the garland and fill in the middle with all the leaves. We liked the look of draping leaves, so just attach the boughs at the end and let them hang over.
Photography by Anna Killian | Crafting by Rebecca Young | Location provided by Wadley Farms
This post is sponsored by Capital One Auto Loan. Thank you to the brands that allow us to create awesome original content