
6 changes I’m making in the new year to bring peace and joy with MacKenzie-Childs
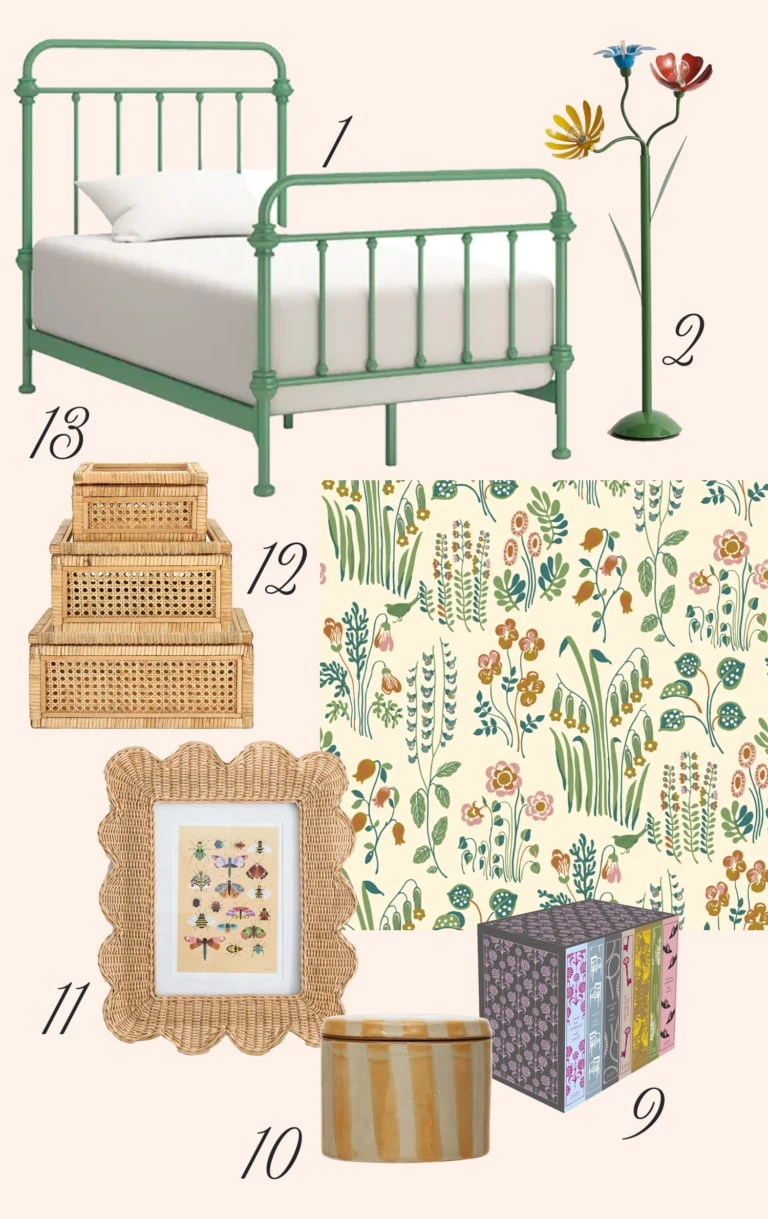
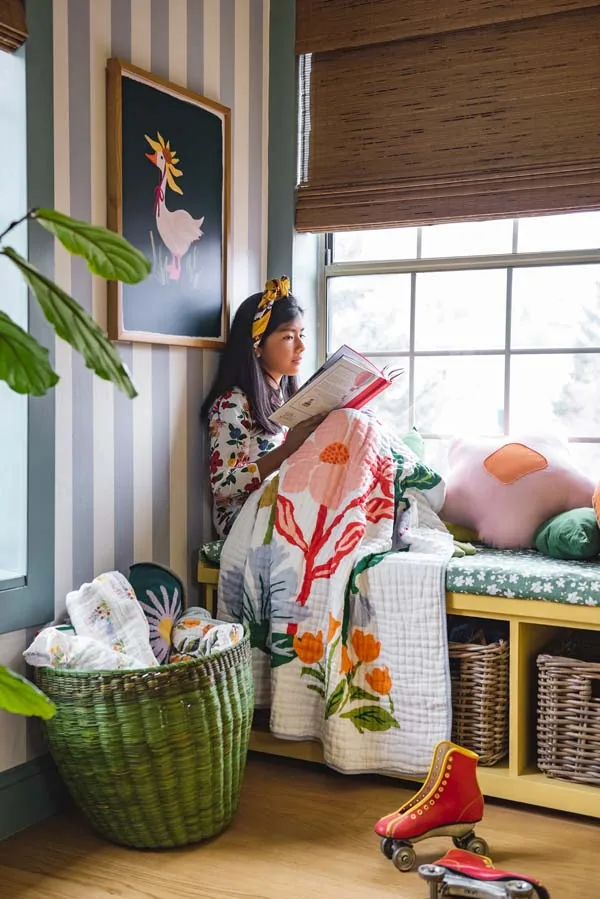
Cottagecore girl’s bedroom for under $1000
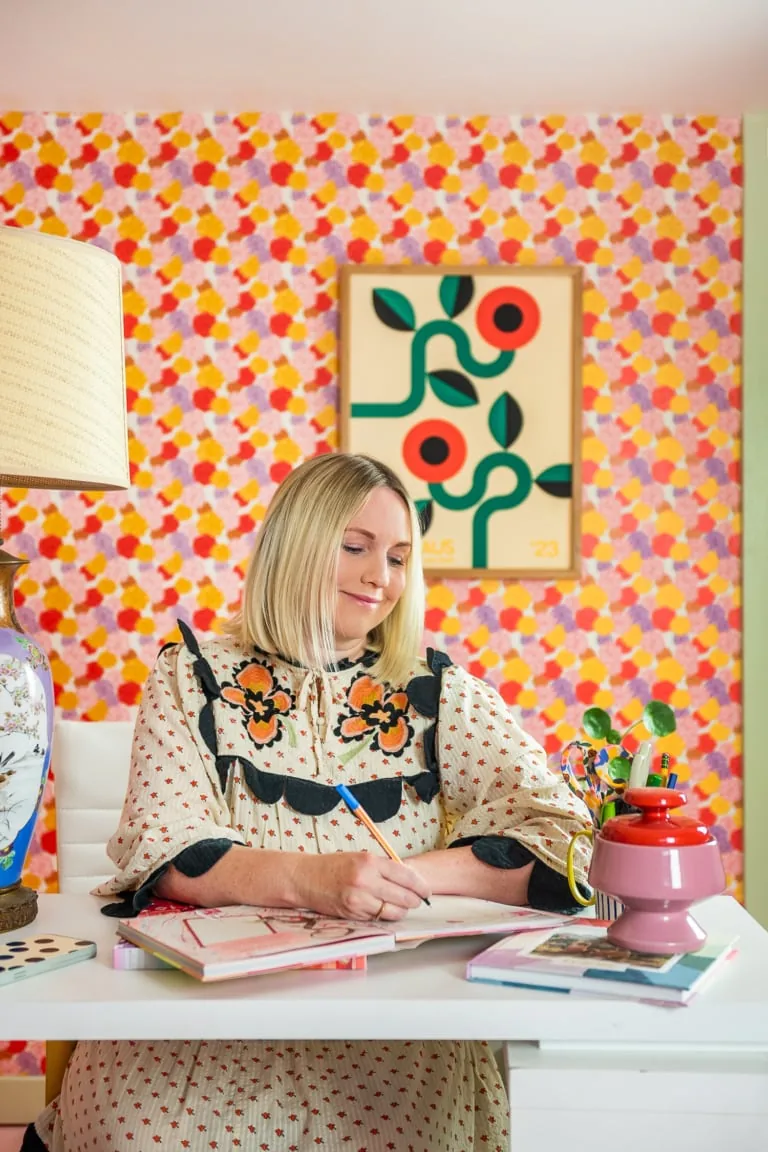
3 lessons from a small business owner (and a look at our refreshed office!)
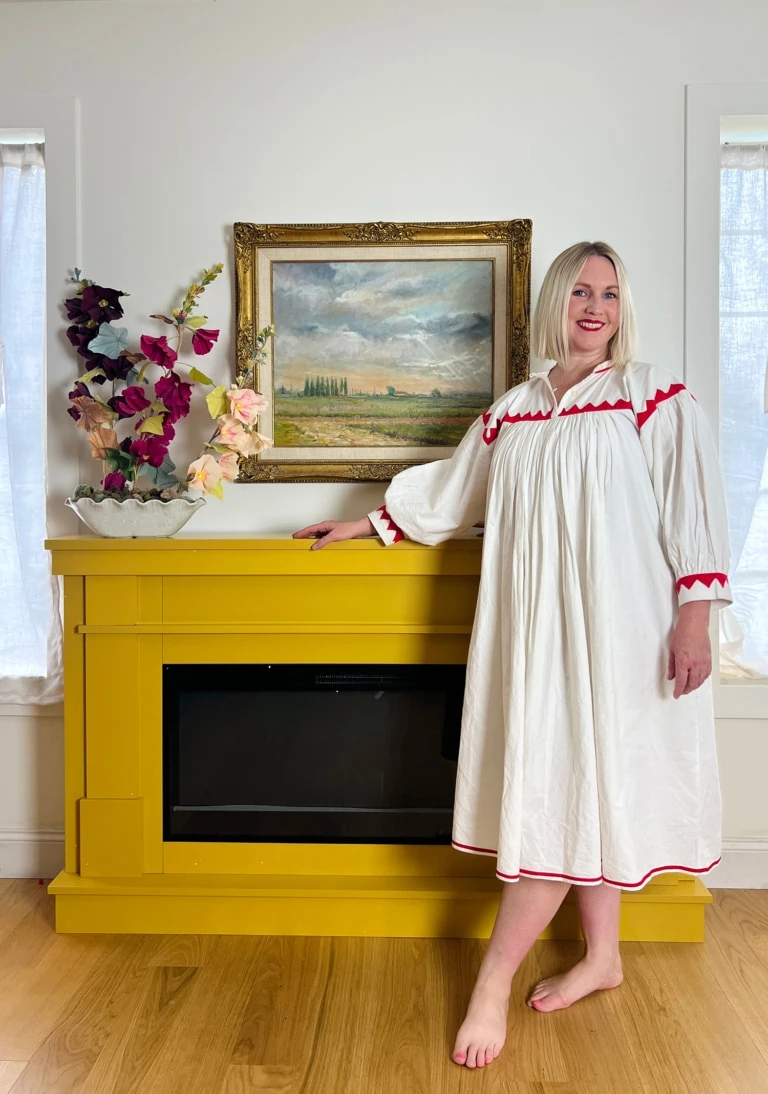
Our new electric fireplace
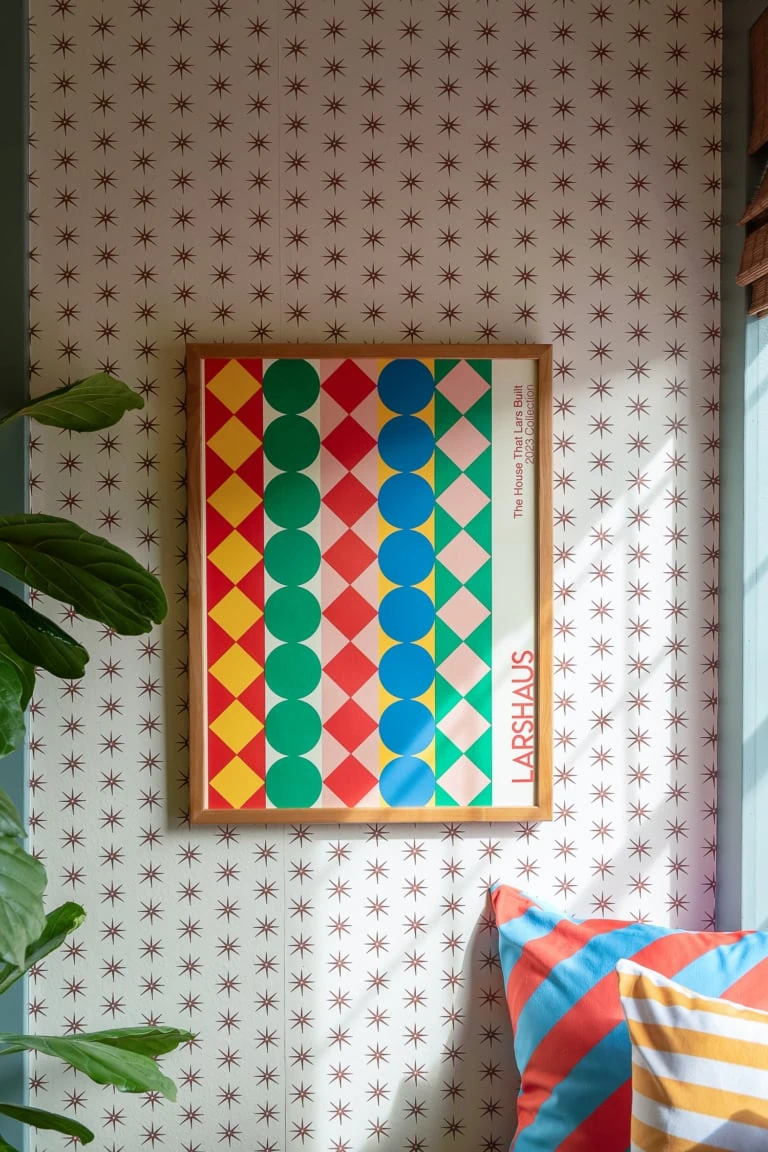
An update–New territory for Lars
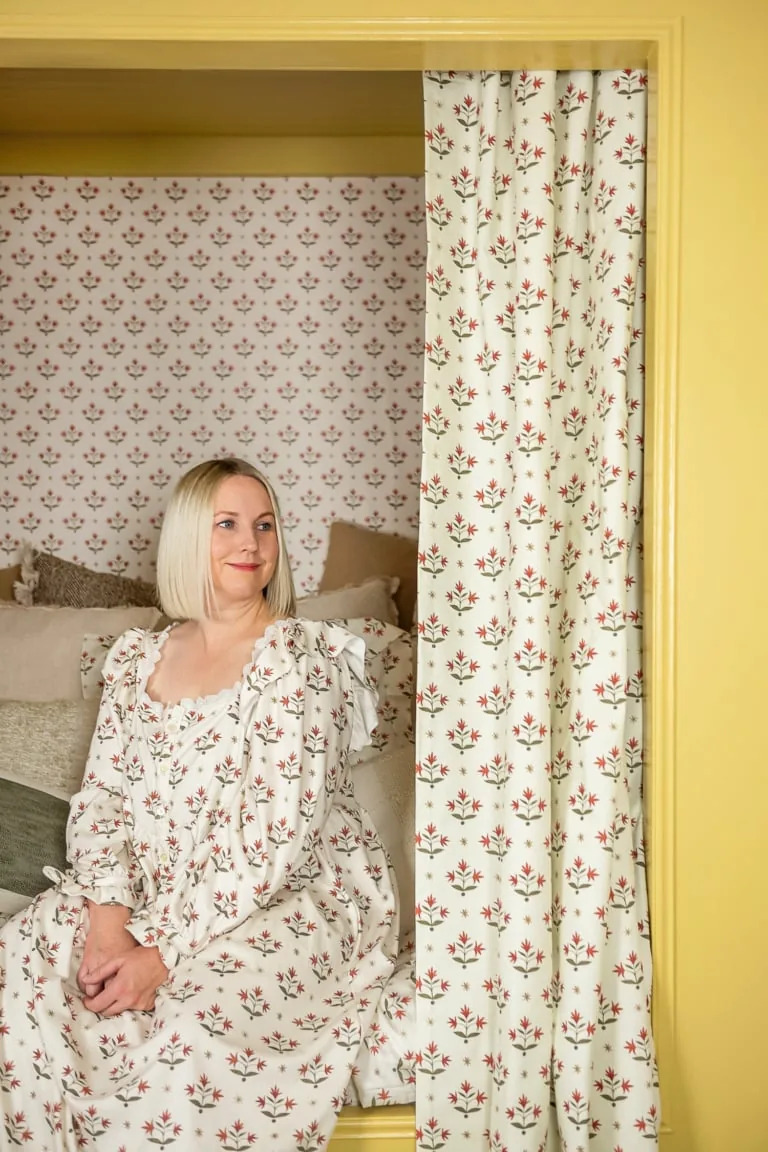
Fall bedding refresh (with matching pjs!)
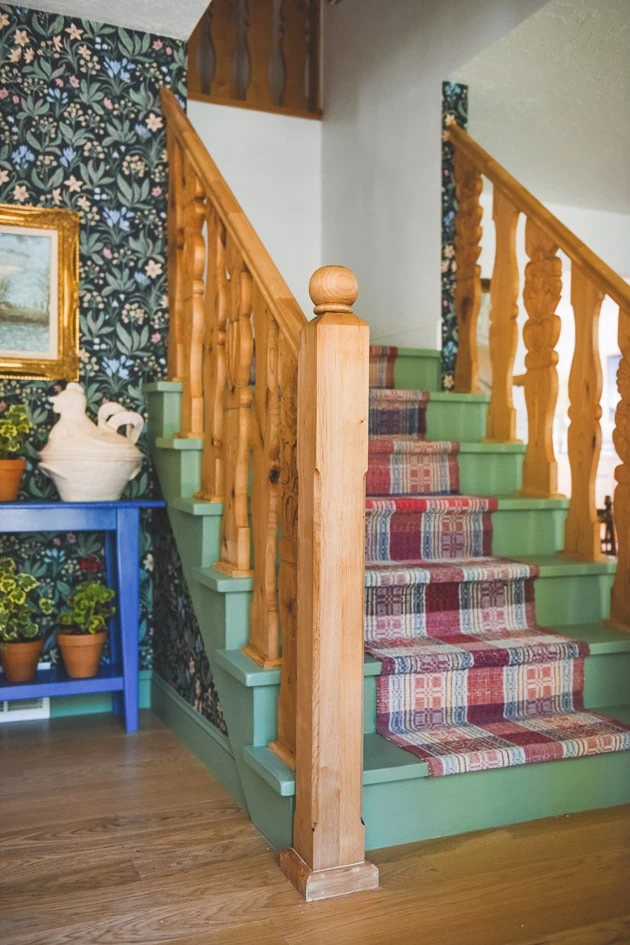
Things I regret about our staircase renovation
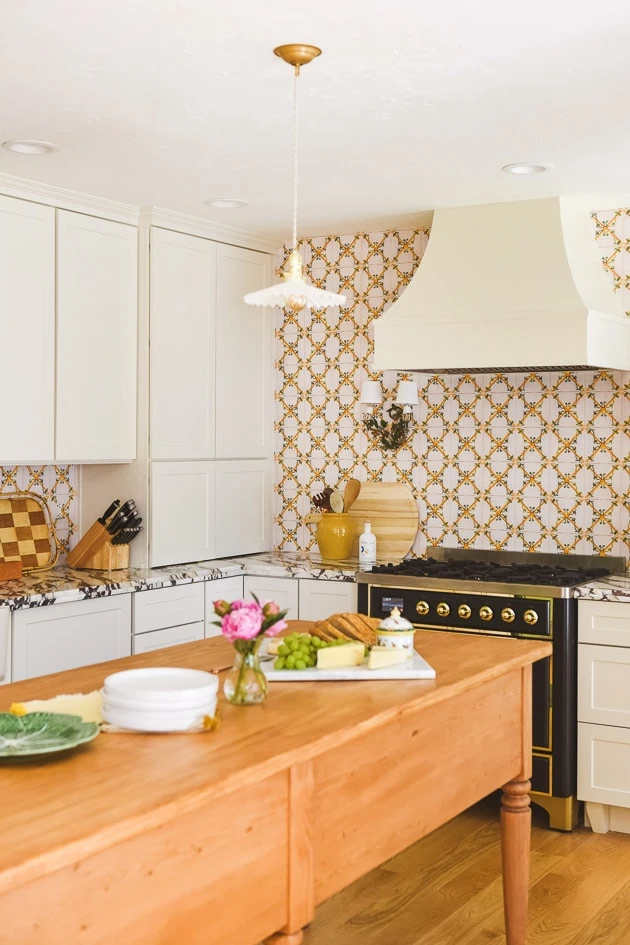
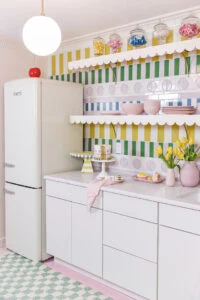
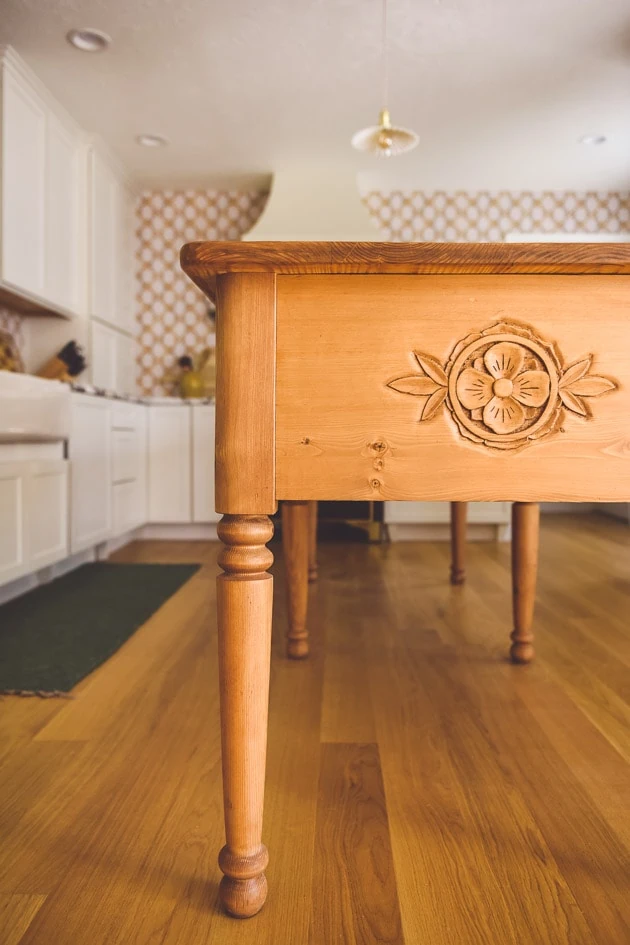
Things I regret about our kitchen renovation
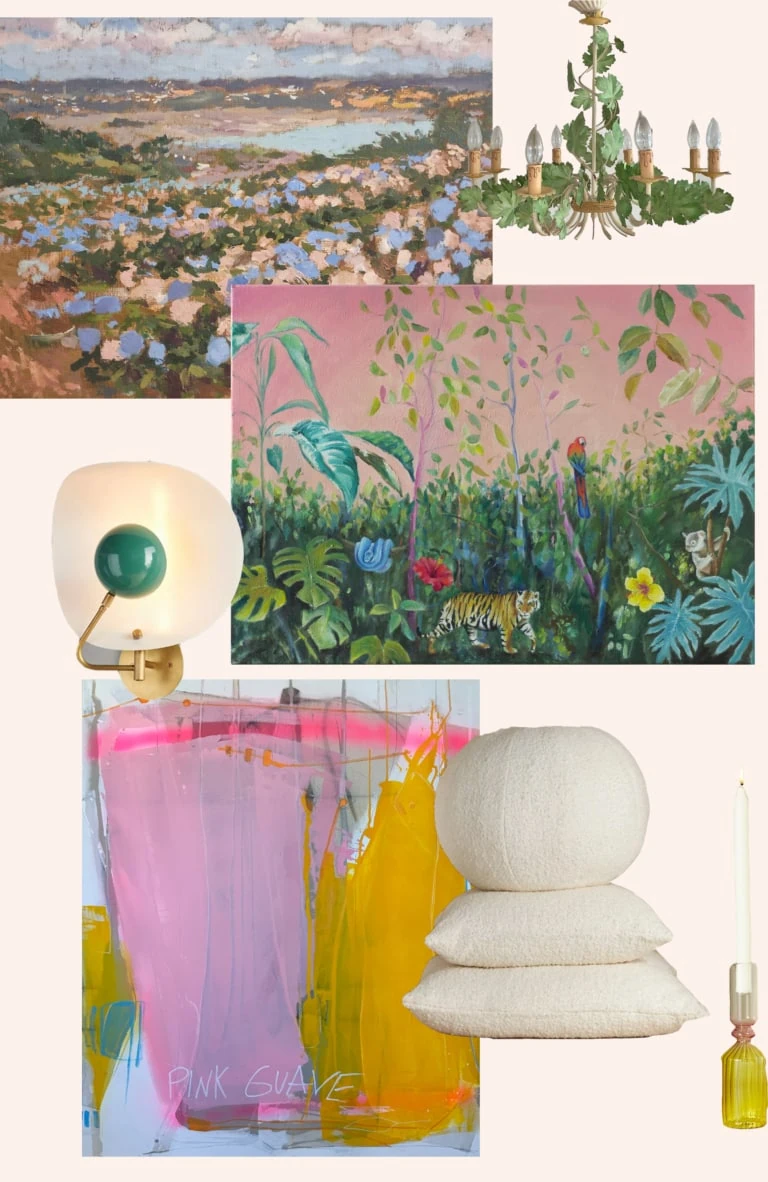
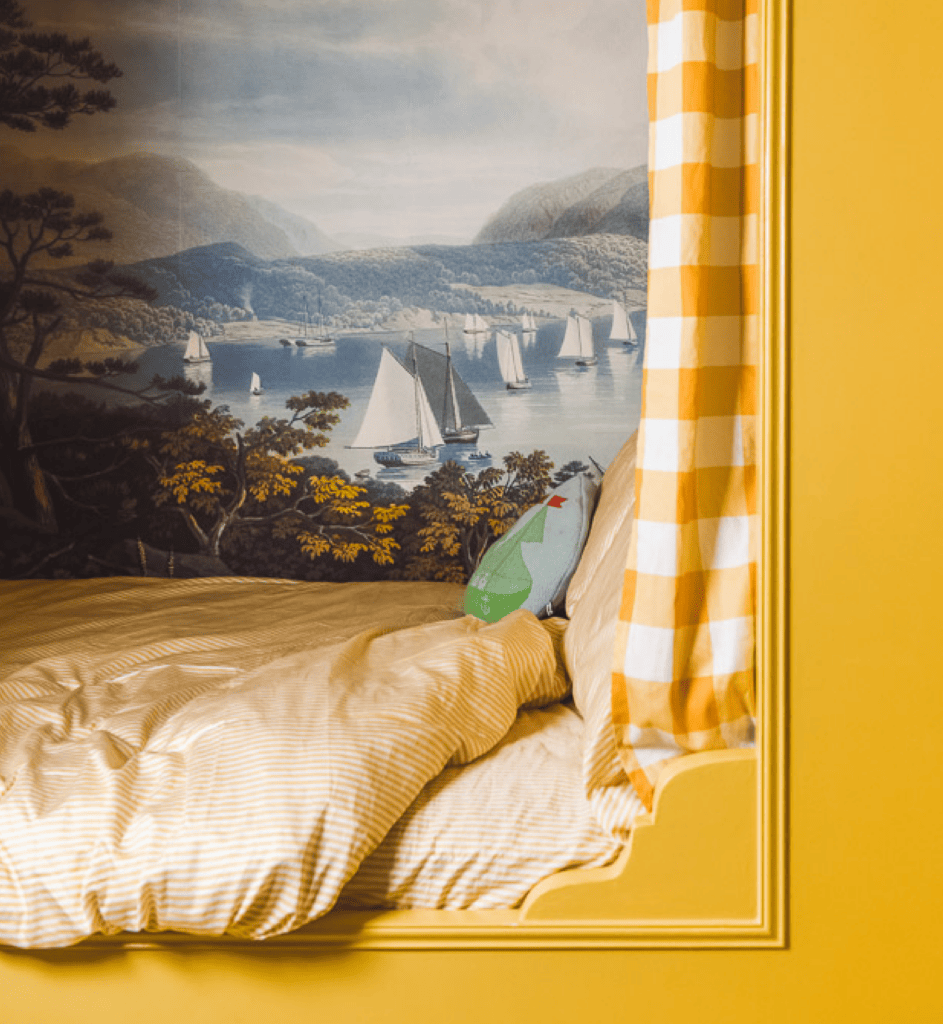
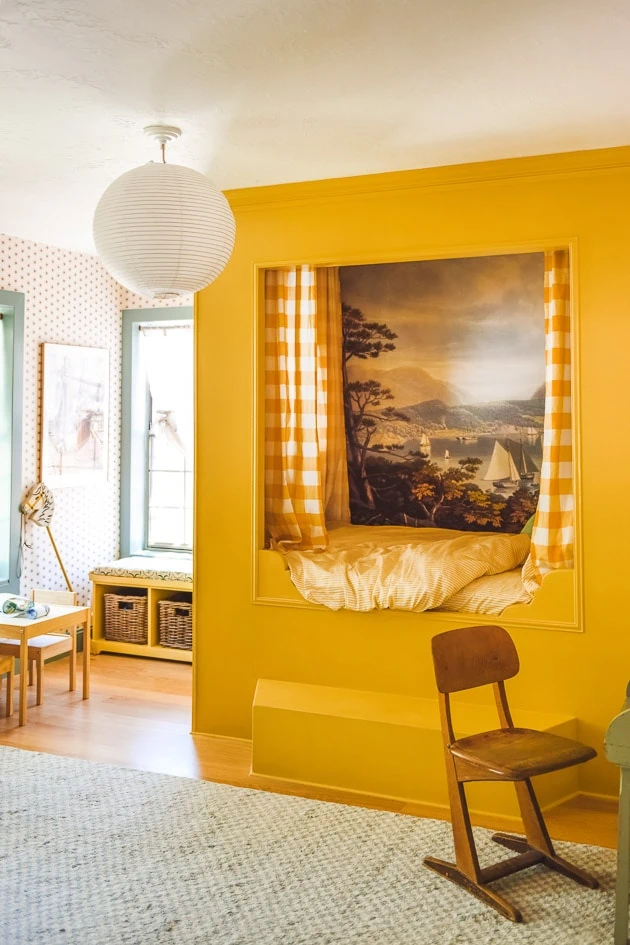
How to design a room inspired by a painting
70s vibe birthday brunch table setting
Boring and sad design: the new normal
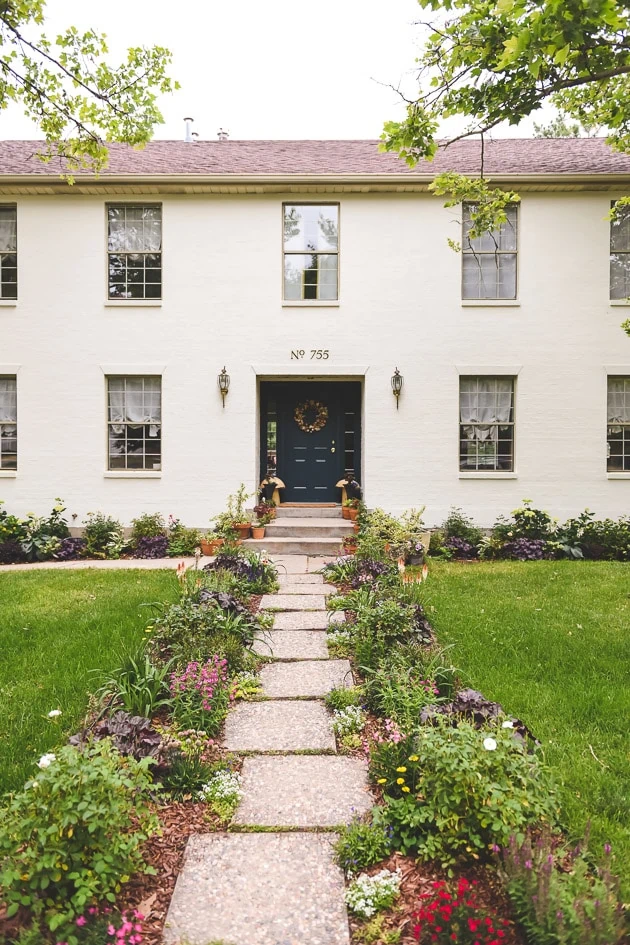
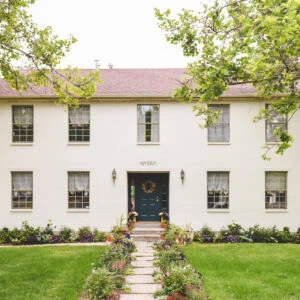
Painting our brick house white
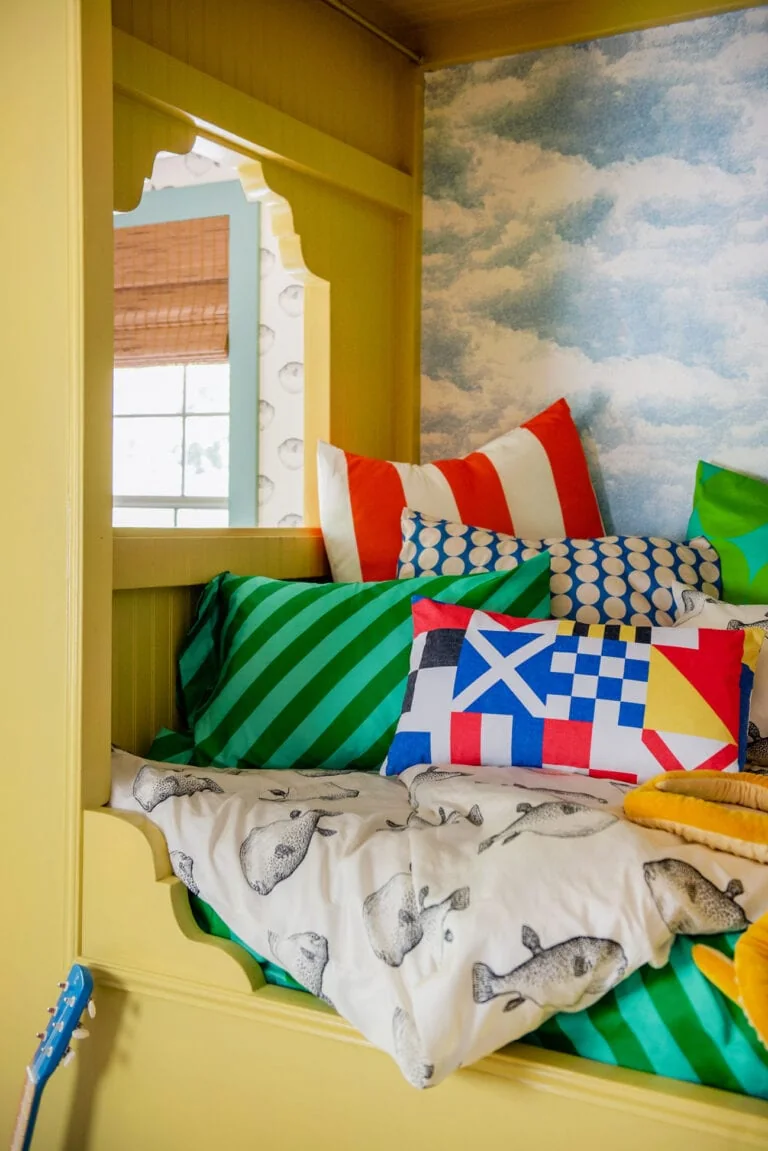
Summer bedding for a kid’s room

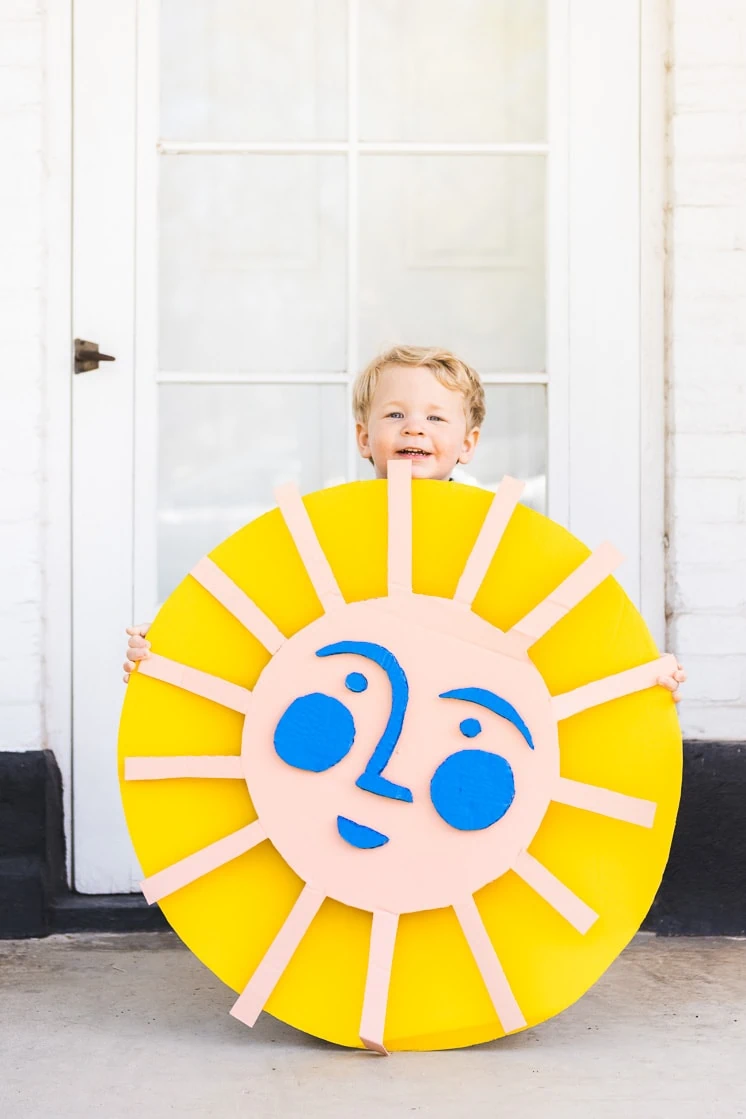
8 things to make to celebrate a birthday
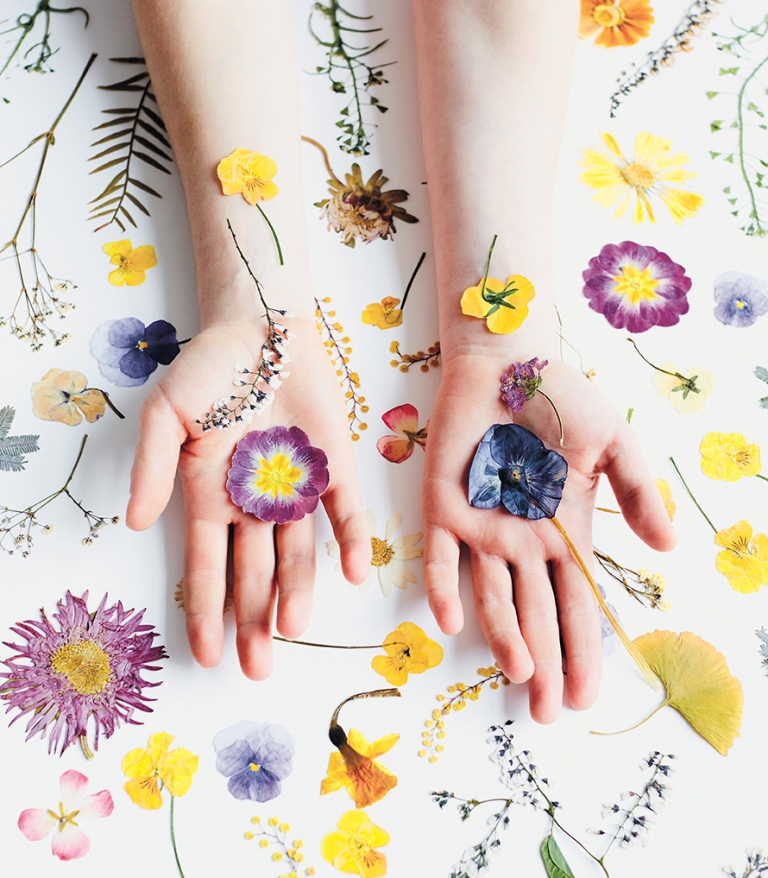
8 projects to make with fresh flowers
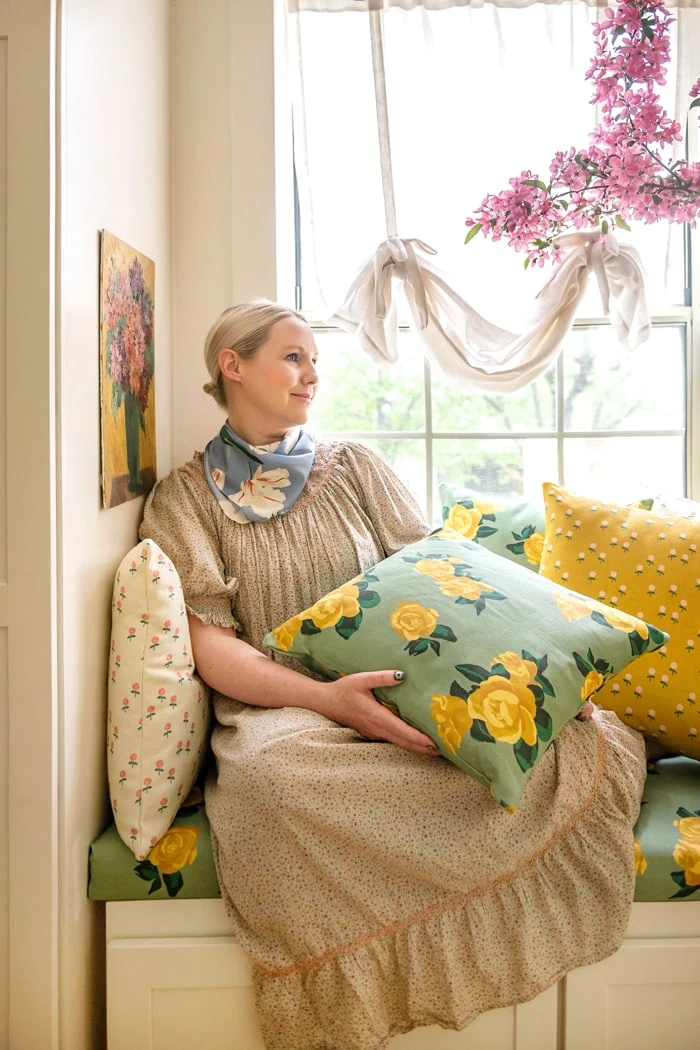
Granny’s Garden: Our new fabric and wallpaper collection
5 ways to bring your family history into your home
10 Crafts to celebrate Earth Day
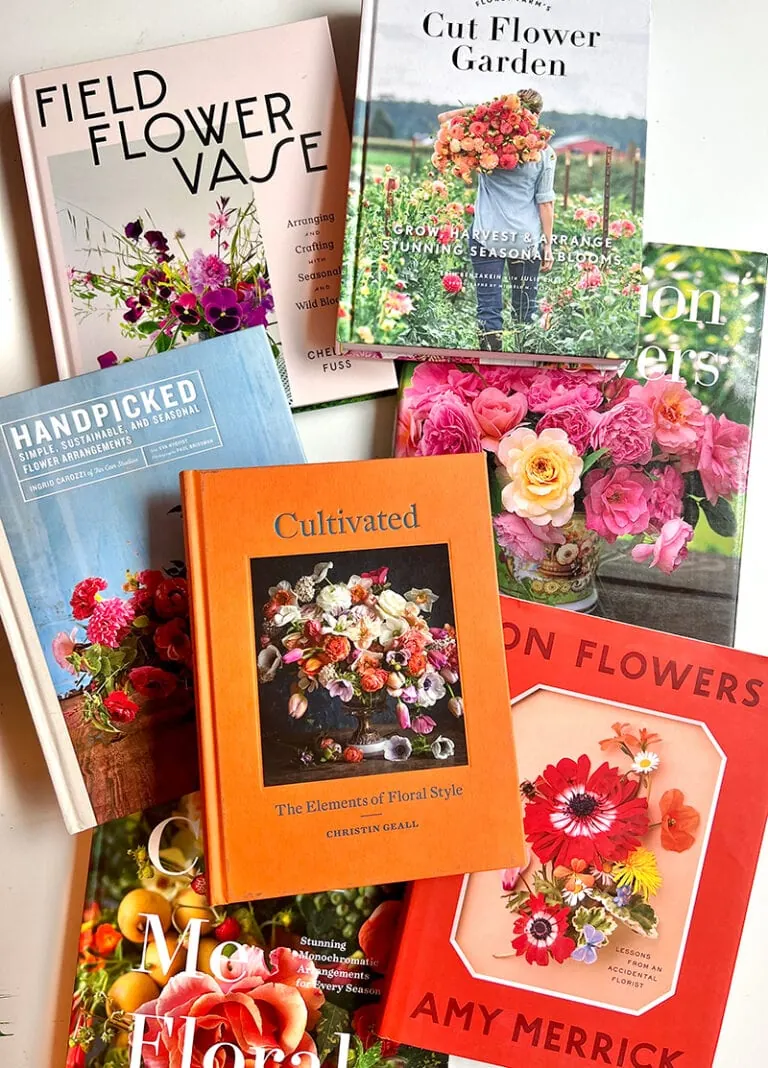
7 books about floral arranging
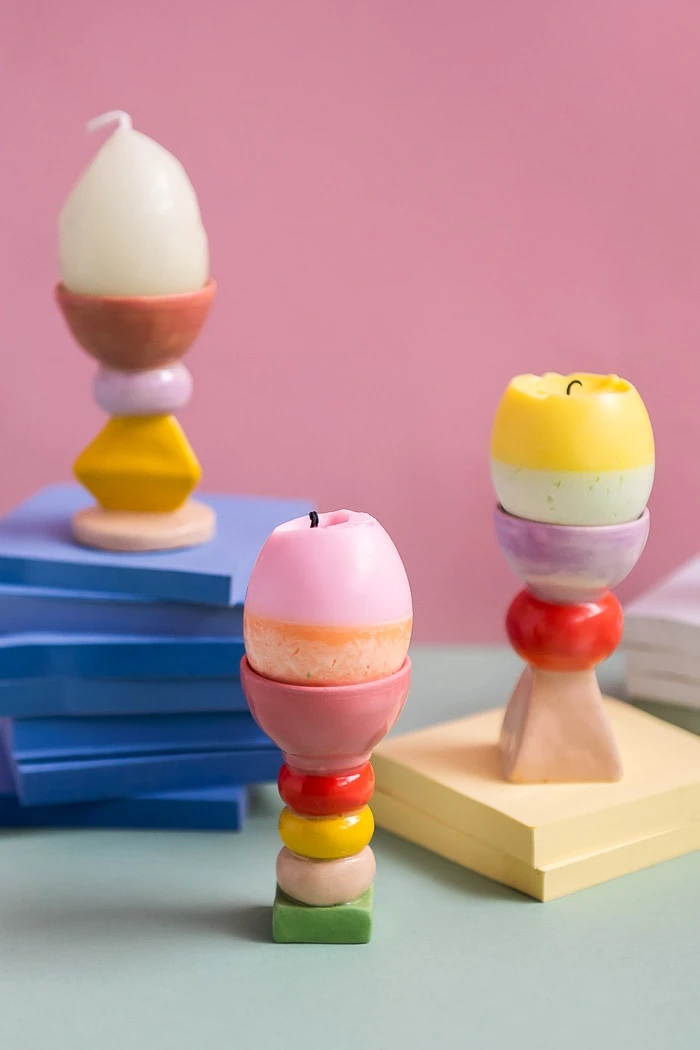
DIY Easter egg candle
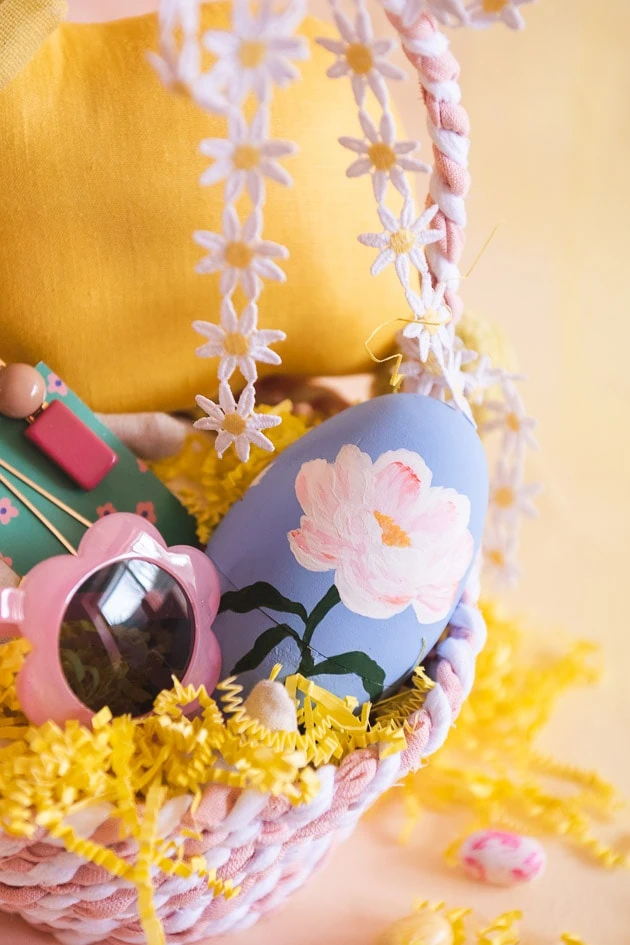
Easter Crafts
How to play with patterns
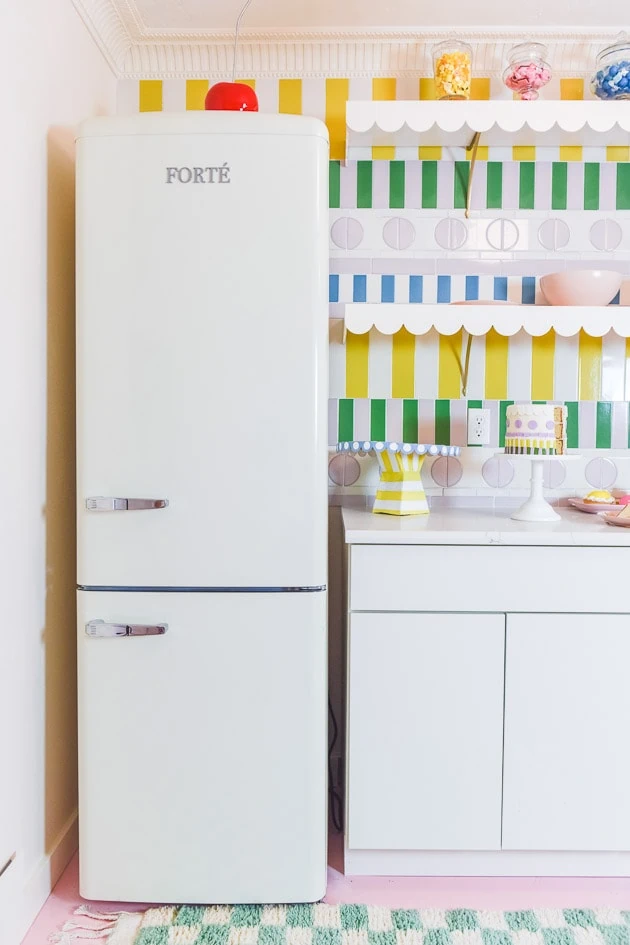
Forte Appliances Review
- 1
- 2
- 3
- …
- 13
- Next Page »