
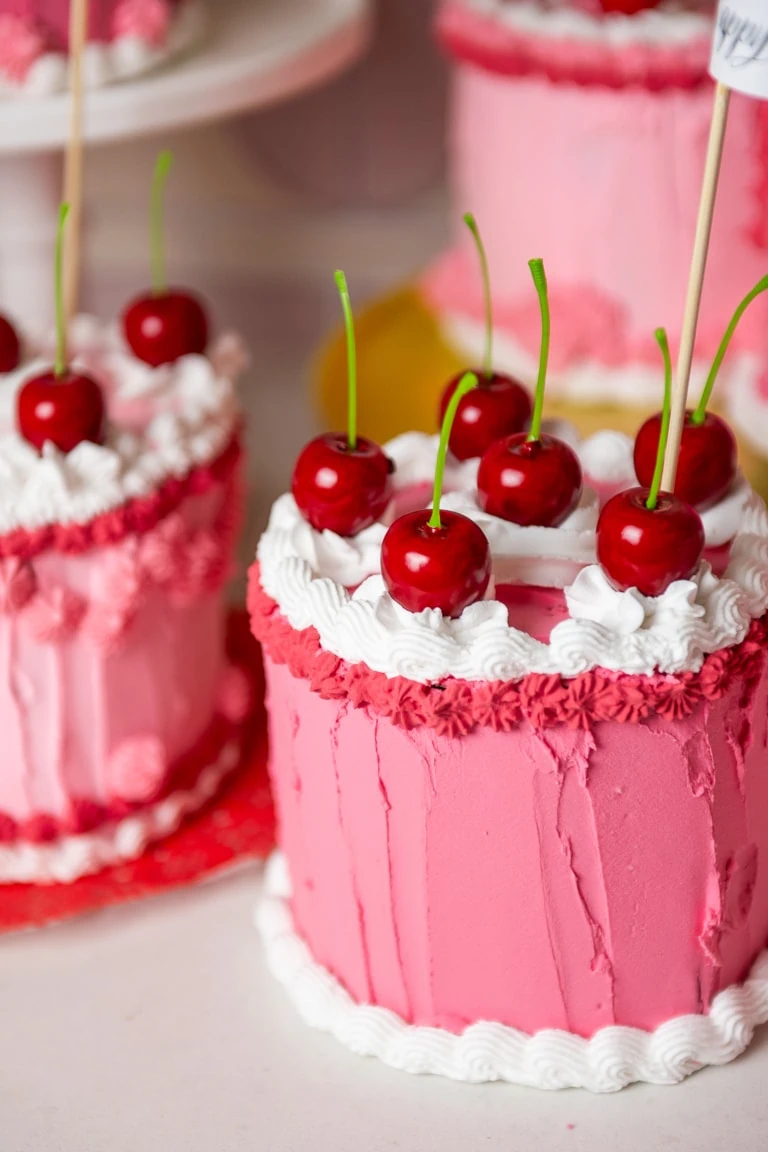
How to make a fake cake
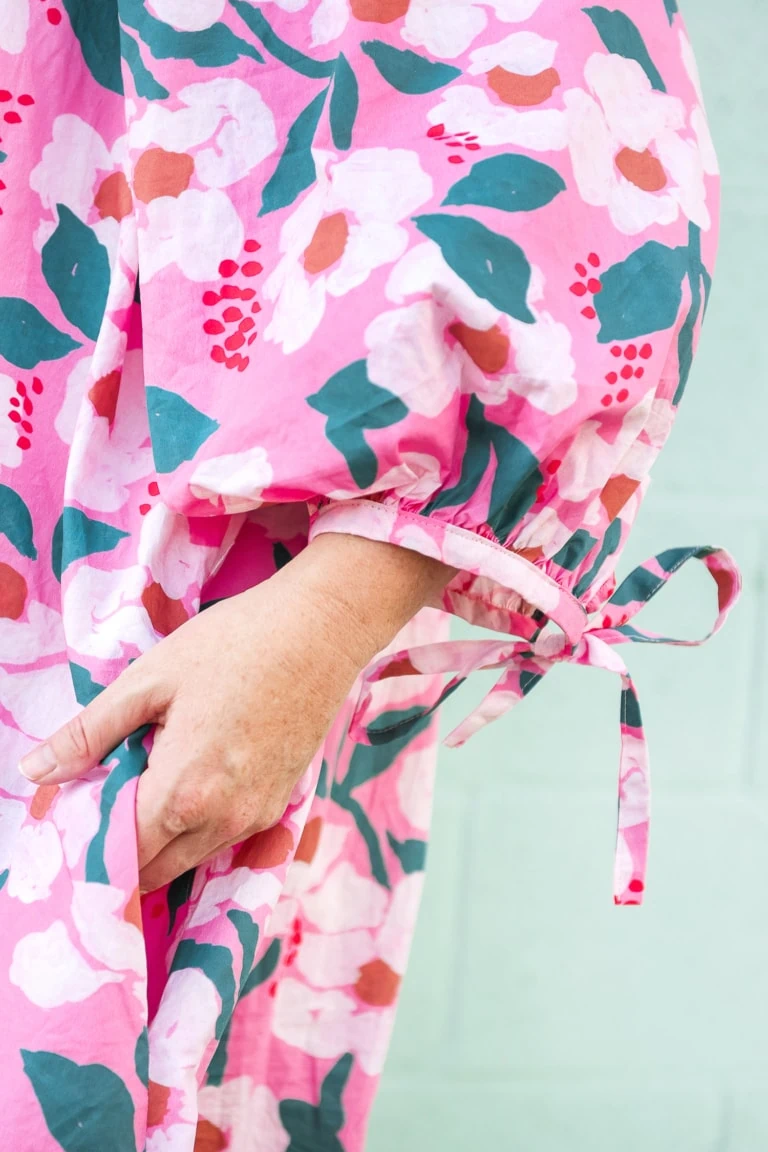
Lars Dress Sew Along Tutorial Videos
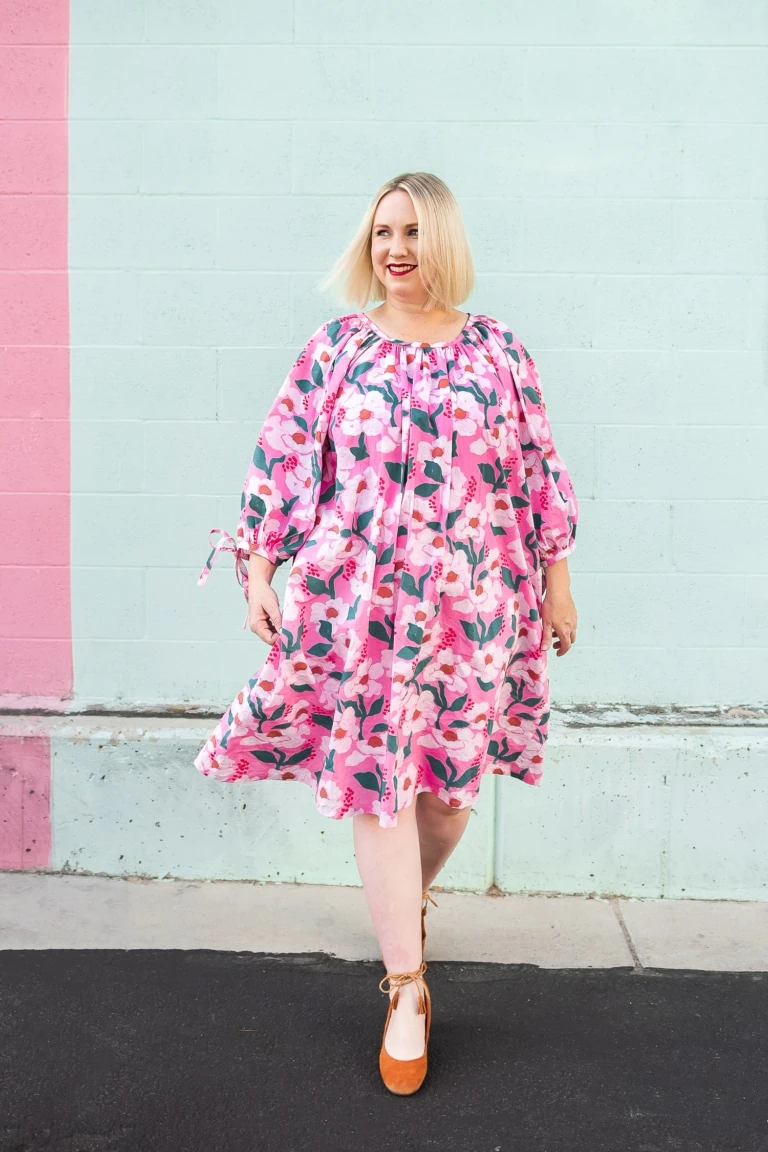
Lars Dress Sew Along!
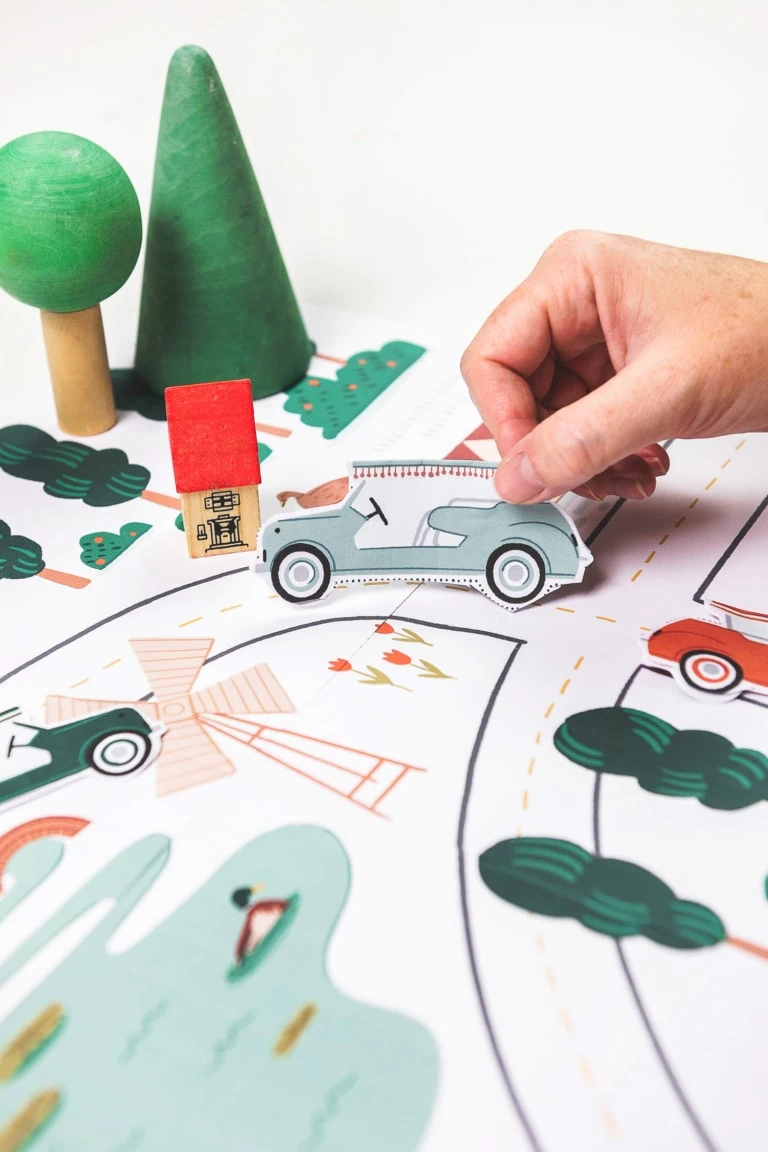
Printable road map with cars
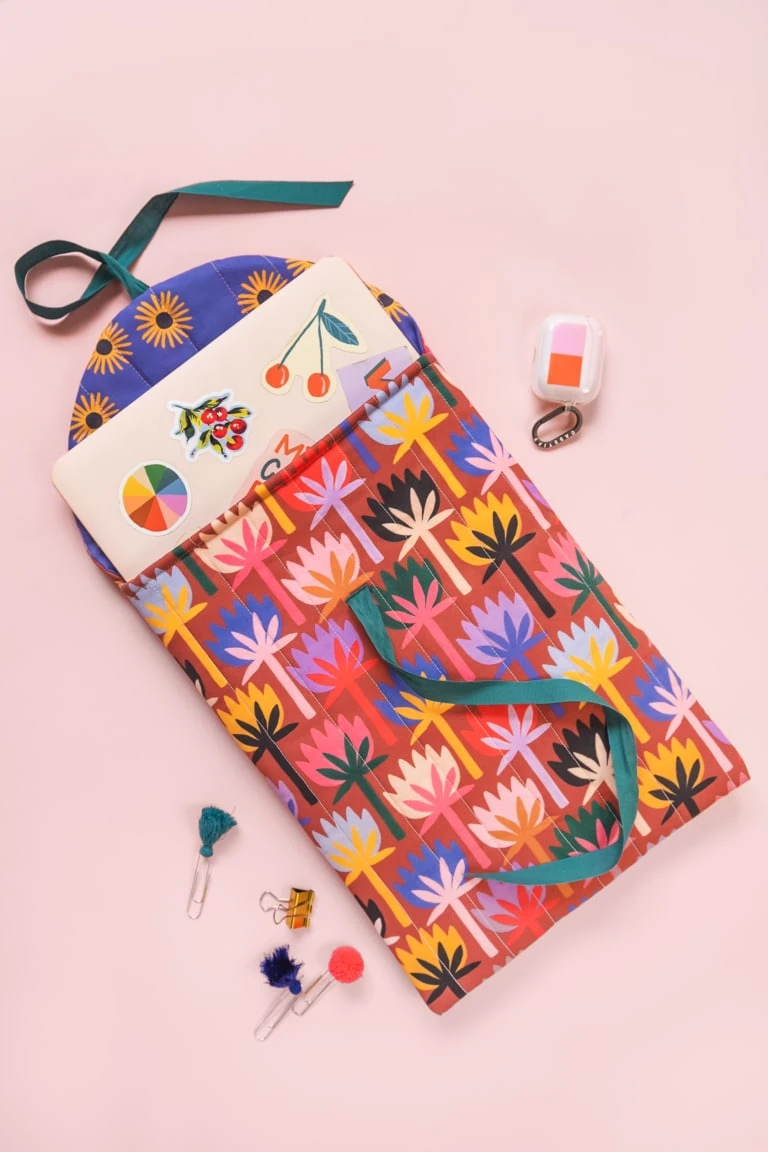
DIY laptop case
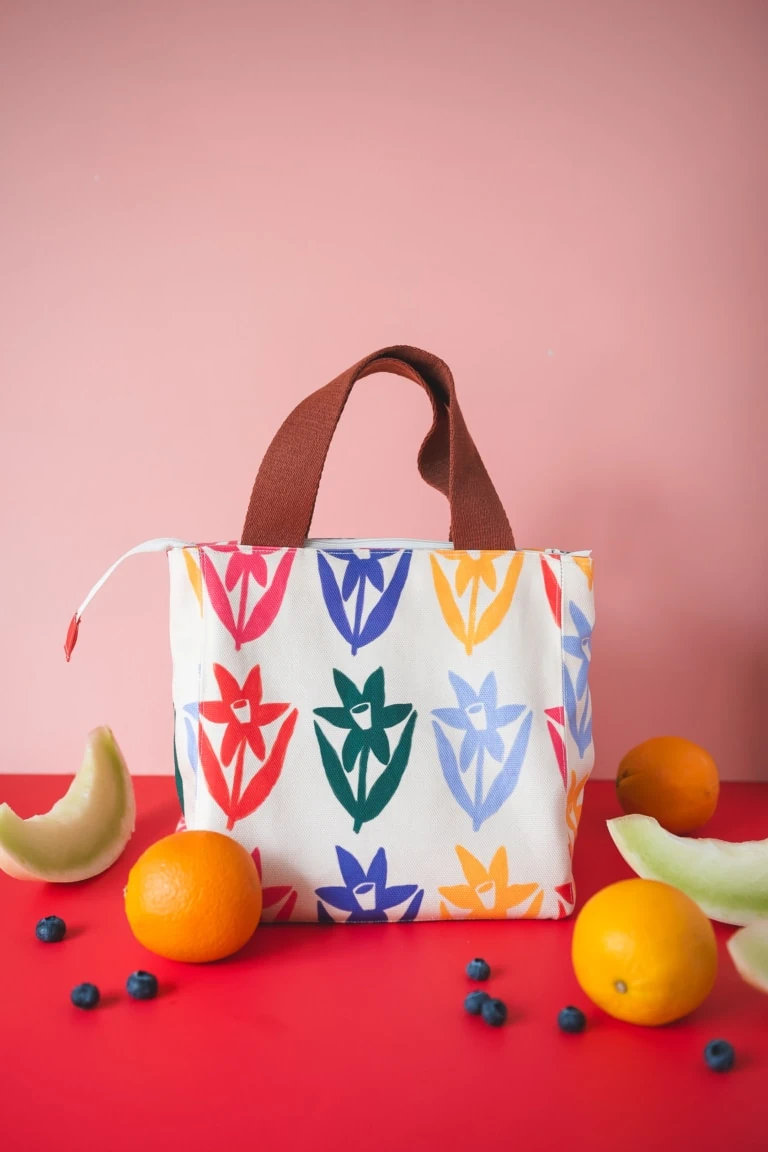
DIY Insulated lunch bag + pattern
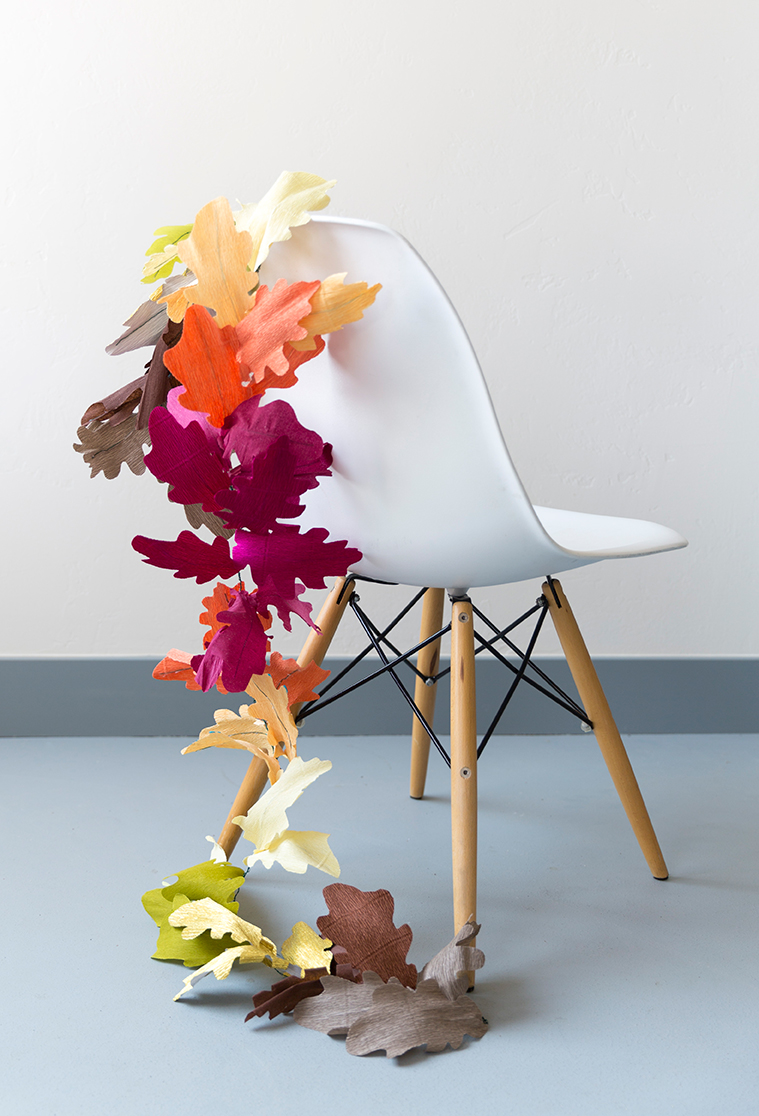
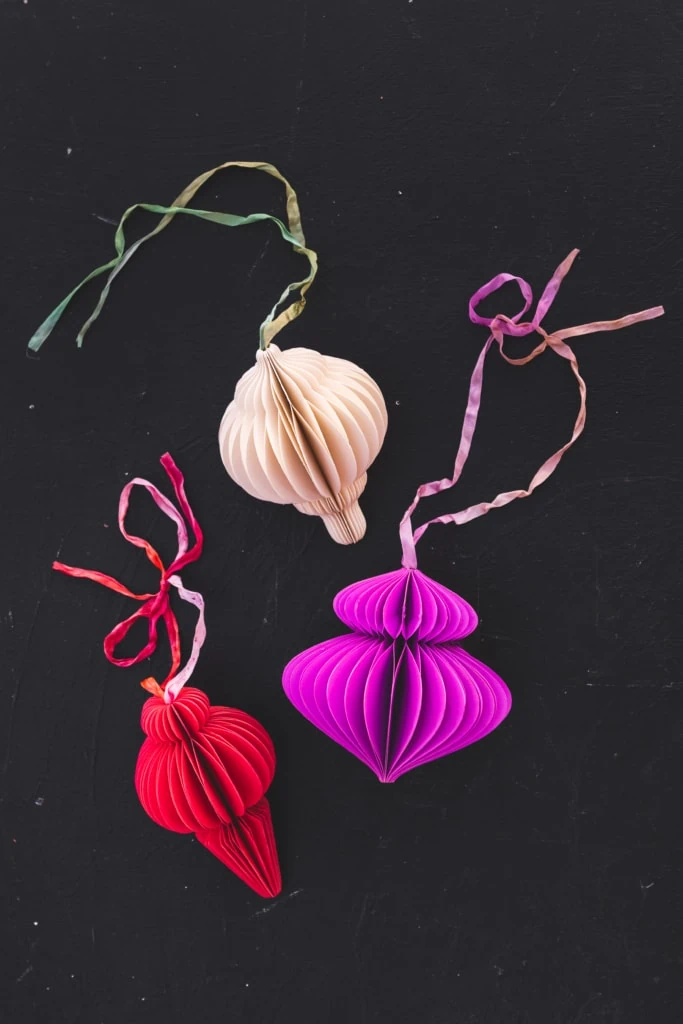
Fall Garlands to Celebrate Cozy Season
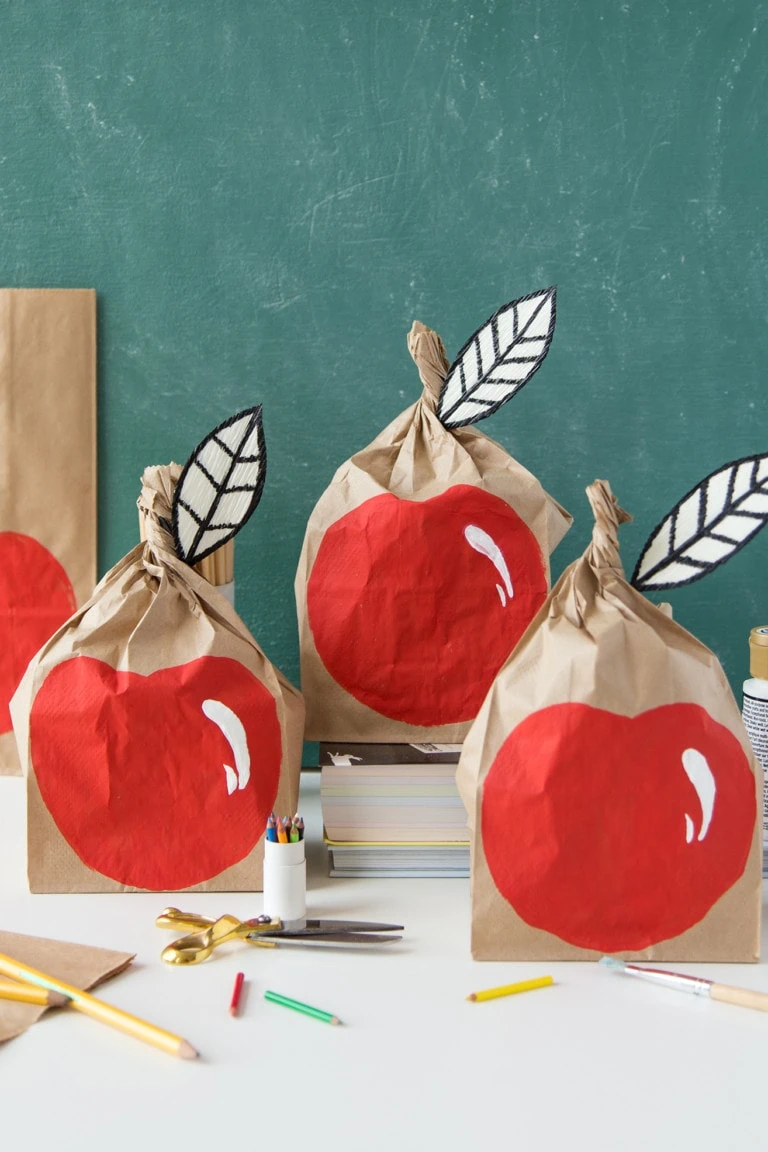
Back to school crafts
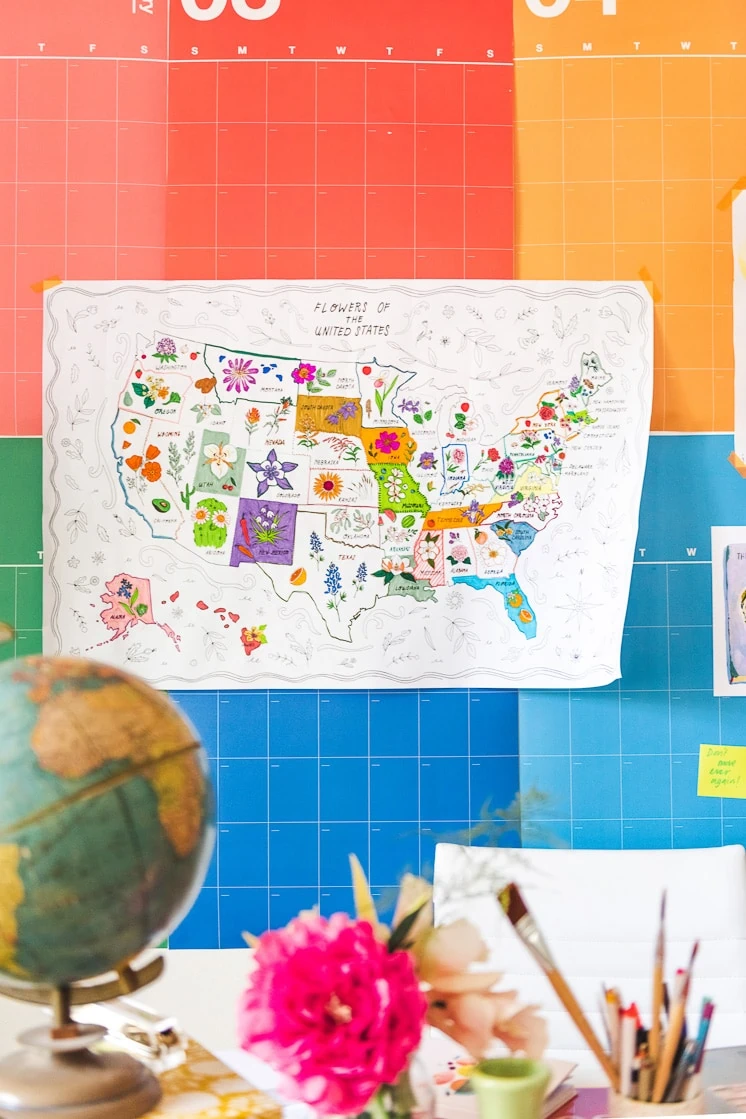
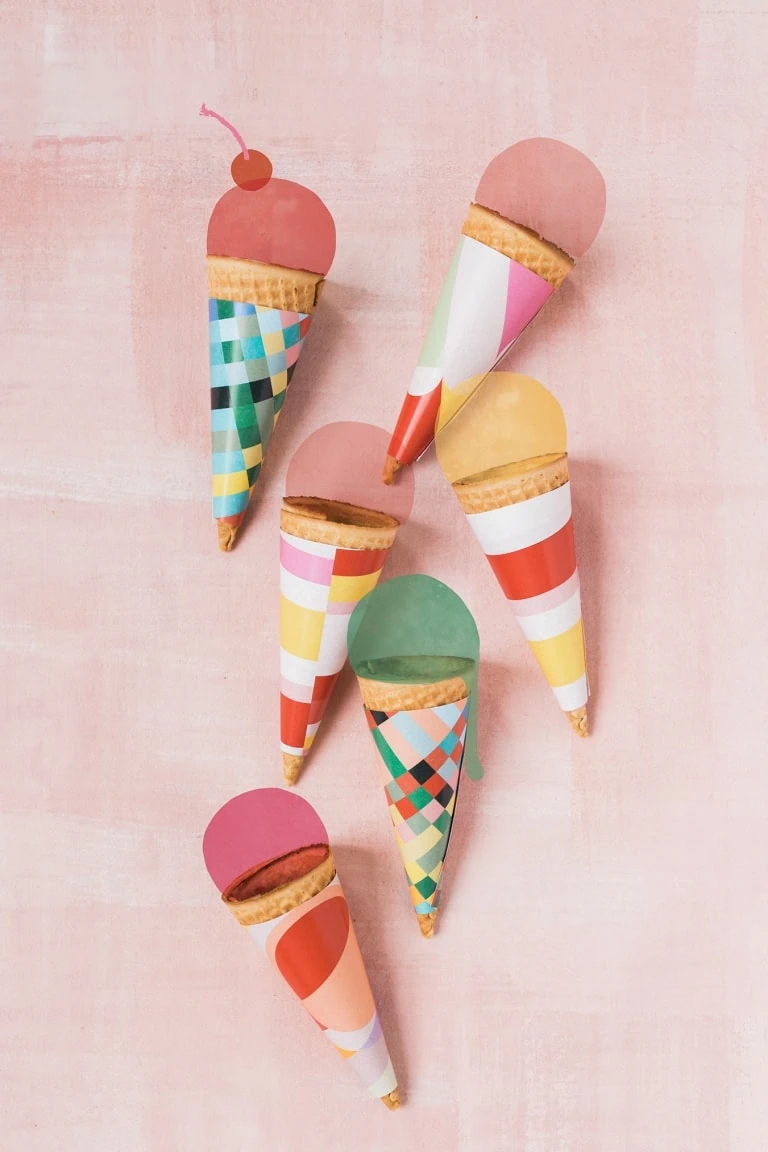
Summer Printables
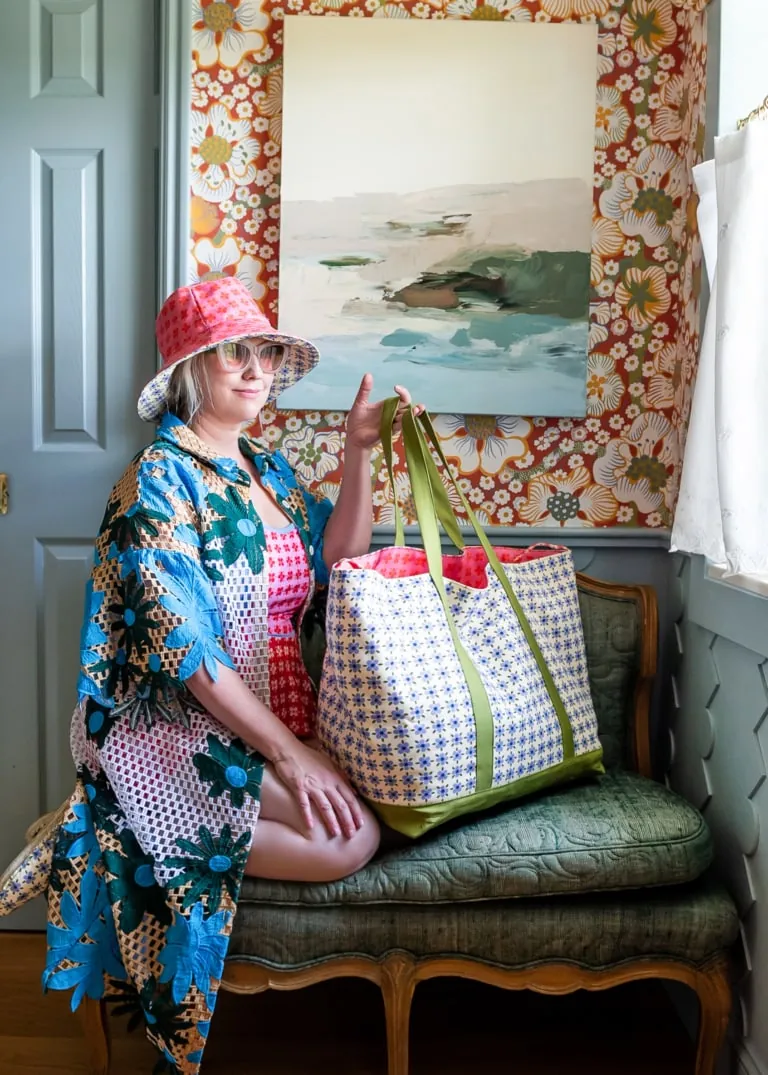
DIY Reversible Bucket Hat
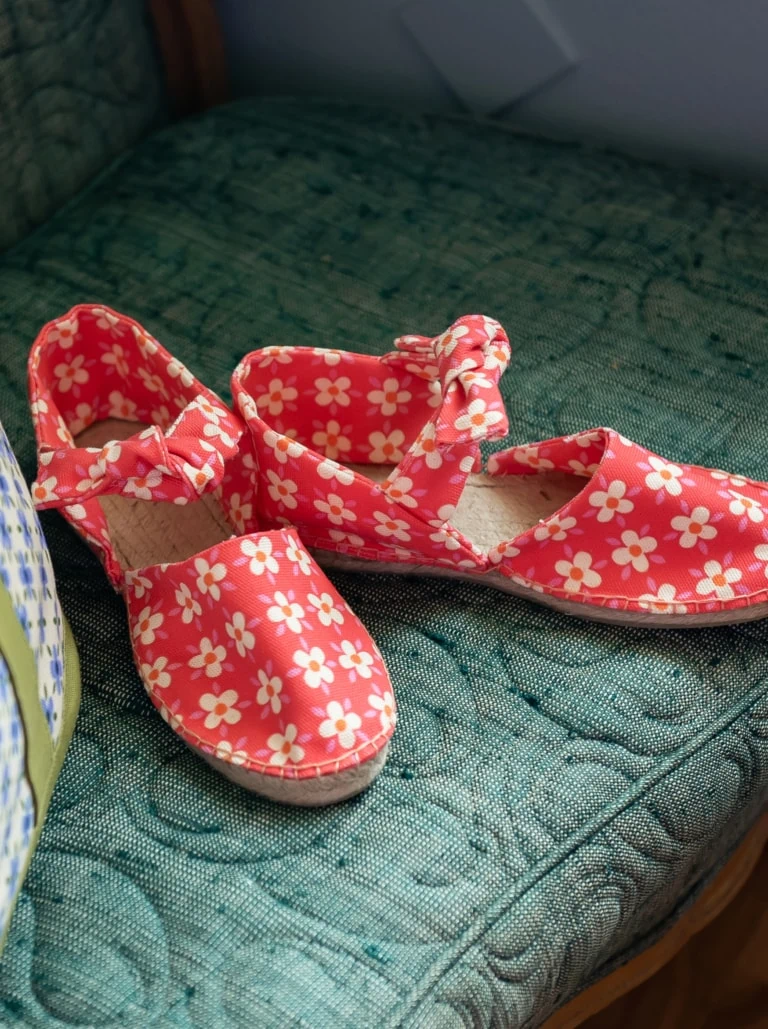
Ankle tie espadrille pattern
13 crafts to make for summer fun

DIY beach bag and pattern
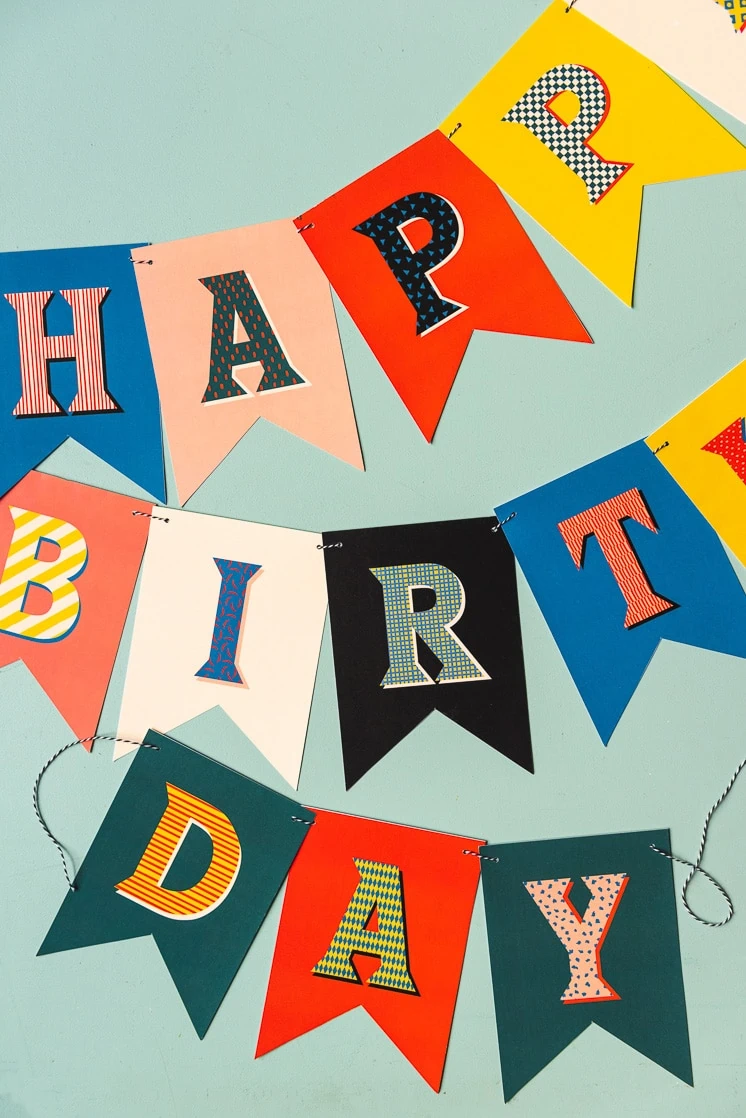
8 things to make to celebrate a birthday
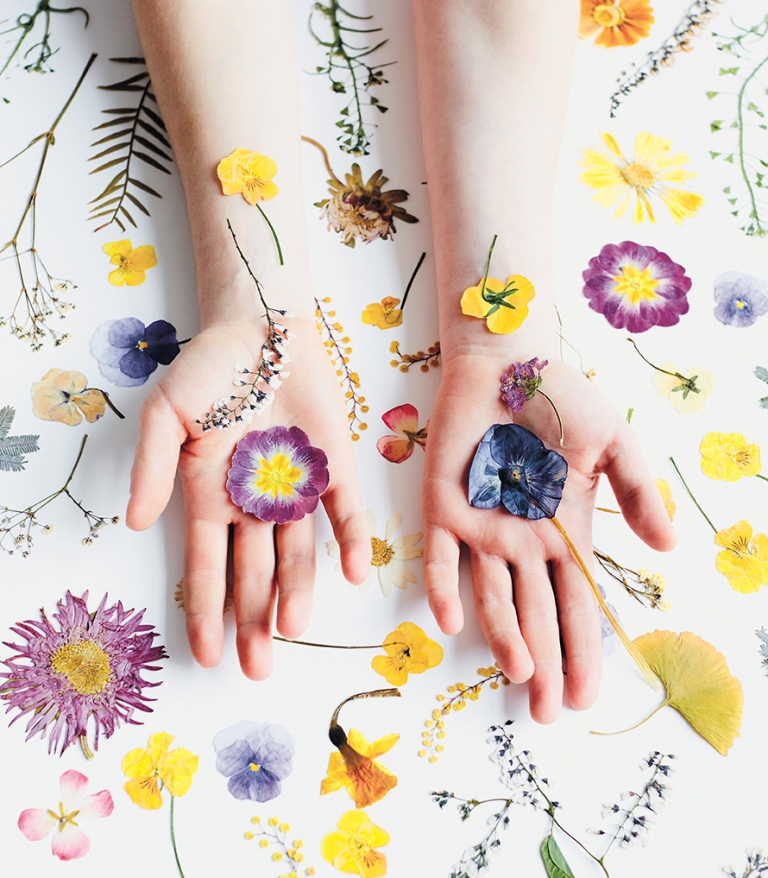
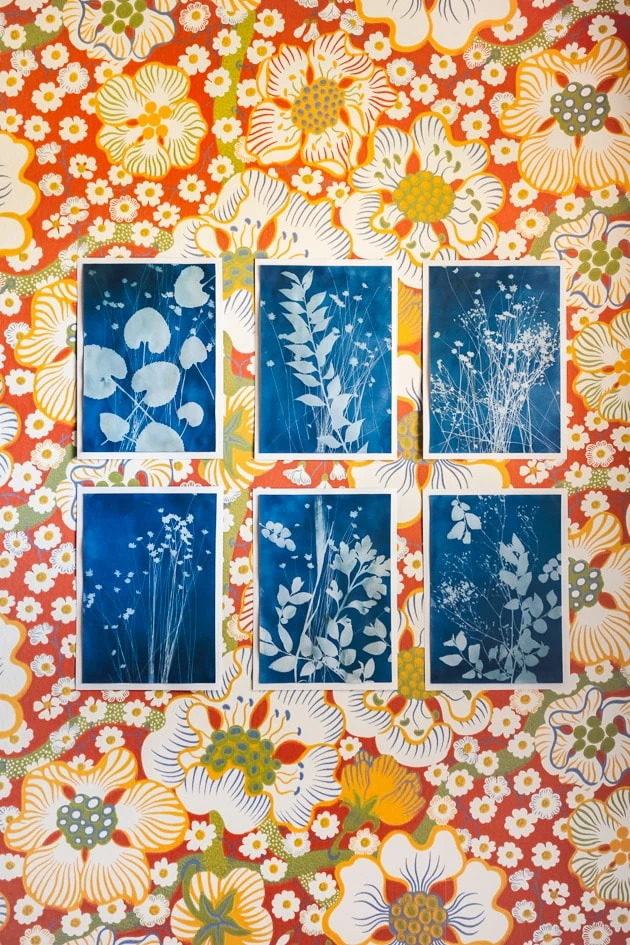
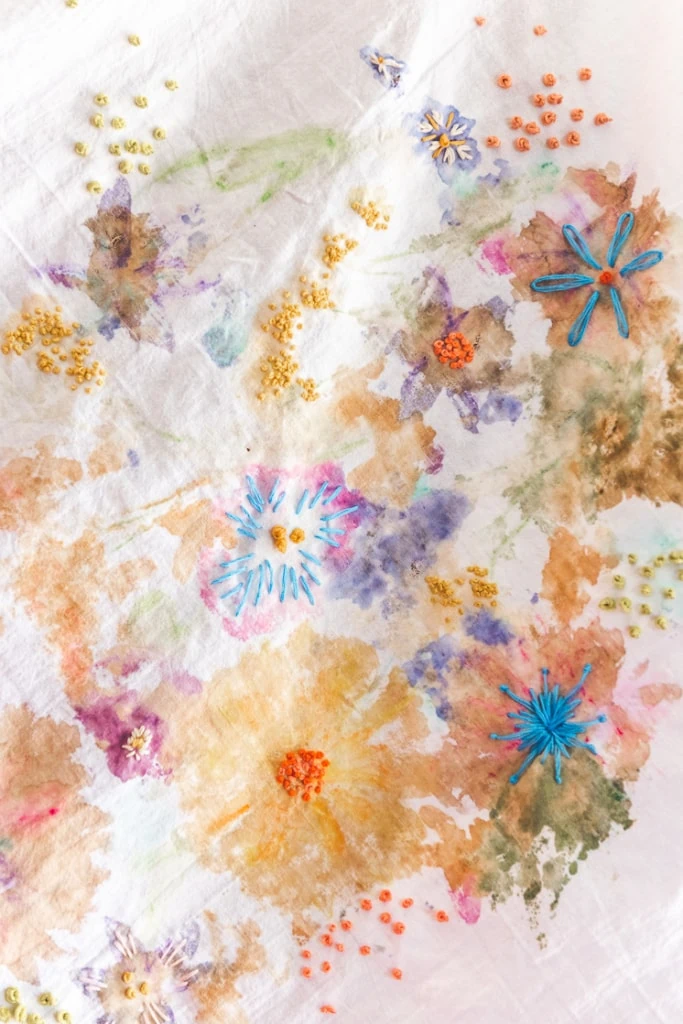
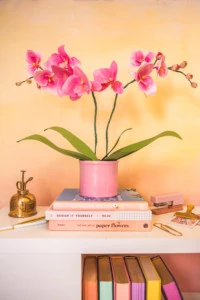
8 projects to make with fresh flowers

7 Things To Make And Give A Graduate
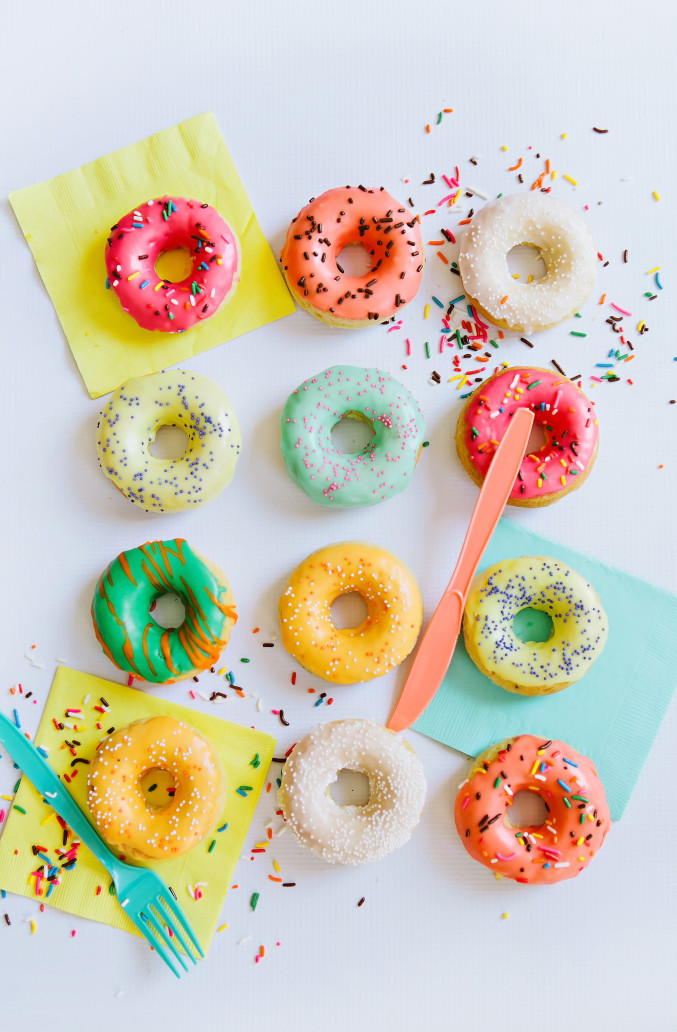
5 ways to celebrate National Donut Day!
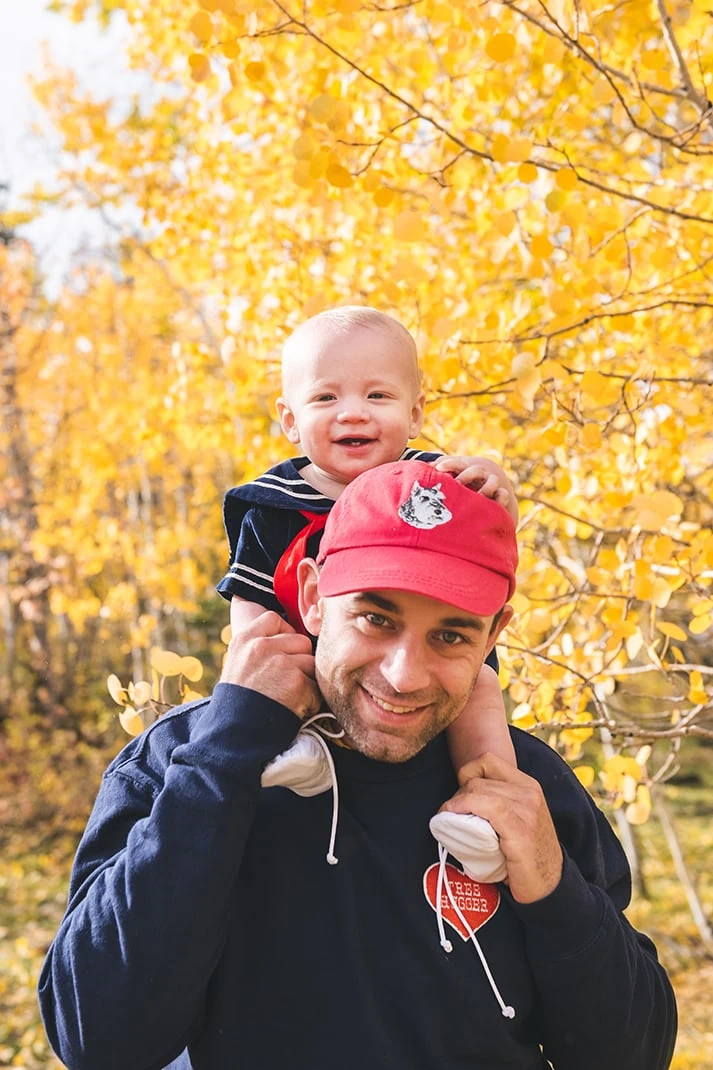
Handmade Gift Ideas for Father’s Day
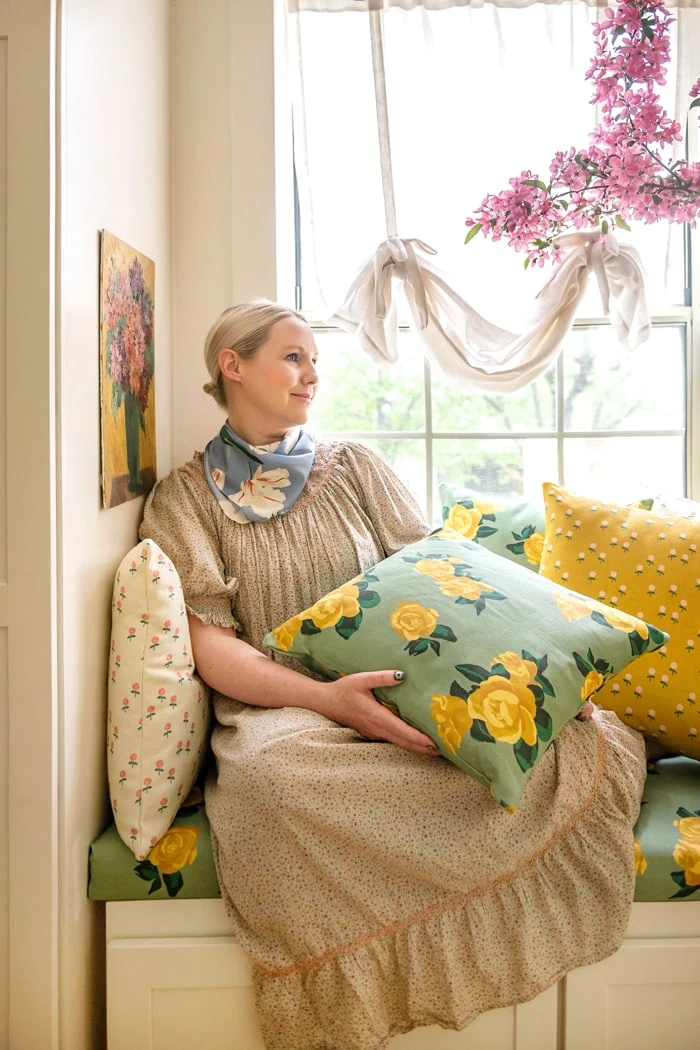
Granny’s Garden: Our new fabric and wallpaper collection
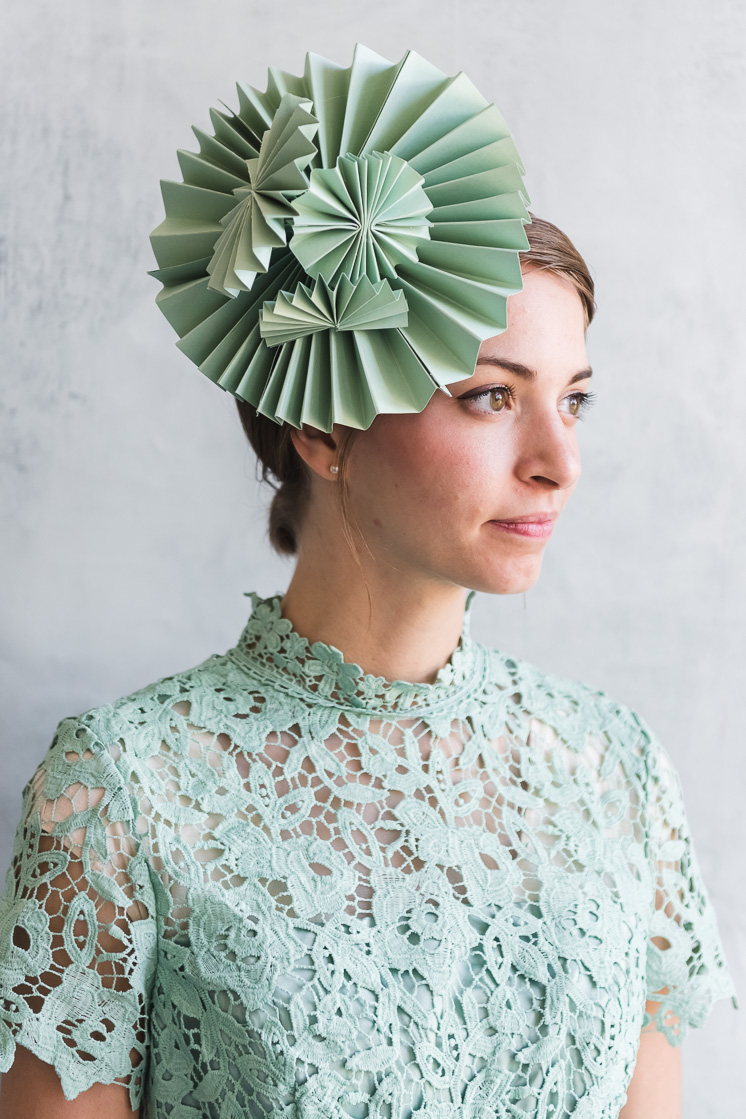
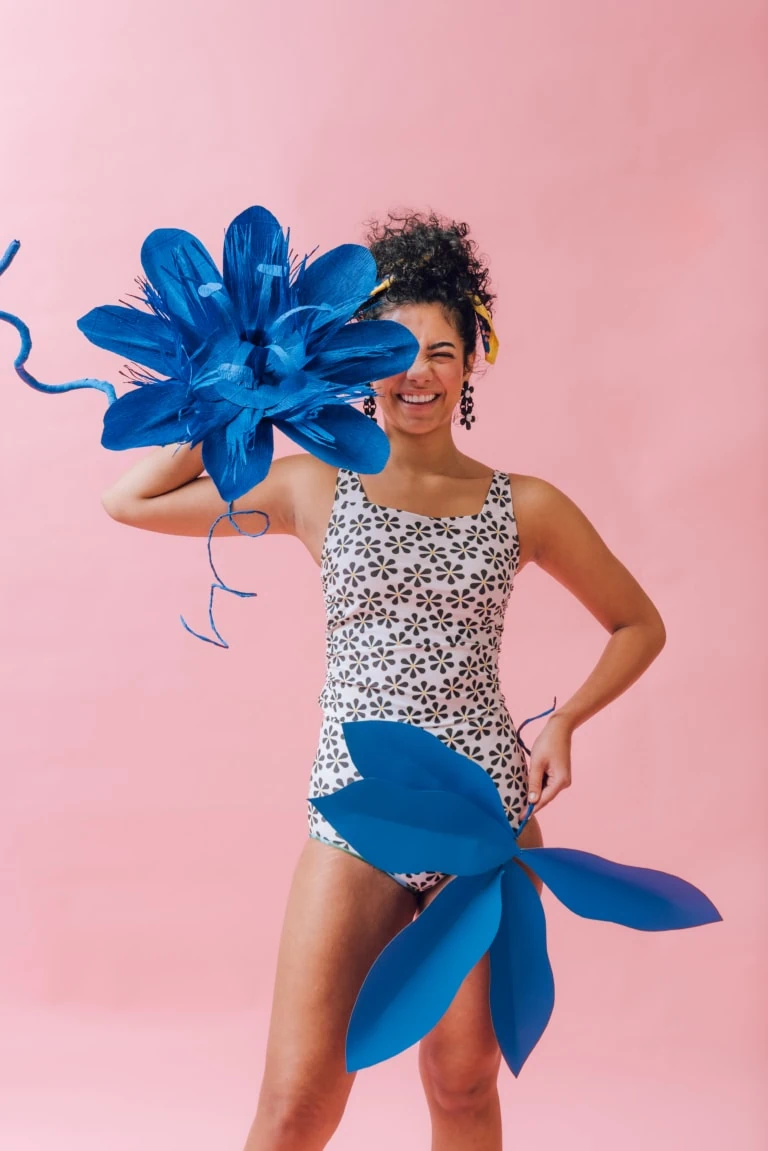
7 Fascinator hat ideas
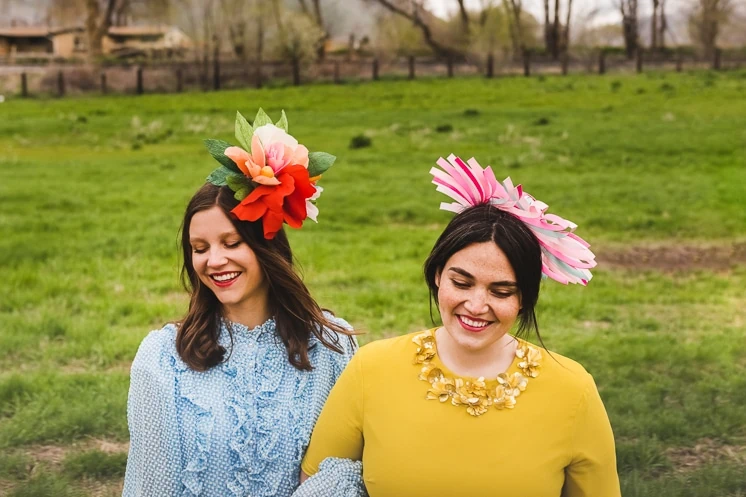
3 DIY Derby Hat ideas
Handmade gift ideas for Mother’s Day
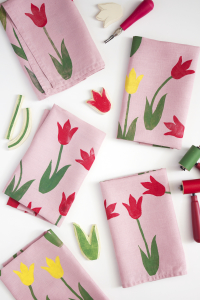
10 Crafts to celebrate Earth Day
- 1
- 2
- 3
- …
- 22
- Next Page »