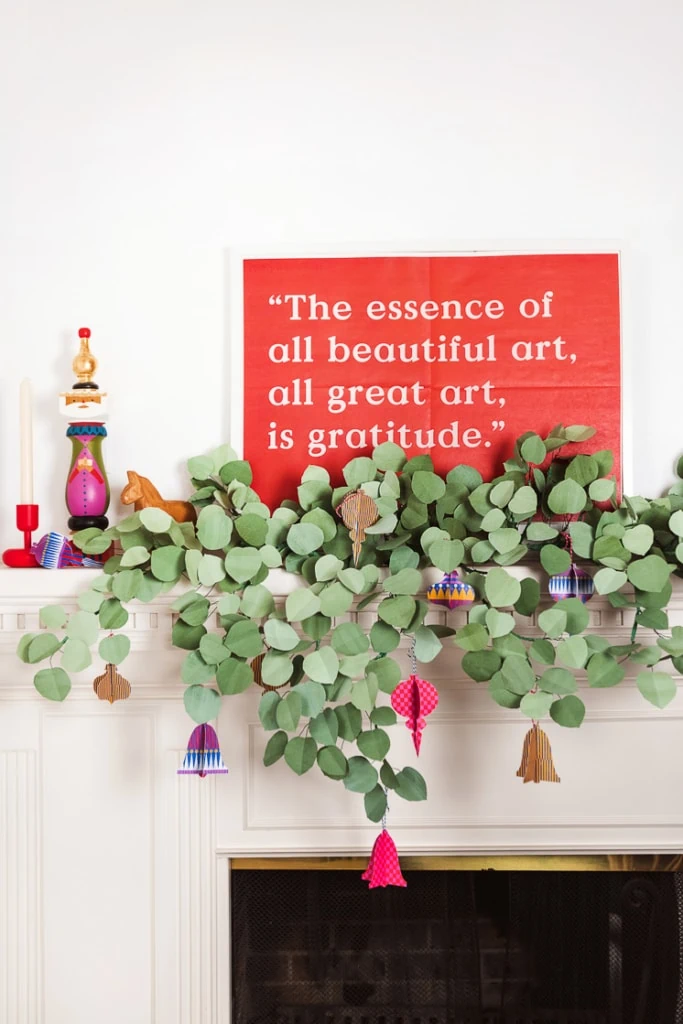
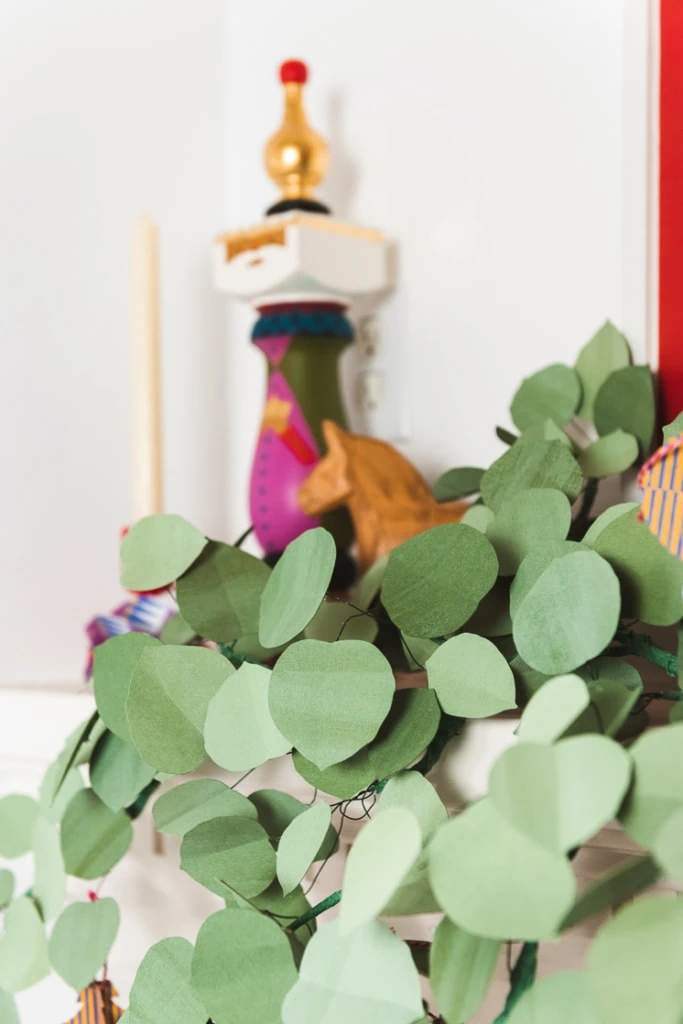
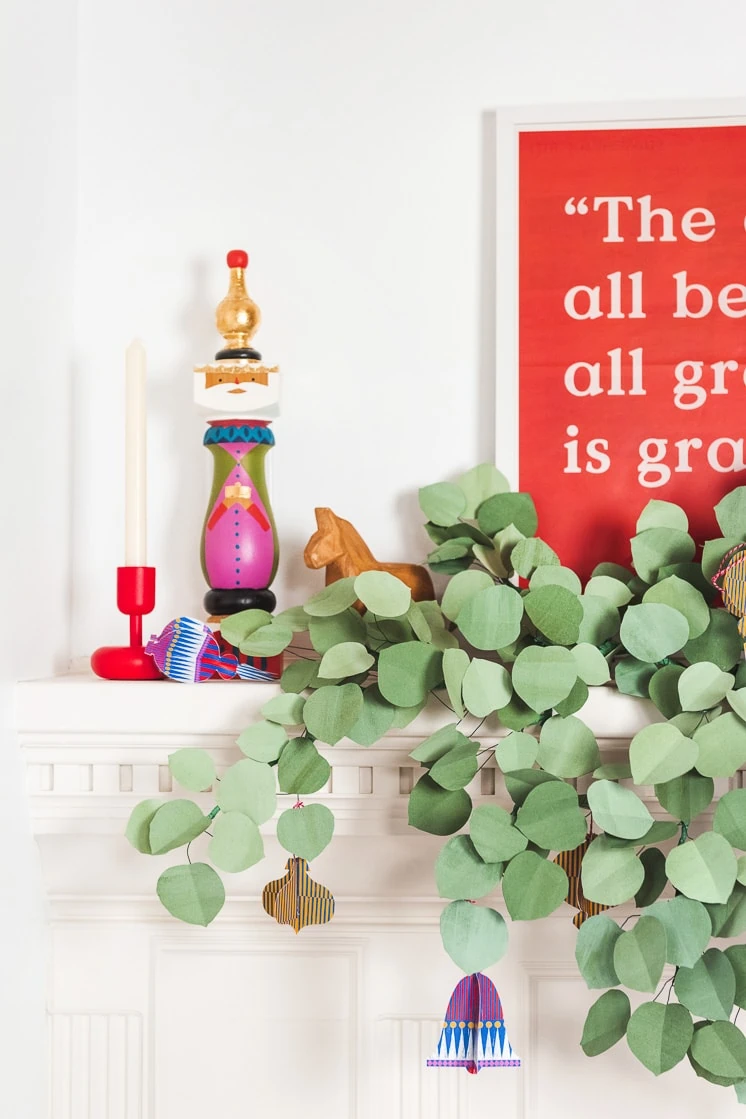
With its lovely blue-green hue and lush foliage, eucalyptus garlands have made their way to the top of our decor list this holiday season. Parties, weddings, and really any special event a eucalyptus garland is bound to to take your decorations from good looking to goooood loooookin’! The transformative power of this garland is pretty incredible and in case we weren’t convinced before we are now sold and think everyone should have a Eucalyptus garland on reserve at any given moment.
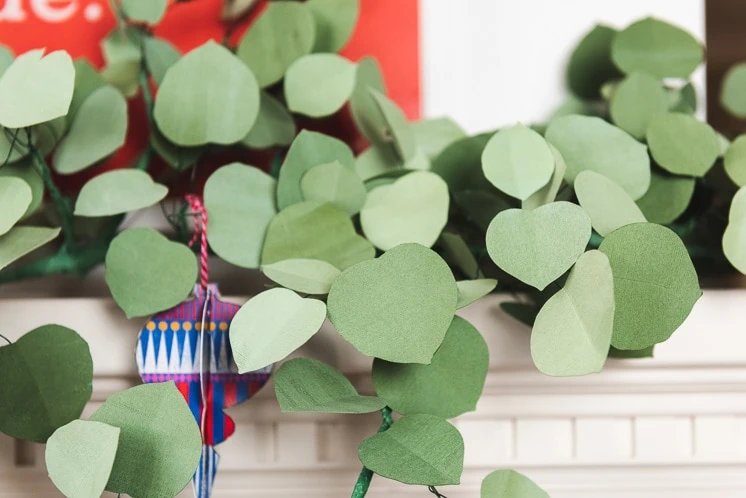
You might be thinking “keeping this on reserve might be a little tricky” and that’s where we come in with this amazing paper Silver Dollar Eucalyptus garland. A live eucalyptus garland can cost up to $200 dollars, we made ours for somewhere around $20 and it’s reusable. Boom!
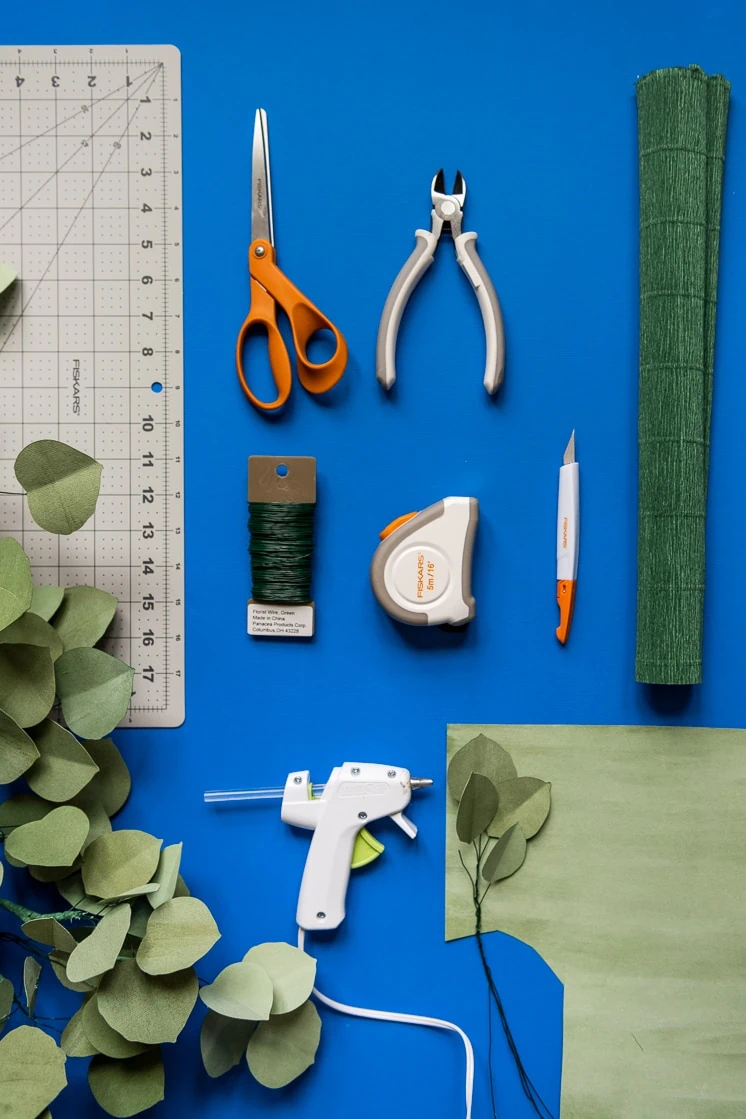
This project takes a bit of time to create due to the volume of leaves that it requires to match the full look that is eucalyptus. That being said, the process went smoothly thanks to all of our Fiskars tools that made what could have been a craft nightmare a complete breeze. Fiskars scissors are nice and sharp which makes all the difference while cutting out the crisp lines of the eucalyptus leaves, not to mention the hold on the scissors is comfortable which is a must when you are cutting out somewhere around 500 leaves, and that’s for a medium length garland! So yeah, get the Fiskars scissors for sure! In fact, we used all of our Fiskars goods for this masterpiece and we couldn’t be happier about it! From the self-healing mat to the wire cutters we were in creating heaven because of how wonderful all of the tools were!
That being said, go get your Fiskars goods (we’ll even link them to make it that much easier for you!) and get to cutting so you too can have this amazing eucalyptus garland on your mantle or table or entryway or even all three if your feeling ambitious!
Okay, enough talking, let’s get to making so you too can have this amazing garland amongst your holiday decor this year!
DIY EUCALYPTUS WREATH
Materials:
- 25 Sheets of green paper (we used three different greens made from cardstock that coordinated)
- White acrylic paint
- Sea foam green acrylic paint
- Green wire
- Green Crepe paper
- Floral Tape
- Fiskars Precision Wire Cutters
- Fiskars Orange-handled Scissors™
- Fiskars Self Healing Cutting Mats
- Fiskars Easy Change Detail Knife
- Fiskars Tape Measure
- Template
 Directions:
- Print out the templates for the eucalyptus leaves, and cut them out.
- Lightly spray green colored papers with water.
- Thin the acrylic paint with a small amount of water.
- Apply watered down acrylic paint to paper with a paintbrush while the painted paper is still wet (we painted our paper landscape orientation with horizontal strokes).
- Let the newly painted paper dry.
- Cut out 8-inch pieces of wire, each leaf will need a wire. The amount you need will depend on how full you want your eucalyptus.
- Trace your leaves onto the newly painted sheets of paper, strategically place them so you can get as many as possible out of one sheet! Once again the amount of leaves you cut will depend on how full you would like your garland. We cut somewhere around 500 leaves! The more the better!
- Once you have your leaves cut out score the center of them to give your leaves a little dimension.
- Place a line of glue on the back of the leaf, and apply a previously cut wire piece to it and let dry.
- Repeat step 9 until all of your leaves have a wire connected.
- Create a bundle of 5 leaves, and intertwine the excess wire at the bottom, don’t cut it, you will need this to attach it to the rest of the garland later.
- Repeat step 5 until all of your loose leaves are bundled into groups of 5.
- To create the garland take your bundles leaves and start intertwining the excess wire together so your garland starts to form.
- Continue to combine all of your leaves together until your garland is at the length you would like it!
- Cut a piece of crate paper in a coordinating about .5” x 5” (you may need to cut multiple of these depending on the length of your garland)
- Stretch the crate paper until it is taught and long.
- Wrap the crate paper around the wire to hide it.
This may seem a bit daunting, but it’s one of those projects that can be made while watching Hallmark movies on repeat. We can’t wait to see what your garlands look like this holiday season! Be sure to tag us with #LarsMakes so we can take a look!
This post is sponsored by Fiskars. We love our sponsors who allow us to create beautiful, original content for you!


