
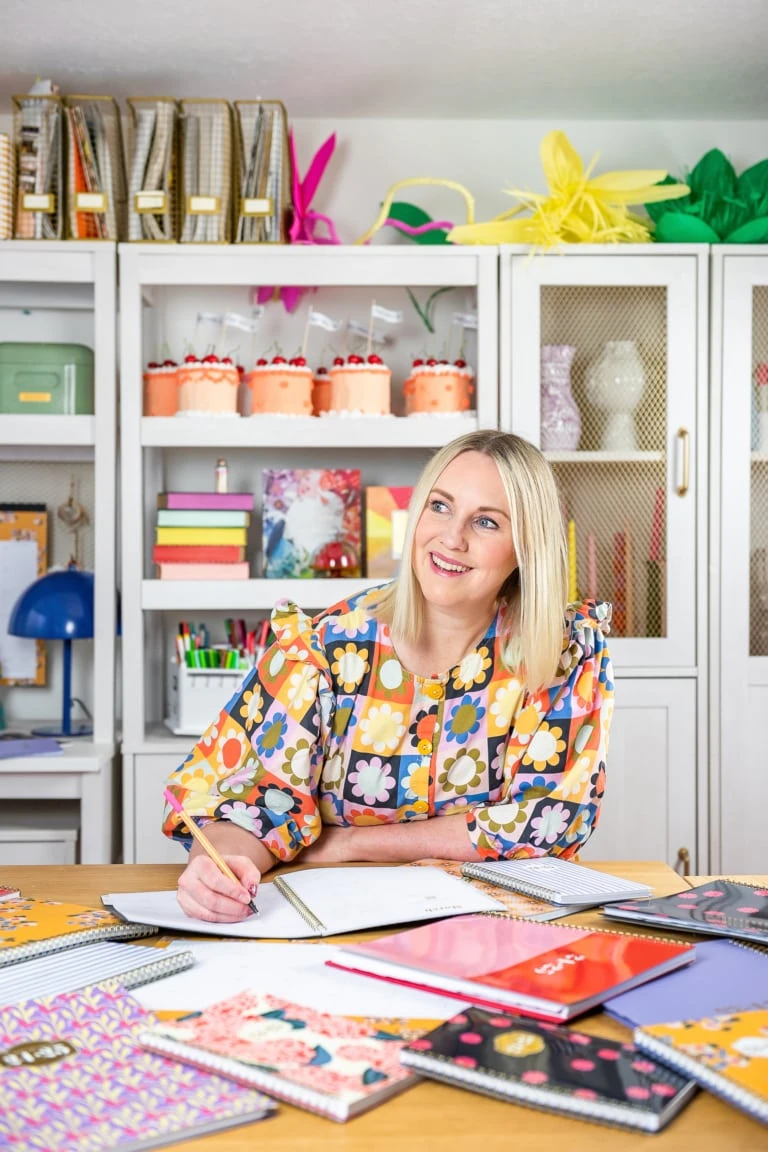
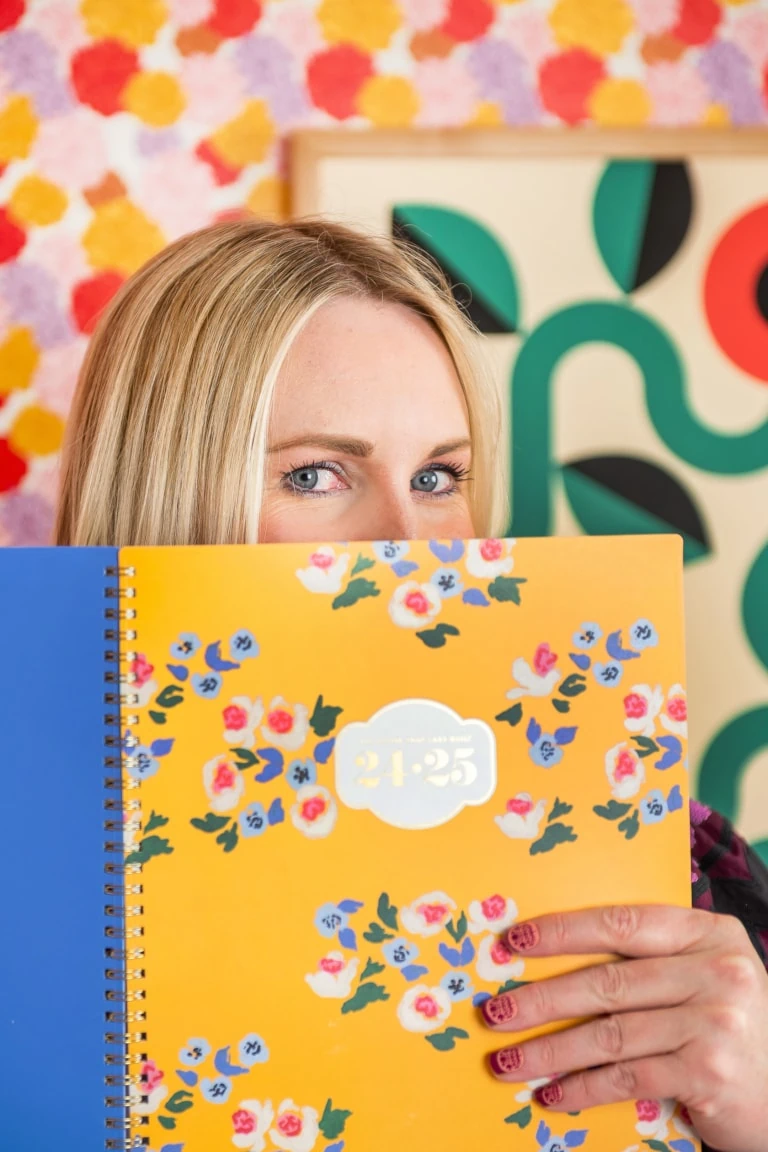
The House That Lars Built for Blue Sky planners at Staples!
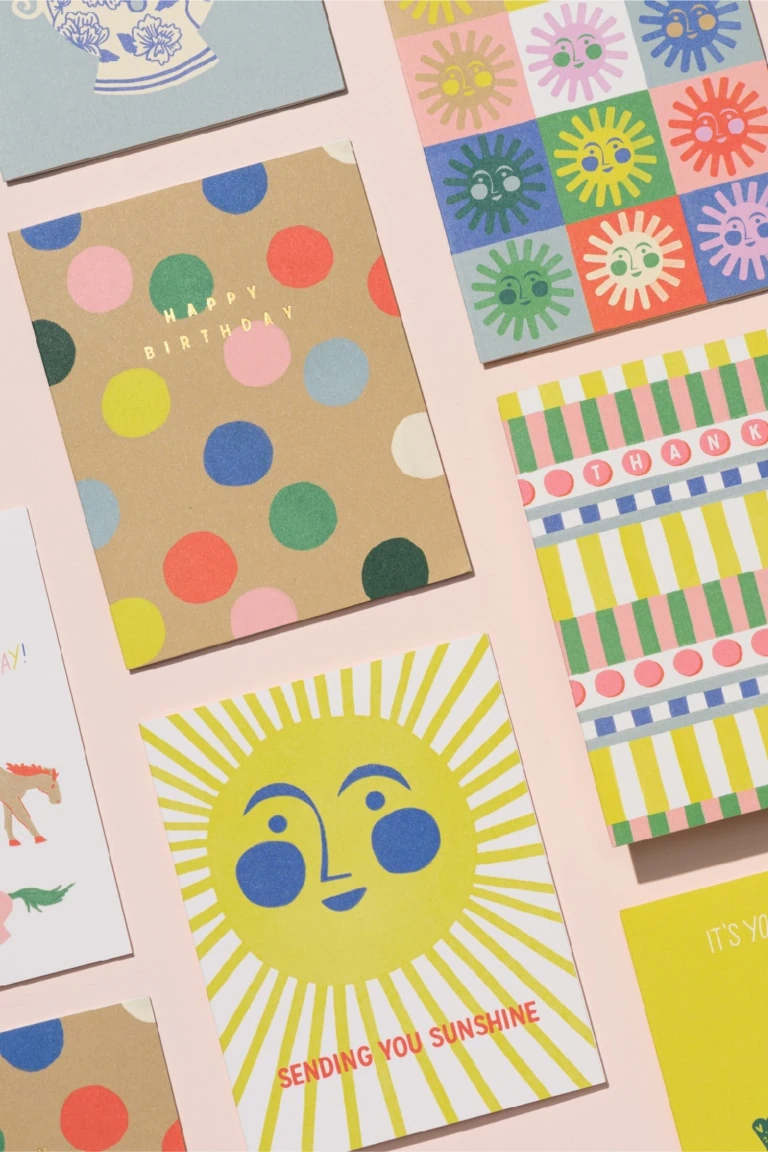
Lars for Red Cap Cards
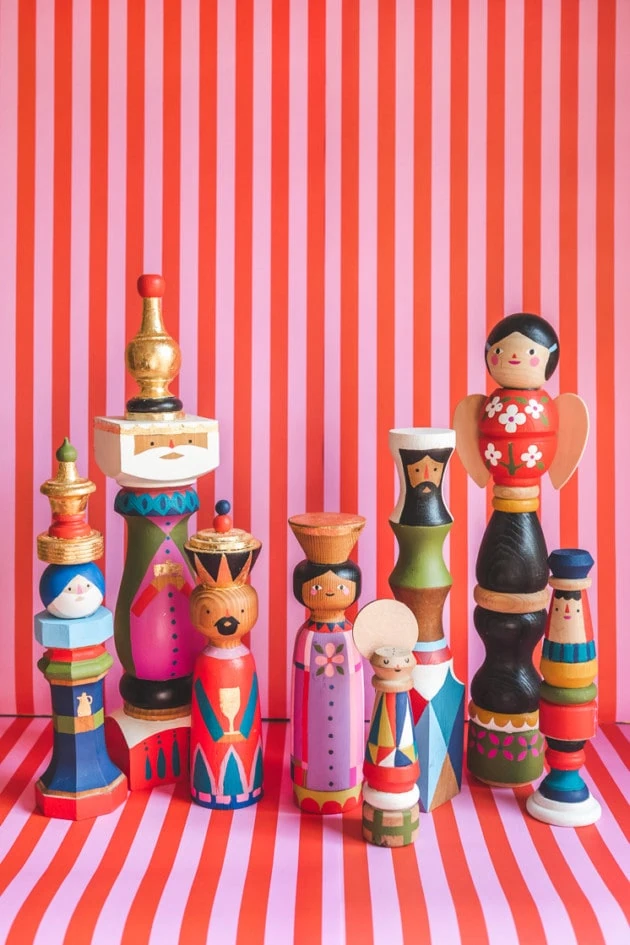
Nativity Craft Along Auction: Meet Our Guests
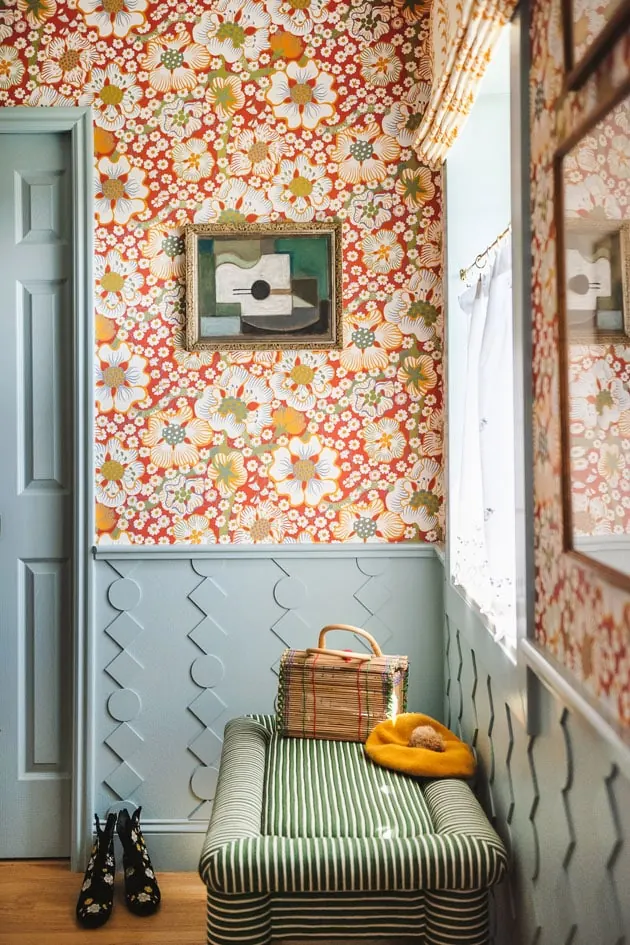
My Bathroom Remodel Reveal
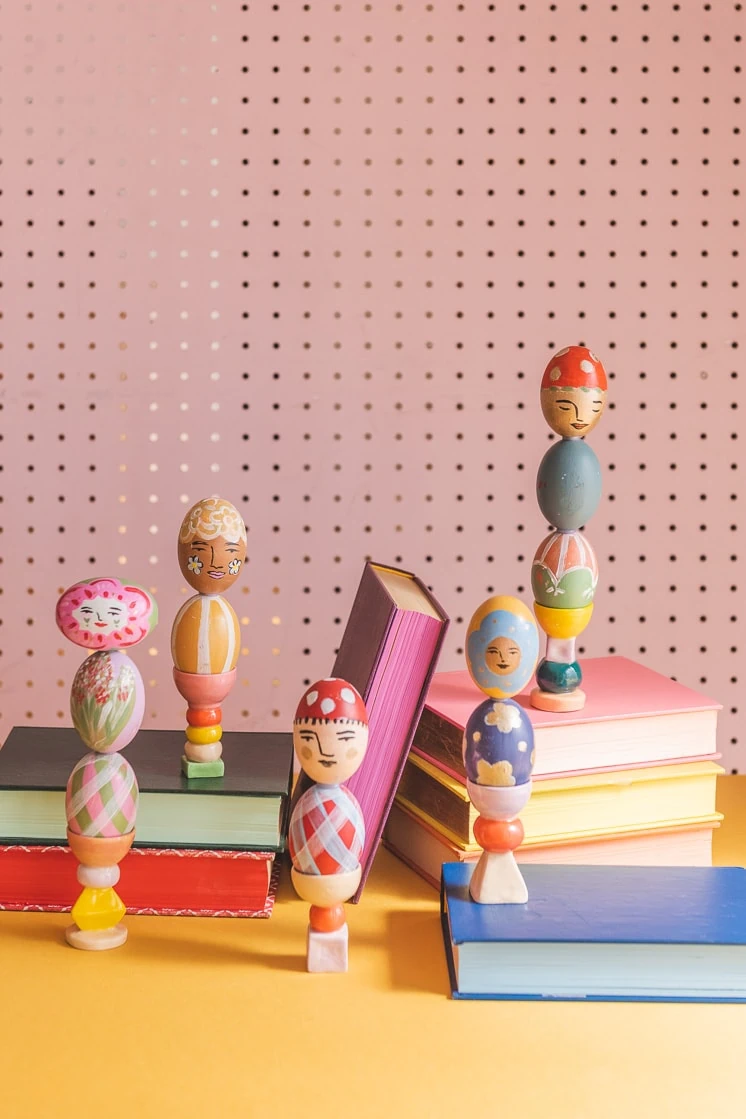
DIY My Little Belleville Easter Egg Columns
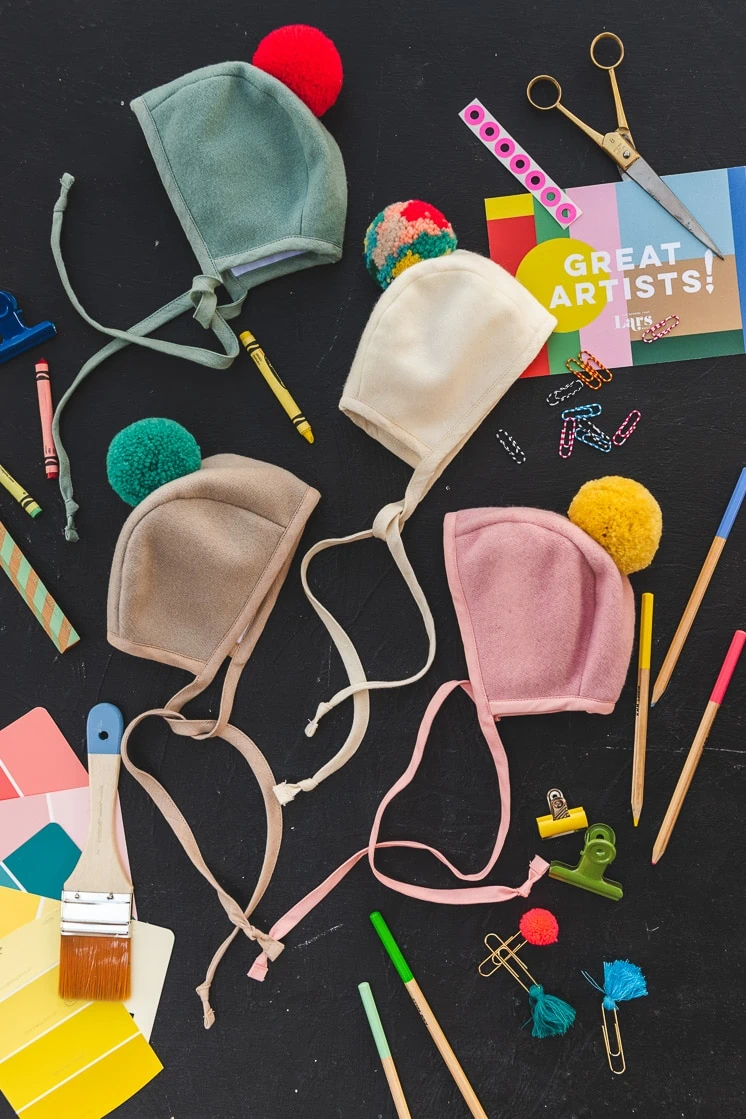
Our New Baby Bonnets Collab With Briar Baby
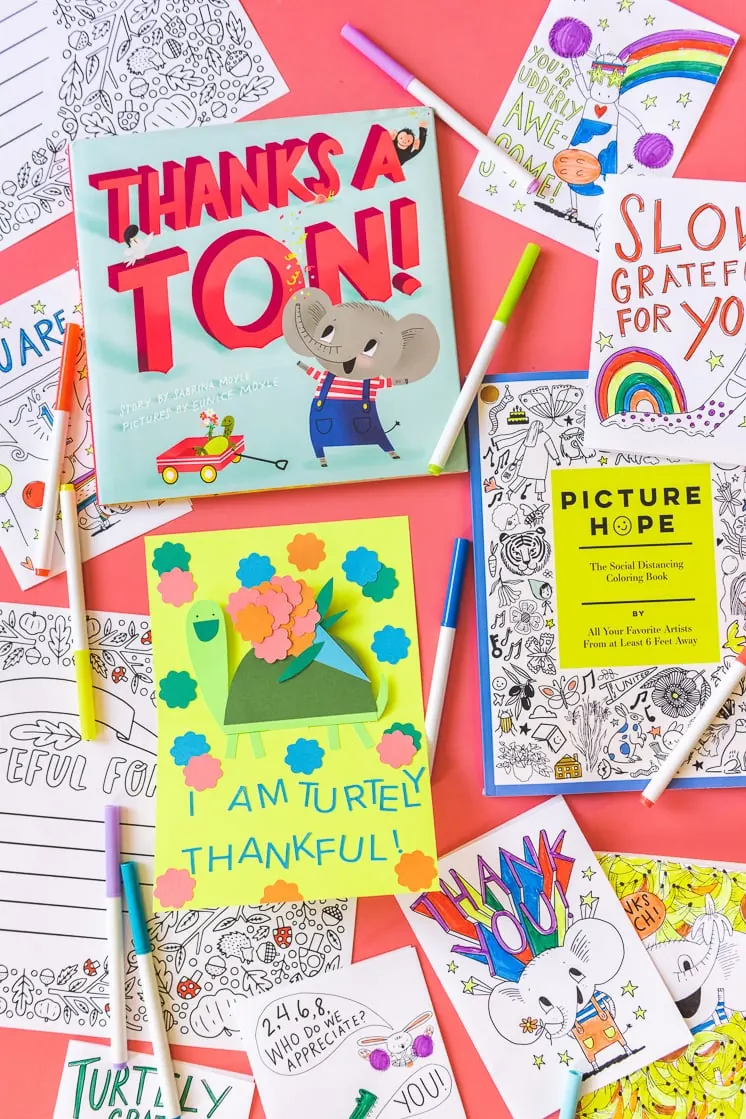
Virtual Workshop + Giveaway With Hello!Lucky
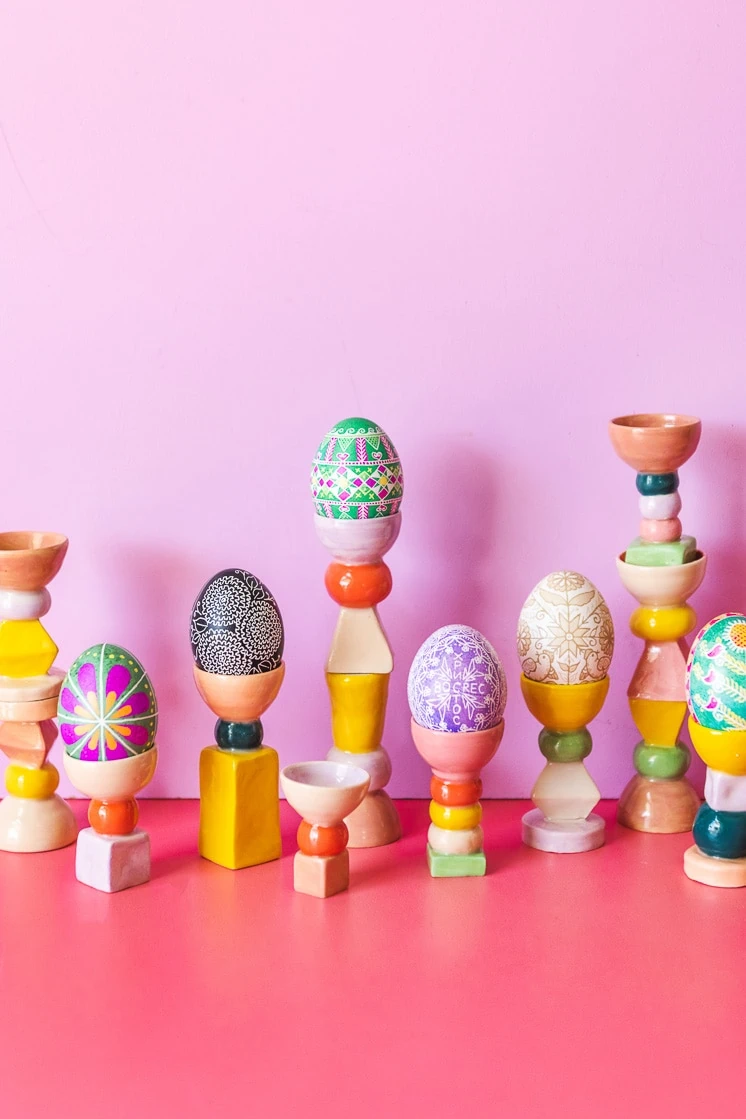
How to make Pysanky Eggs with Betsy Croft
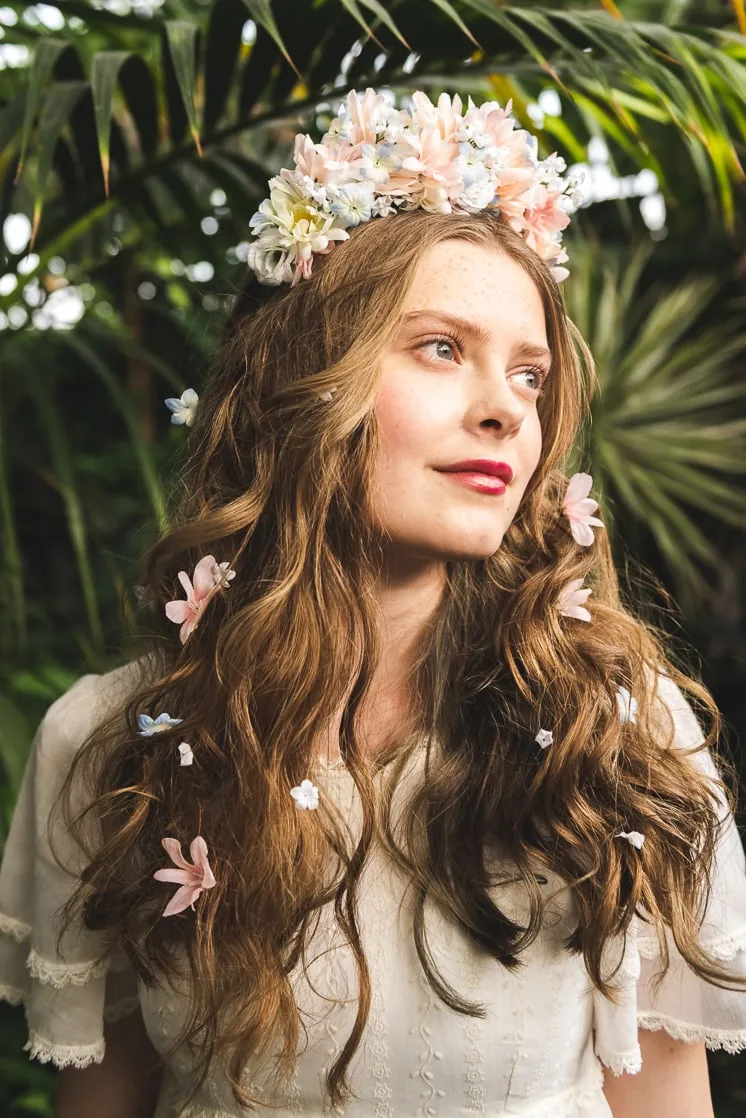
DIY Floral Headpiece Inspired by Maleficent: Mistress of Evil
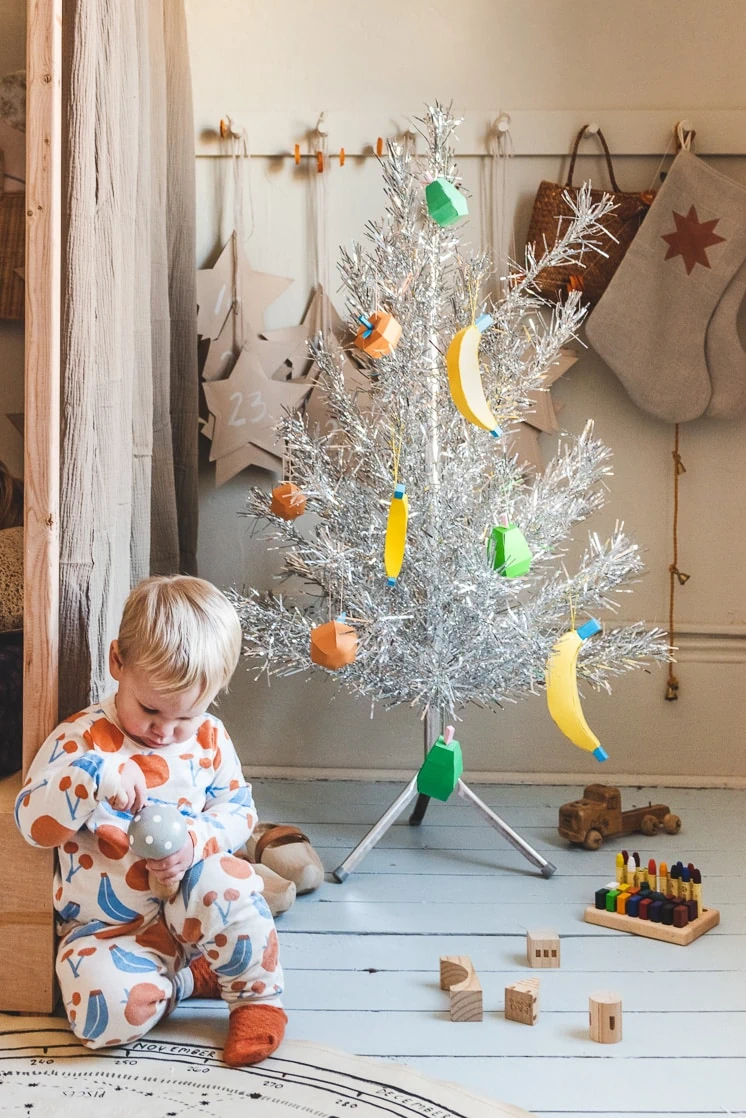
DIY Fruit Ornaments
Giving Tuesday: Giving to artisans

Our Year in Review with Mixbook
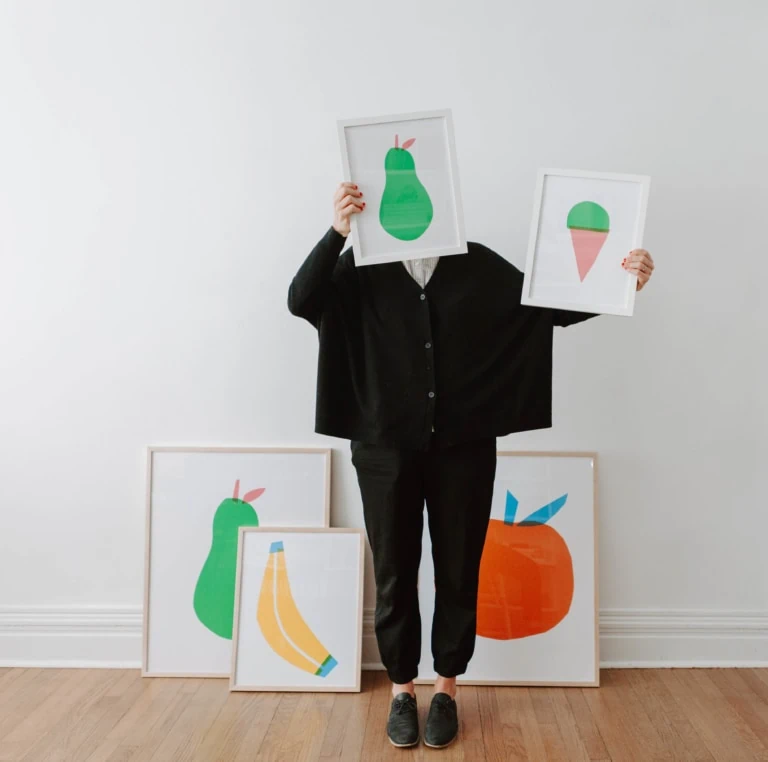
Amanda Jane Jones joins the Lars Print Shop!
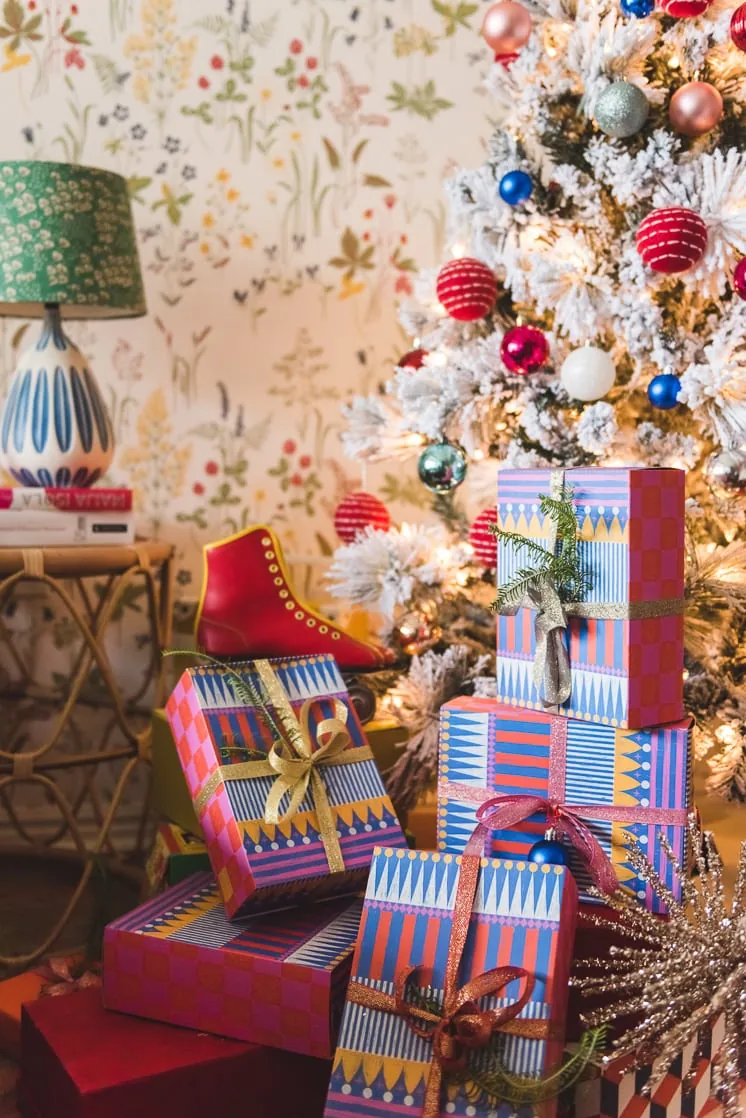
Our new holiday collaboration!
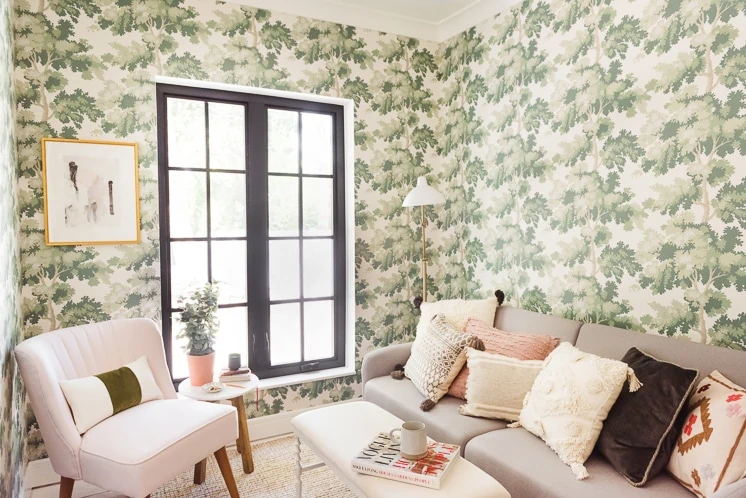
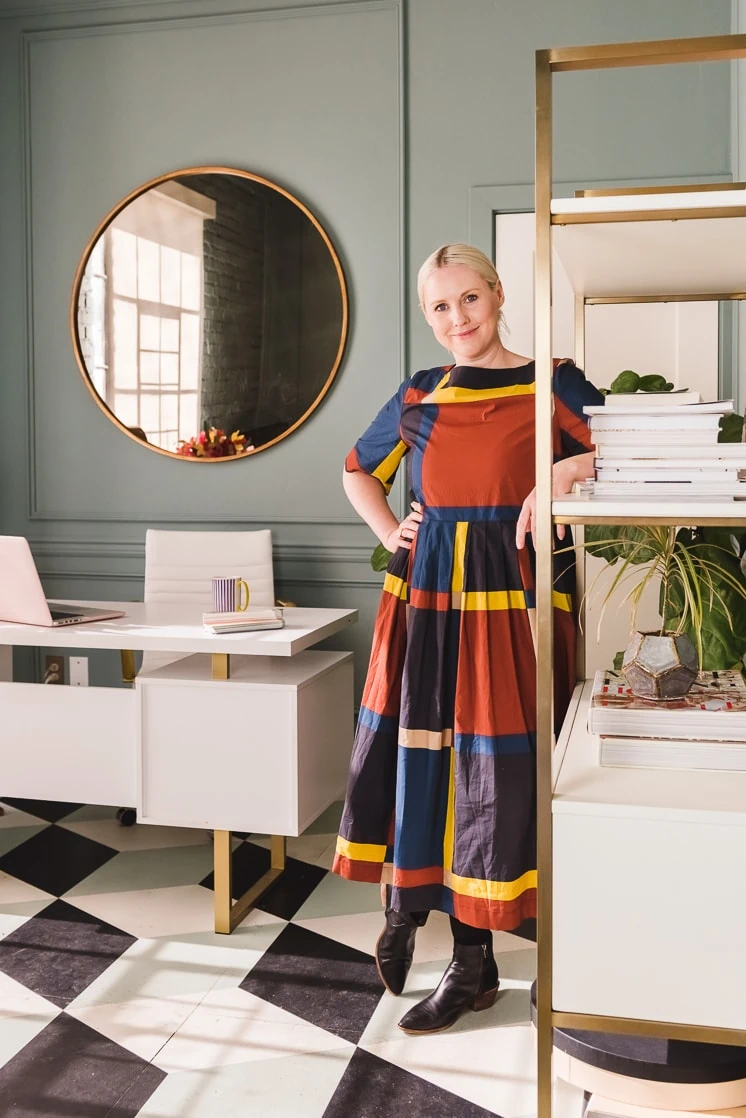
Back-To-School: Designing Multifunctional Small Spaces before and after
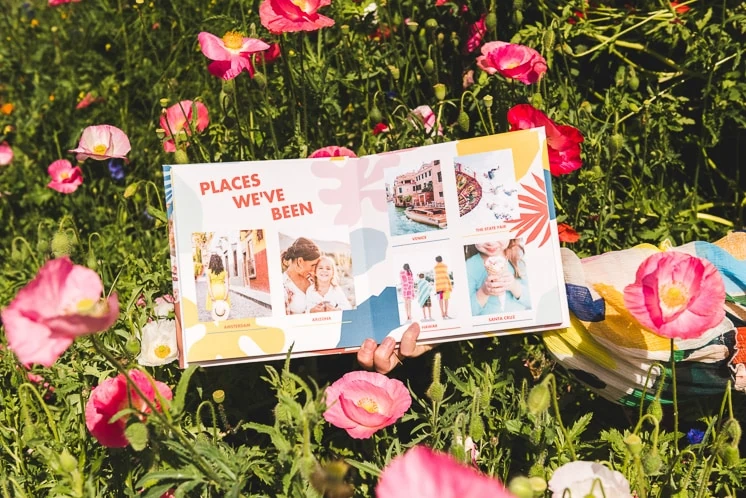
Lars for Mixbook
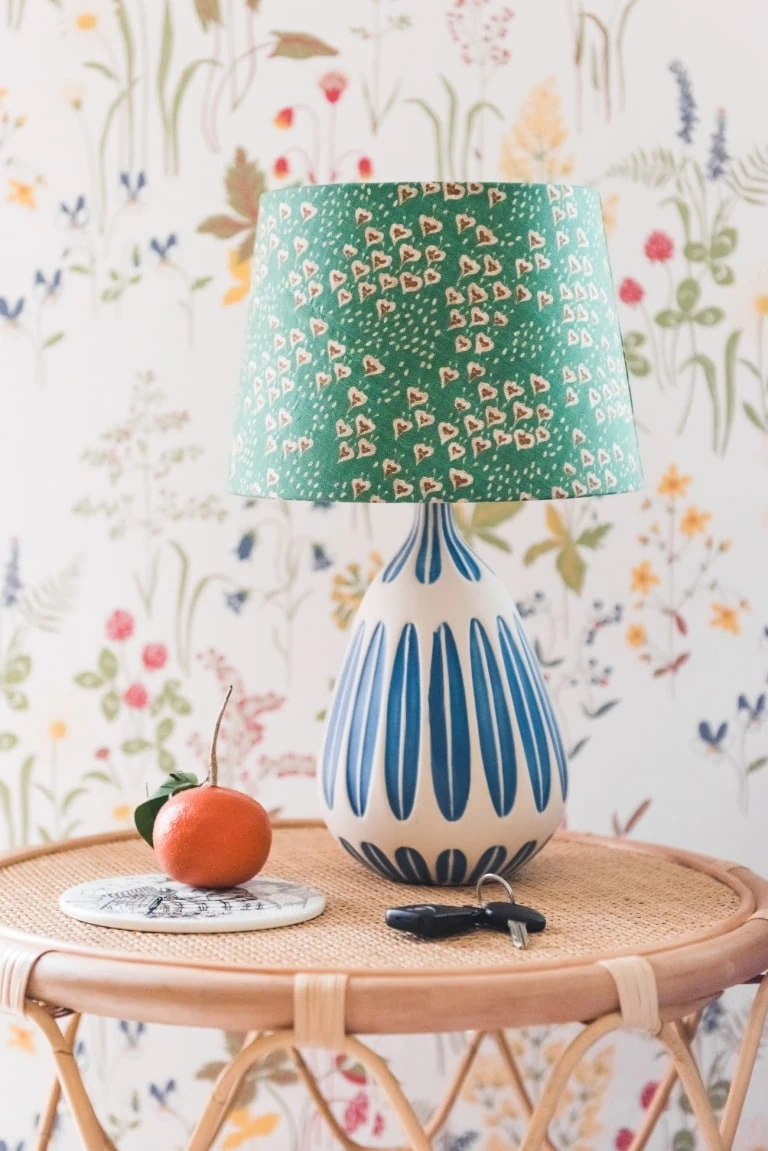
Custom pillows and DIY lampshade
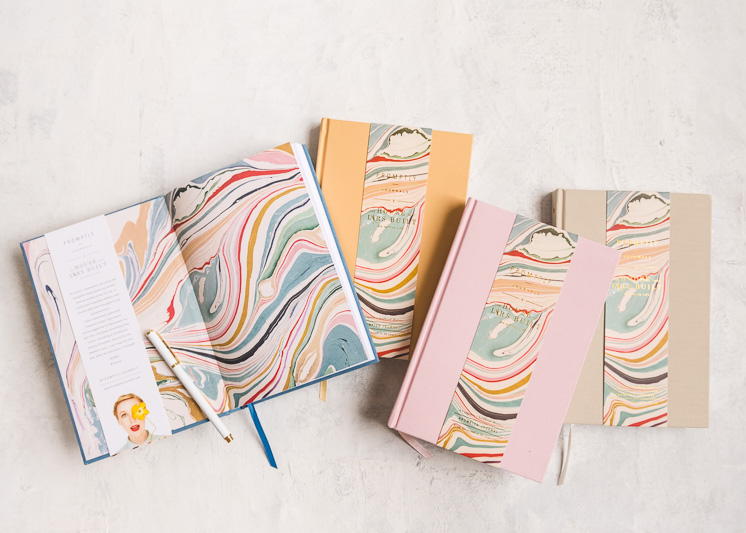
Lars for Promptly Journals
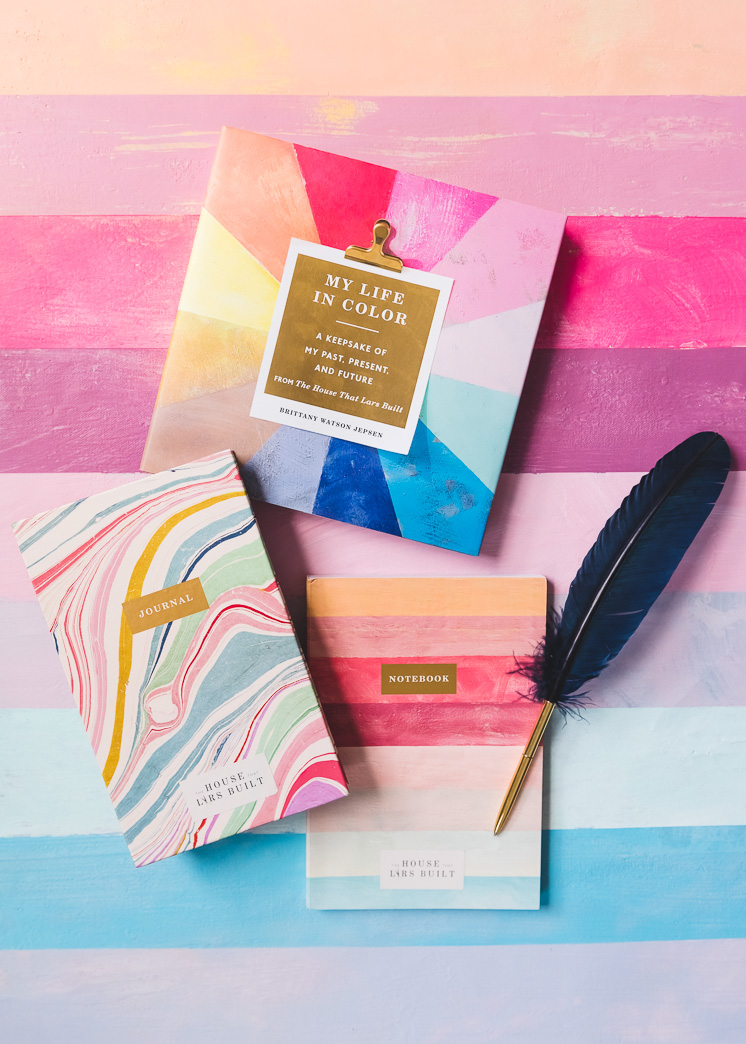
My Life In Color
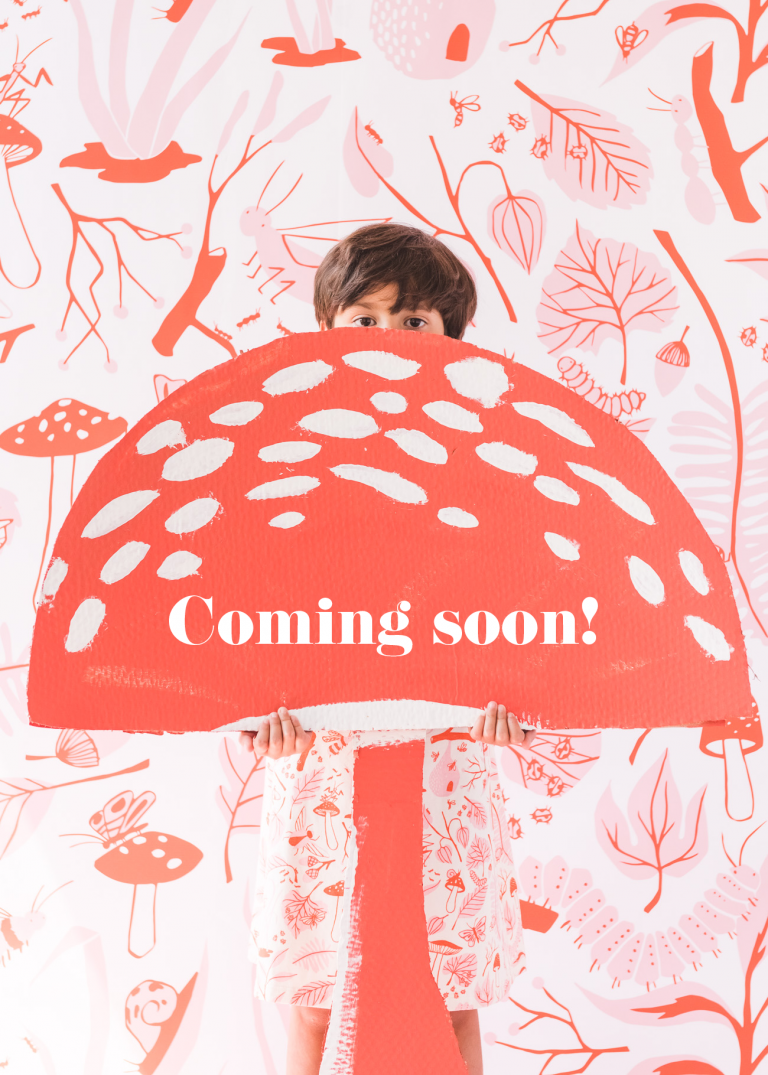
Coming soon!
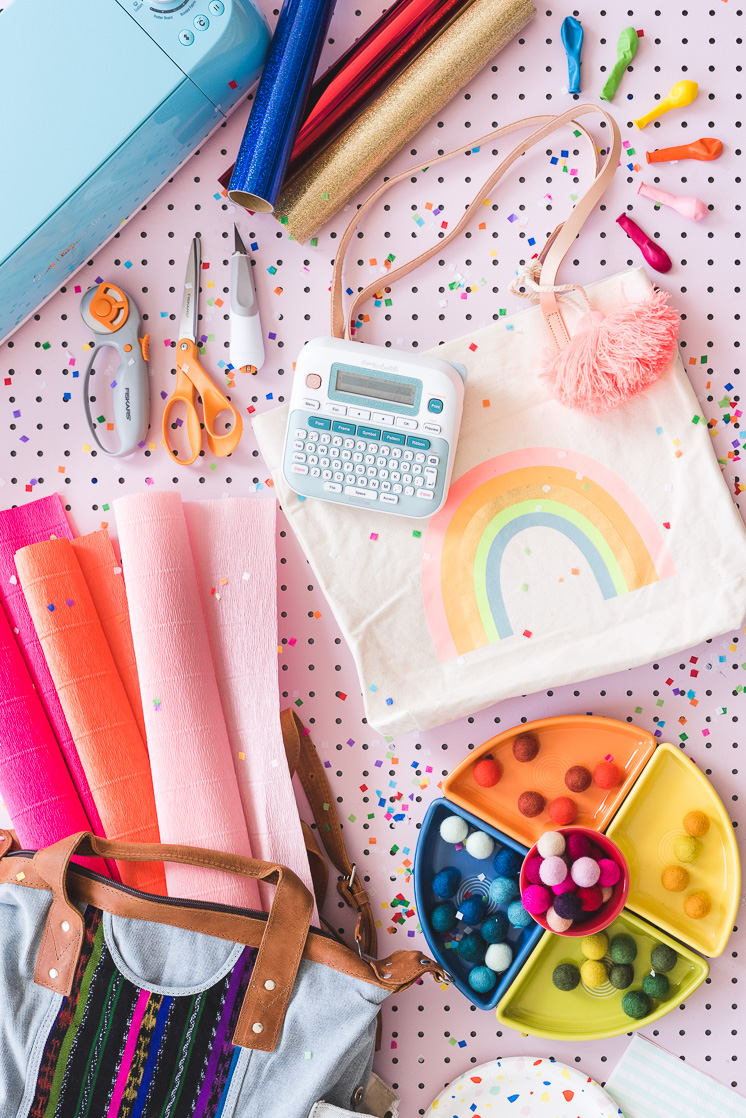
Craft the Rainbow Giveaway!
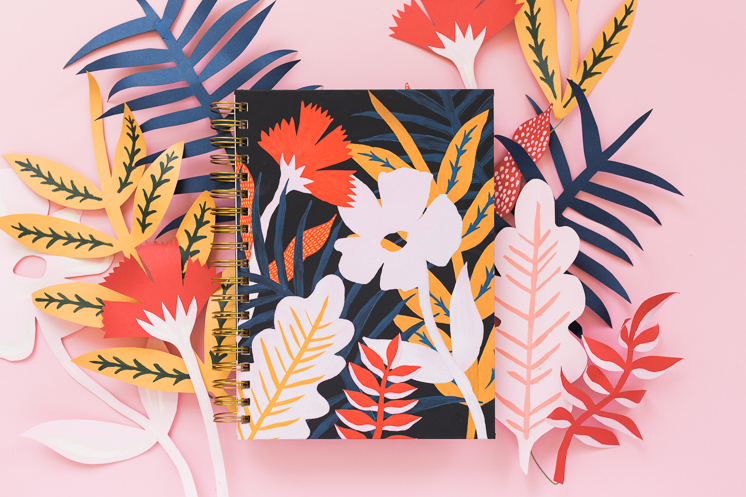
Introducing Golden Coil Planners
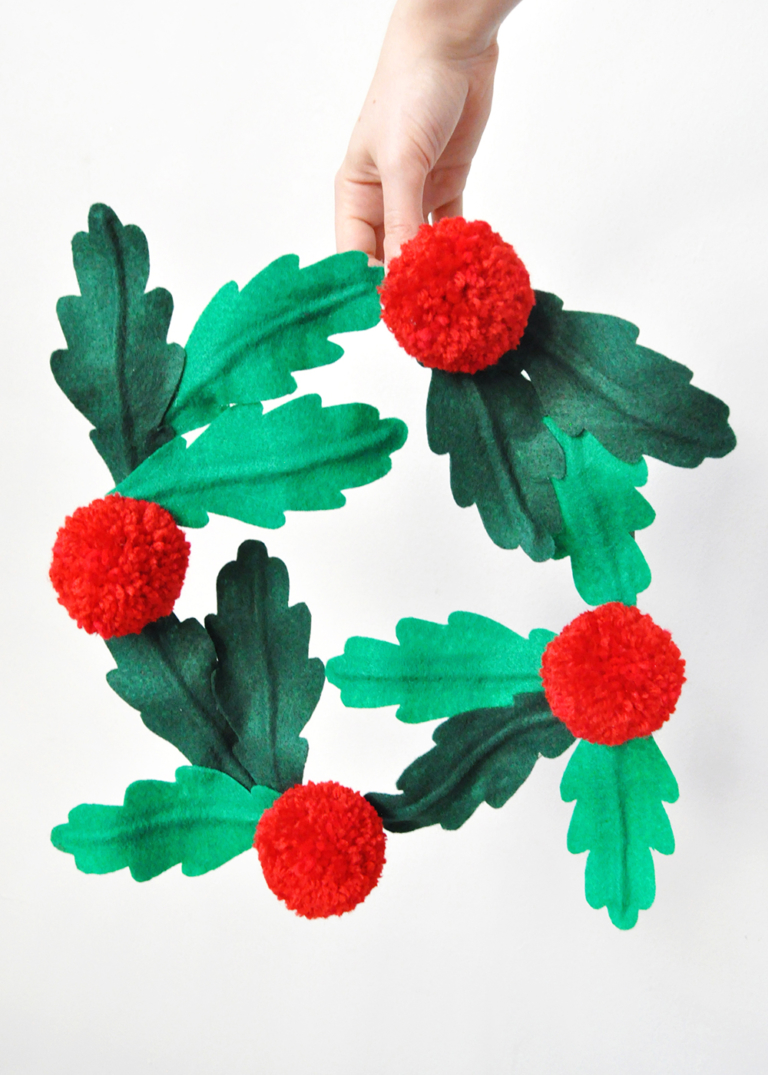
DIY Felt Holly Wreath
- 1
- 2
- 3
- …
- 6
- Next Page »