


I’m sure like you, I audibly gasped at the wedding scene from Maleficent: Mistress of Evil. Isn’t it extraordinary? It was straight out of all my floral dreams. And Aurora’s color changing dress? Come on! So clever–so good. But of course, as floral headpiece lovers (you know we can’t help ourselves!), we couldn’t help but gawk over her bridal crown. It was one of those moments where we all took one look at each other and said “Let’s make it!” and make it we did!
Today we’re showing you how to make the crown. It would be a perfect activity for a New Year’s movie night for the whole family since it comes out New Year’s Eve on Digital! (get it here) and also on Blu-Ray on January 14th. I’m thinking a little movie action after ringing in the New Year a bit early with Jasper (though I’m sure he’d also appreciate the wedding scene 😉
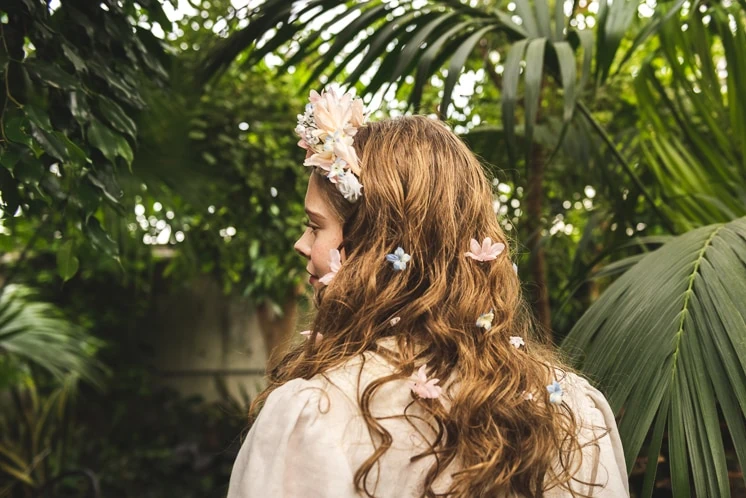
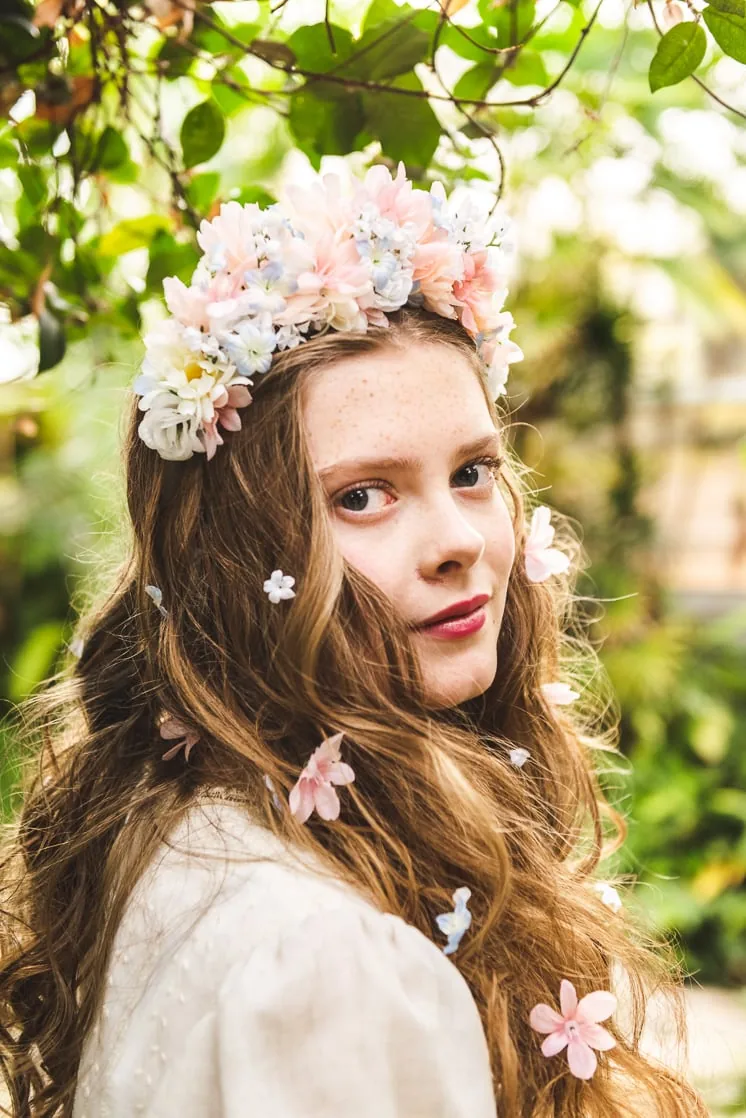
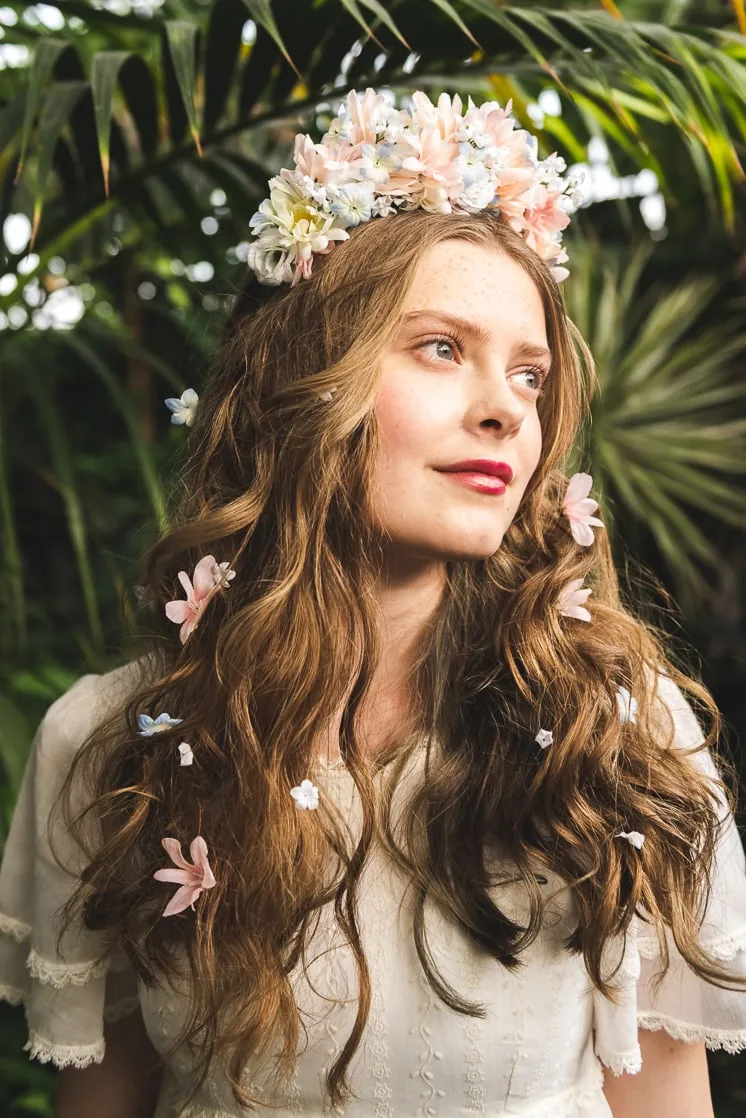
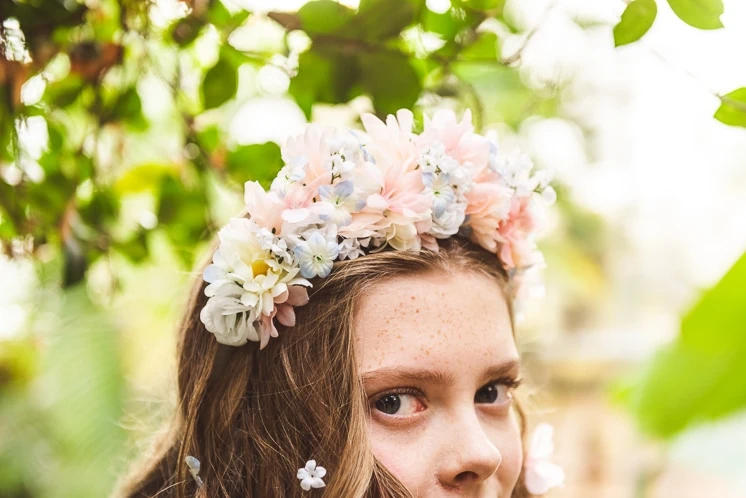
Look how pretty it turned out! Take a look at this video to see how we made it:
 How to make the floral headpiece inspired by Maleficent: Mistress of Evil

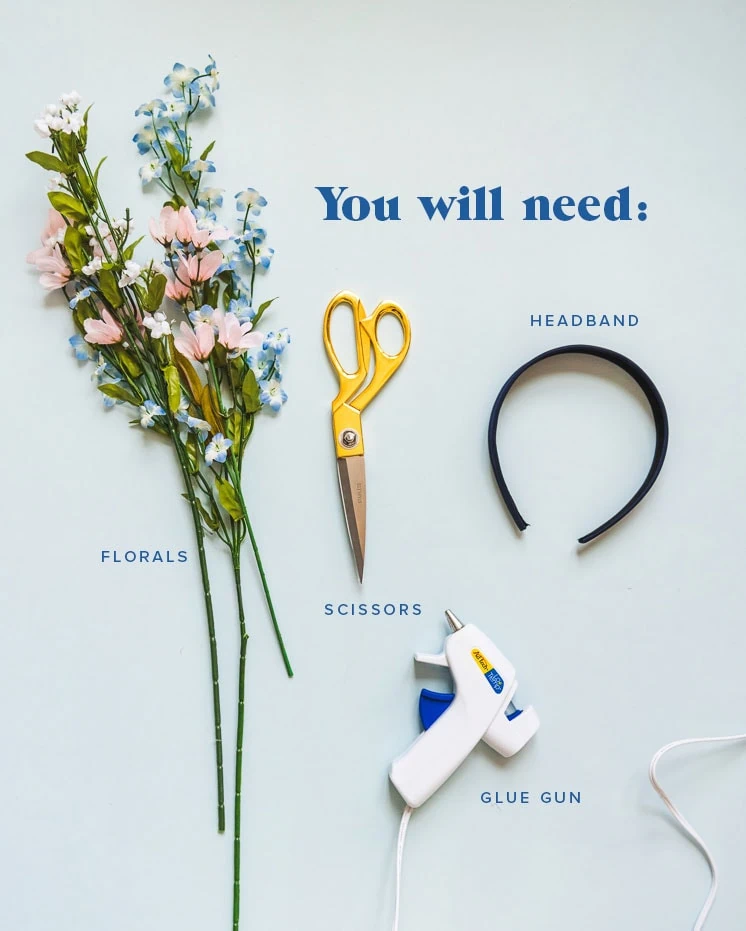
Materials:
- 1” wide headband (we love these ones!)
- Variation of Silk flowers in pinks, whites, and a spot of blue
- Hot glue gun
- Scissors
 Instructions:
- Start by gently pulling the flowers off of the plastic stems. Some of the flowers may need to be cut with scissors if there is a wire base.
- Pull and cute a sufficient amount of flowers to cover the headband, you will probably need more than you think if you’d like a full crown.
- Start glueing the flowers about 2” up the the start of the headband.
- Glue the large flowers on first and then use the smaller flowers as fillers.
- You may find that glueing some of the smaller flowers directly to the larger flowers will add height and dimension to the crown.
- You will want to add the most height to what you have decided to be the back of the crown. To attain height you can use the flowers that have longer stems on them and glue from the stem of the flower instead of the base of the flower.
- Continue all the way across the headband repeating the glueing and filling process until you have reached the other side stopping about 2” from the end of the headband.
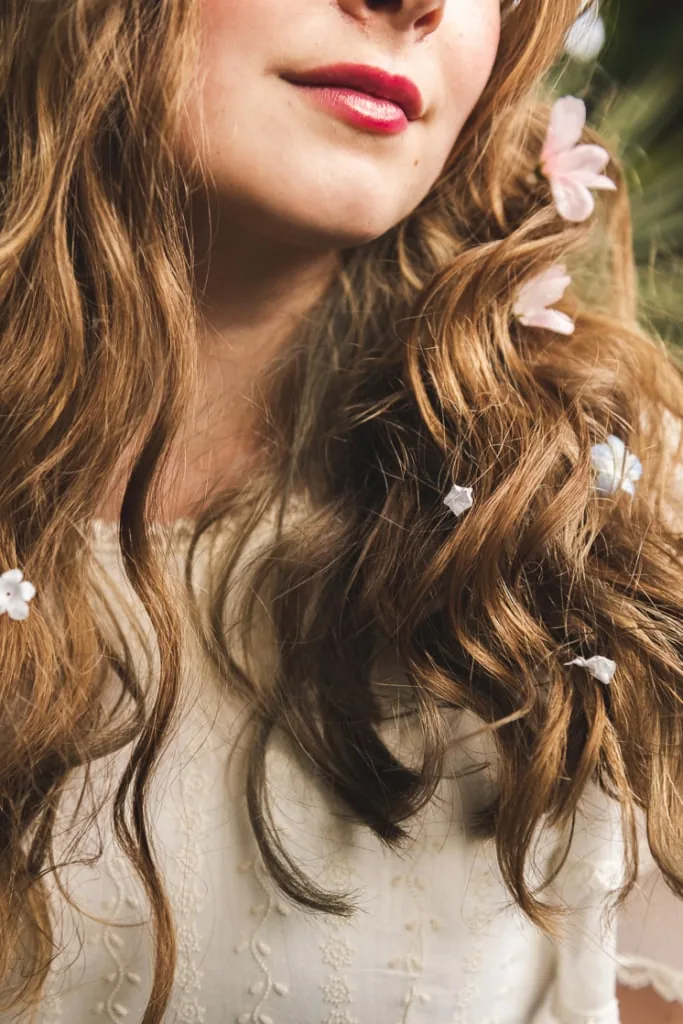
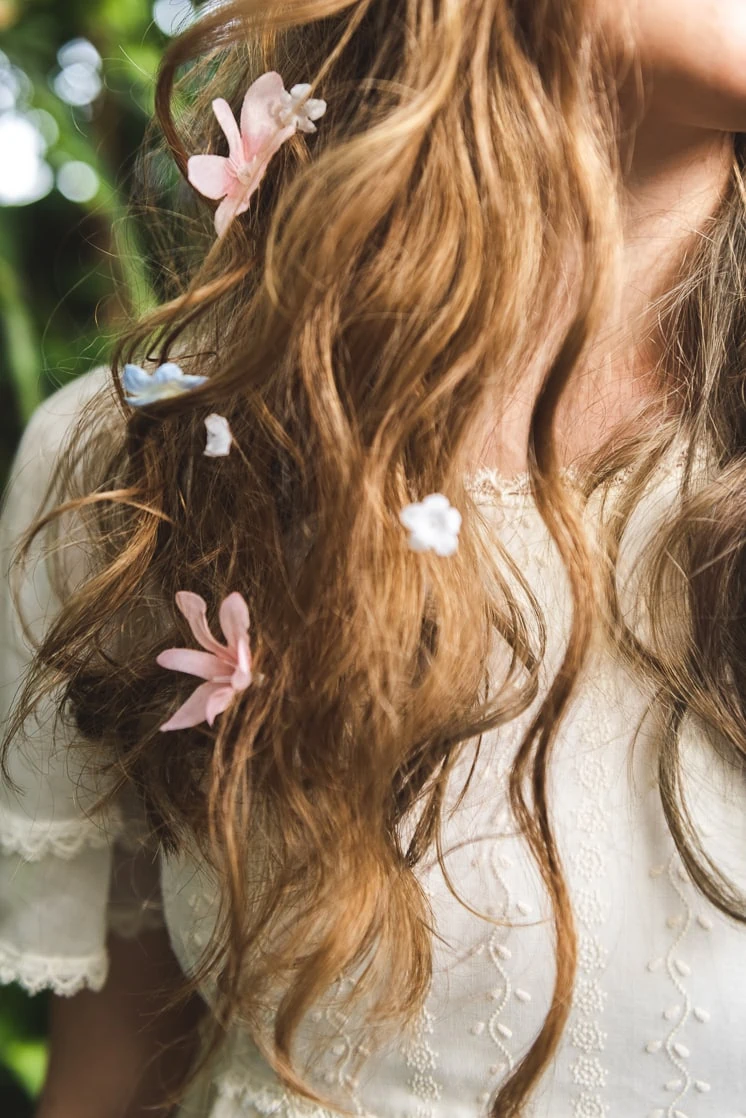
Tip: For added effect, add in some florals loosely into the hair. It’s the perfect little touch!
Tip: To keep the floating flowers in her hair, we sprayed A TON of hairspray in. Worked like a charm 🙂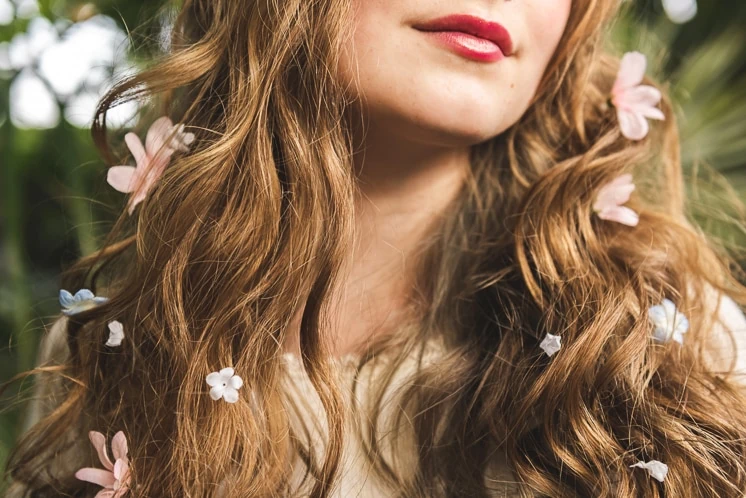
 Ok! Have you already seen the movie? What did you think? Will you be watching on New Year’s Eve with me? Show us your floral crowns by adding it to our collective hashtag #LarsMakes
This post is sponsored by Walt Disney Studios. We love our sponsors who allow us to make original content for you!
Comments