

7 Things To Make And Give A Graduate
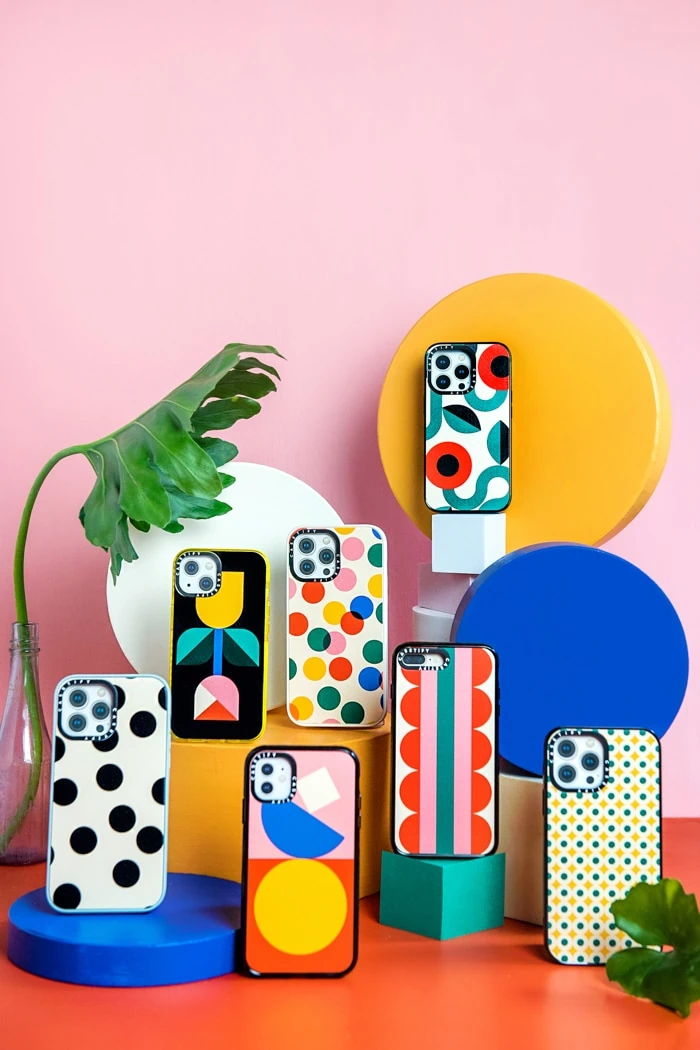
The Bauhaus That Lars Built–our new Casetify Collection!
Casetify Phone Case: Honest Review (Updated)
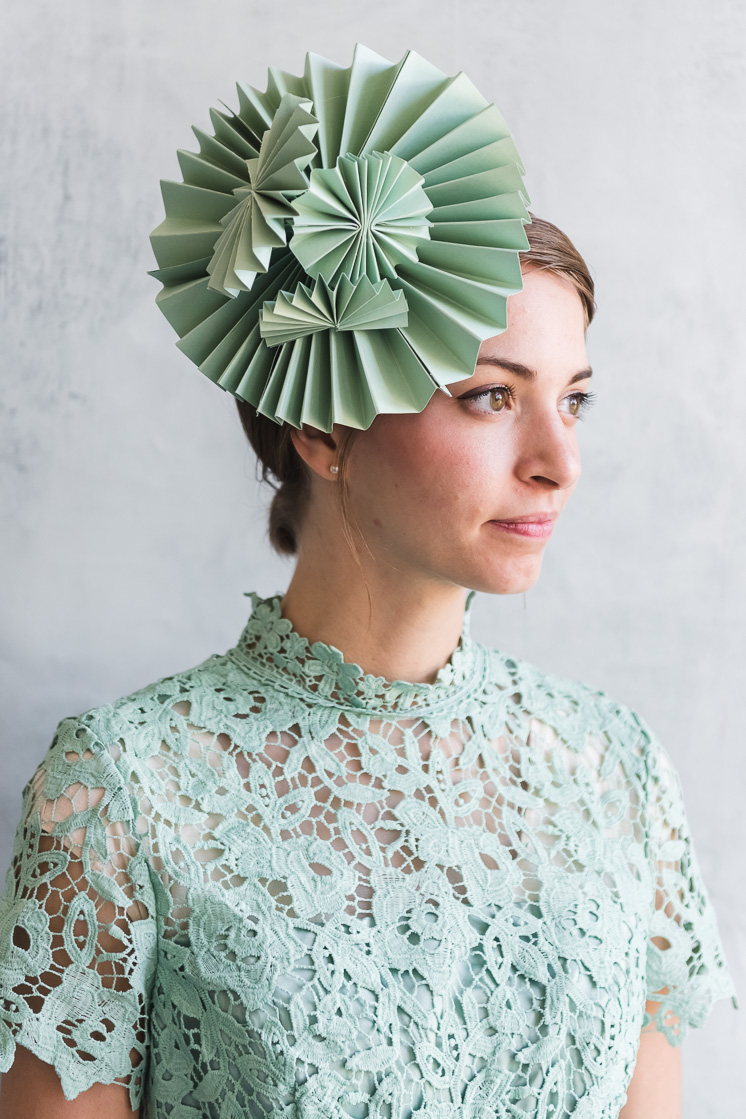
7 Fascinator hat ideas
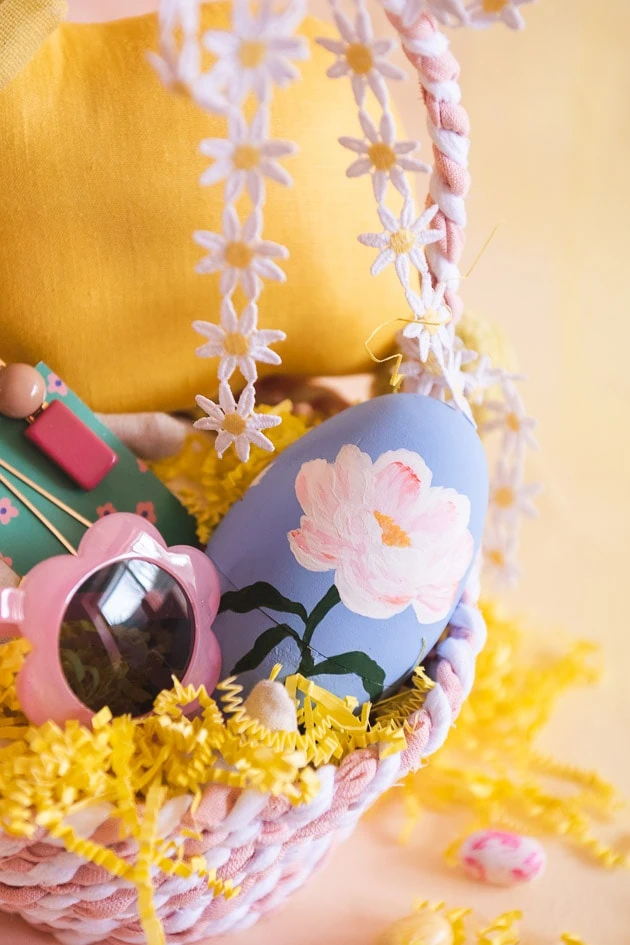
Easter Crafts
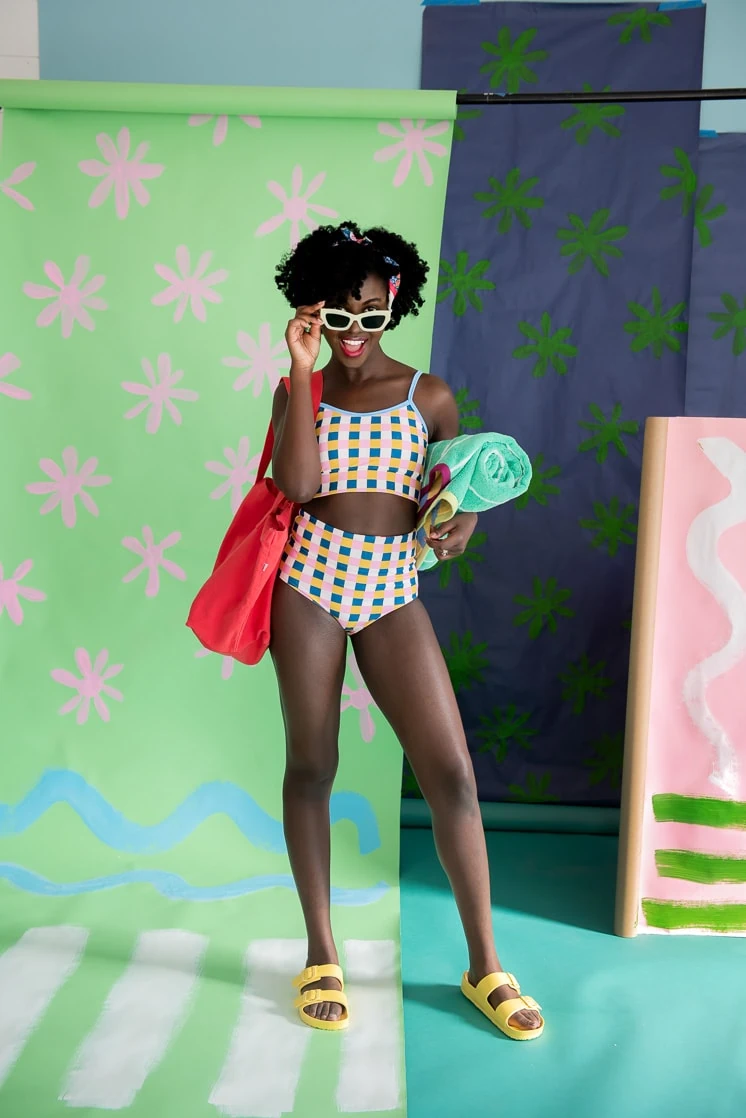
Floral-inspired swimwear with Lime Ricki
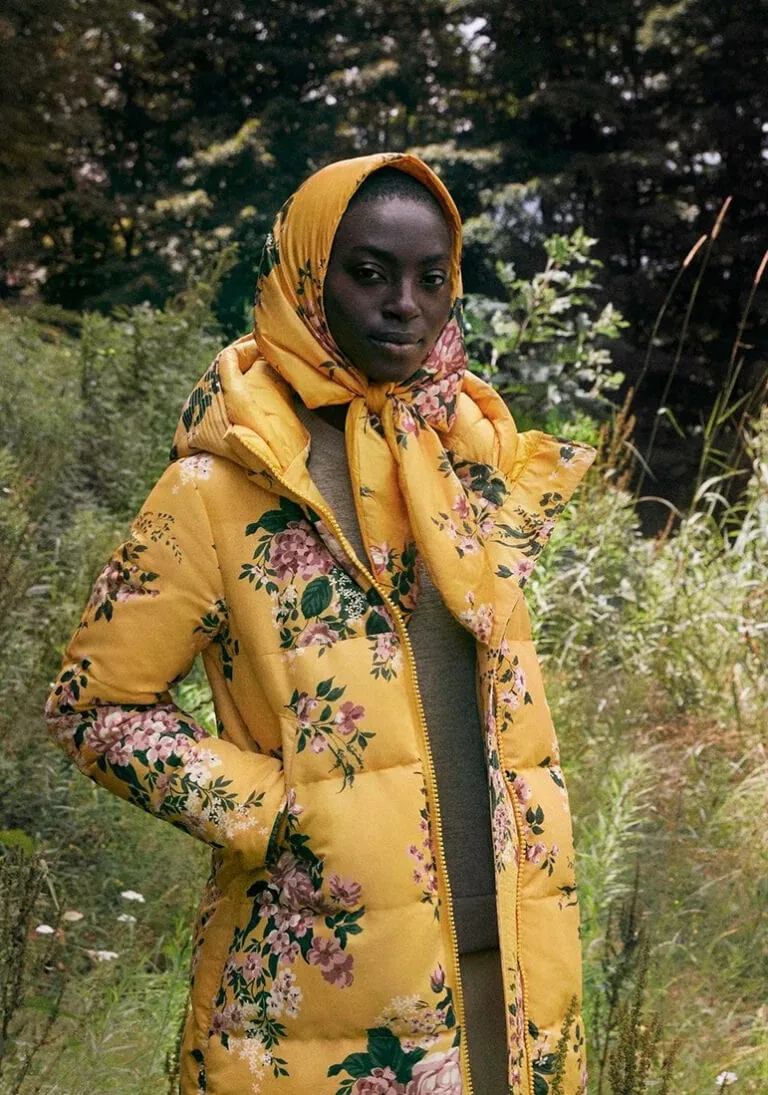
Floral winter coats
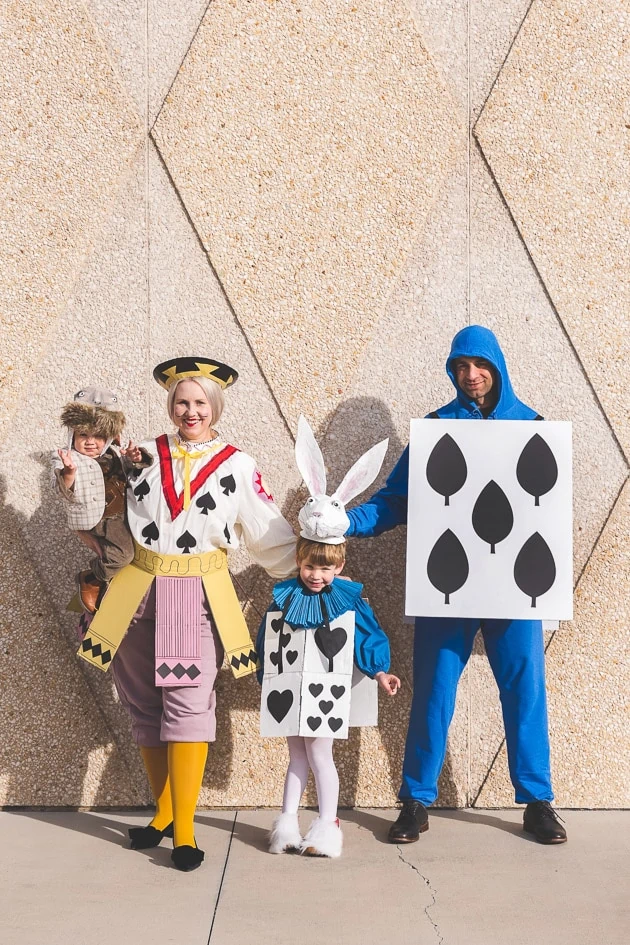
Alice in Wonderland Family Costumes

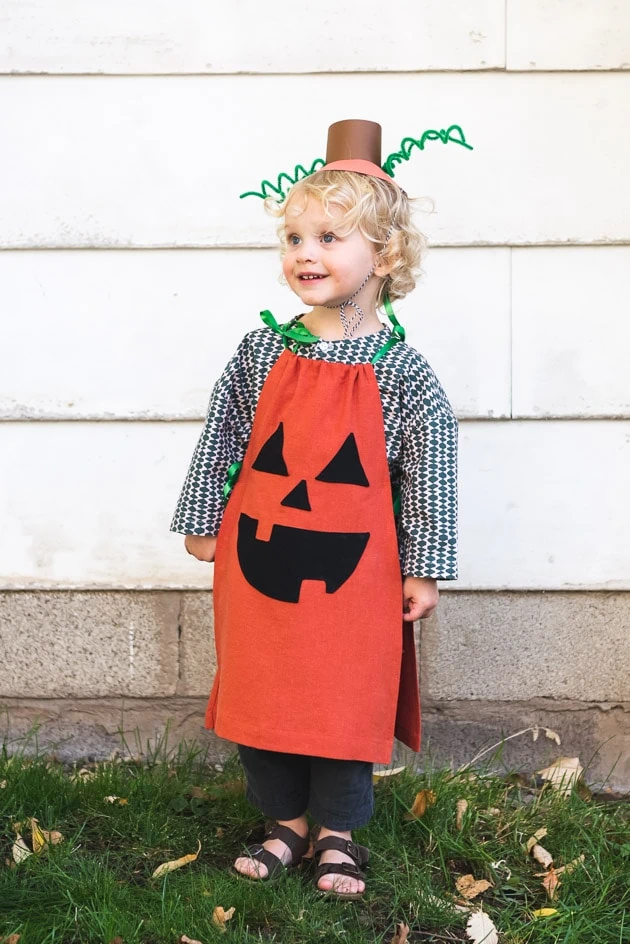
Easy Halloween Ideas From Our Shop
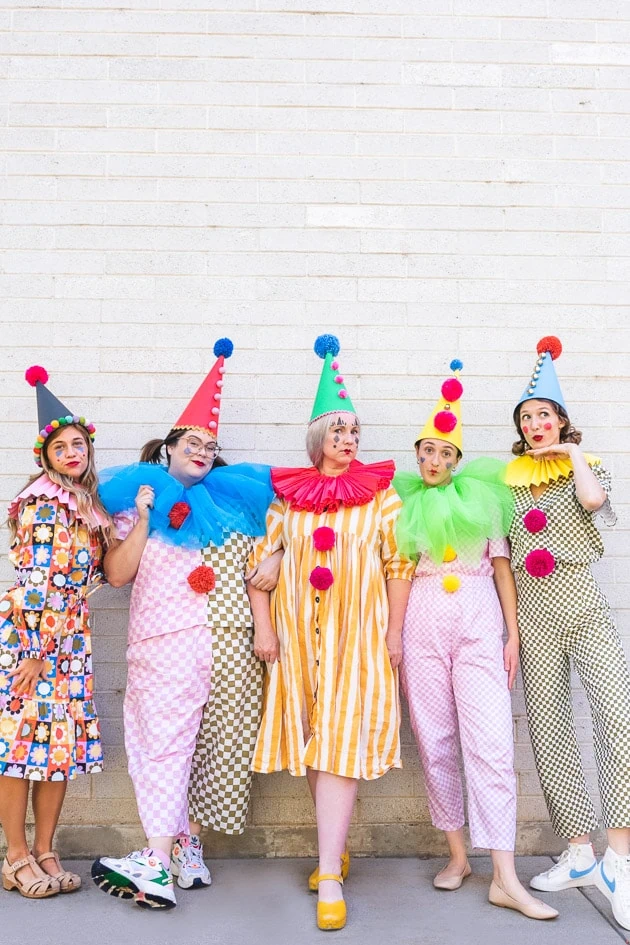
Vintage Clown Costumes
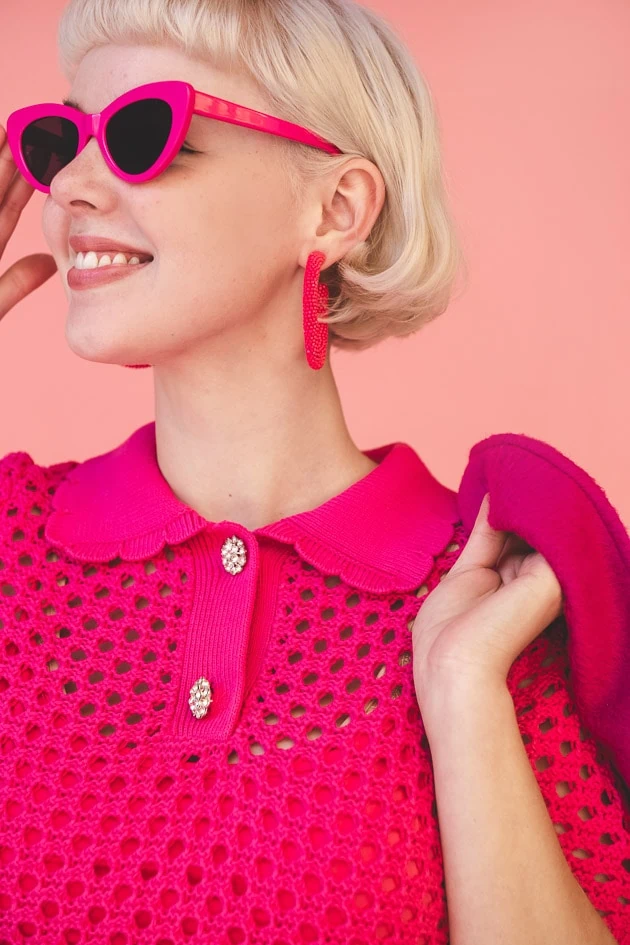
Barbiecore Costume Ideas
Classic Halloween Costumes
Ways to Repurpose Scarves
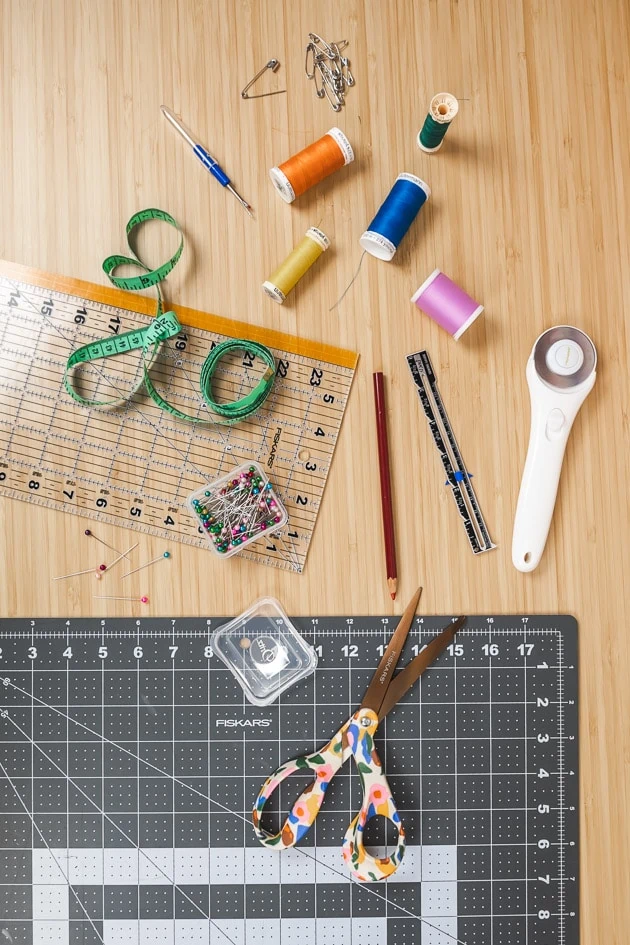
Sewing Basics: Essential Sewing Supplies
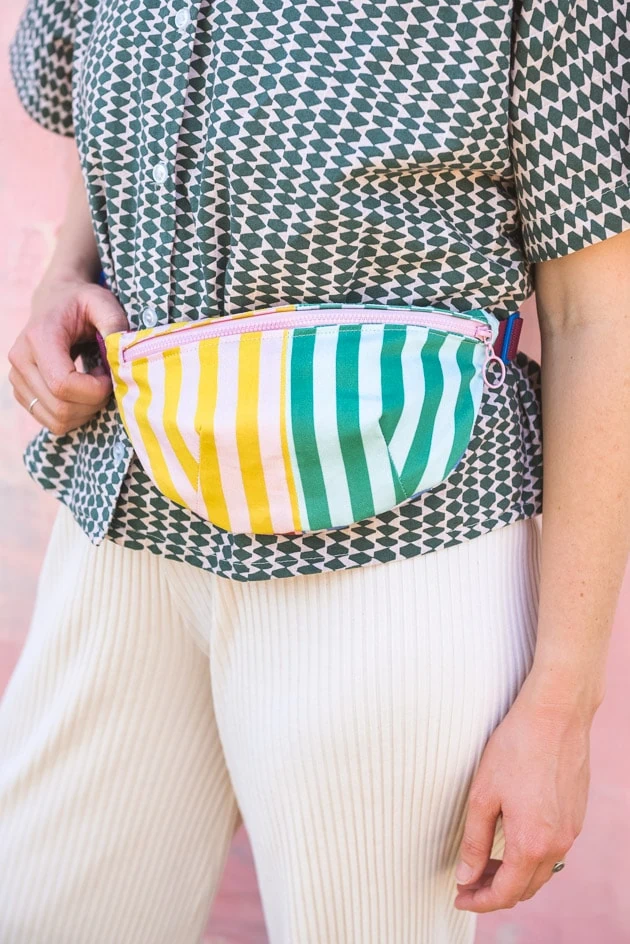
DIY Fanny Pack
Fall 2022 Casetify Collection
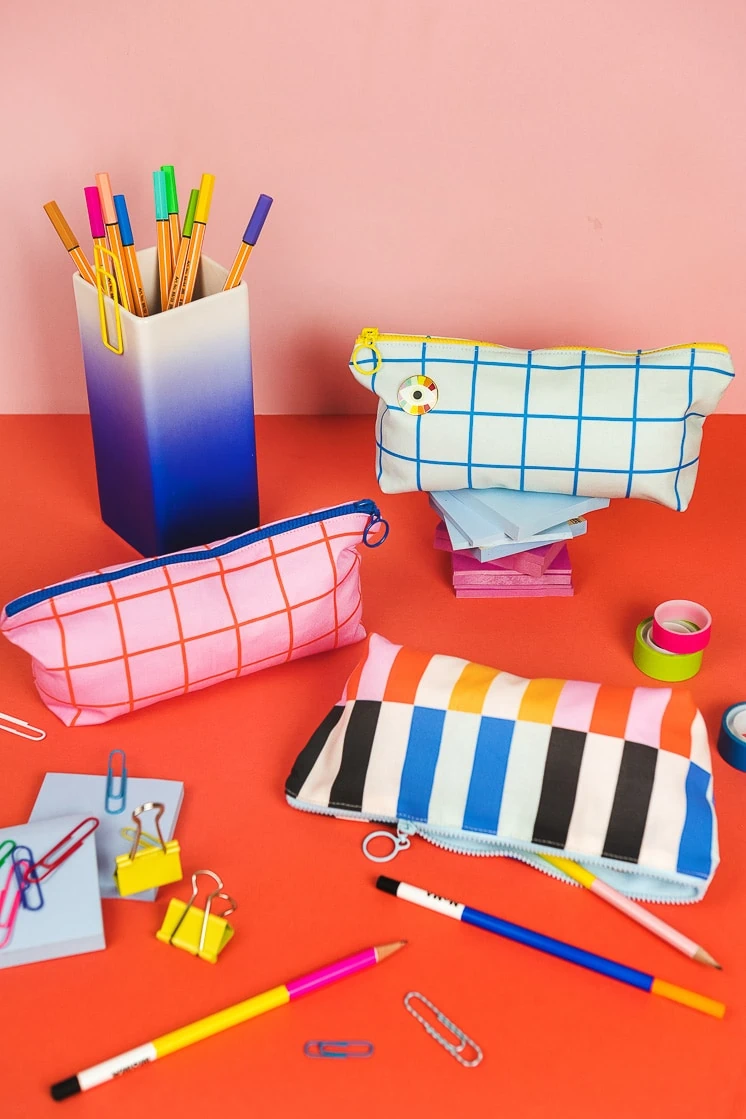
DIY Pencil Case
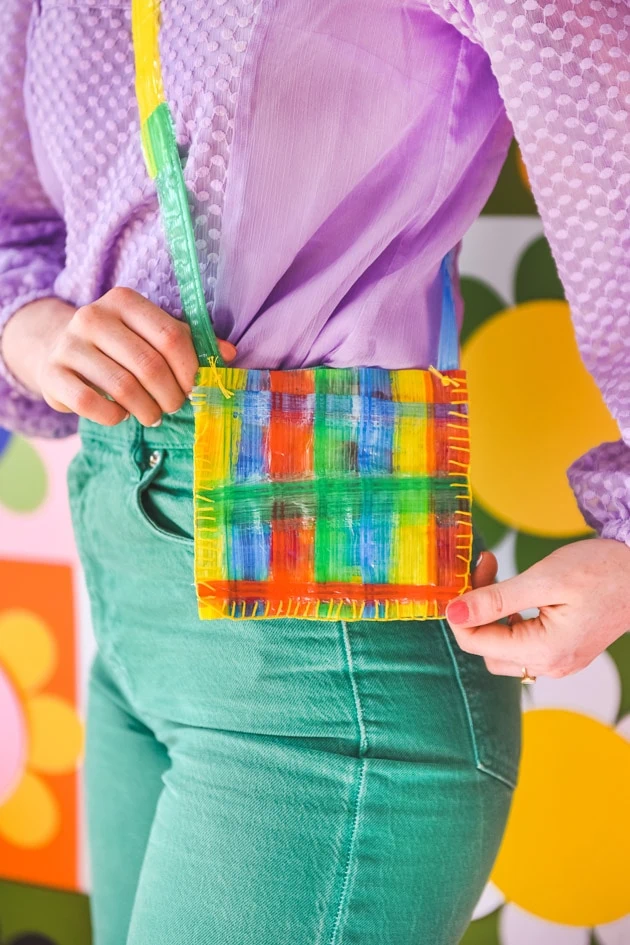
Camp Lars: Fusible Plastic Bags
Casetify Inspired Fabric Projects
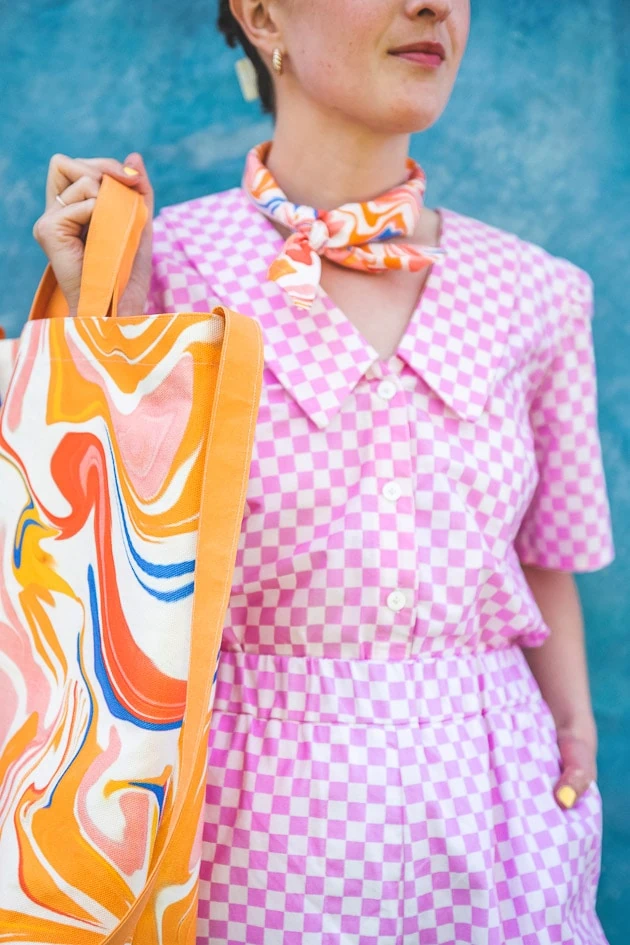
BLOOM Inspired Style

All Our Paper Flower Tutorials
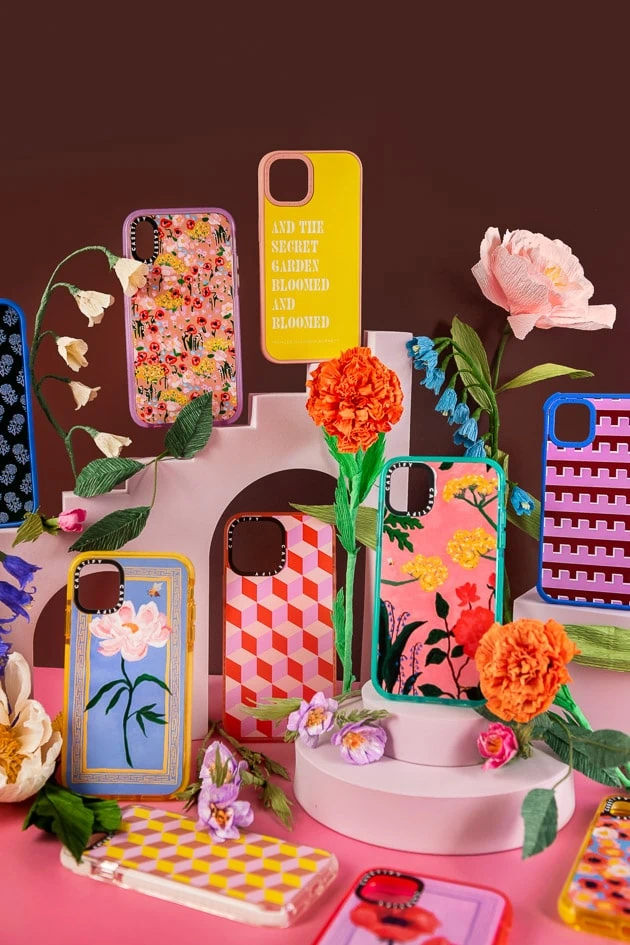
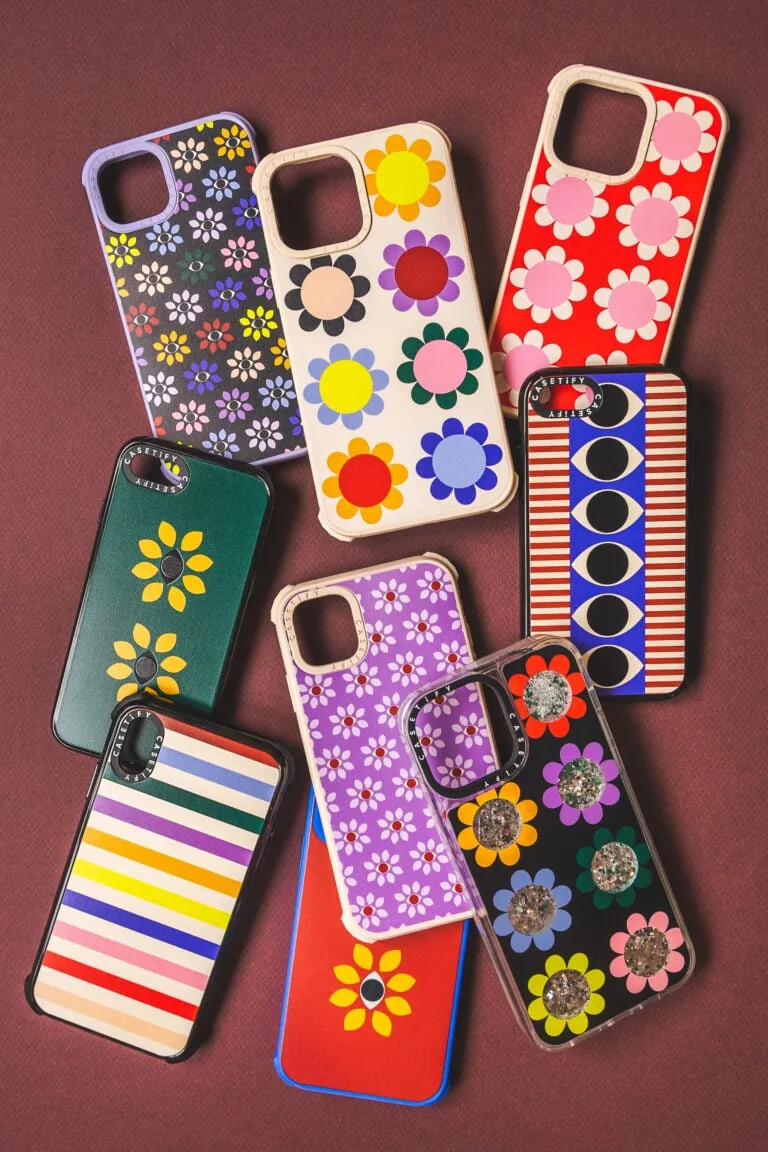
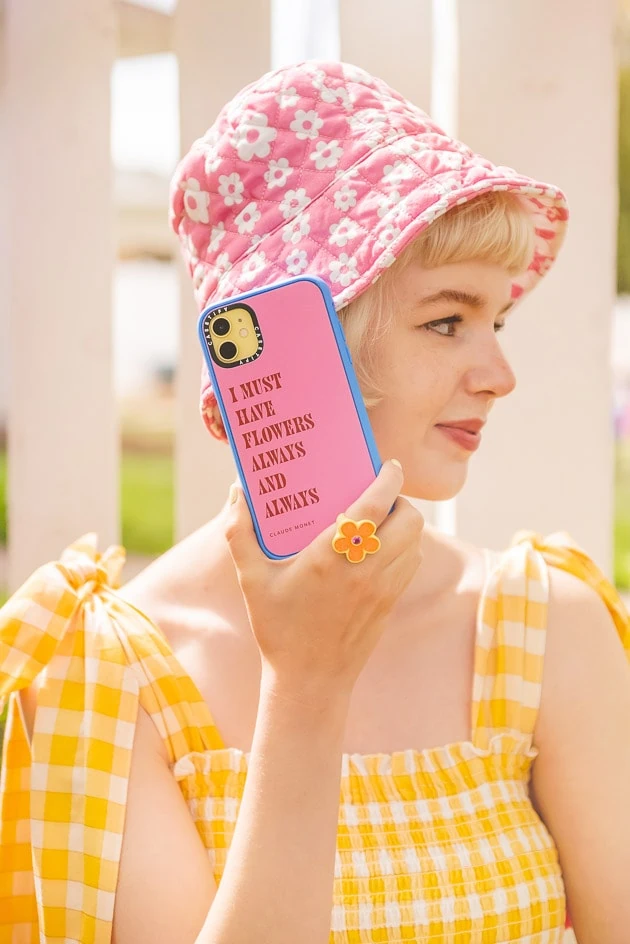
Our New Casetify Collection: BLOOM
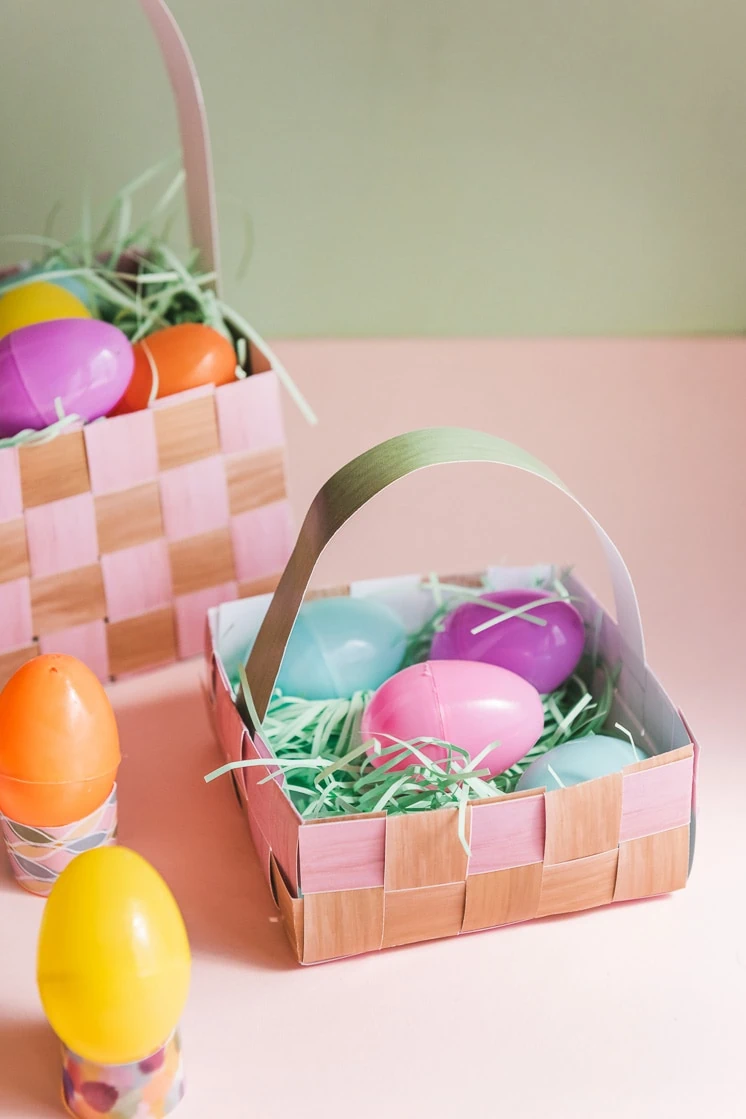
Easter Activities for Kids
- 1
- 2
- 3
- 4
- Next Page »