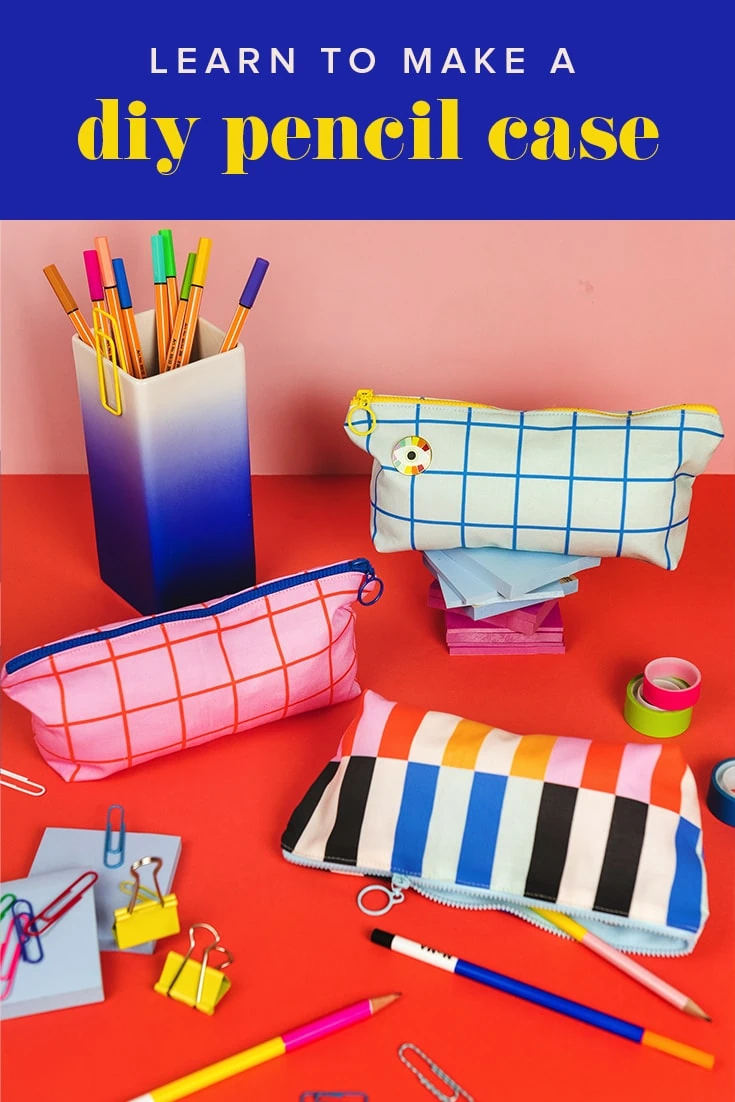
It’s already August, which means school starts in just a few weeks! In honor of back-to-school and keeping yourself and your children organized this school year, we have the perfect craft. A DIY pencil case! I’m always on the hunt for cute pencils, like these ones I found at the MoMA recently. So if you’re like me, and you have a few more pens and pencils floating around than you have a place for, this DIY pencil case will surely help you out. And the bonus? They’re just so cute, you’ll be thanking yourself later that you made such a cute desk accessory.
Materials:
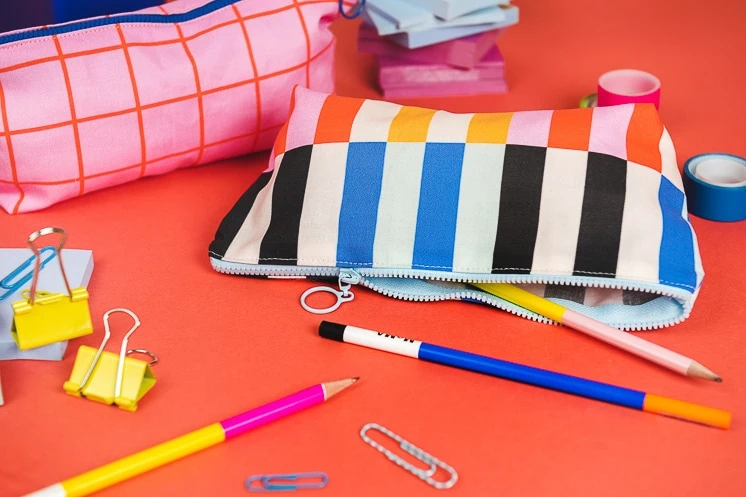
30 Minute Pencil Case
I’m not exaggerating when I say this pencil case is super quick to make. Seriously, it took me 30 minutes to knock out one of these babies–easy enough that it made me want to make 3 more colorways (which I did, of course). I couldn’t resist, I had to try out the new designs in our Spoonflower shop! The nice thing, too, is that you can just order a fat quarter and it’s plenty to make multiple pencil cases.
How to Make a DIY Pencil Case
Here’s how to make your own DIY pencil case:

Prepping the Fabric
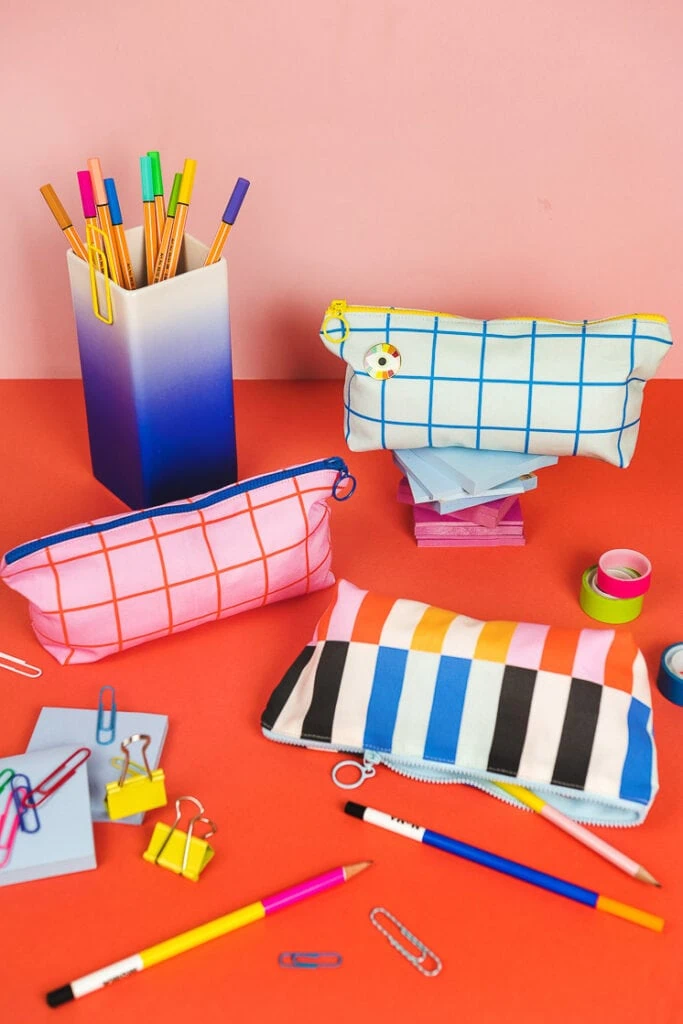
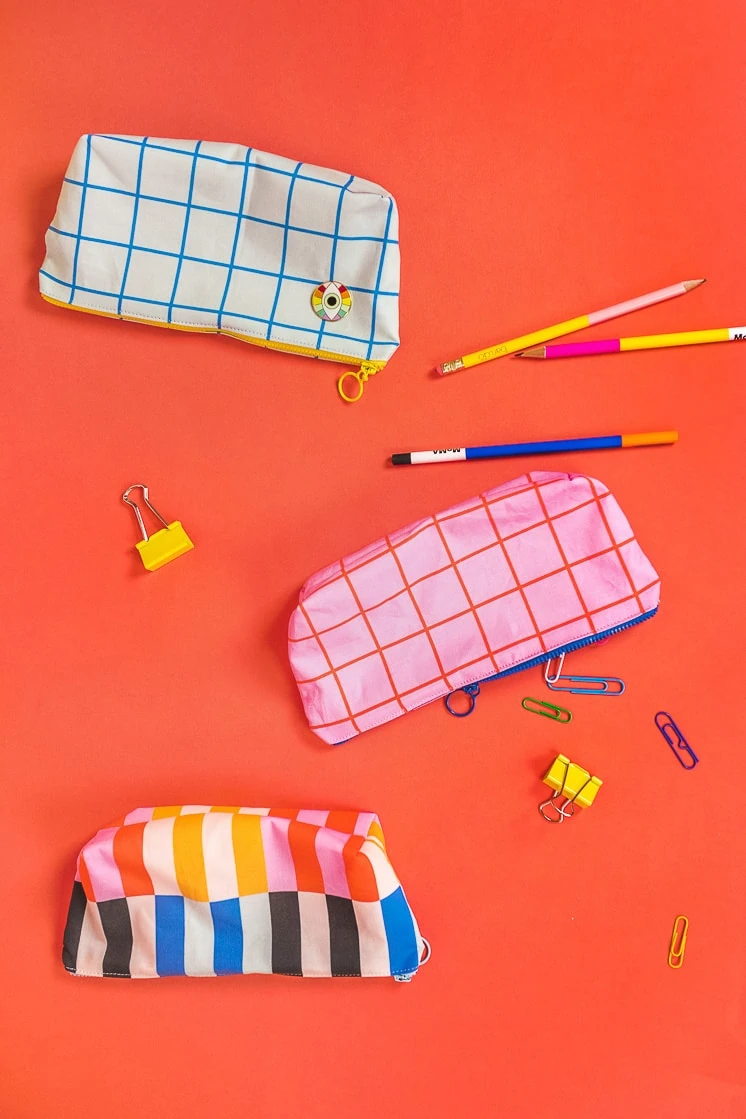
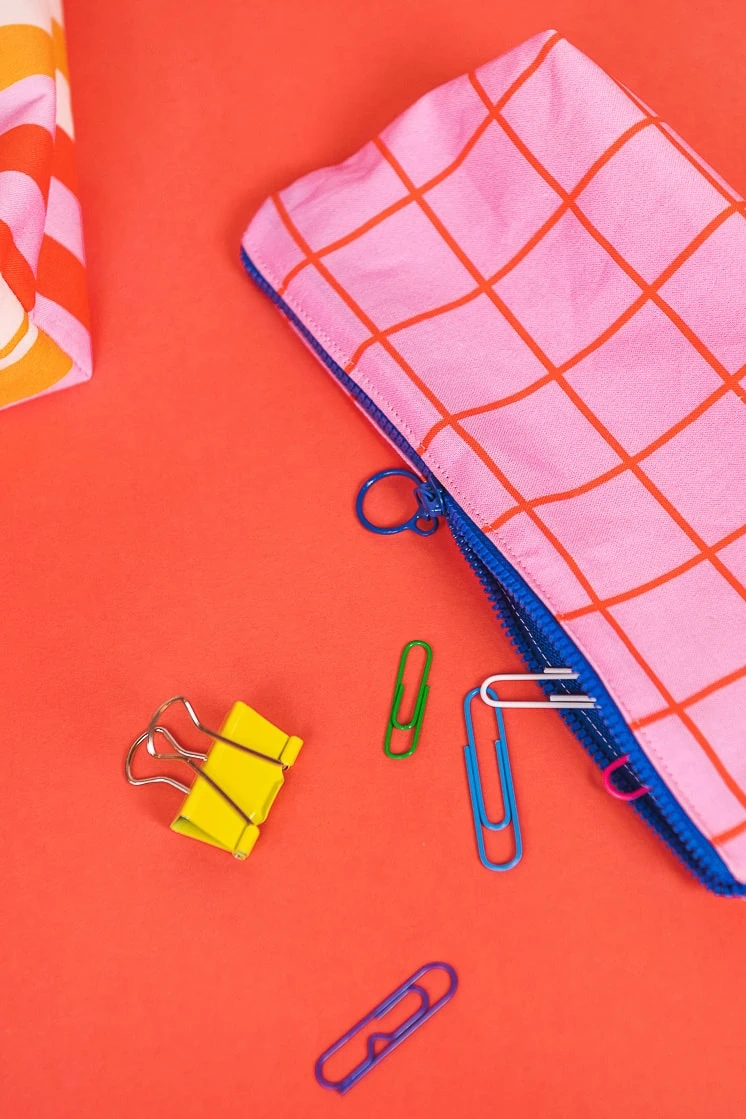
- First, order the fabric. As I mentioned above, we used our Spoonflower designs: blue windowpane, pink windowpane and this retro rainbow stripe. A fat quarter is a sufficient quantity. You can use a variety of fabrics, so use the one that you like most. We used petal signature cotton.
- Once your fabric arrives, don’t forget to prewash!
- When your fabric is washed and dried, iron it out nice and flat.
- Now, cut two pieces of fabric that are 11”x 6” each.
Sewing the Zipper
To sew the zipper, follow the instructions outlined in the pencil case template.

Assembling Your DIY Pencil Case
With the zipper in place, you’re now ready to assemble the rest of the pencil case!
- To assemble the case, with right sides together, sew around the remaining three sides of the two fabric pieces. Sew as close to both ends of the zipper opening as you can. Leave the zipper partially open so you can flip it right side out after.
- Finish the seams of the three sides with a zig-zag or overlock stitch.
- Now, pull one corner in and press out perpendicular to the side seam. Measure down from the point by 1” and sew along that 1” mark. Repeat for the other corner.
- Clip the excess fabric at the corners and finish both those raw edges.
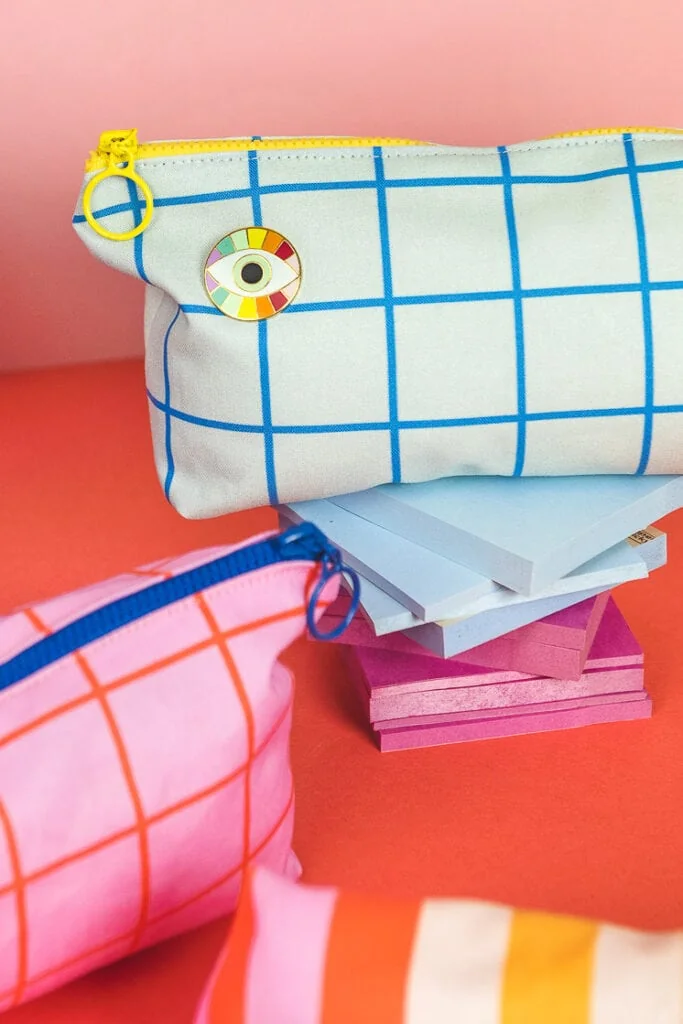
- Now you can flip your pencil case right side out and admire!
More Inspiration
Stay tuned for more back-to-school crafts and DIYs coming soon, like this DIY drawstring backpack made from a tote bag! In the meantime, check out some of my favorite back-to-school projects from years past, like this DIY reusable lunch sack or DIY apple lunch sack. Also see these back to school stickers (find them in our shop!) and these creative homeschool activities. And don’t forget to check out these tips for designing the perfect dorm room!