


DIY Flower pounding on fabric
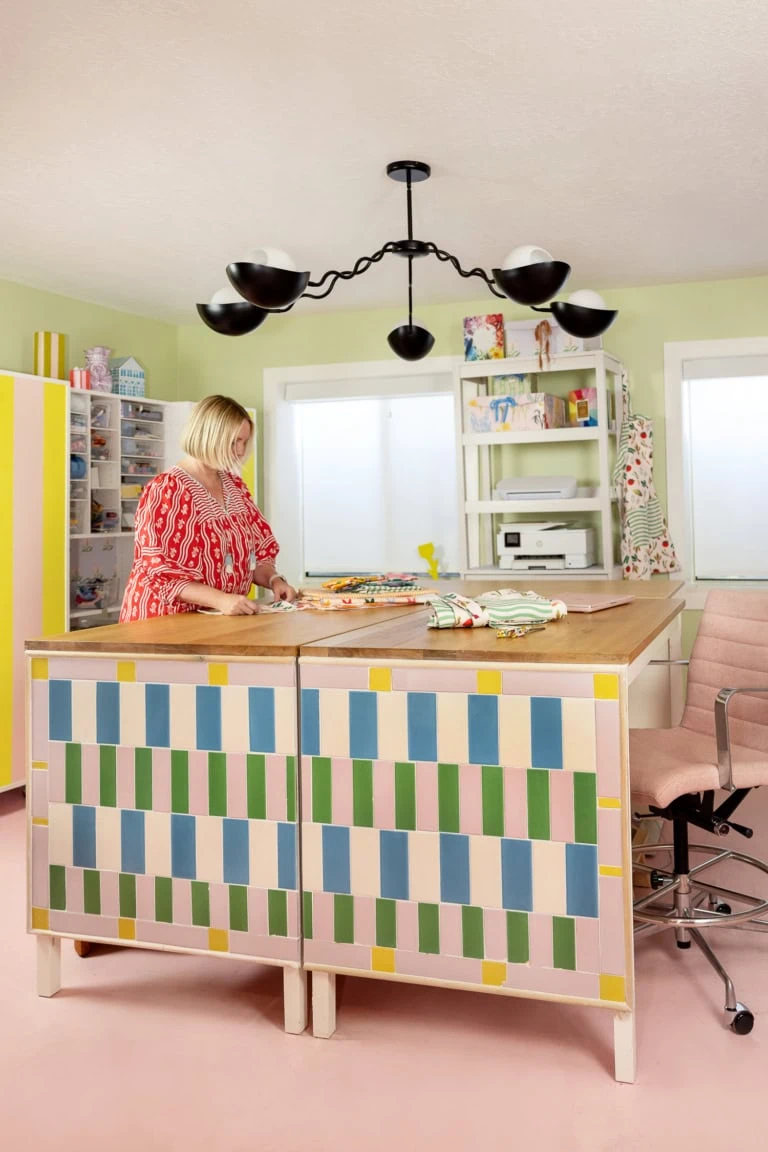
Ikea Hack: I turned two Ikea kitchen islands into a tiled work table
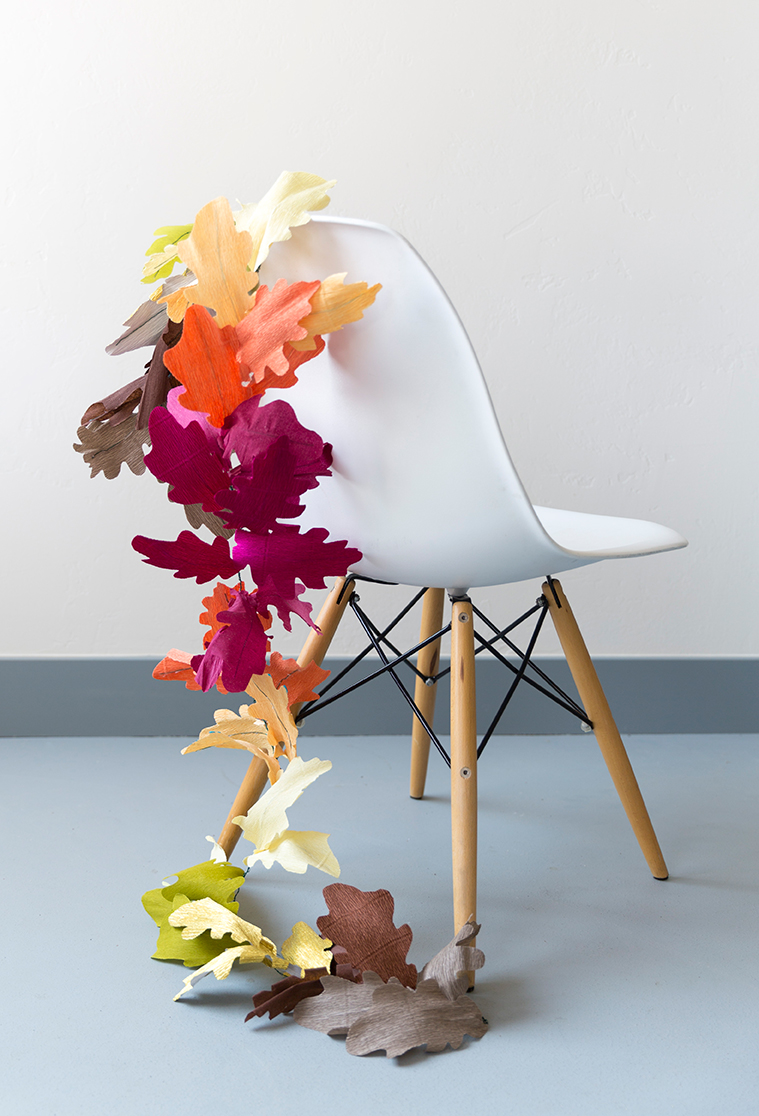
Fall Garlands to Celebrate Cozy Season
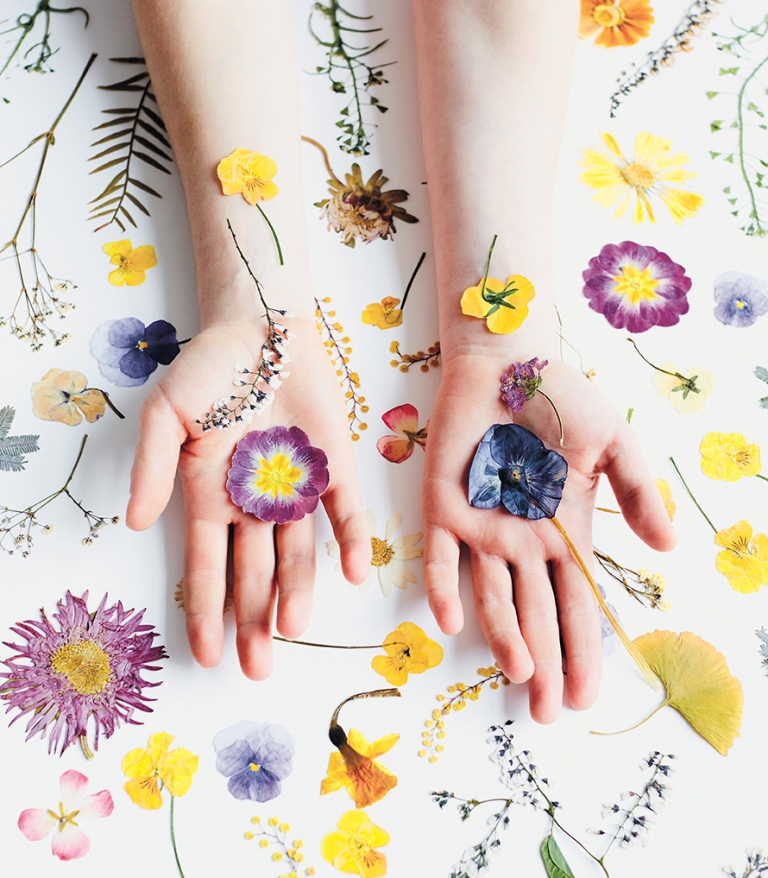
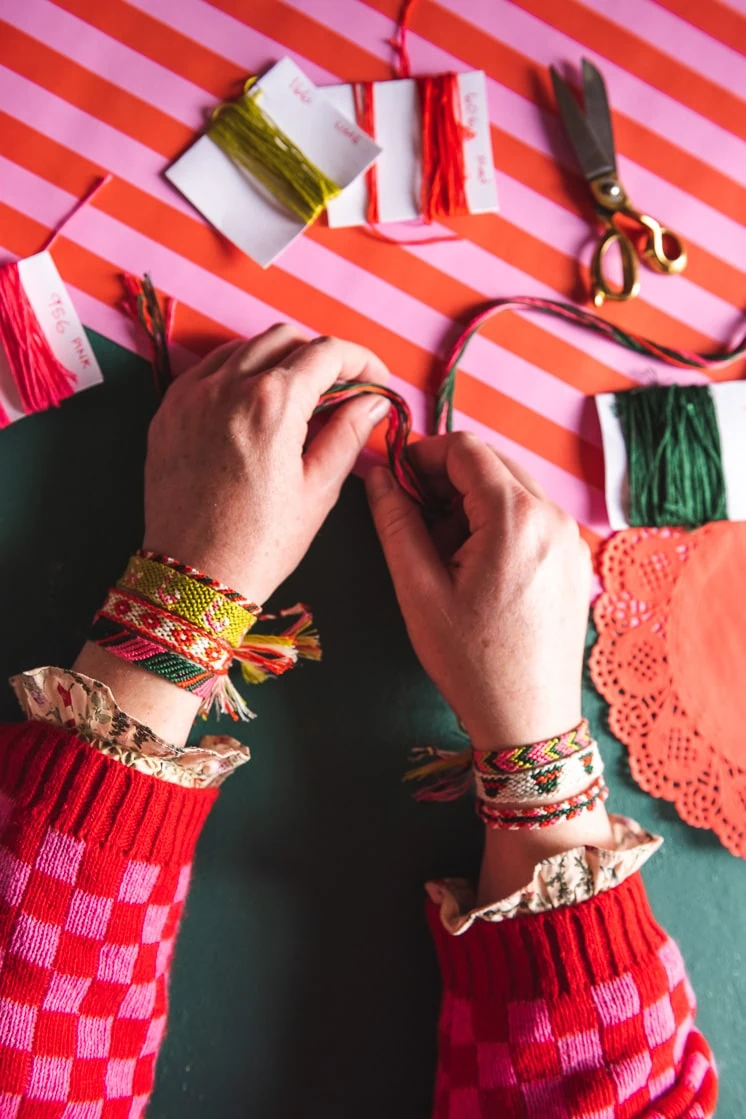
8 projects to make with fresh flowers
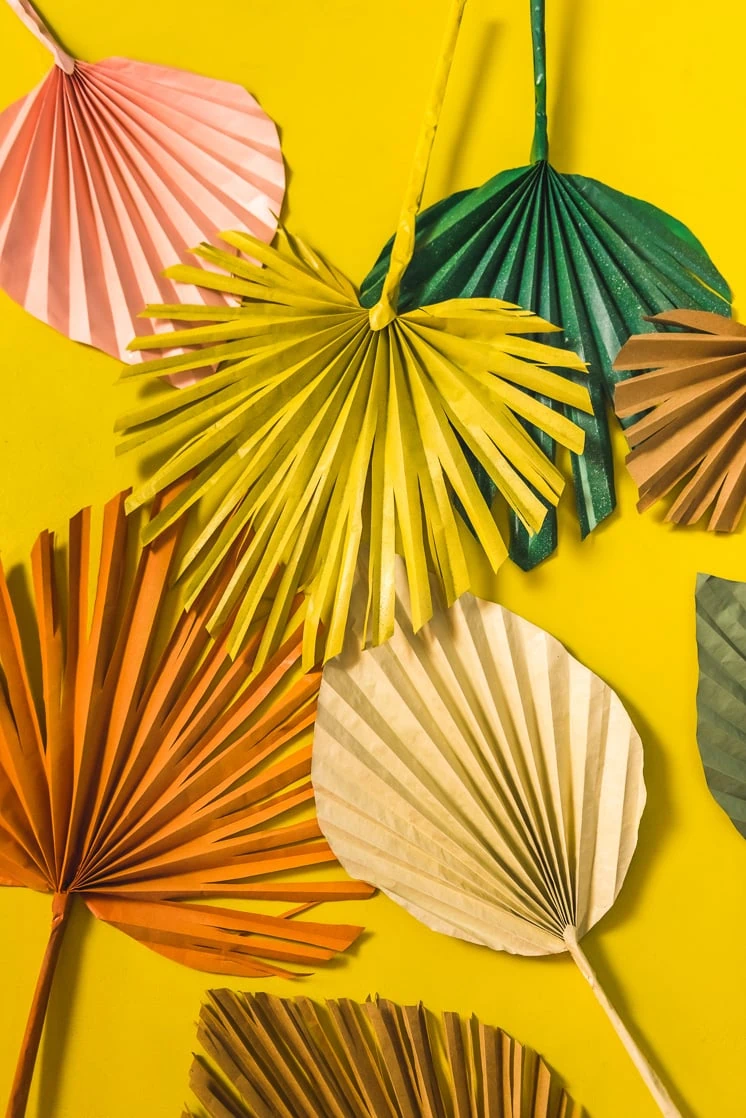
DIY Palm Leaves
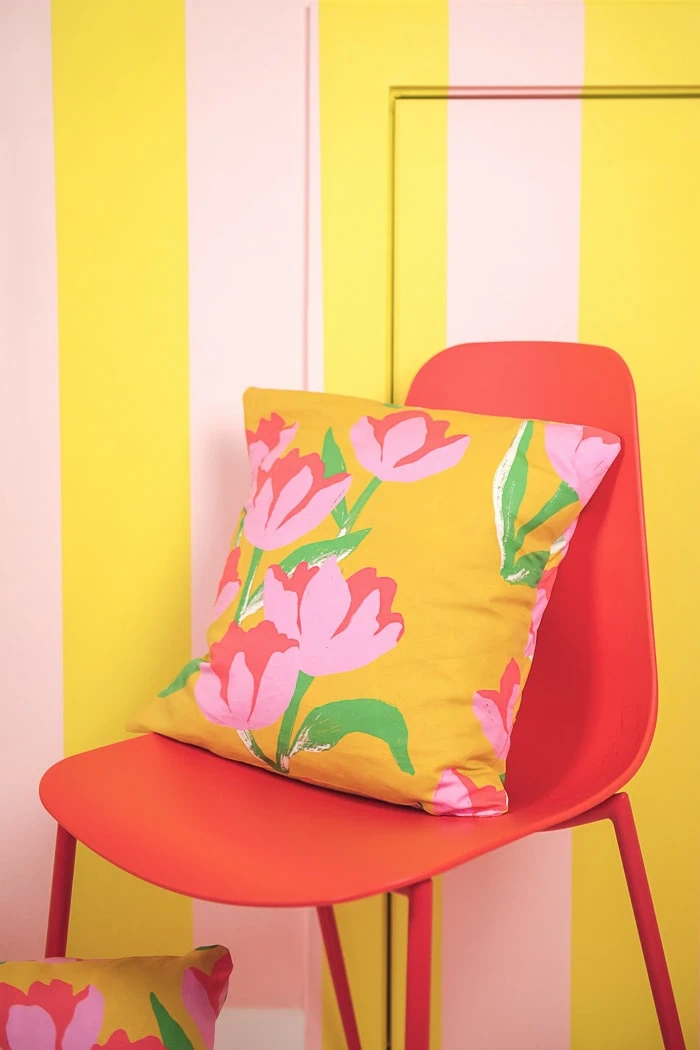
Envelope pillow case
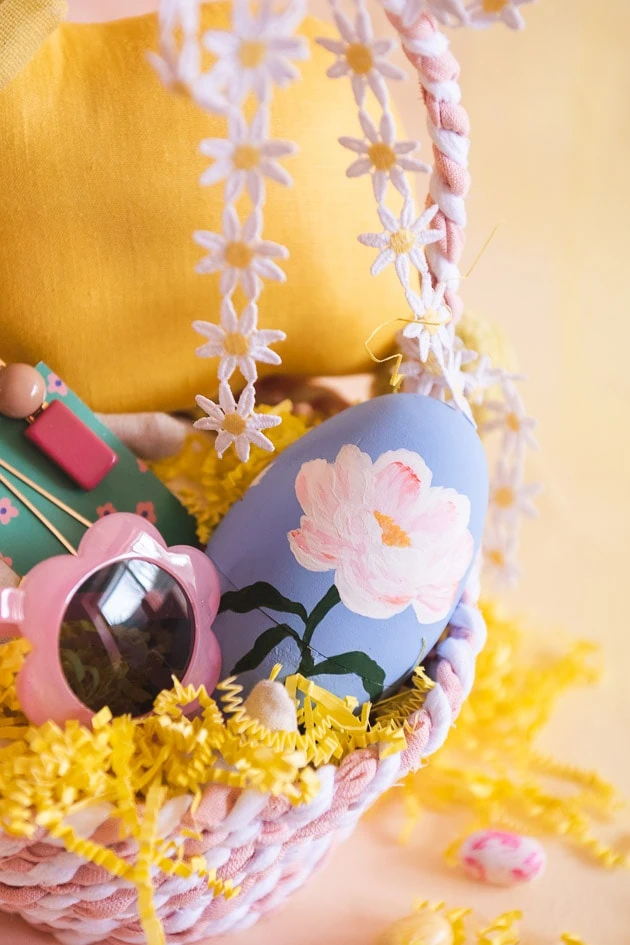
Easter Crafts
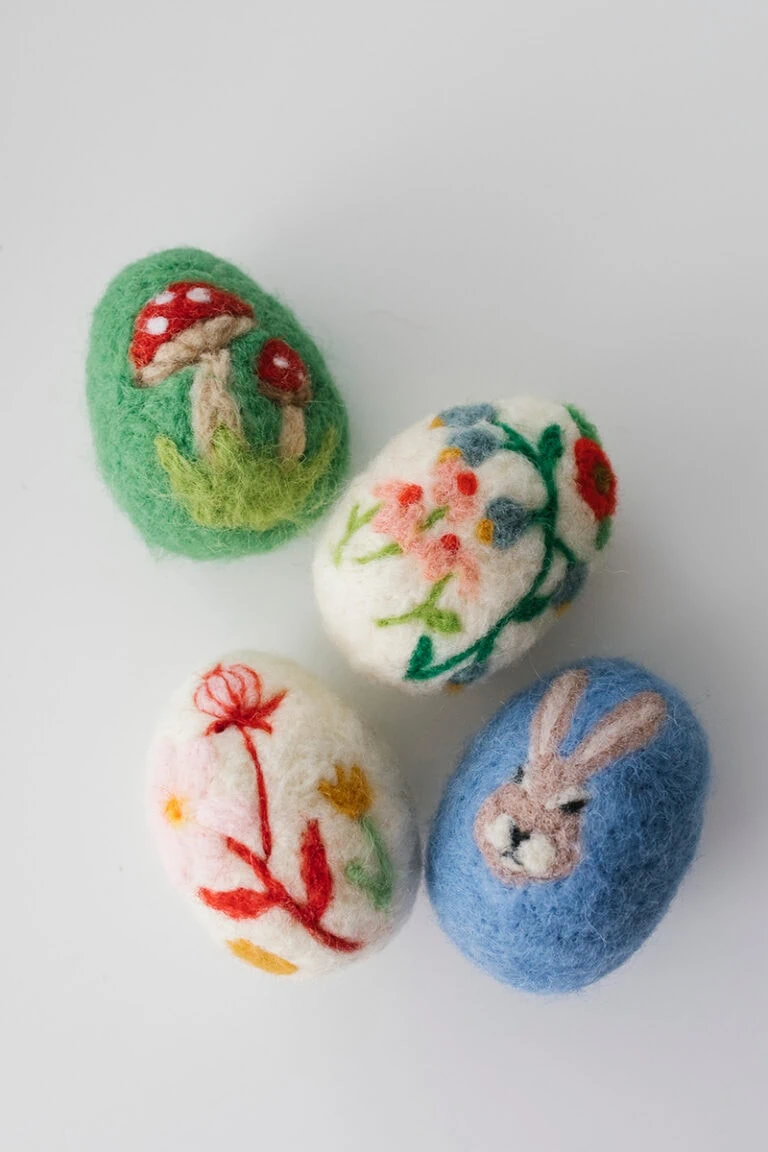
Felted Easter Egg
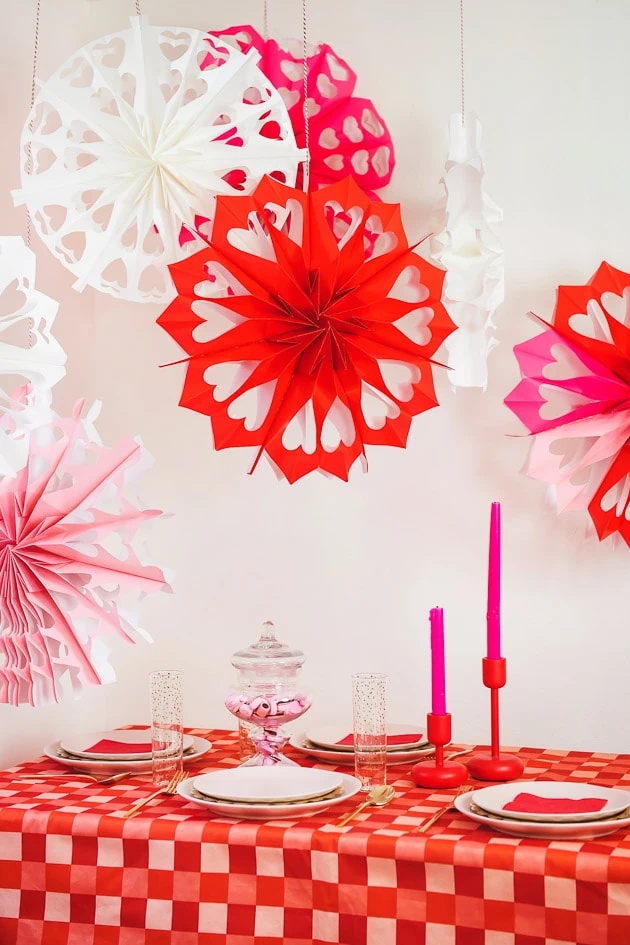
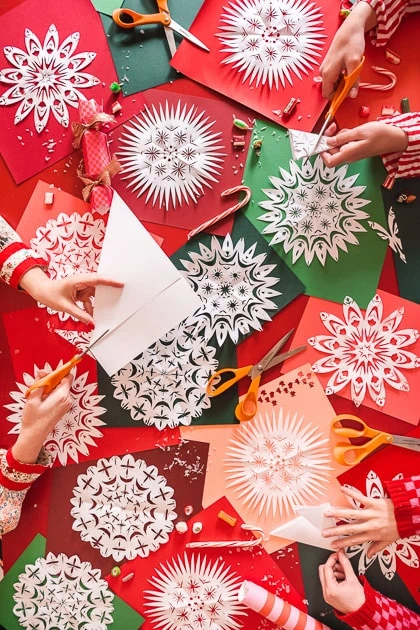
Paper bag heart snowflakes

Valentine’s Day traditions

Our top ten!
Things to do during winter break
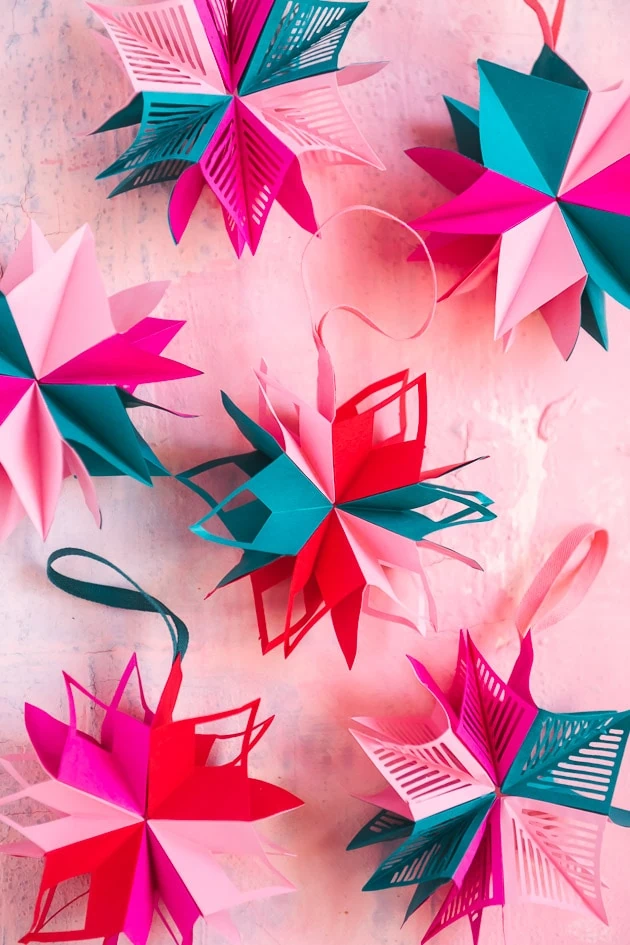
Paper starburst ornaments
Christmas traditions
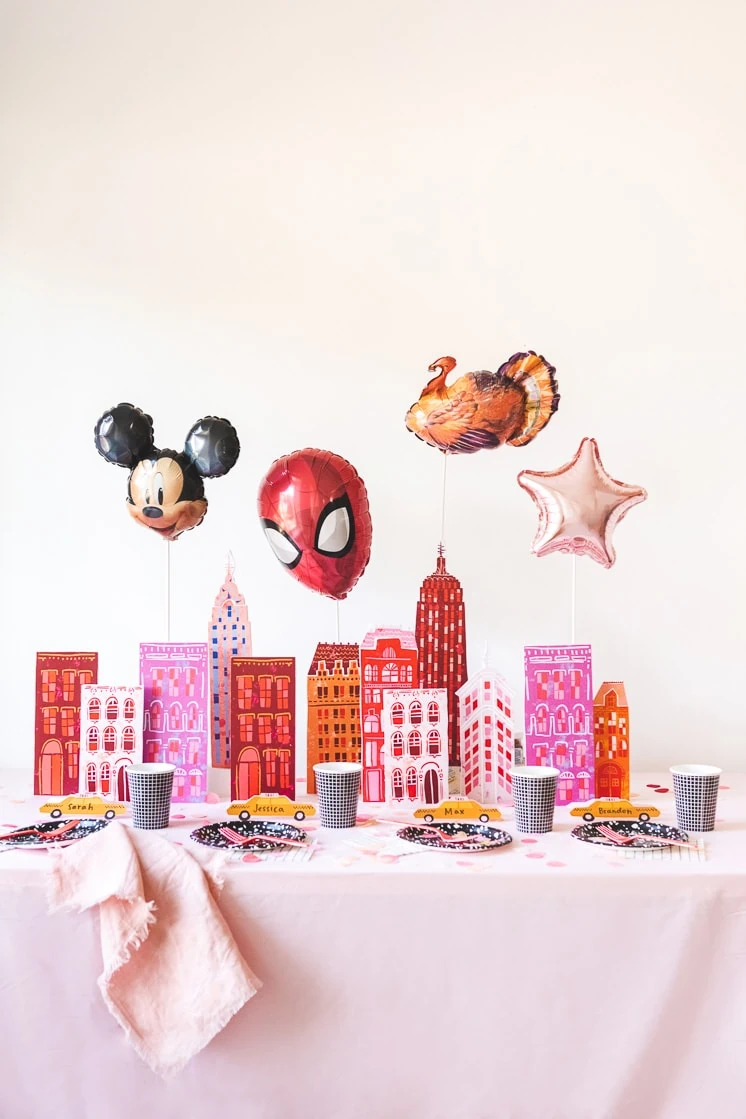
Thanksgiving table ideas for kids
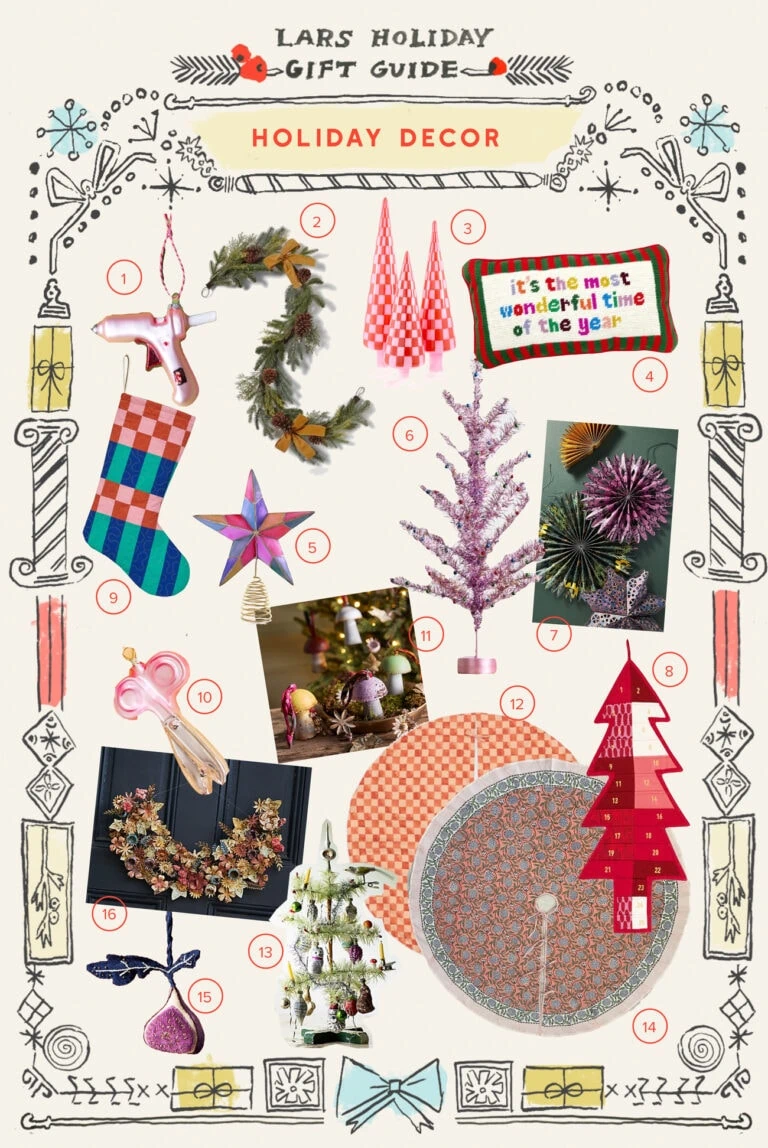
Holiday decor guide
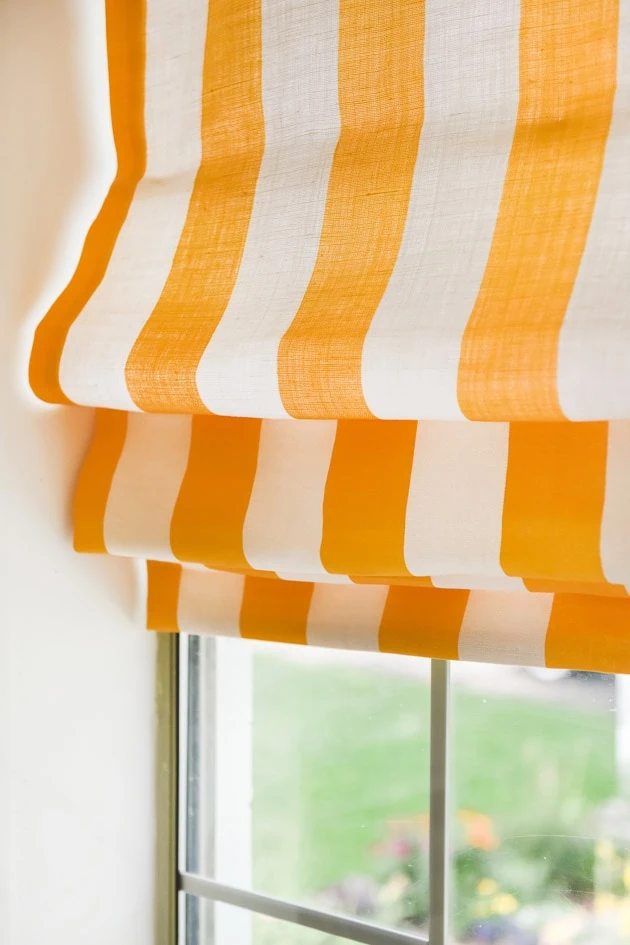
DIY Roman Shades

Halloween decoration spiders
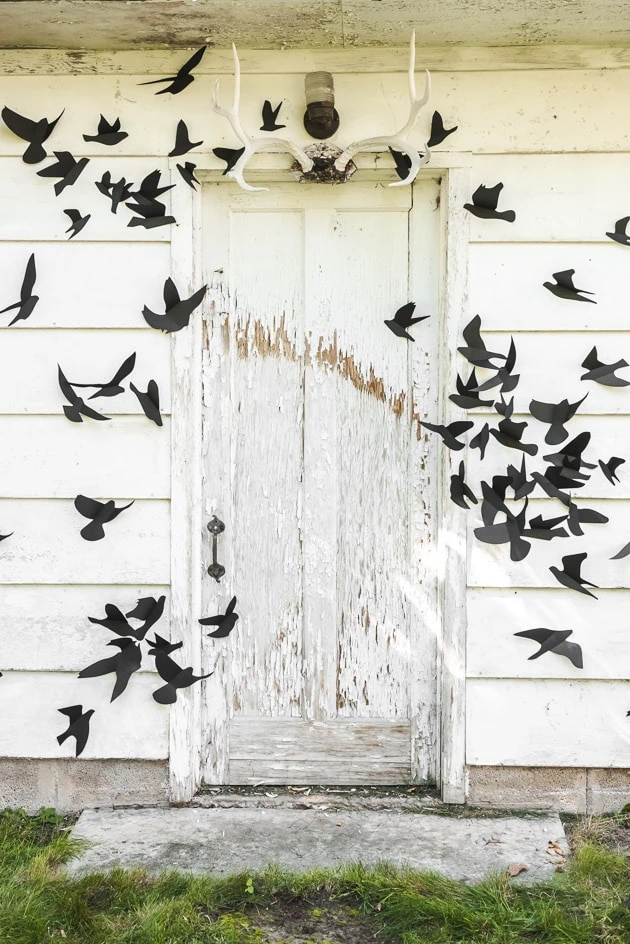
“The Birds” Halloween Wall Decor
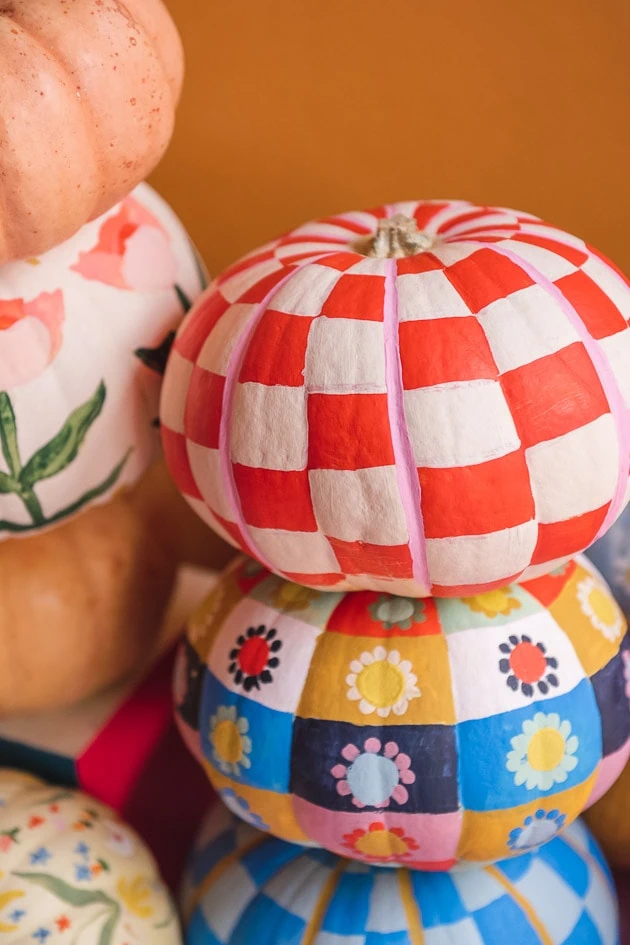
Halloween Pumpkin Ideas
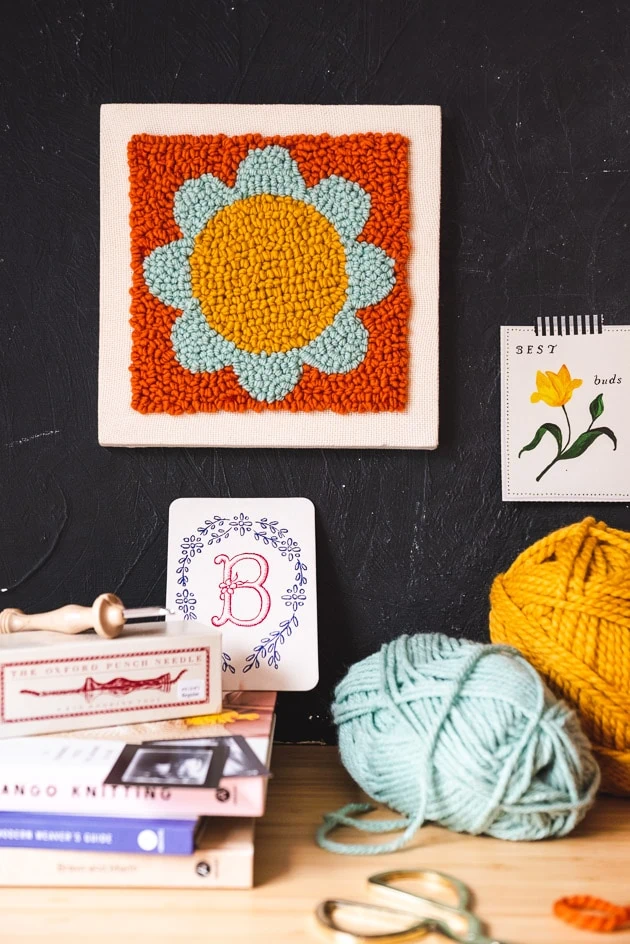
Punch Needle Wall Art
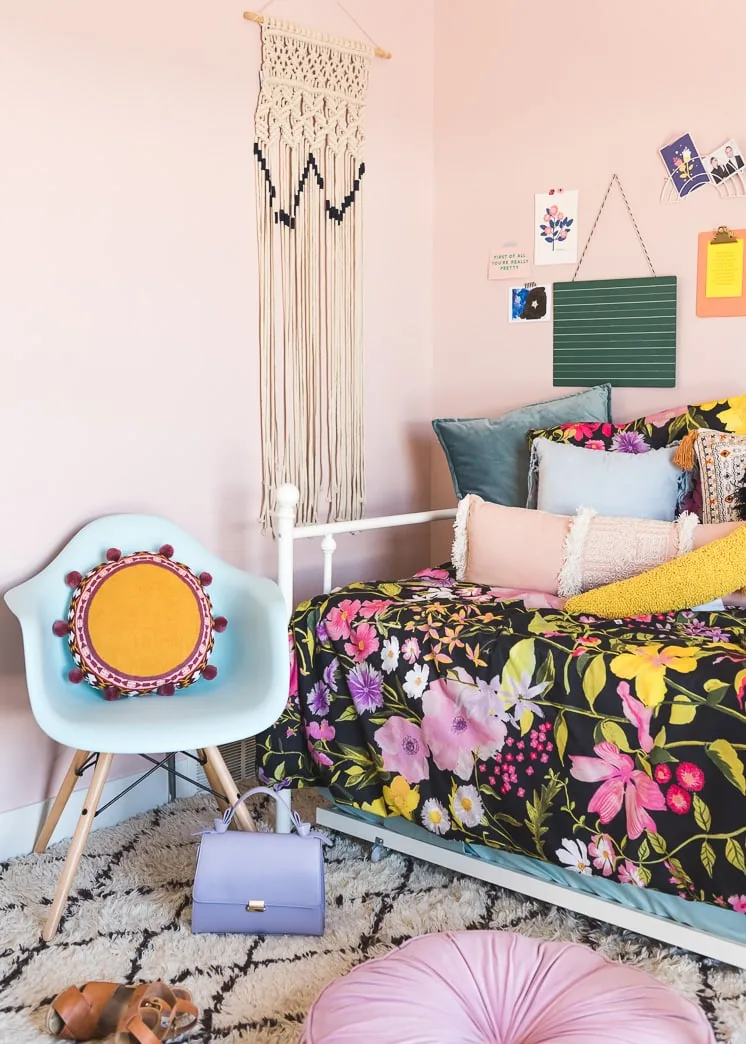
A Lars Girl’s Back to School Guide

Customizable Father’s Day Portrait
- 1
- 2
- 3
- …
- 5
- Next Page »