

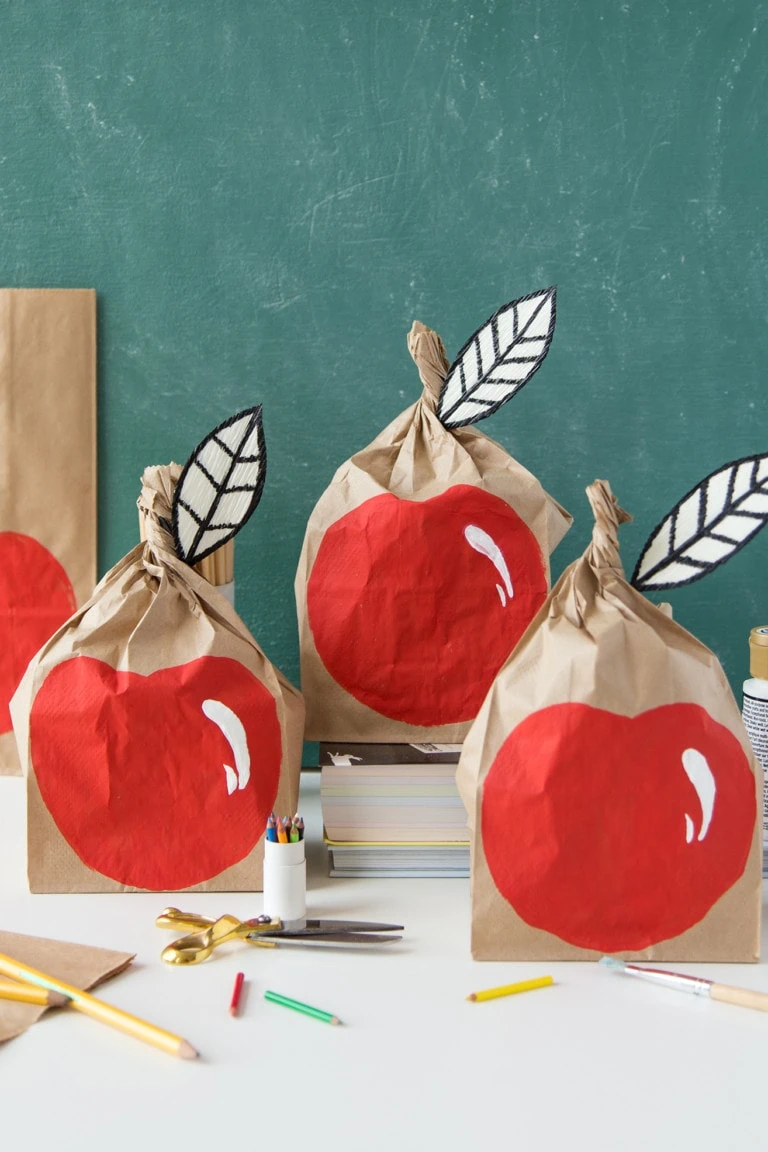
Back to school crafts
Handmade gift ideas for Mother’s Day
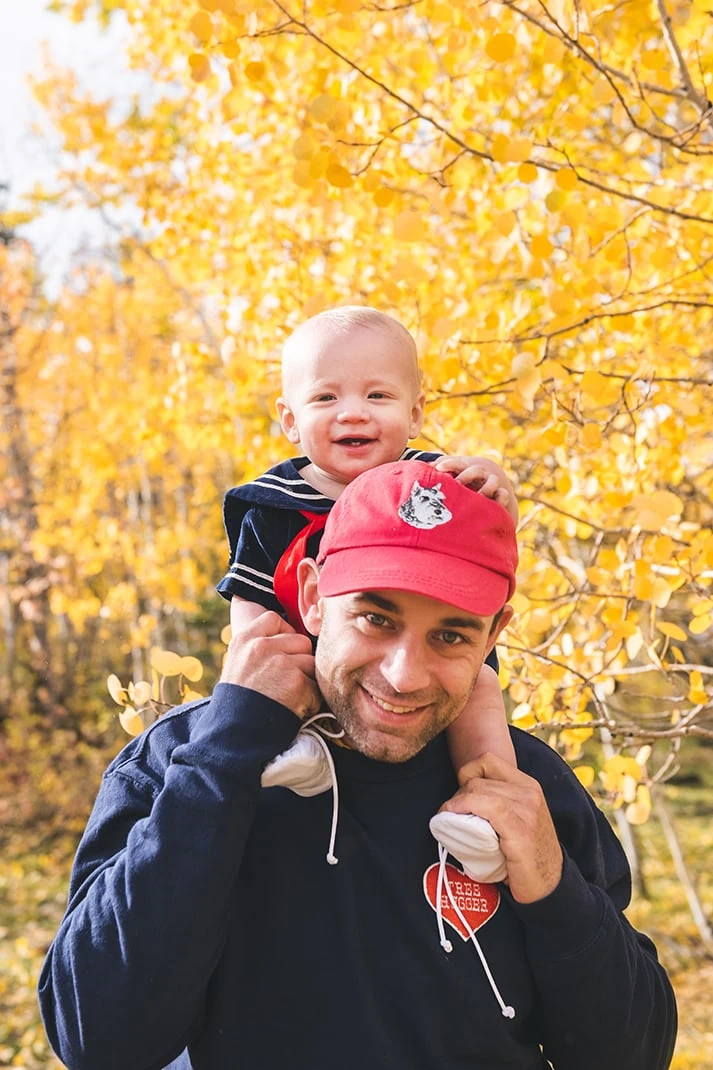
Handmade Gift Ideas for Father’s Day
10 Crafts to celebrate Earth Day
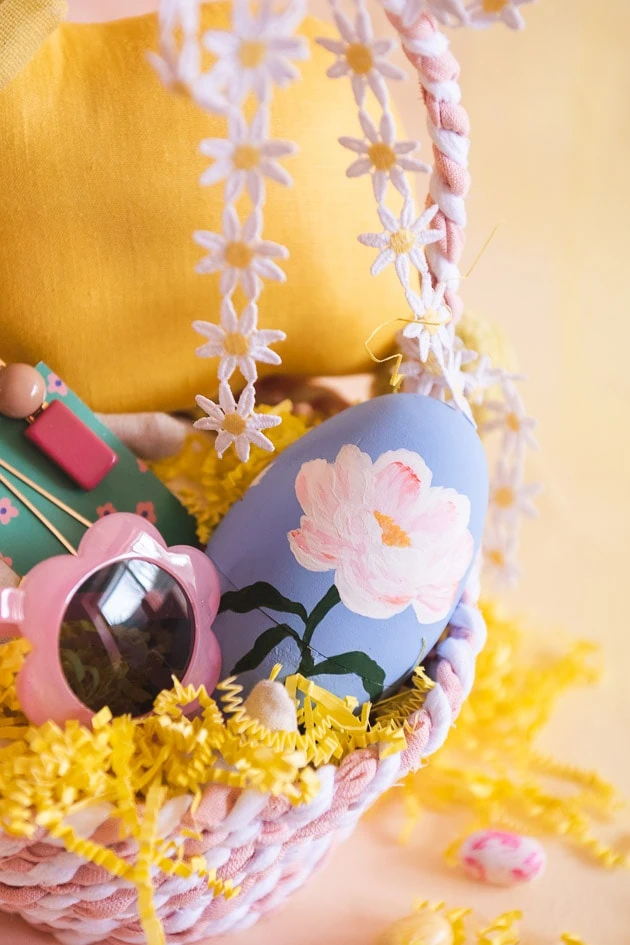
Easter Crafts
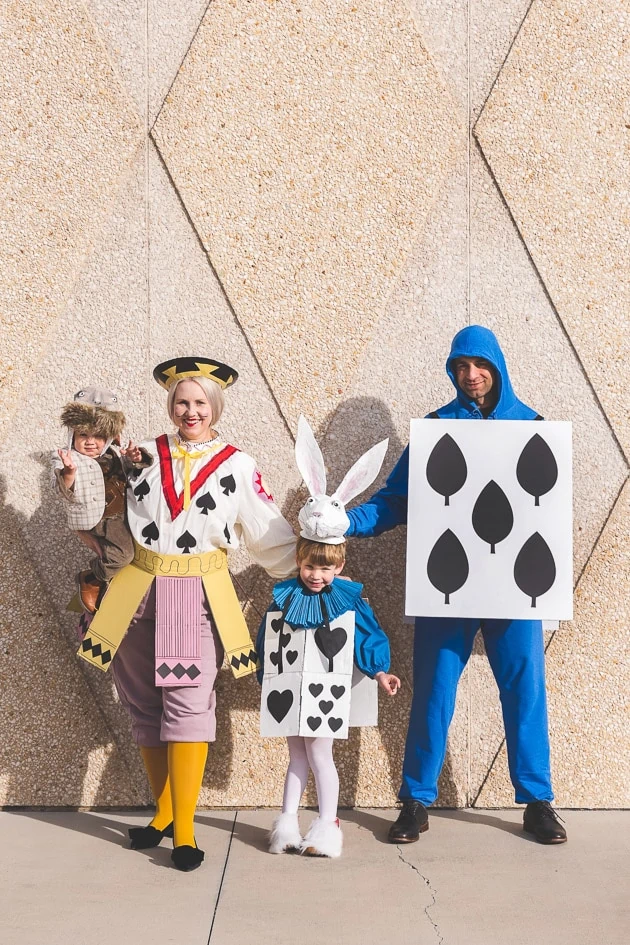
Alice in Wonderland Family Costumes

Easy Halloween Ideas From Our Shop
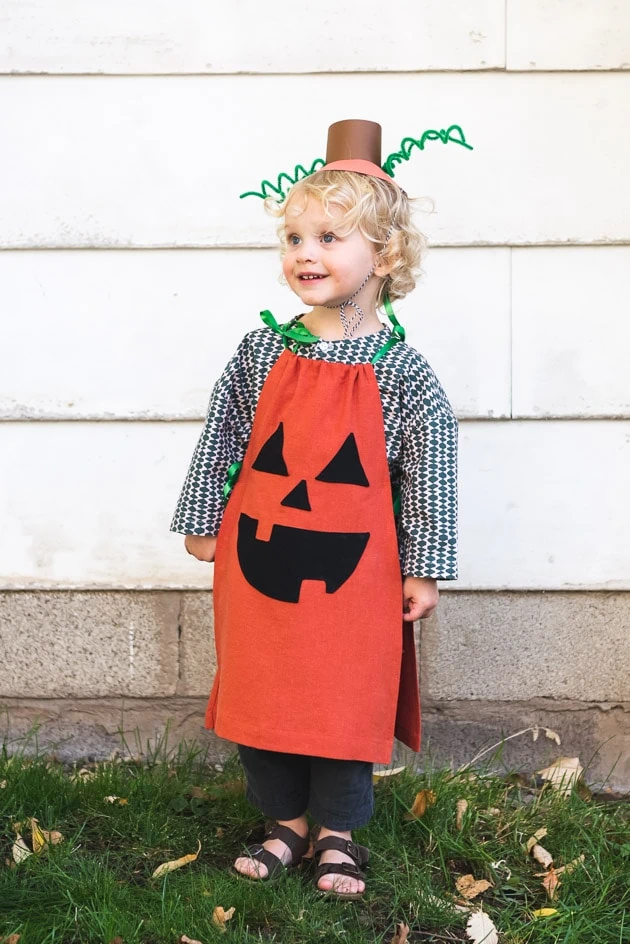
Classic Halloween Costumes
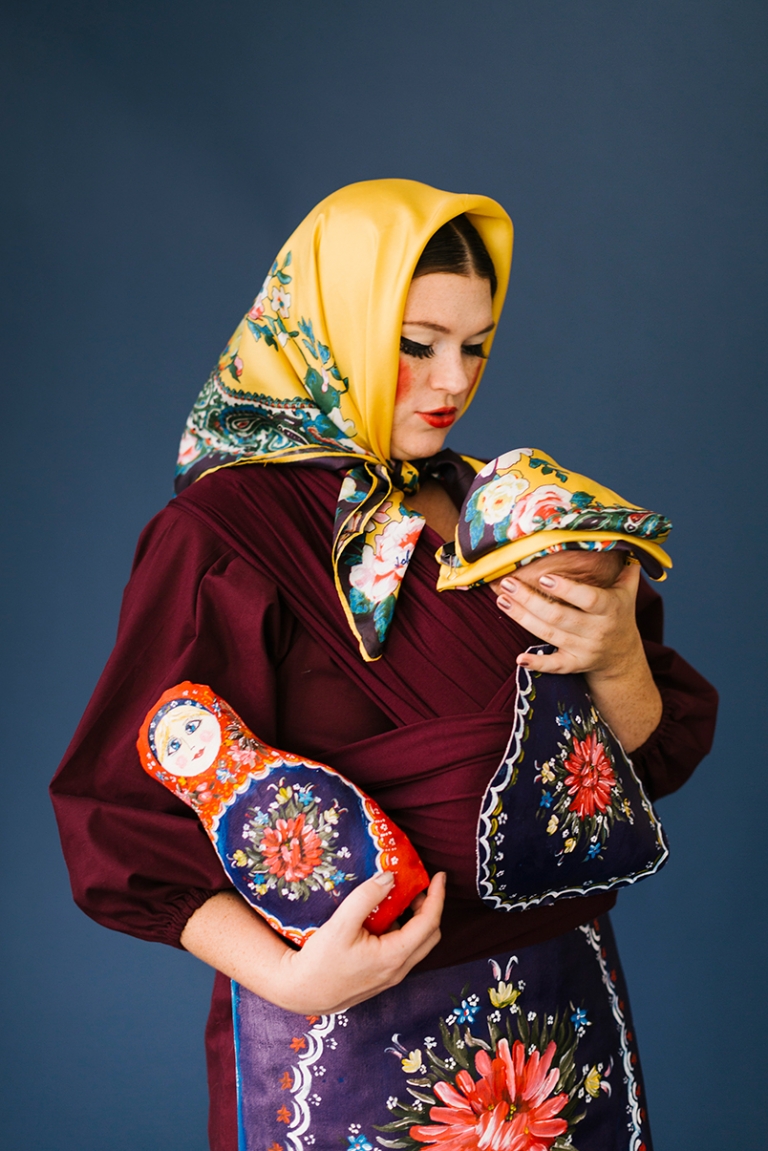
Mommy and Me Halloween Costumes
Are you scared of color?
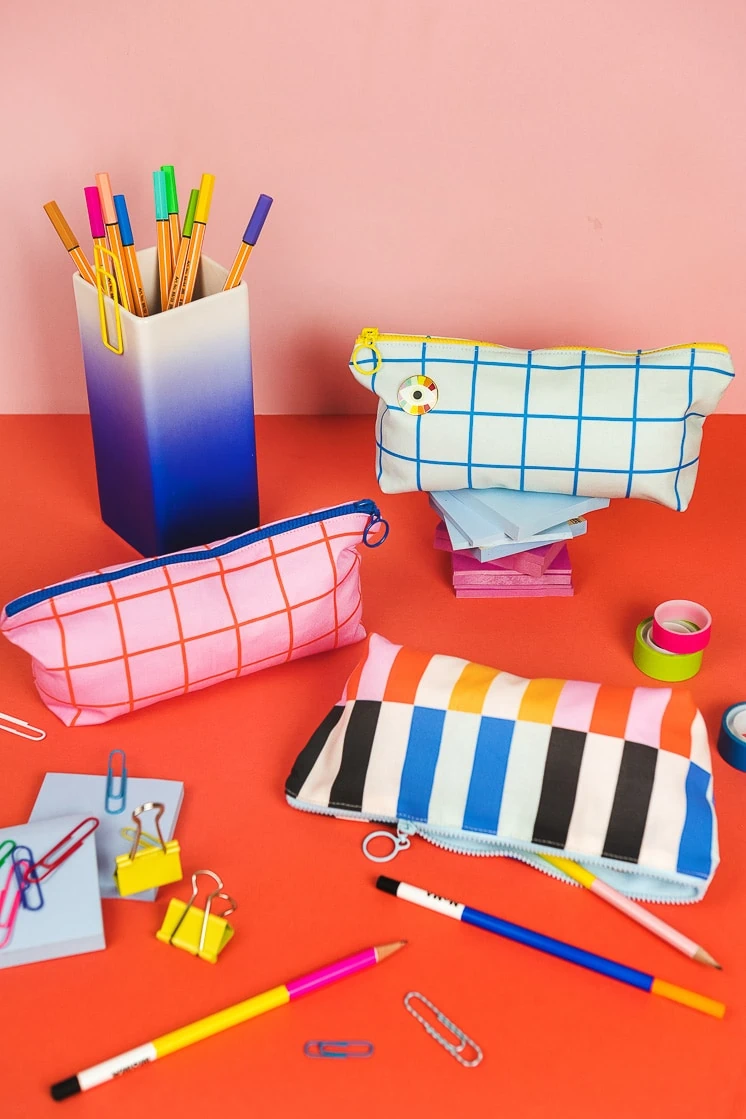
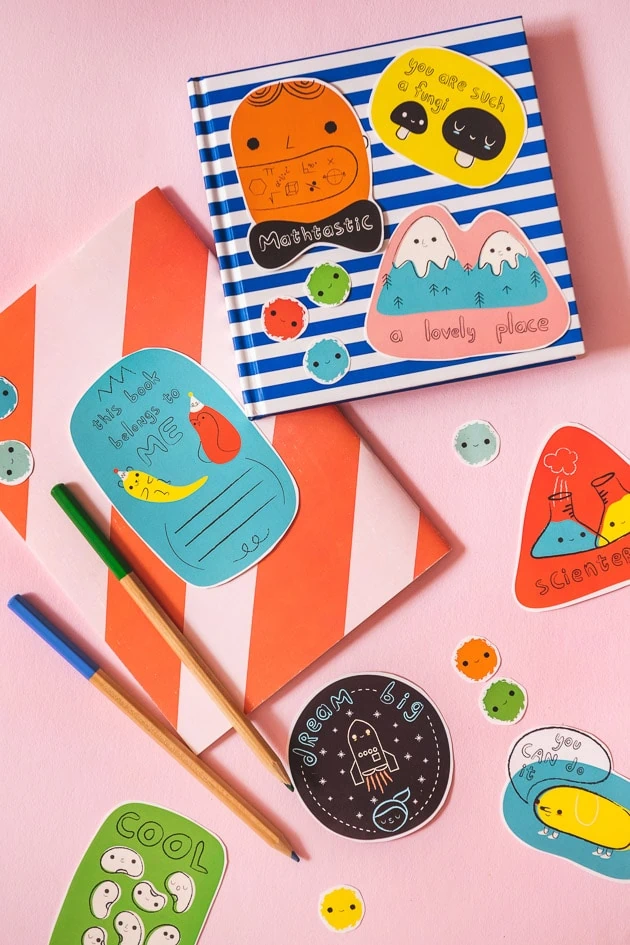
DIY Pencil Case
78 Creative Summer Homeschool Activities For Kids
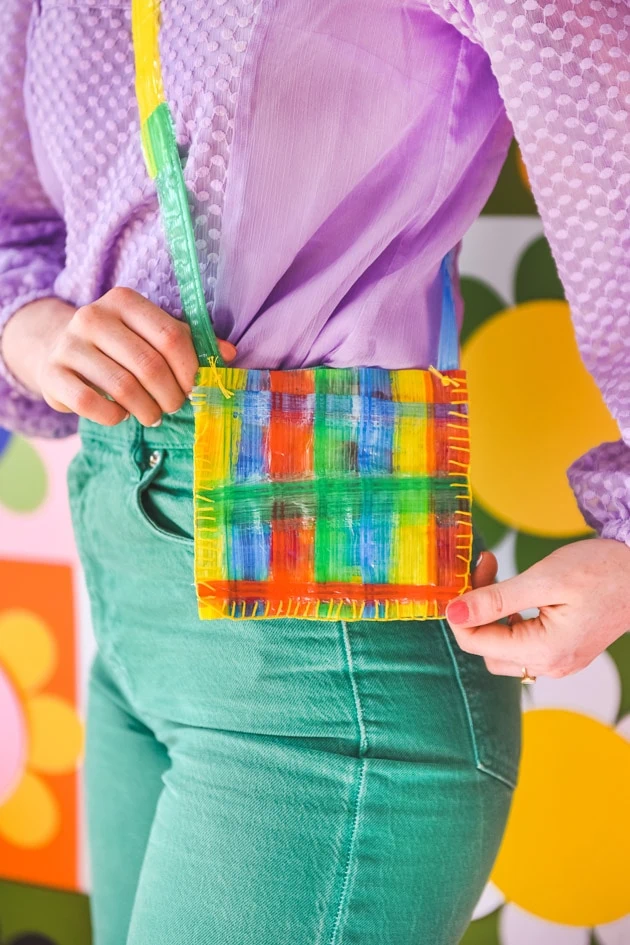
Camp Lars: Fusible Plastic Bags

DIY Custom Puzzles
Camp Lars: Summer Activities for Kids

Cake Topper Sparklers
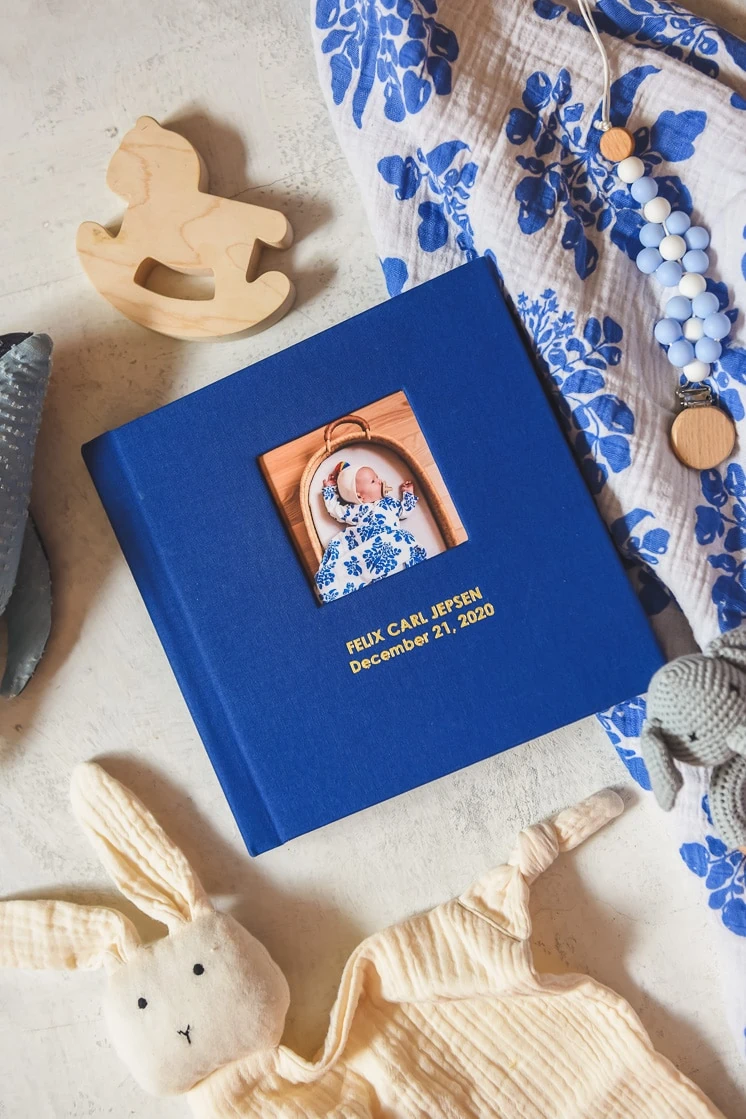
Felix’s First Photo Book with Printique

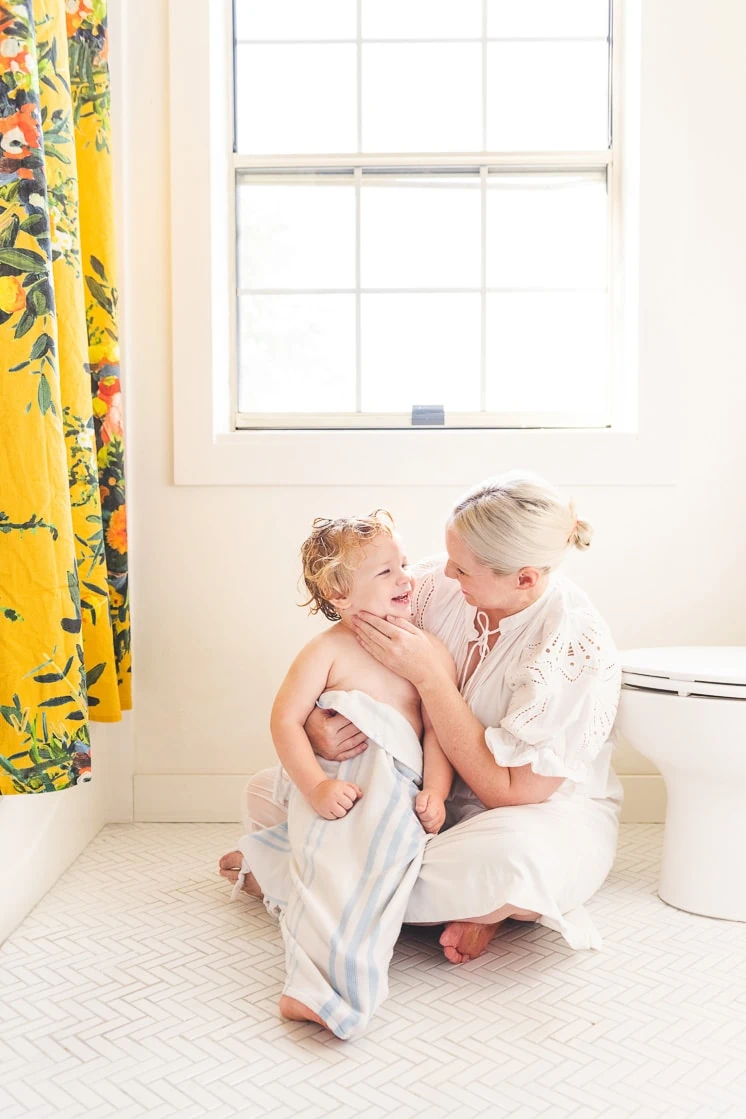
Laundry Room Makeover with Delta Faucet

Customizable Father’s Day Portrait

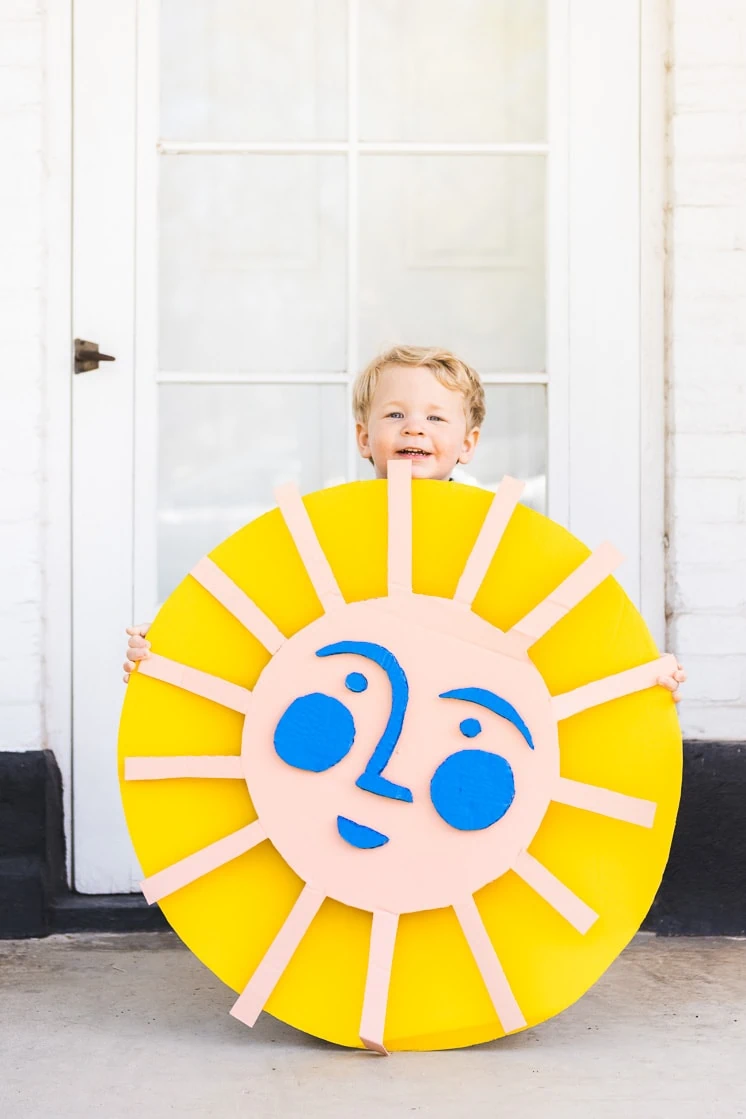
Eight Crafts to do with Leftover Cardboard
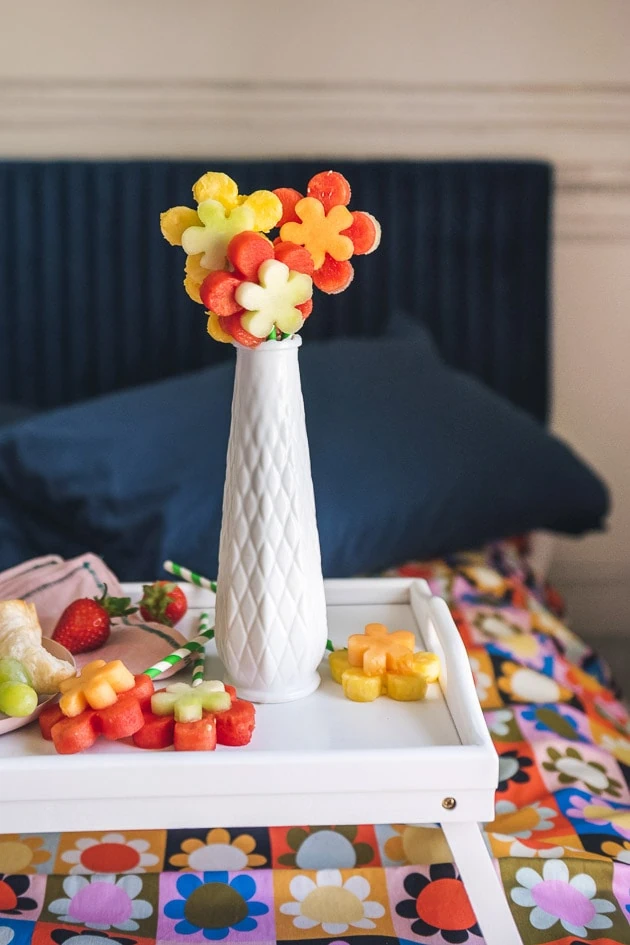
Mother’s Day Breakfast in Bed
Things To Do For Mom

Easter Outfits 2022
- 1
- 2
- 3
- 4
- Next Page »