The House That Lars Built
an artful life
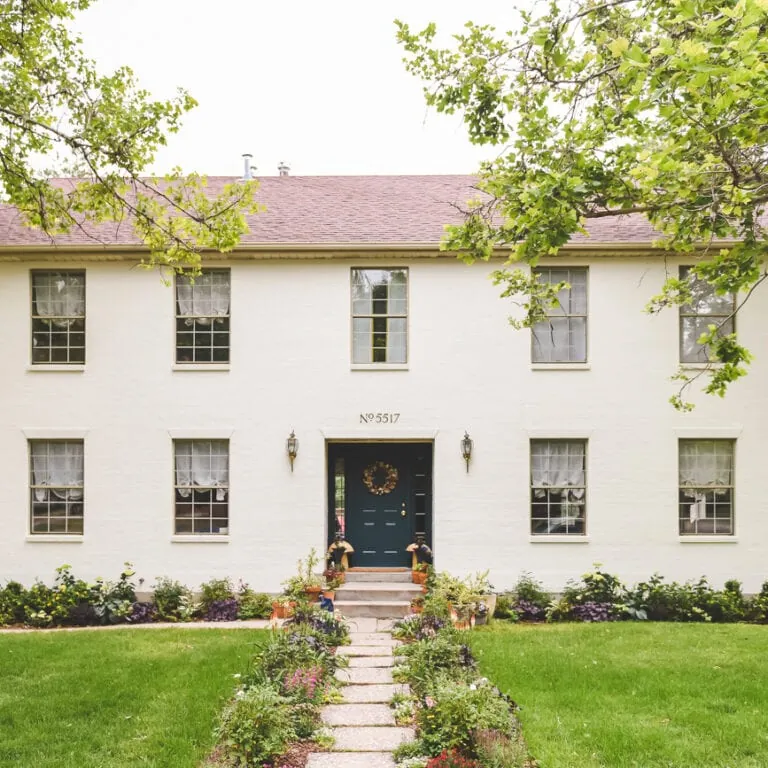
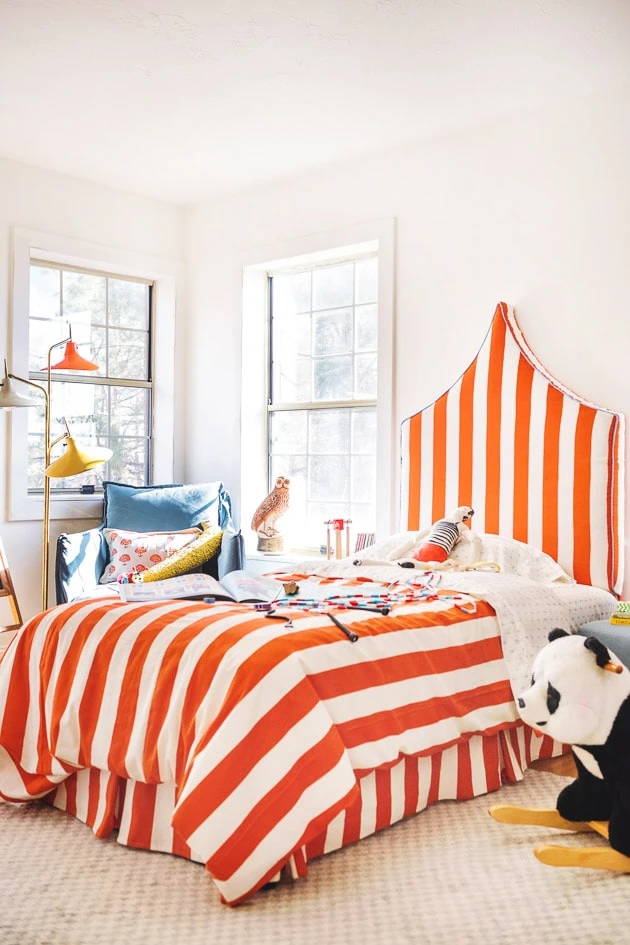
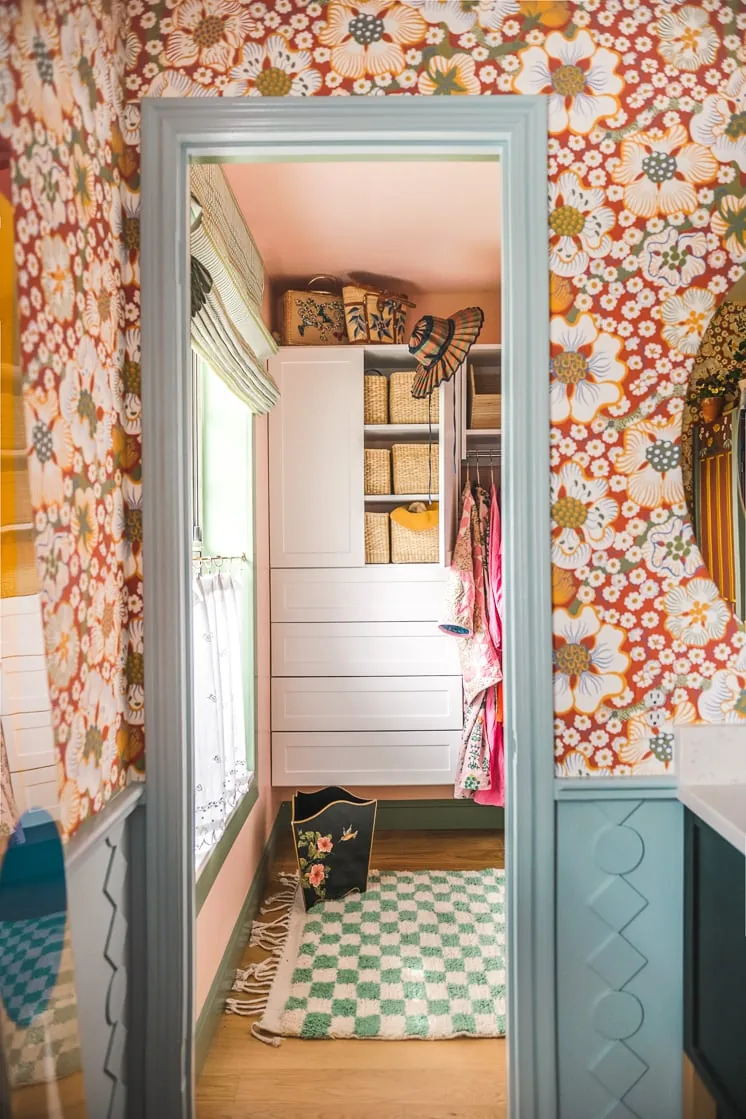
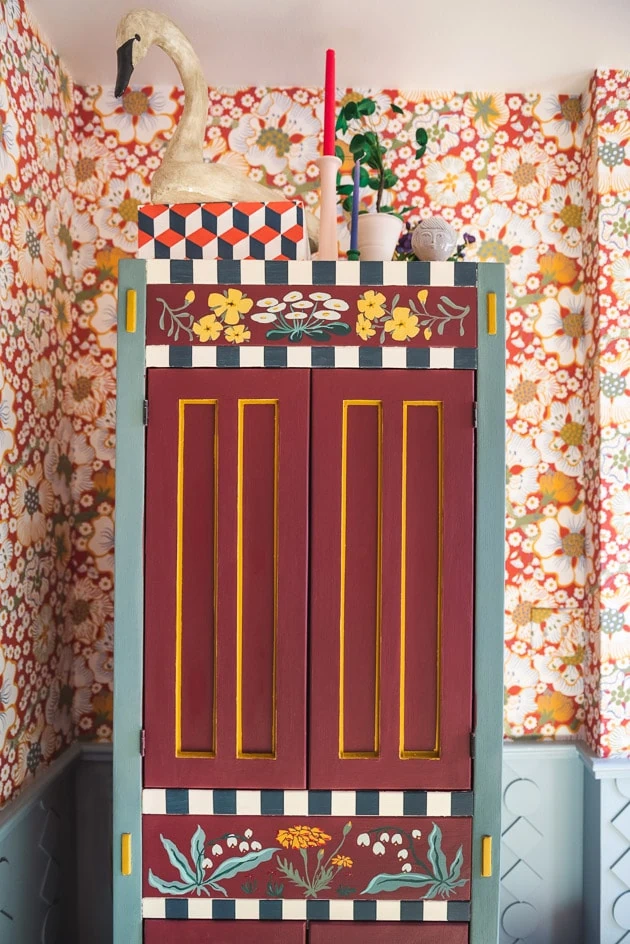
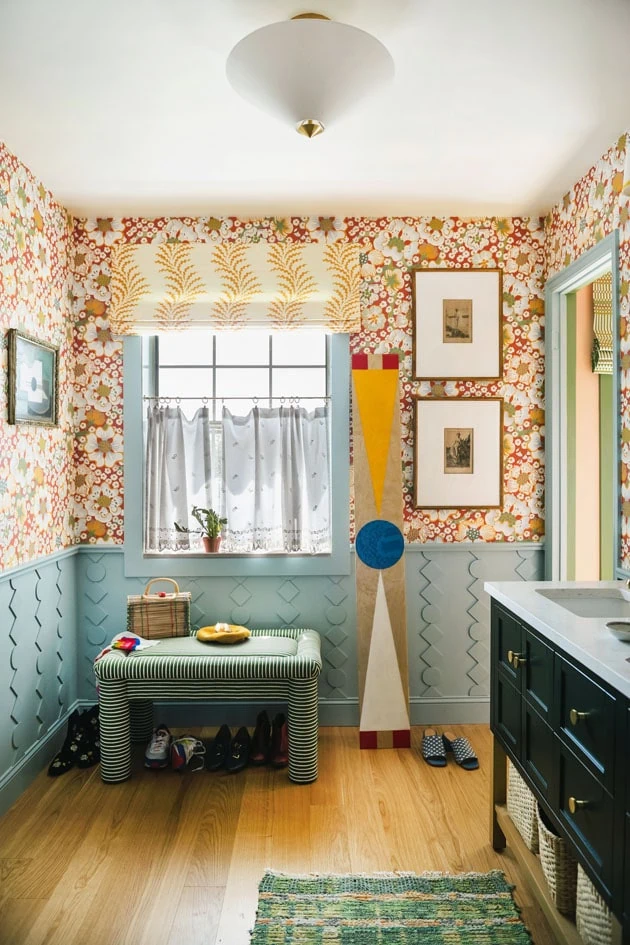
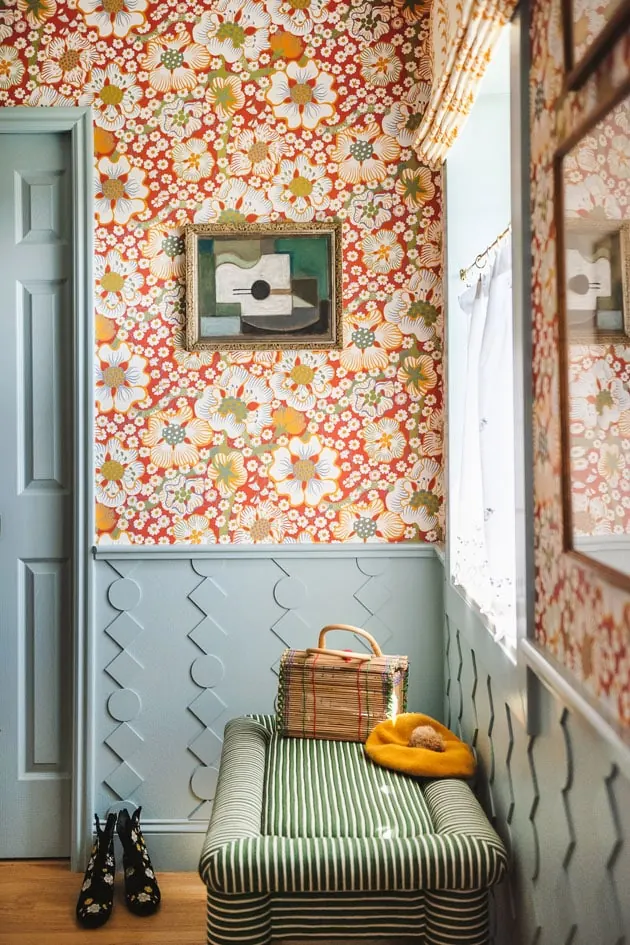
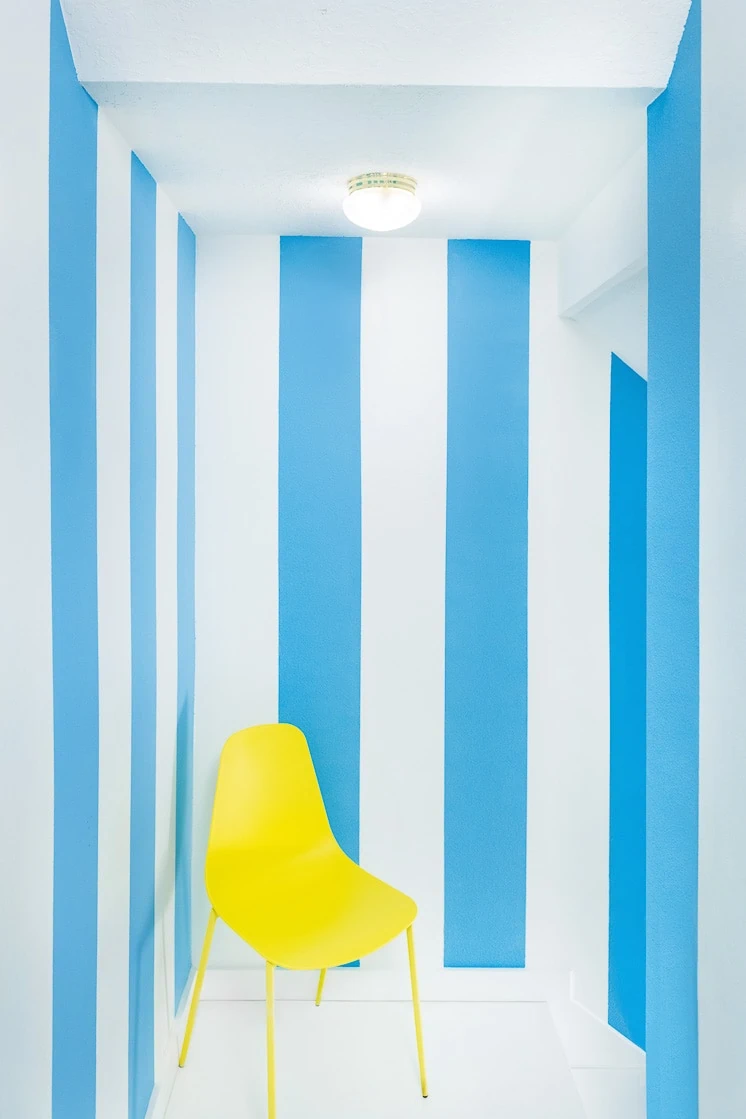
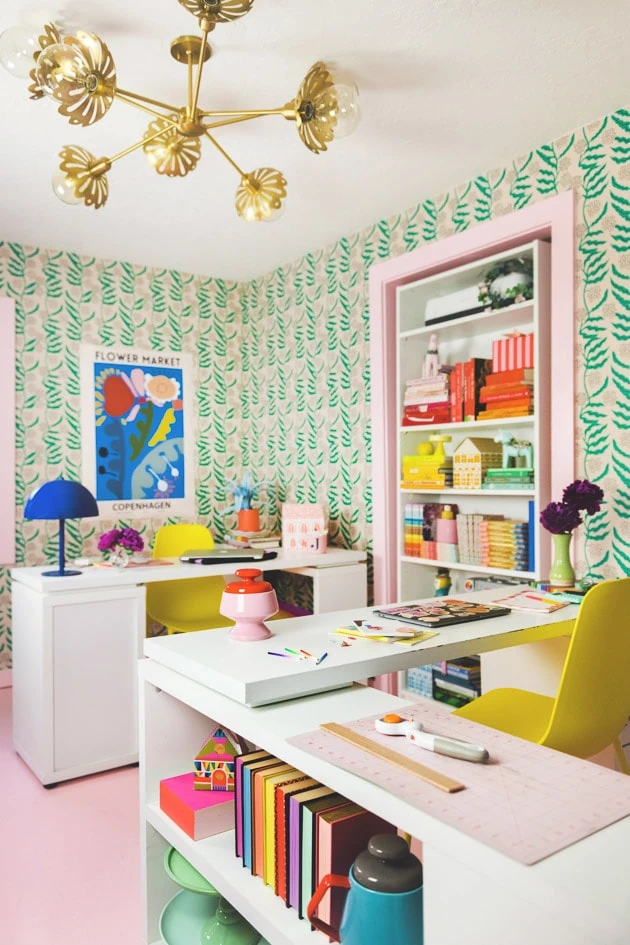
All Posts / Decor & Interiors / Before and After Makeover
Δ