

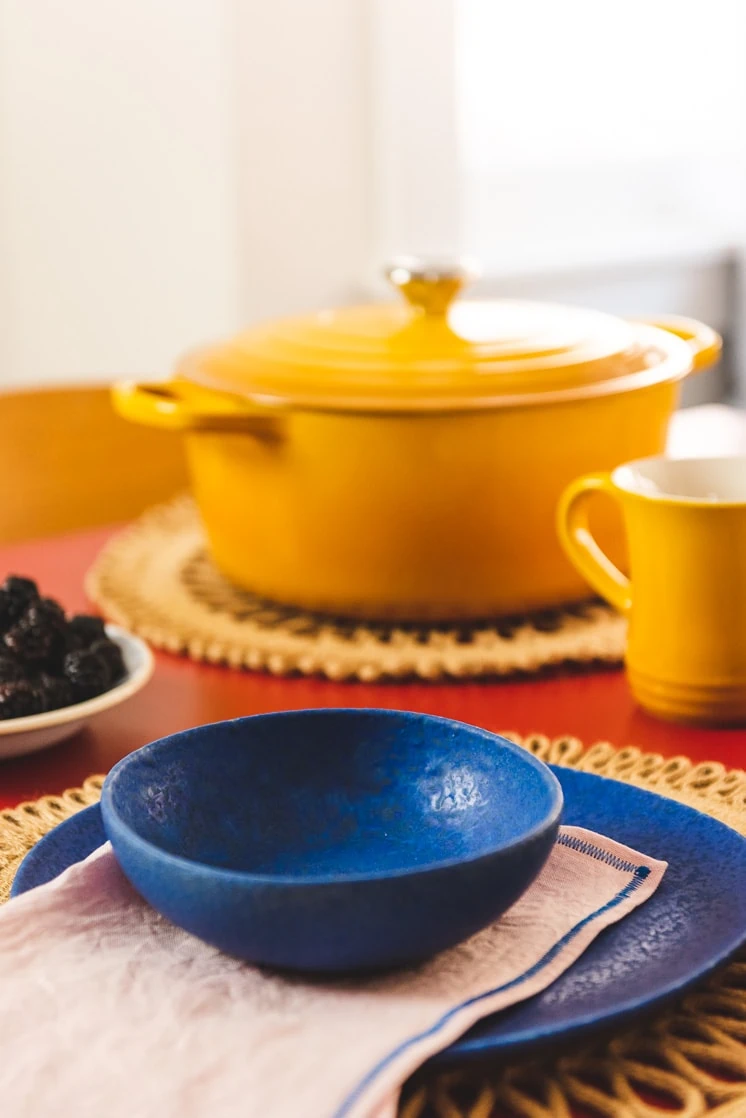
I’ve been an influencer for 16 years, here are the products I still use
Our new electric fireplace
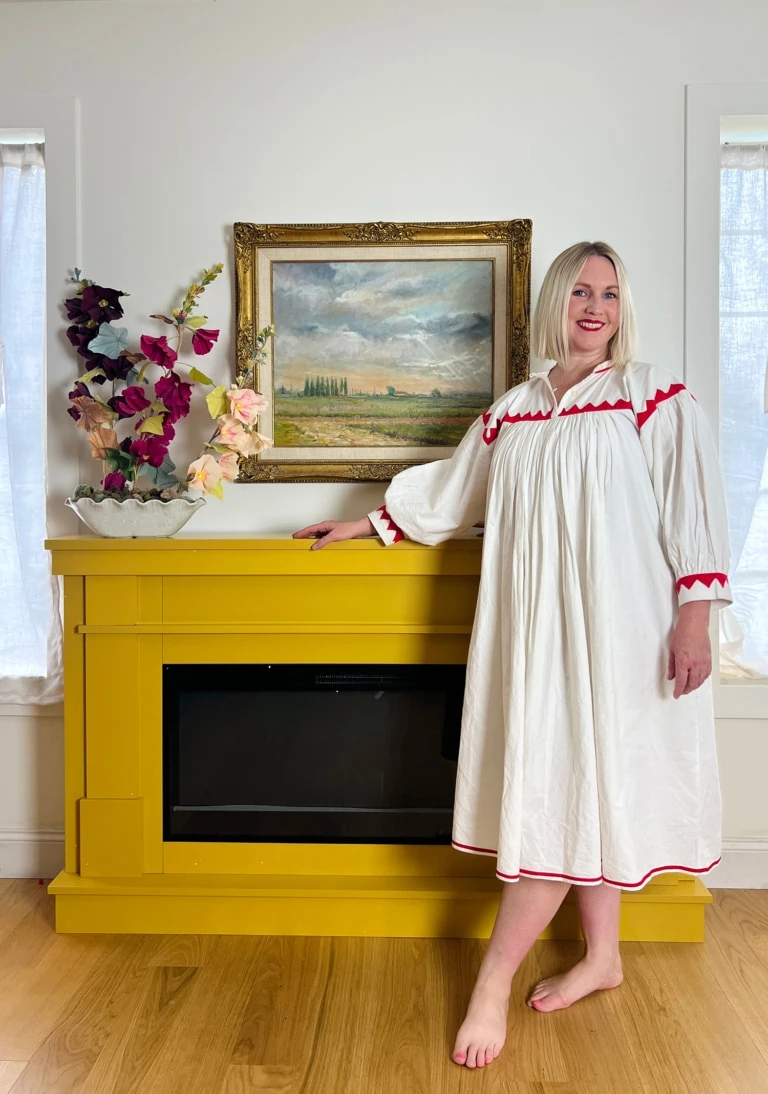
An update–New territory for Lars
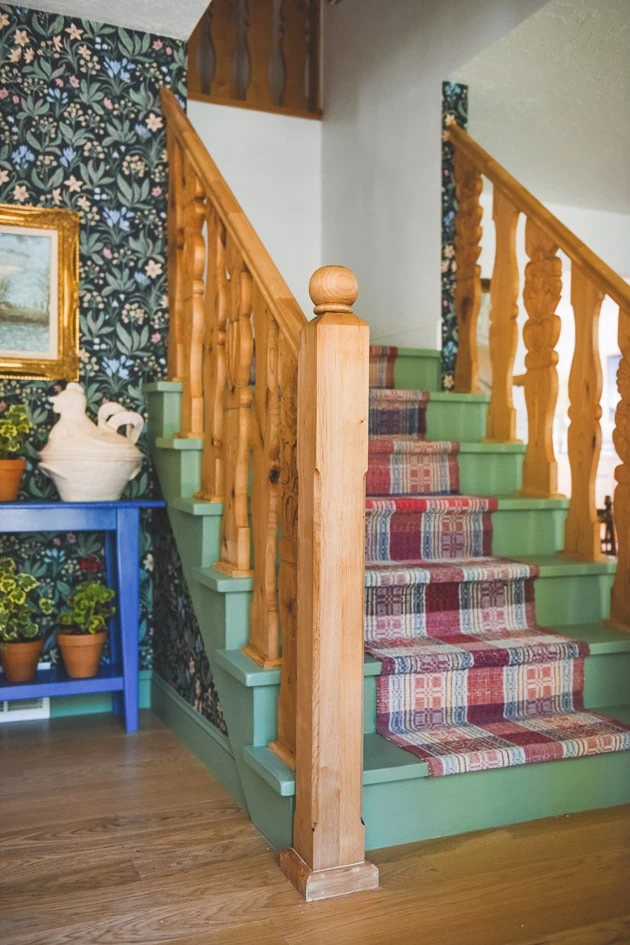
Things I regret about our staircase renovation
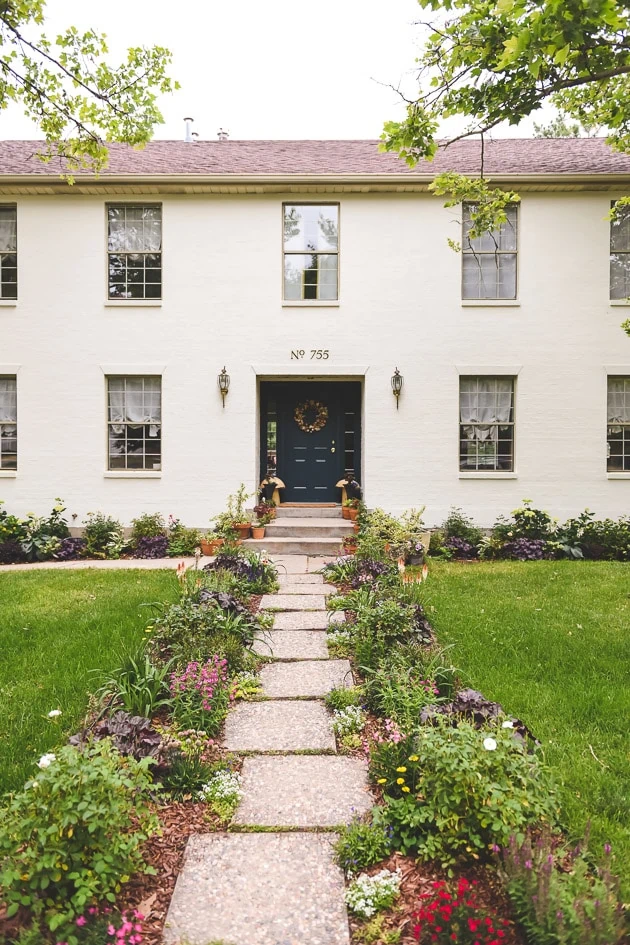
Painting our brick house white
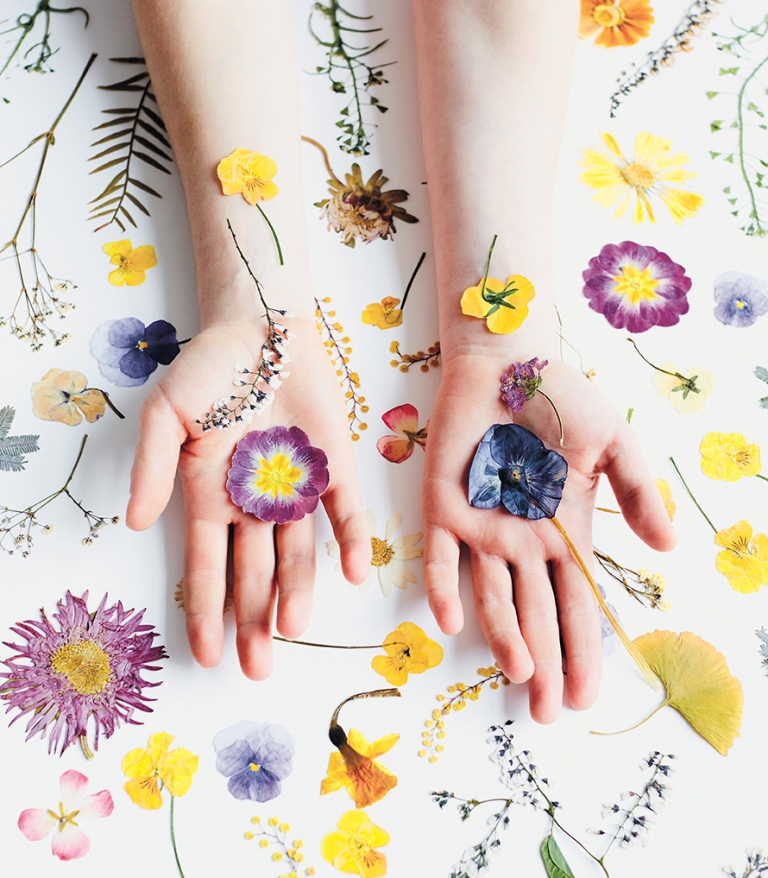
8 projects to make with fresh flowers
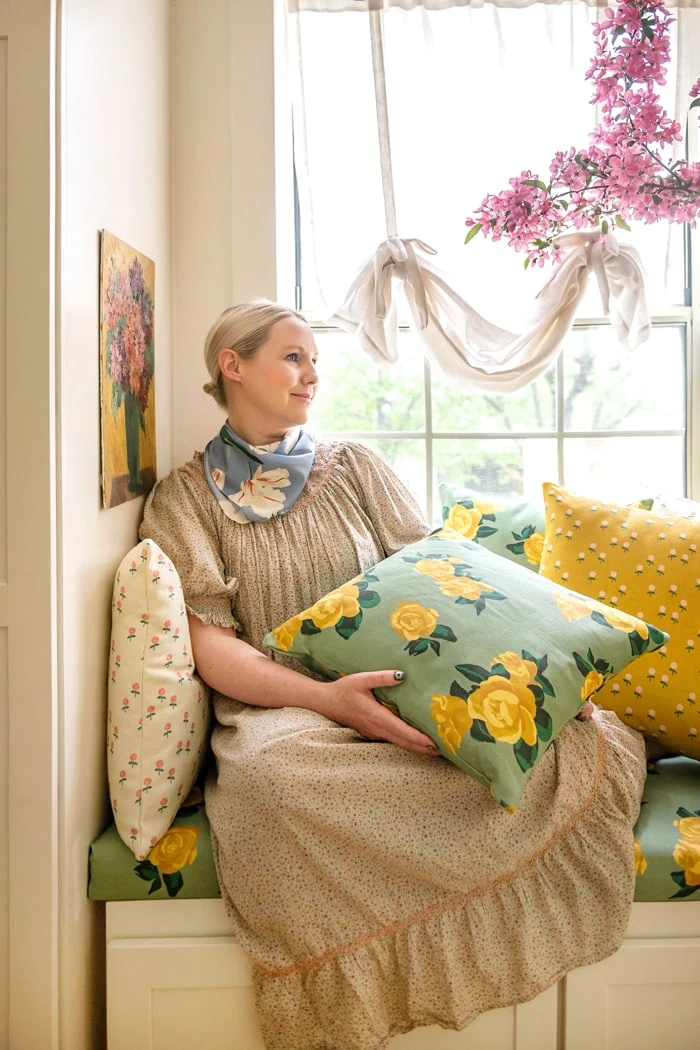
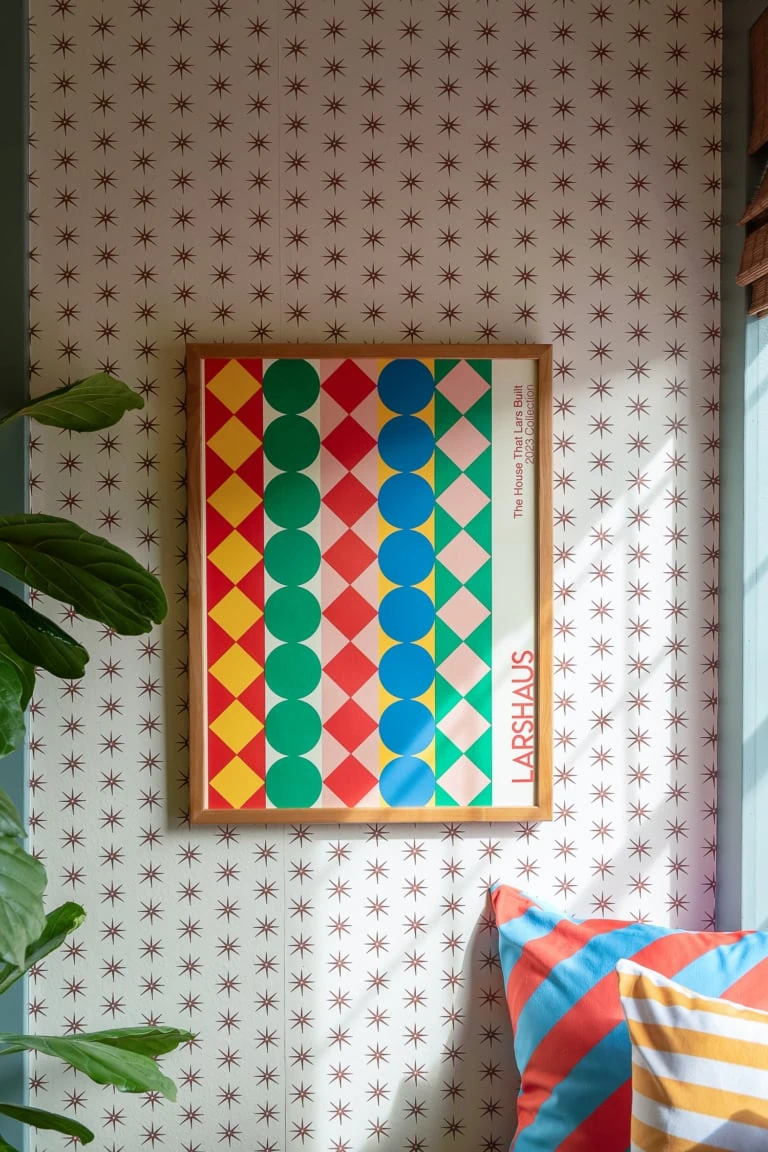
Granny’s Garden: Our new fabric and wallpaper collection
5 ways to bring your family history into your home
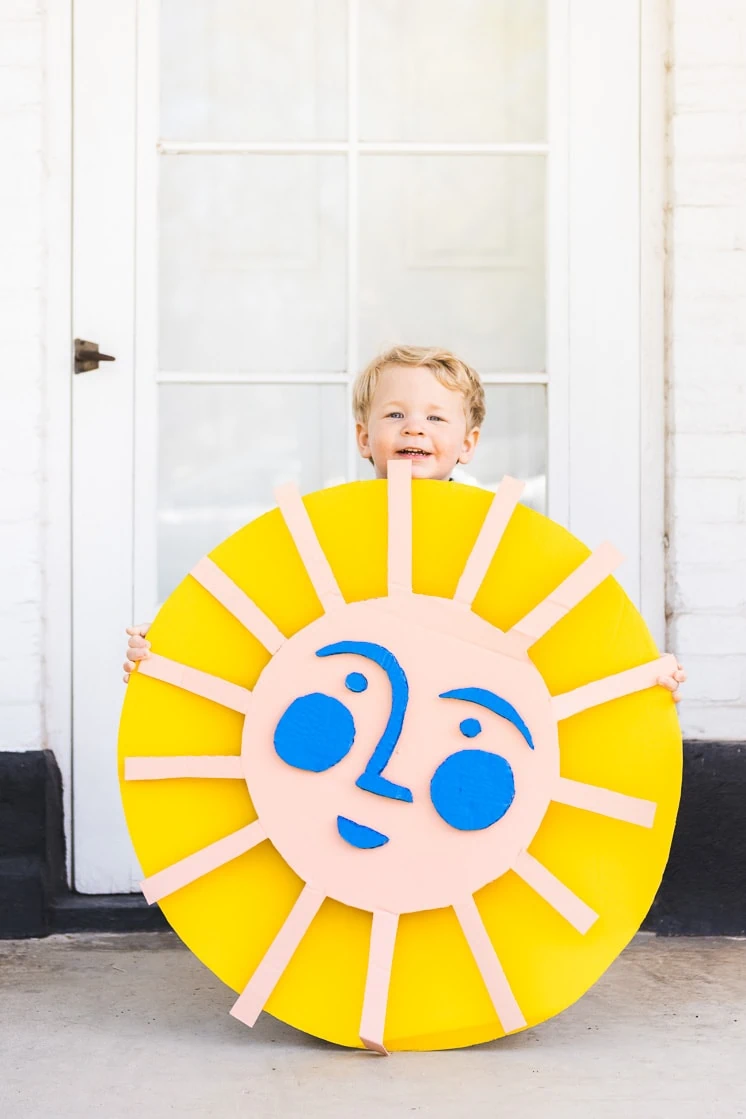
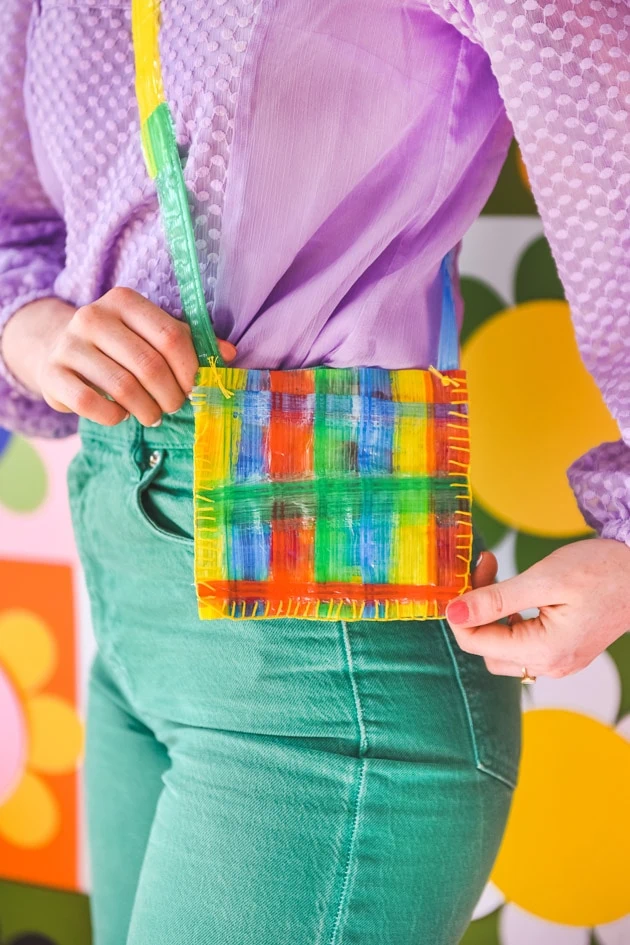
10 Crafts to celebrate Earth Day
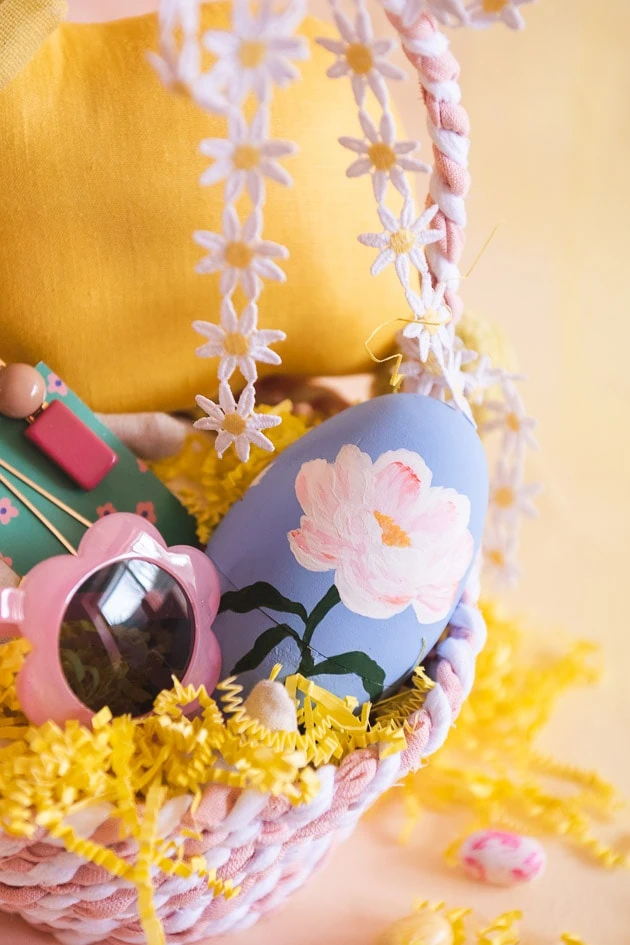
Easter Crafts
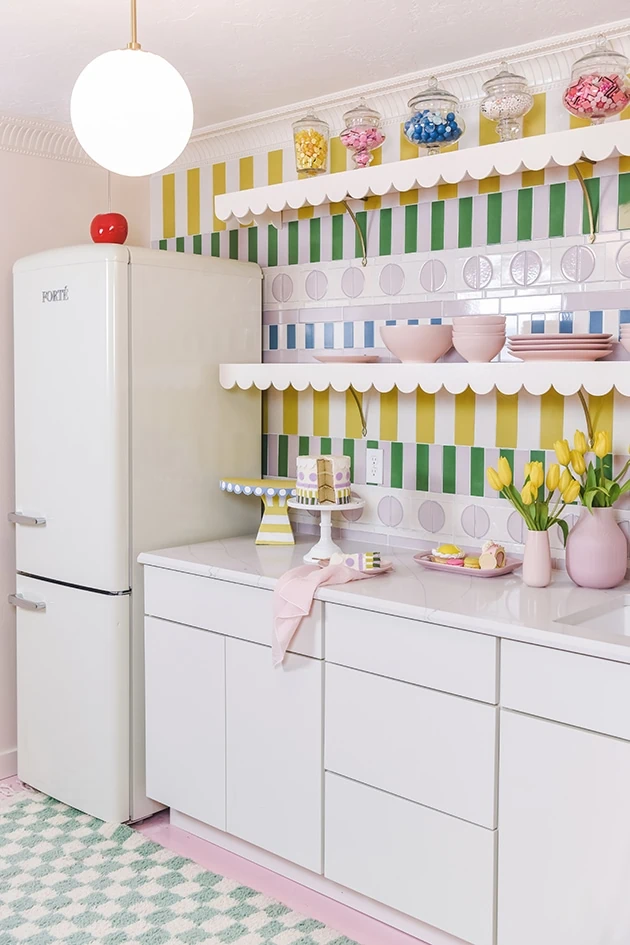
Cake-inspired tiled studio kitchenette
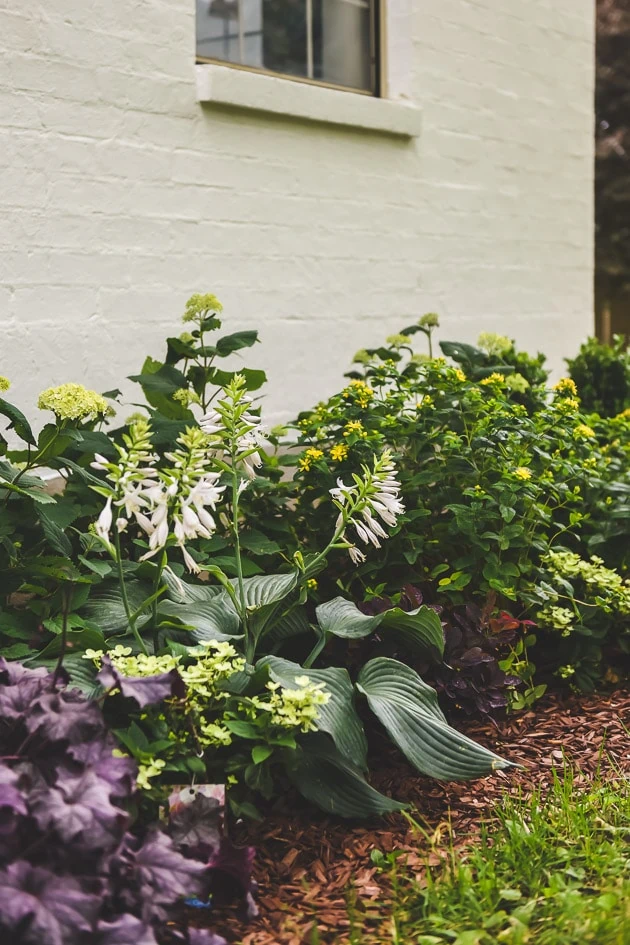
Drought tolerant cottage garden
Becoming Danika Herrick
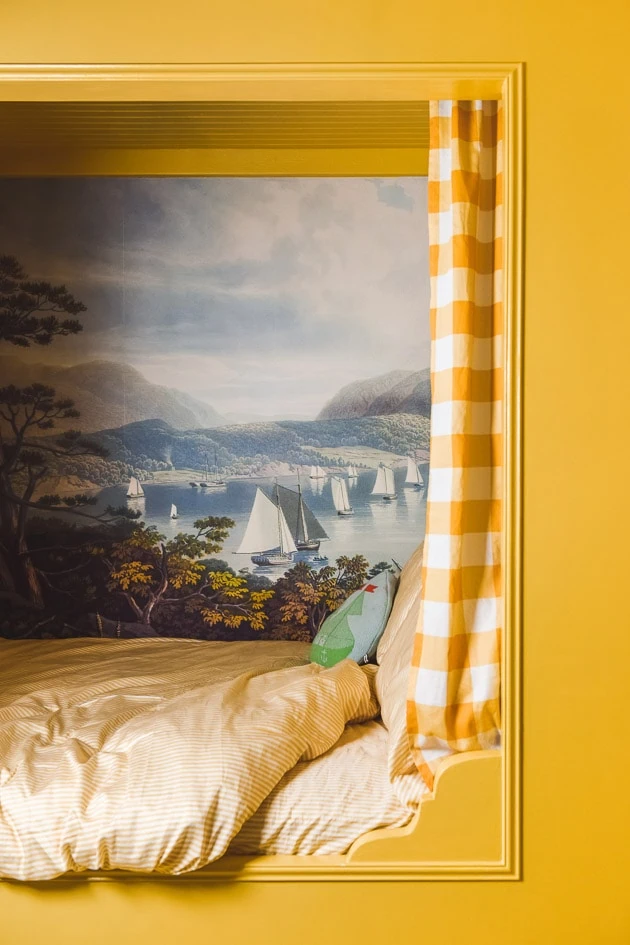
How to make an alcove bed

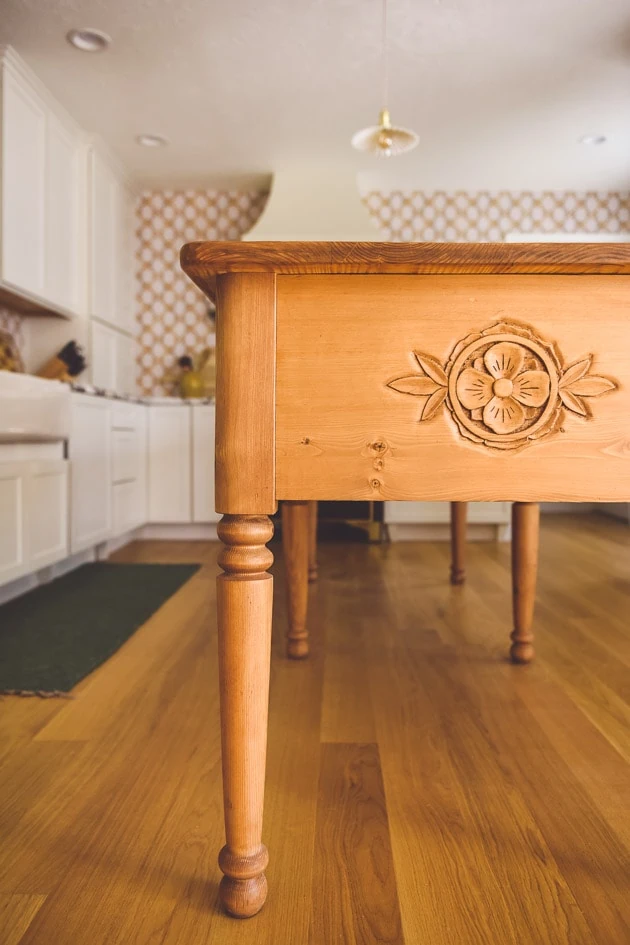
Carved flower balusters
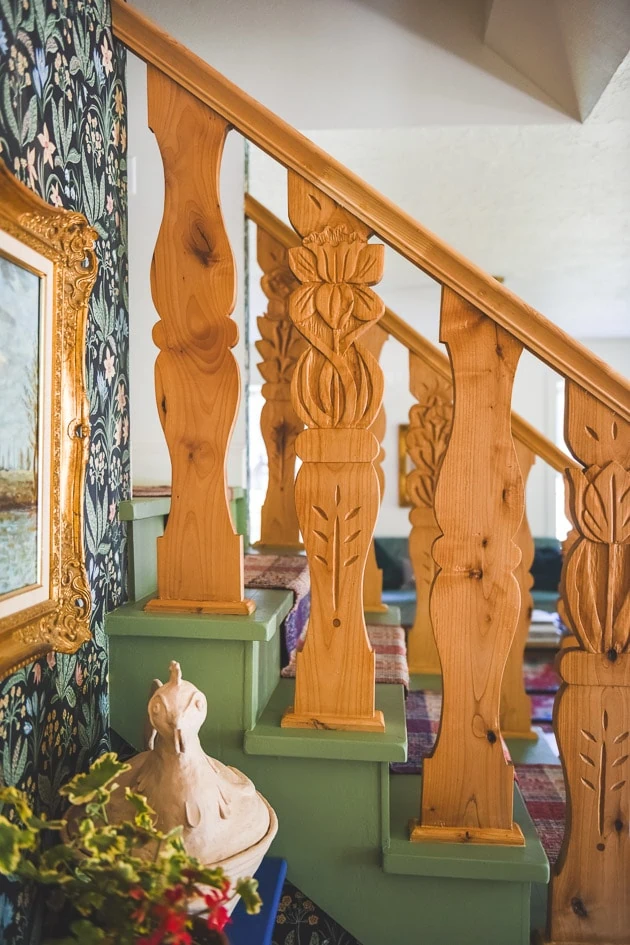
A Scandinavian-folk inspired staircase
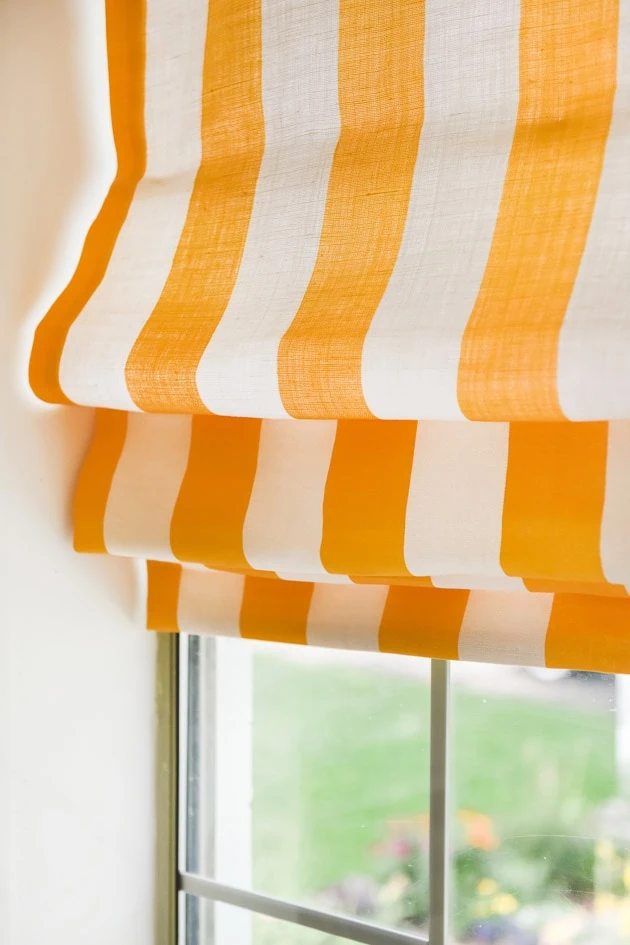
DIY Roman Shades
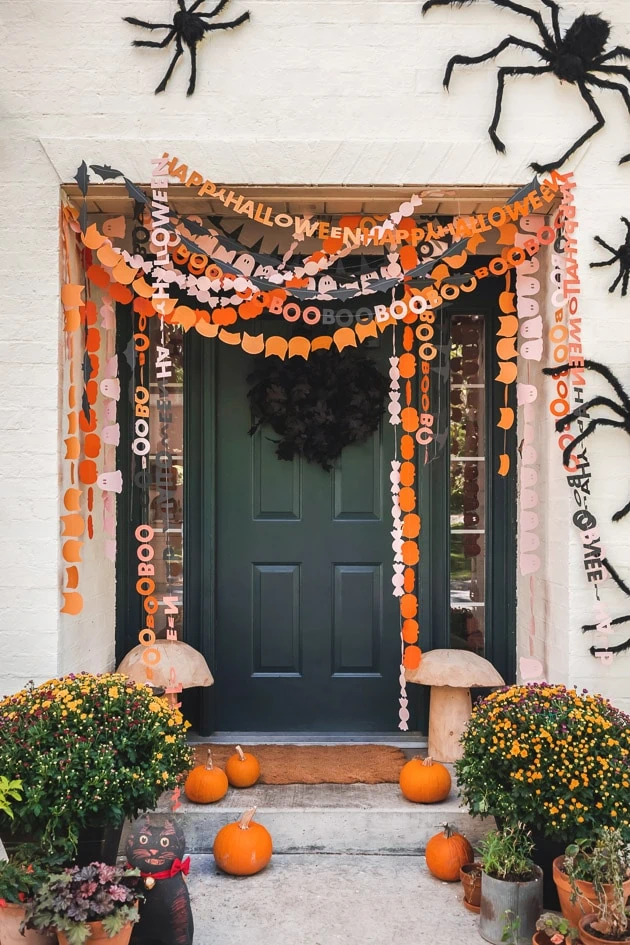
Halloween Garland
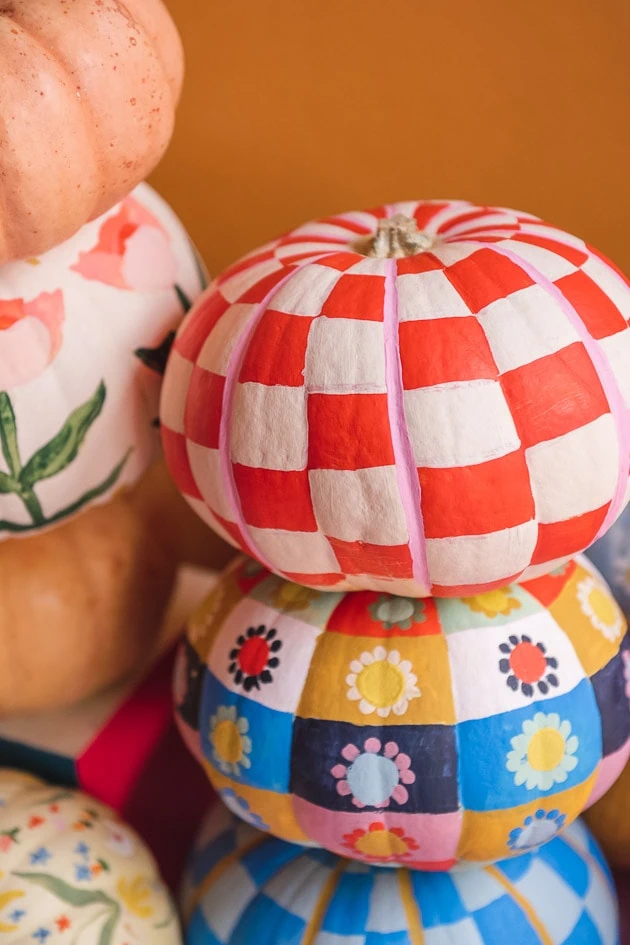
Halloween Pumpkin Ideas
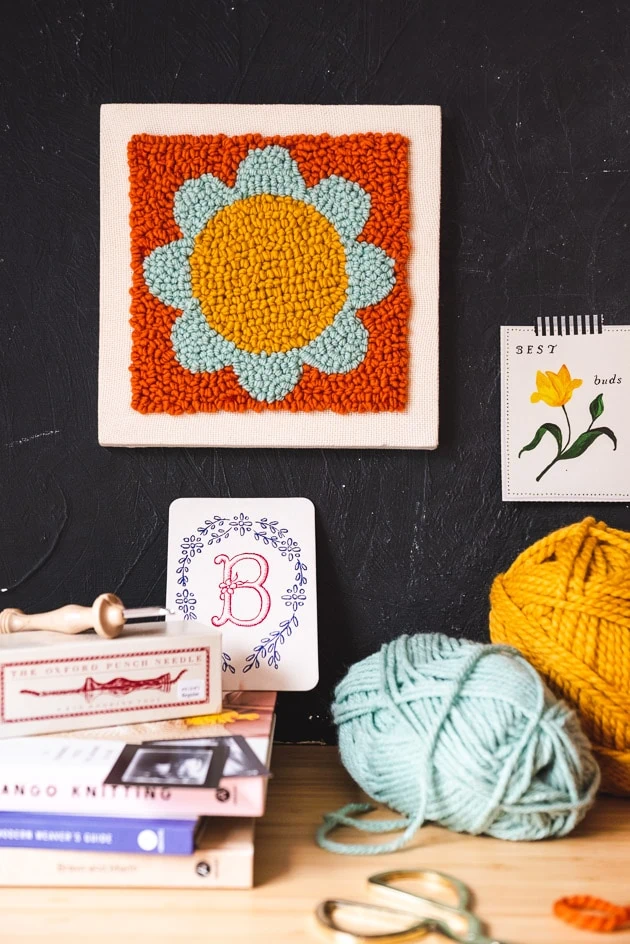
Punch Needle Wall Art
A Lars Girl’s Back to School Guide
Camp Lars: Fusible Plastic Bags
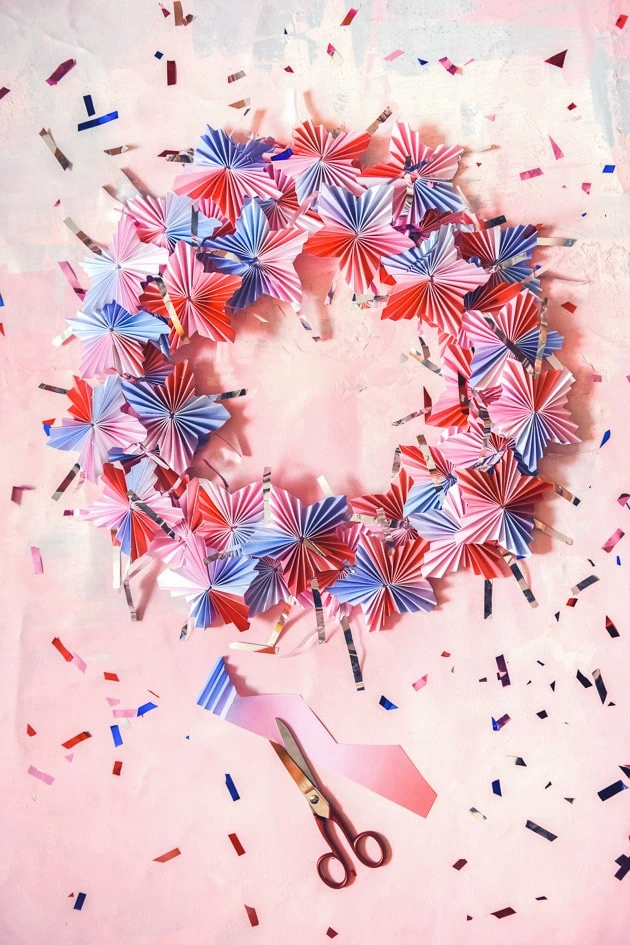
Fourth of July Wreath
- 1
- 2
- 3
- …
- 6
- Next Page »