


Pride and Prejudice Puzzle Purse
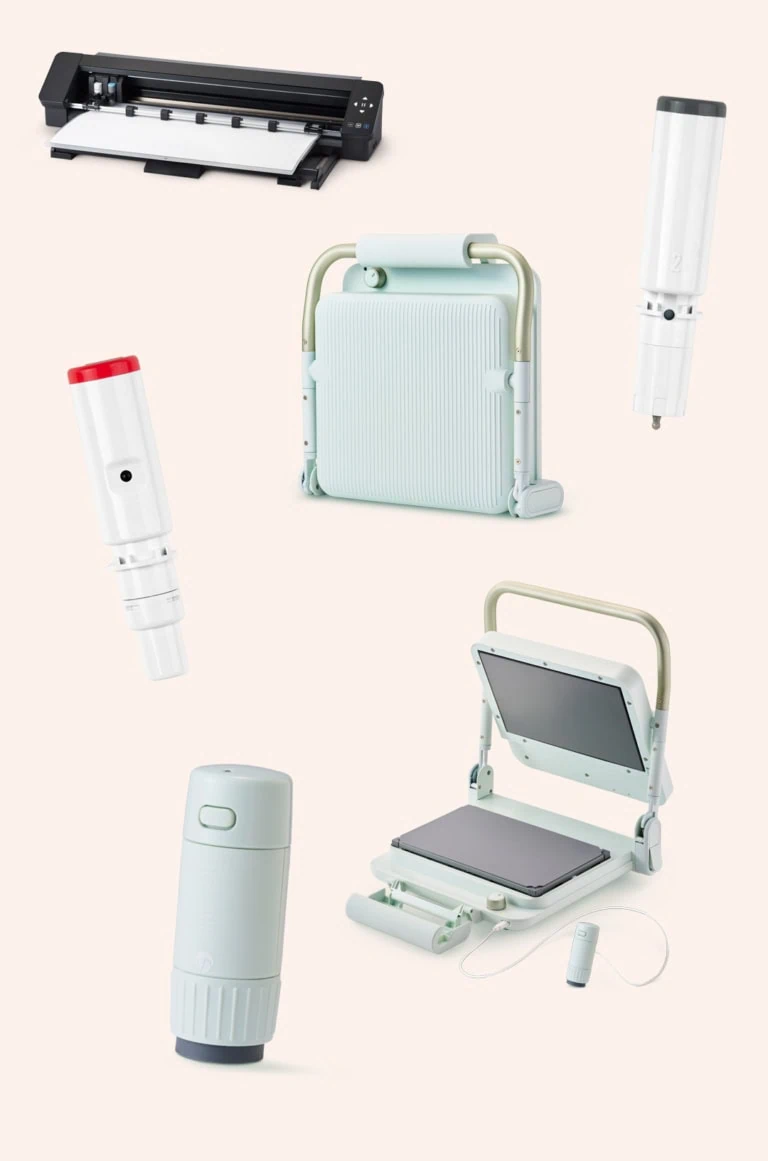
7 new Silhouette tools I’m loving

Handmade gift ideas for Mother’s Day
Summer Printables

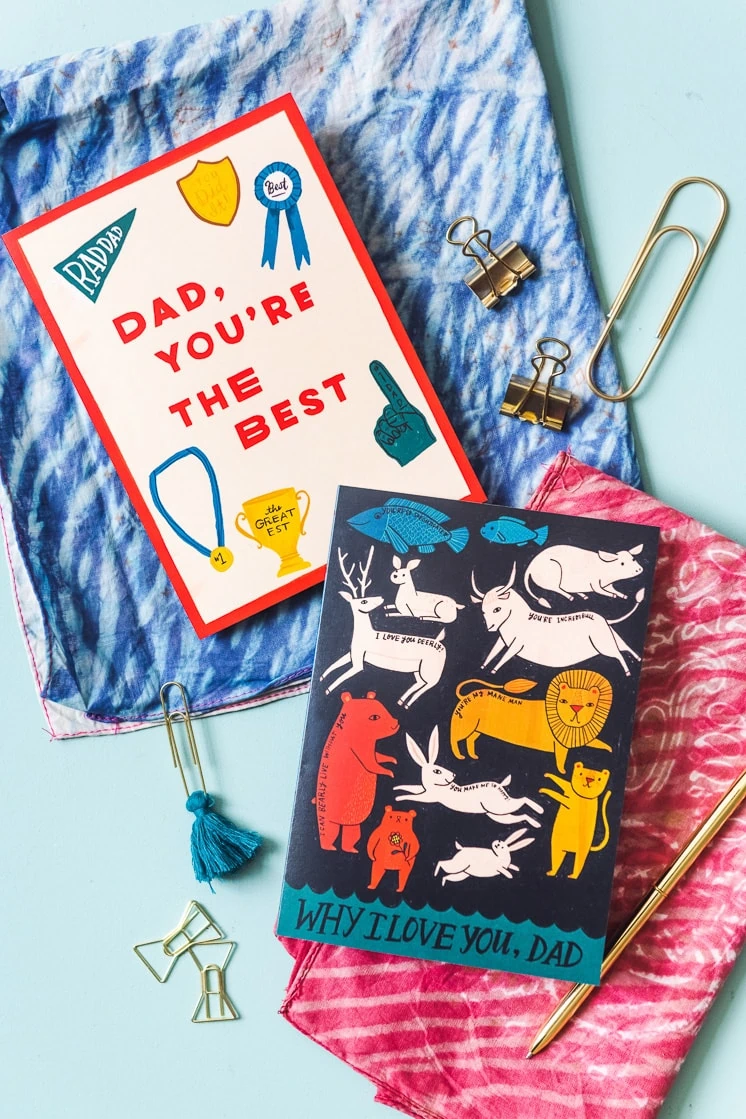
Handmade Gift Ideas for Father’s Day
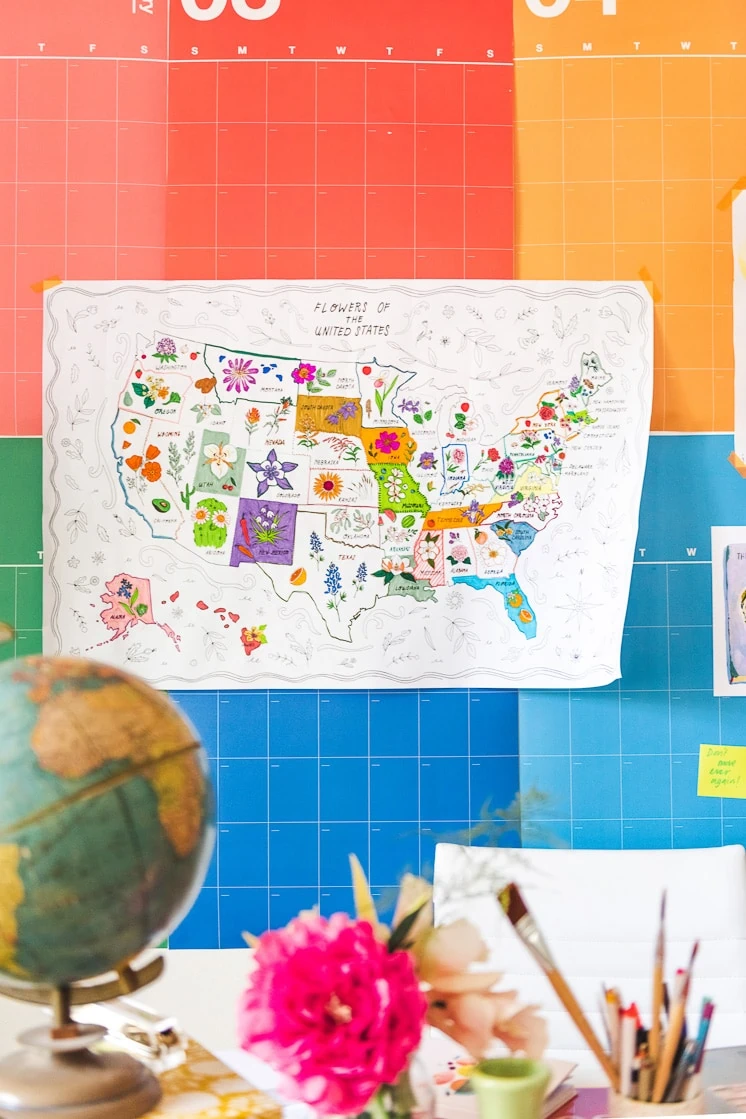
10 Crafts to celebrate Earth Day
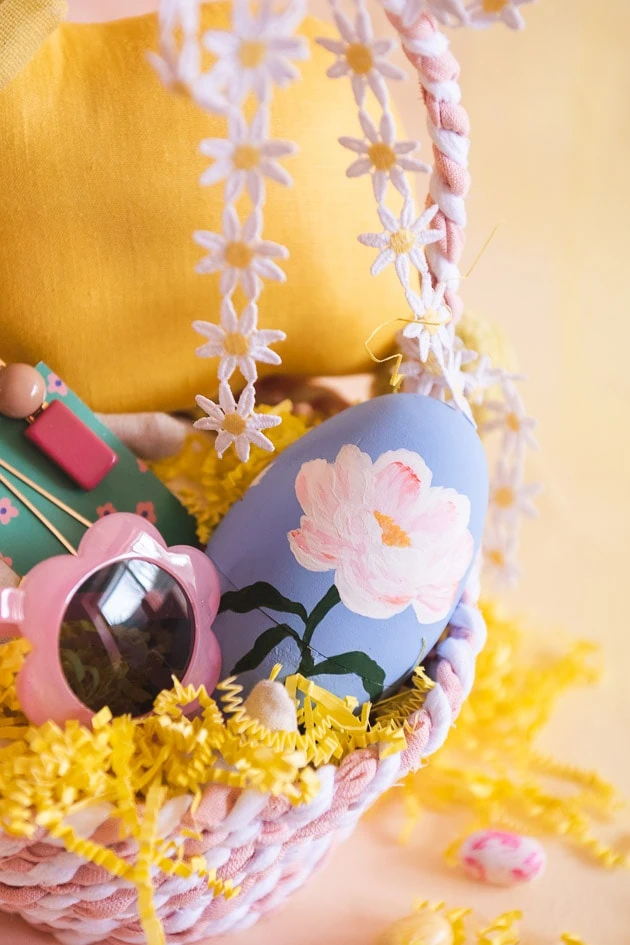
Easter Crafts
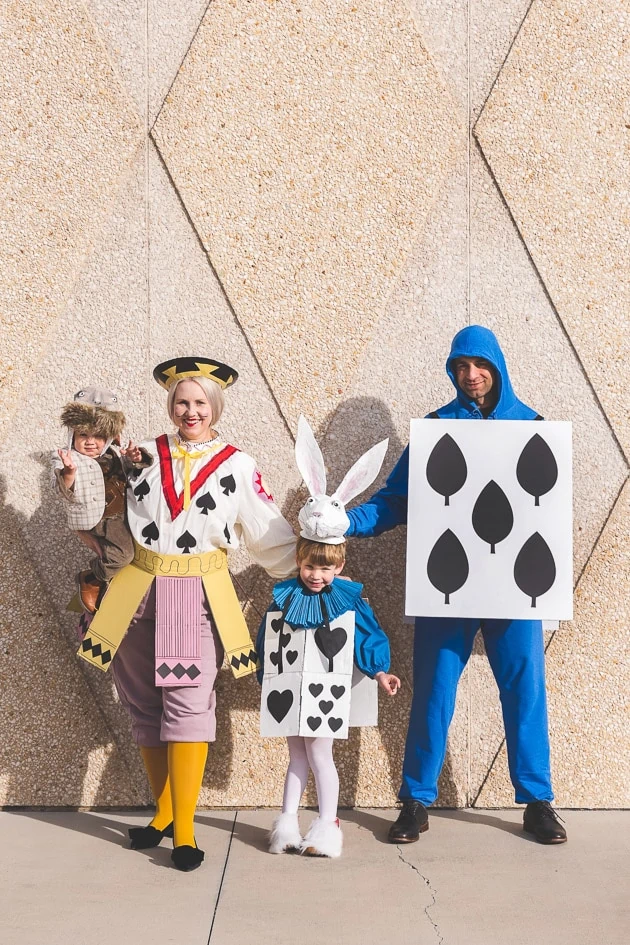
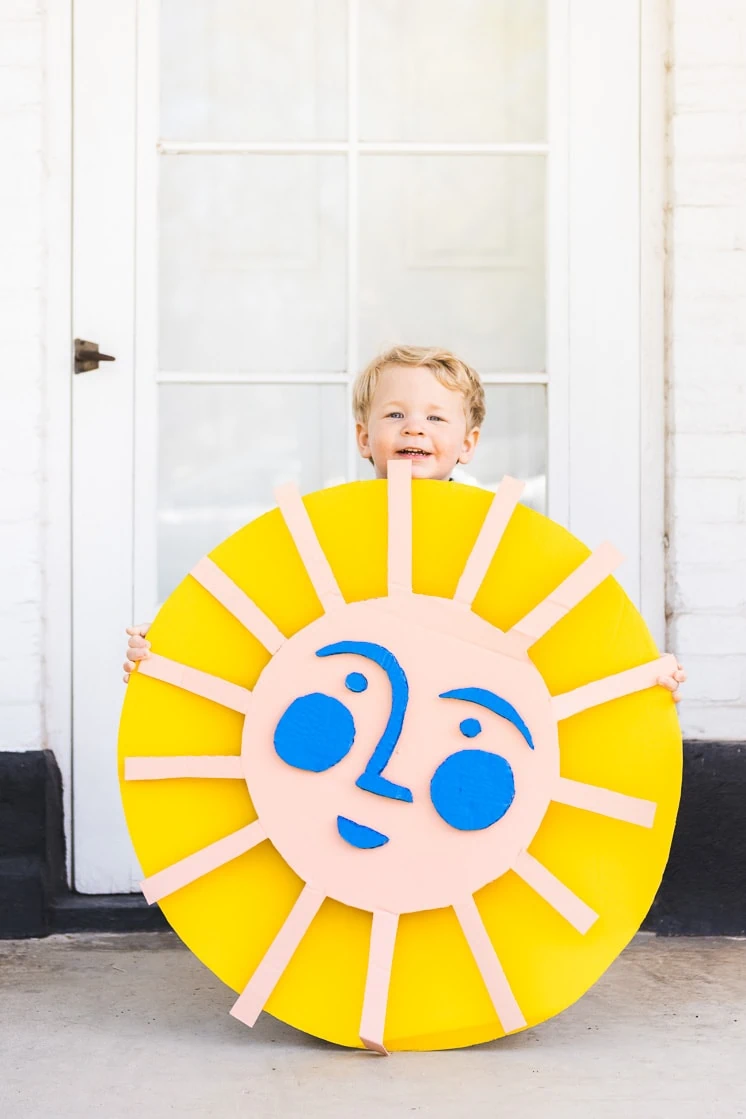
Alice in Wonderland Family Costumes

Easy Halloween Ideas From Our Shop
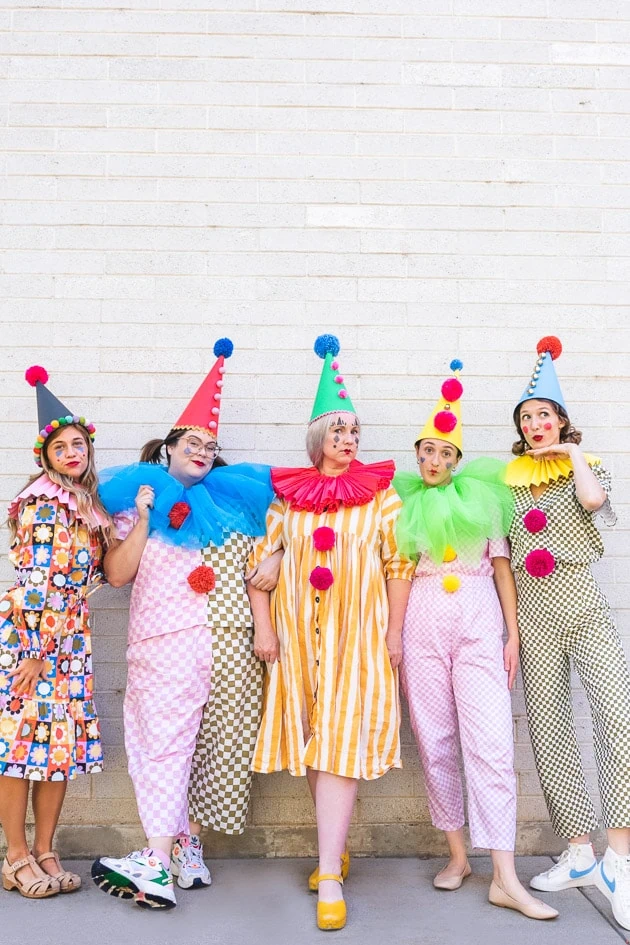
Vintage Clown Costumes
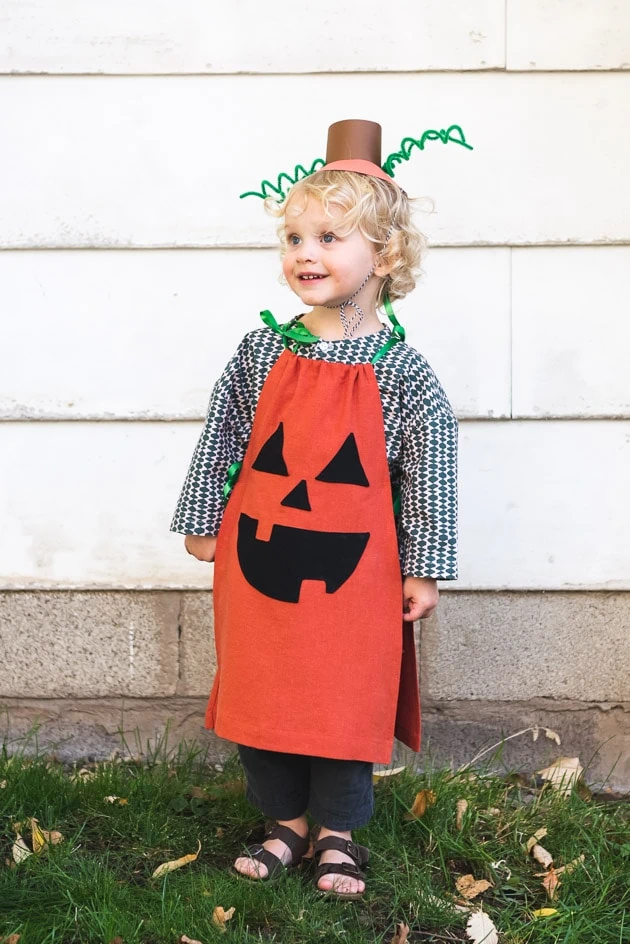
Classic Halloween Costumes
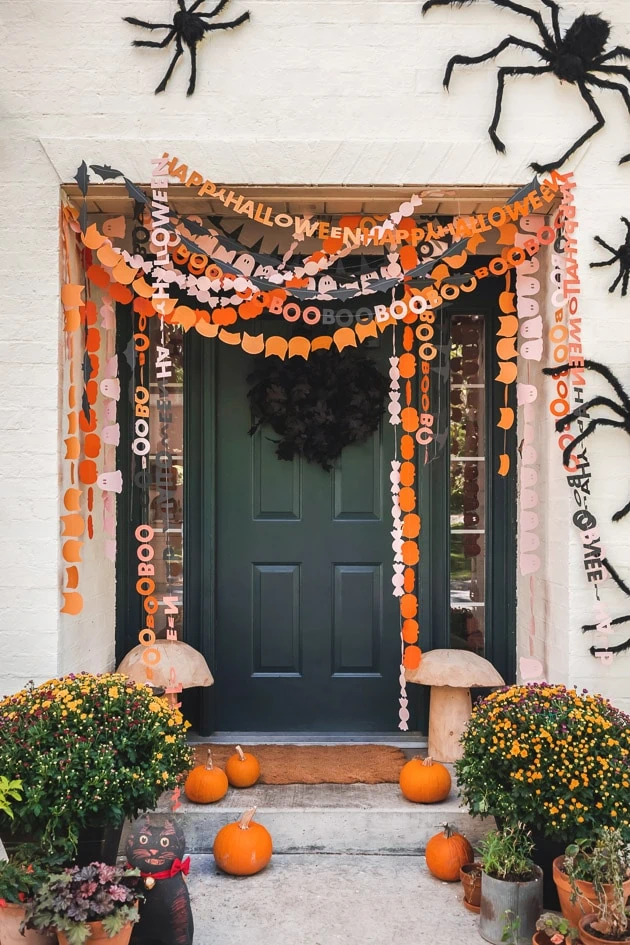
Halloween Garland
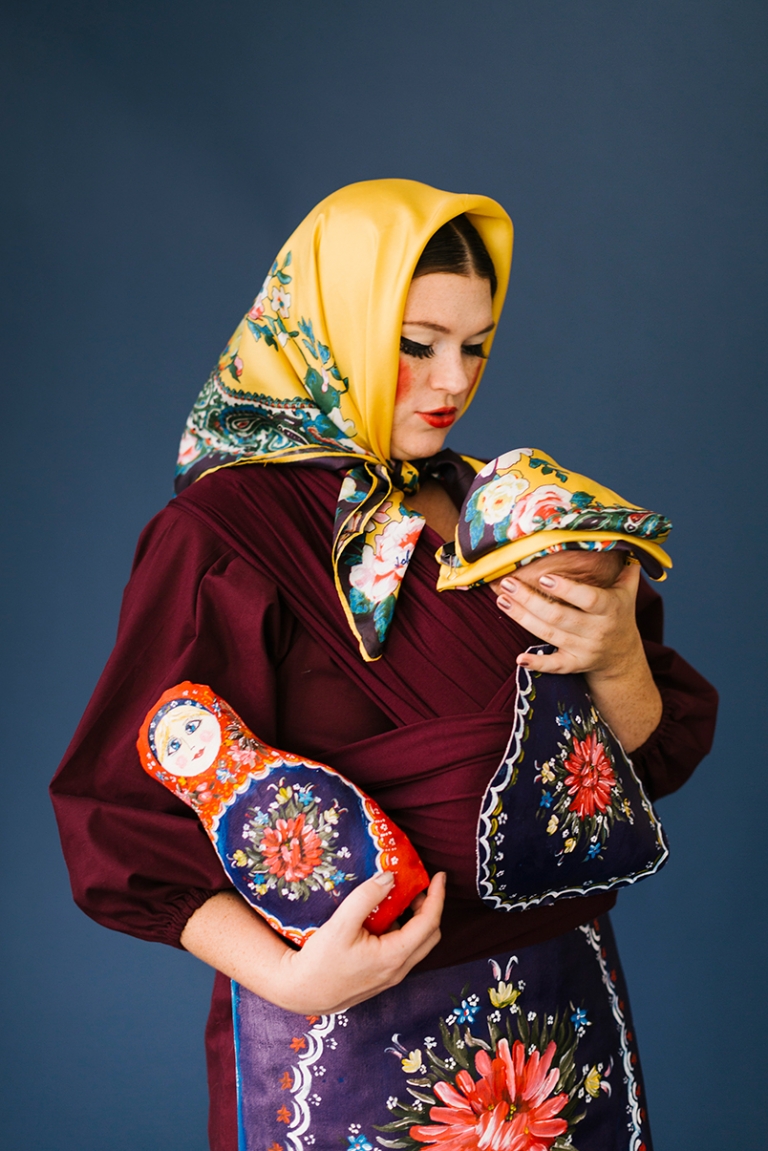
Mommy and Me Halloween Costumes
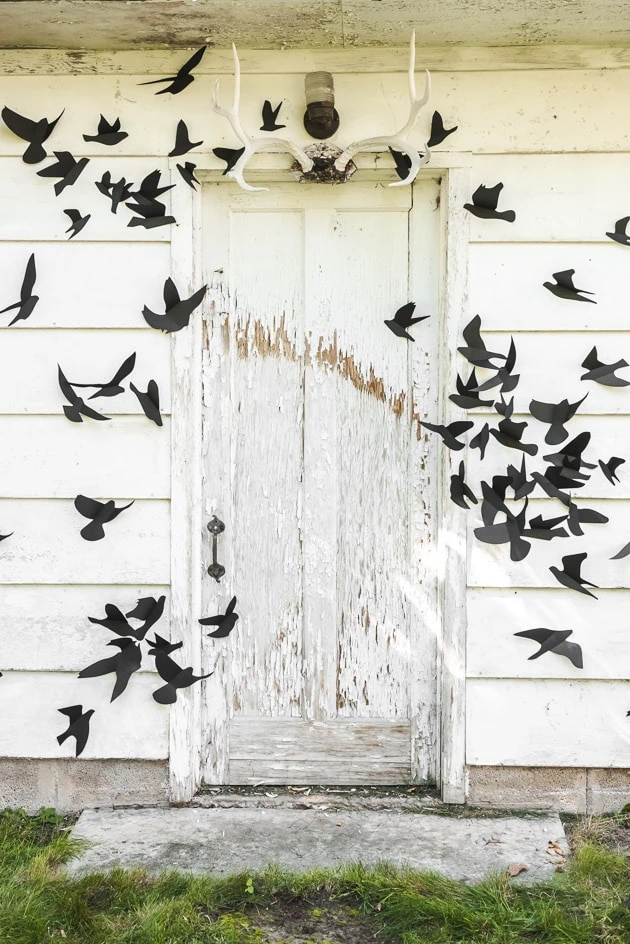
“The Birds” Halloween Wall Decor
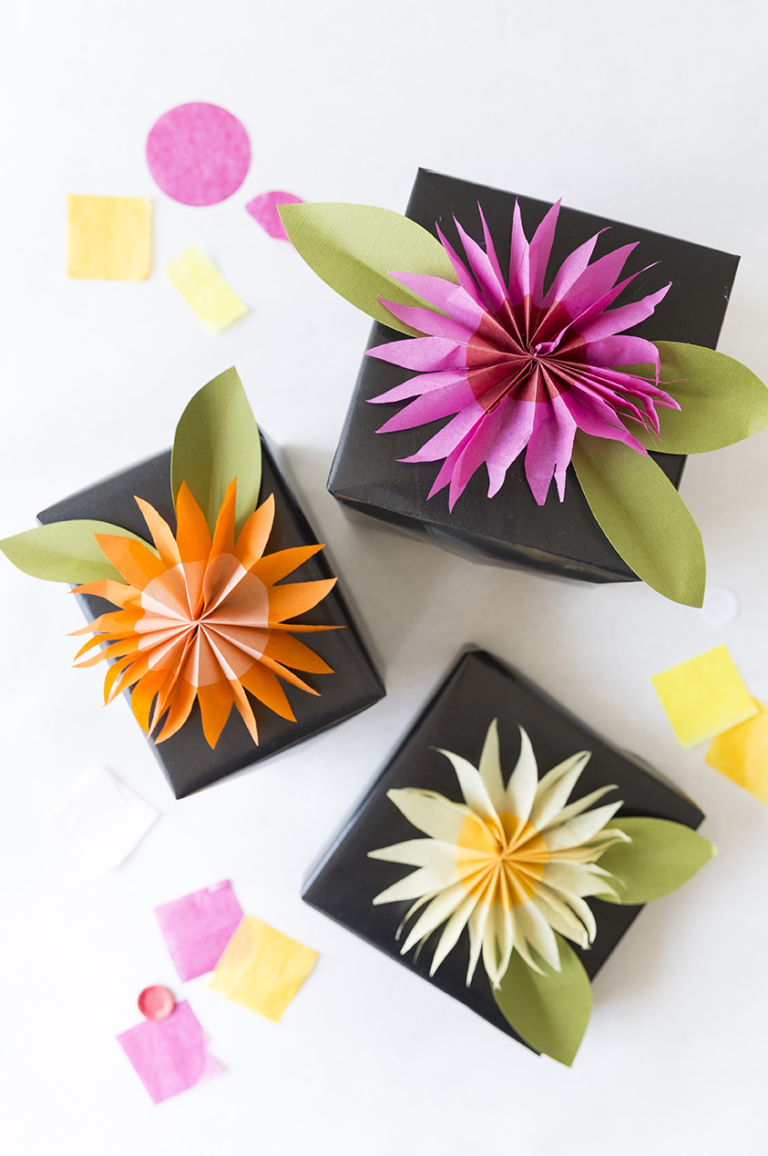
Paper Flower Gift Topper
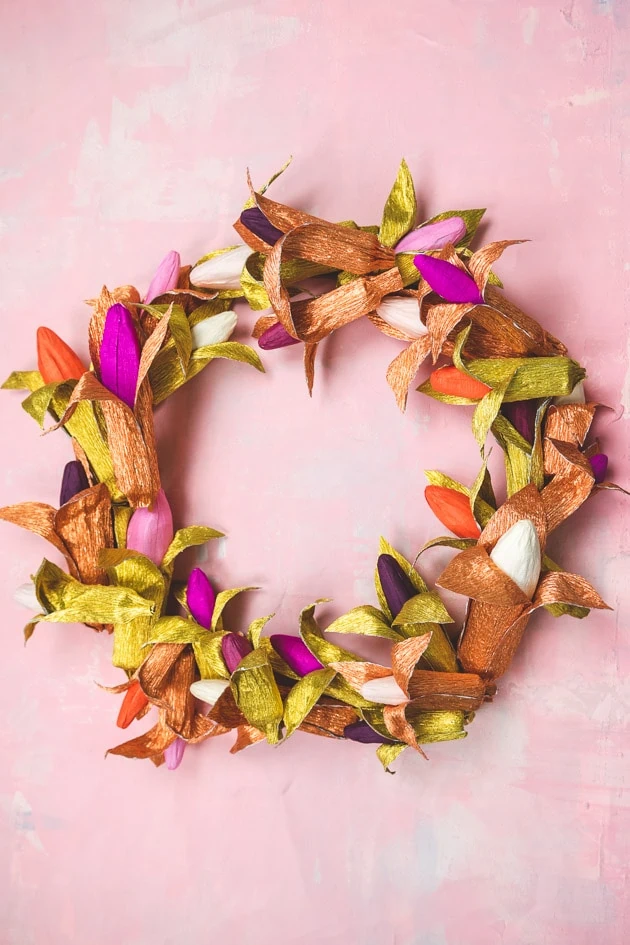
DIY Corn Wreath
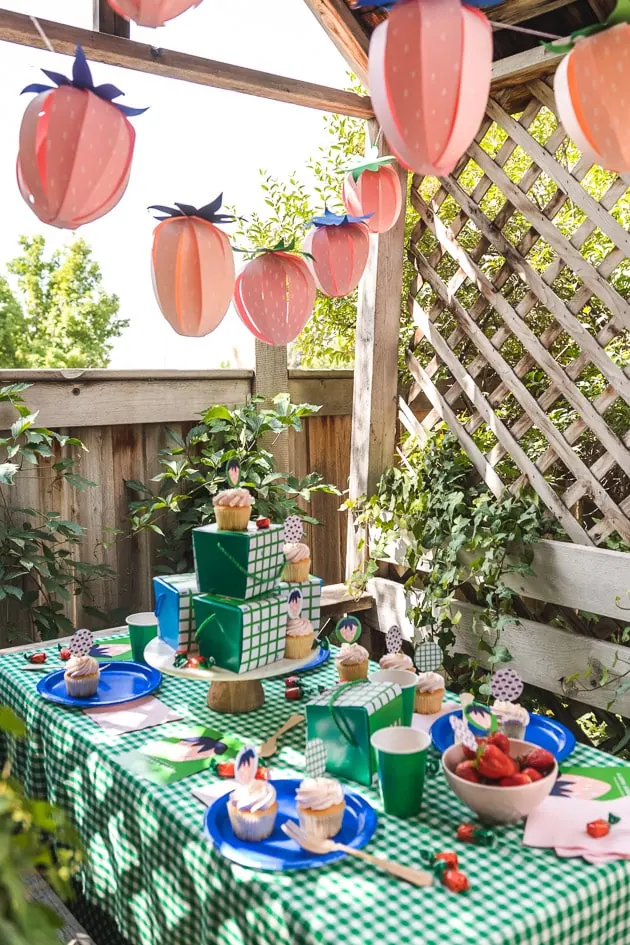
Summer Strawberry Party

Paper Flower Garland
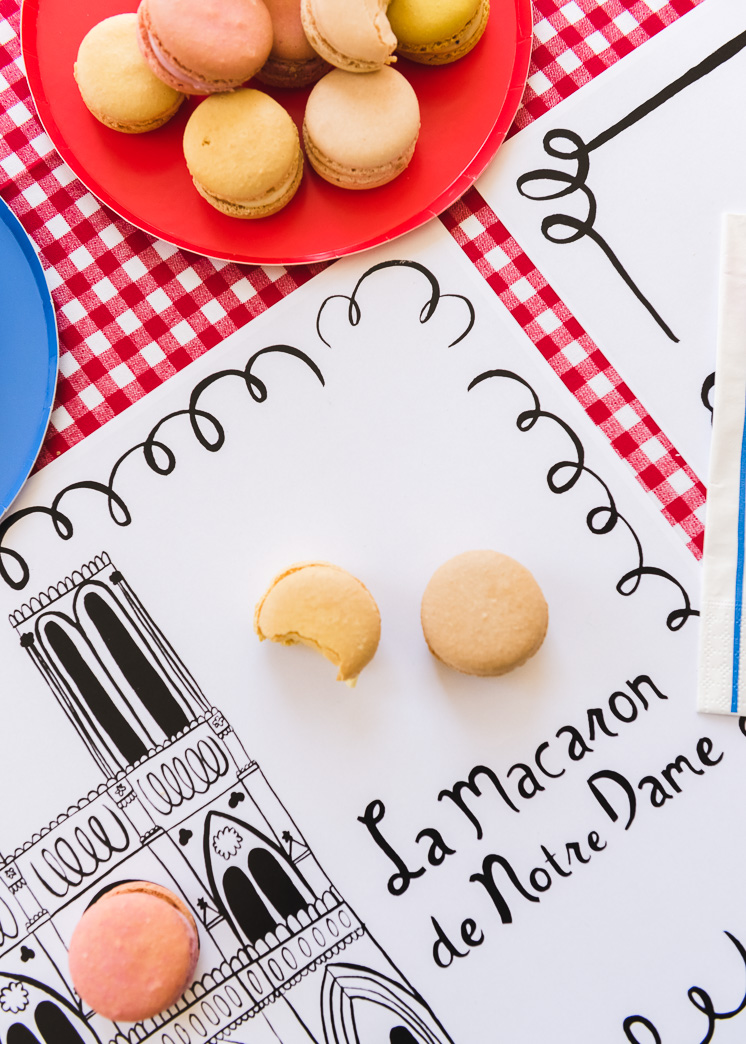
Bastille Day Roundup
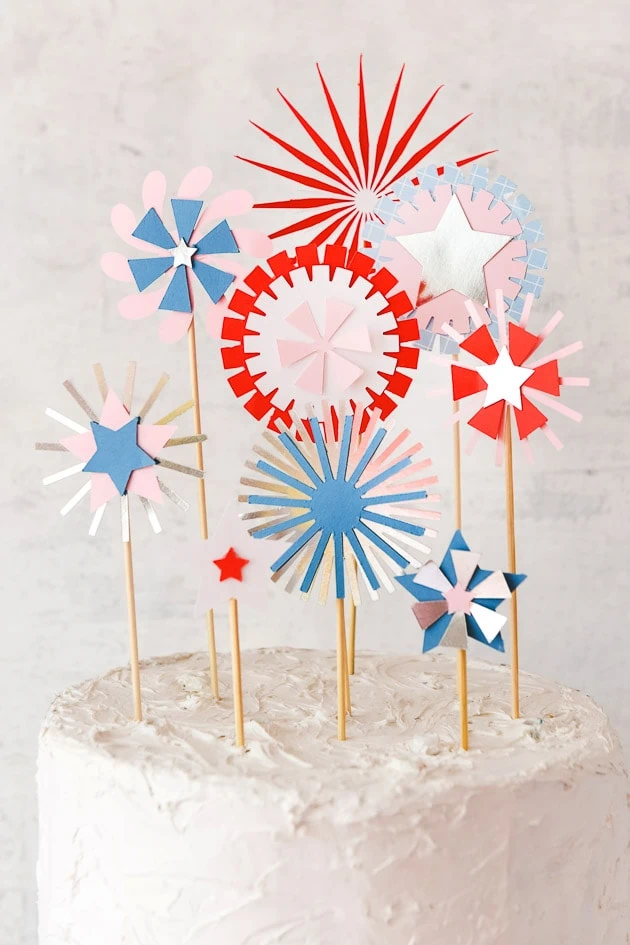
Paper Cake Topper Fireworks for the Fourth

Fourth of July Wreath
Father’s Day Through The Years

Customizable Father’s Day Portrait
- 1
- 2
- 3
- …
- 5
- Next Page »