

Gifts to Give a Graduate
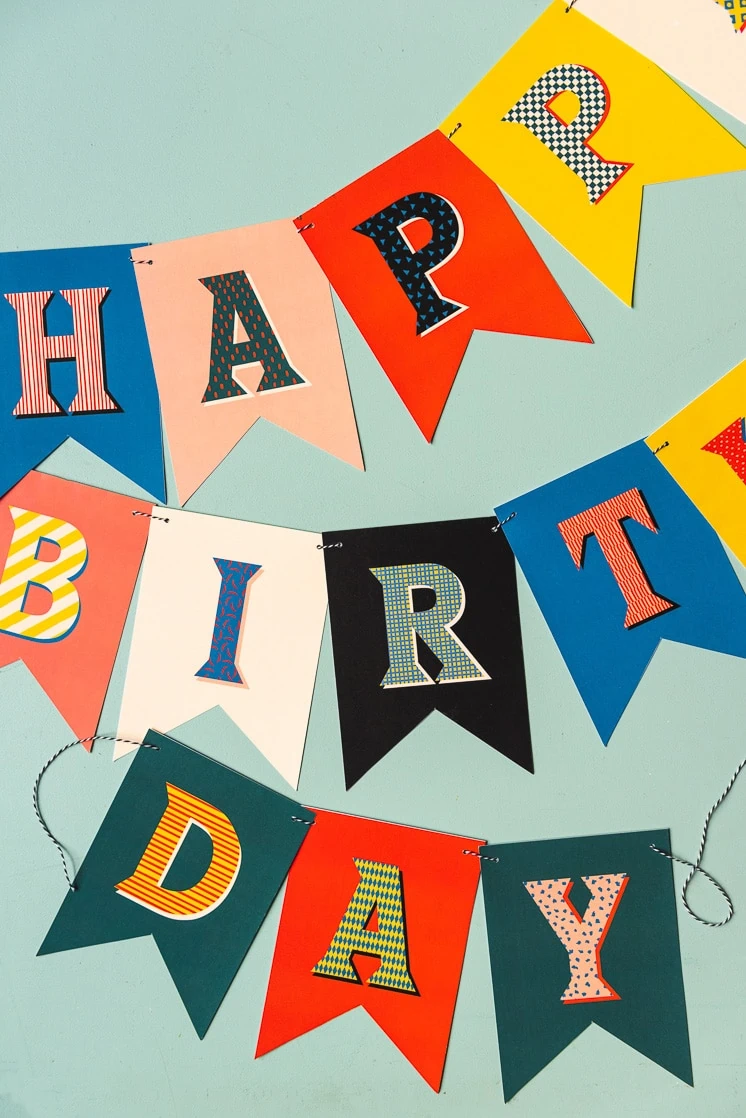
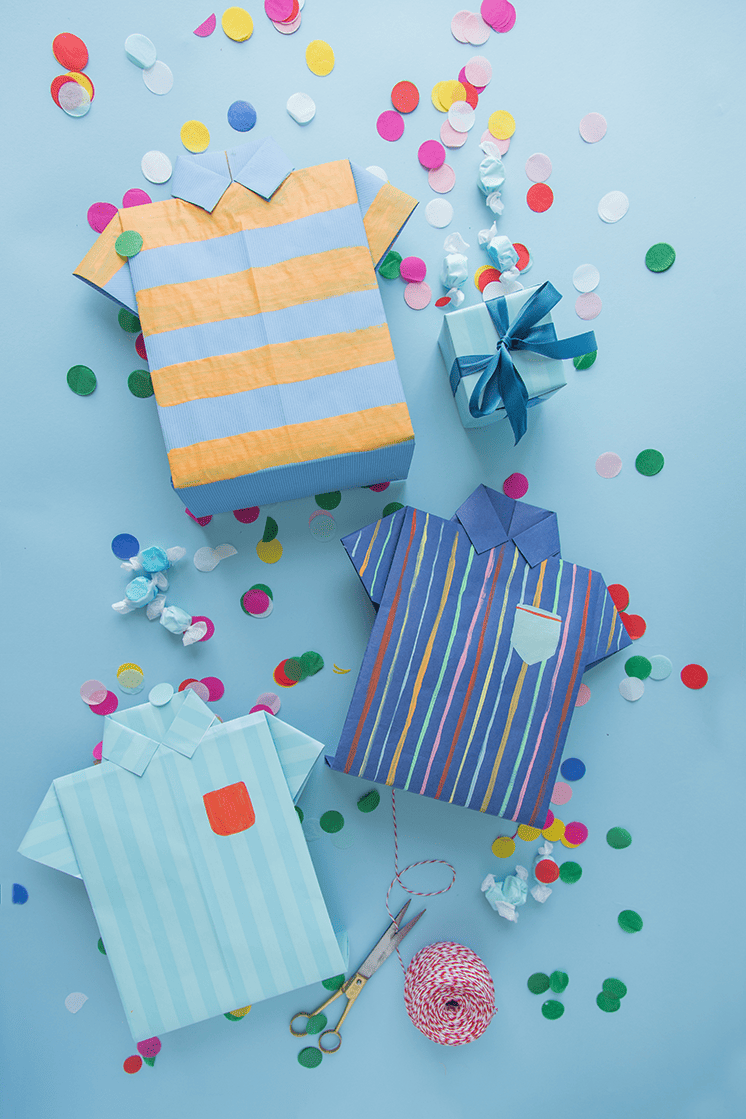
8 things to make to celebrate a birthday
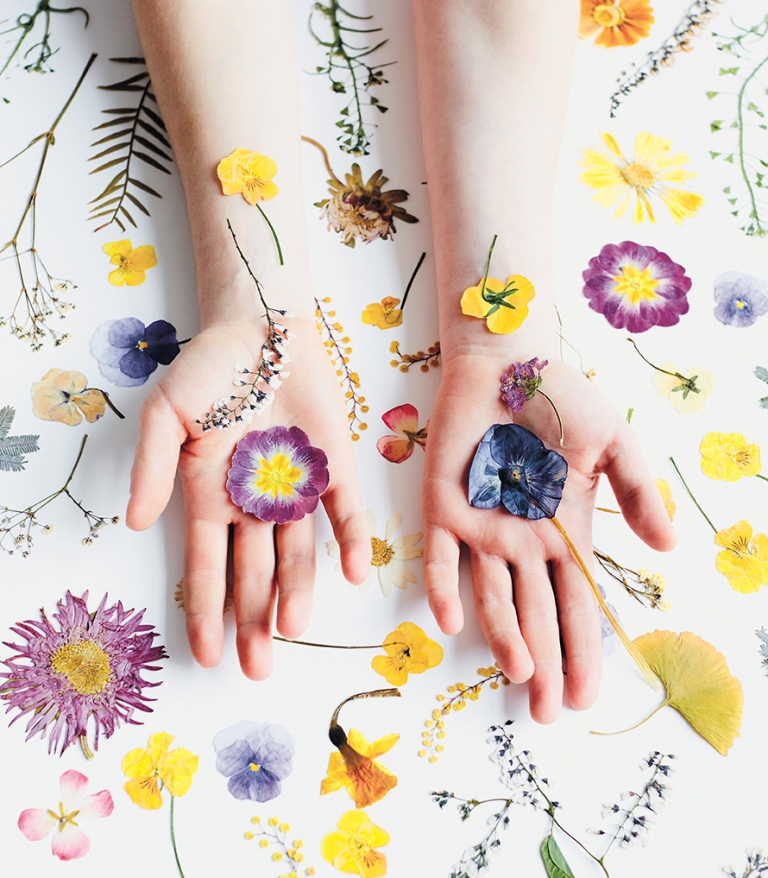
8 projects to make with fresh flowers

7 Things To Make And Give A Graduate
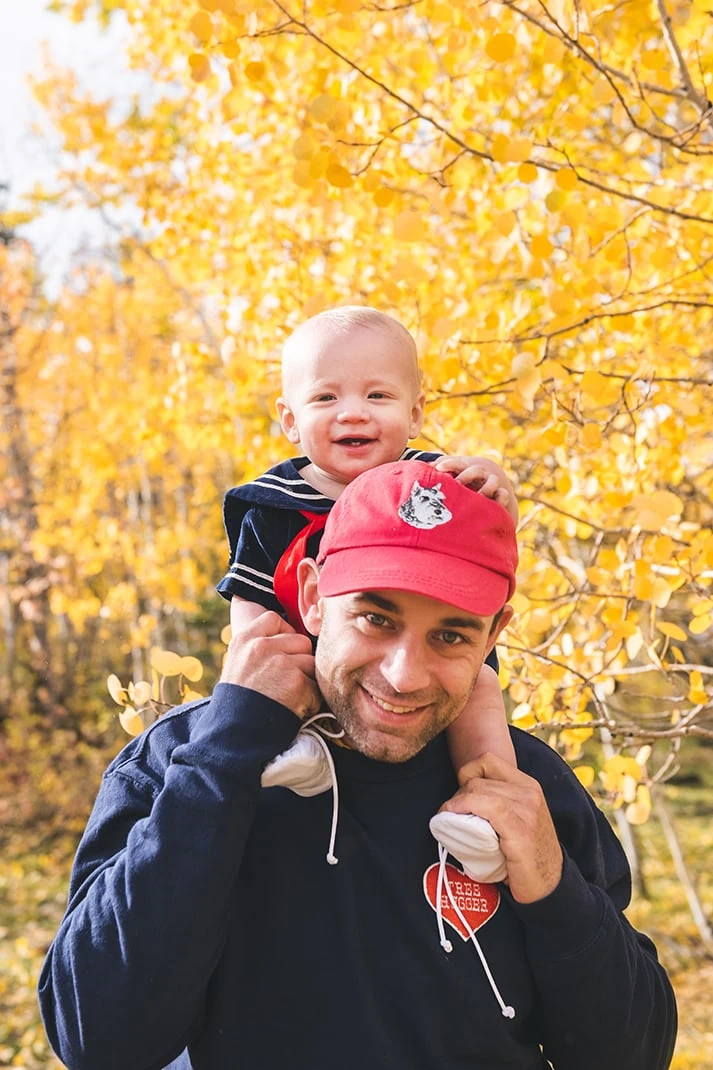
Handmade Gift Ideas for Father’s Day
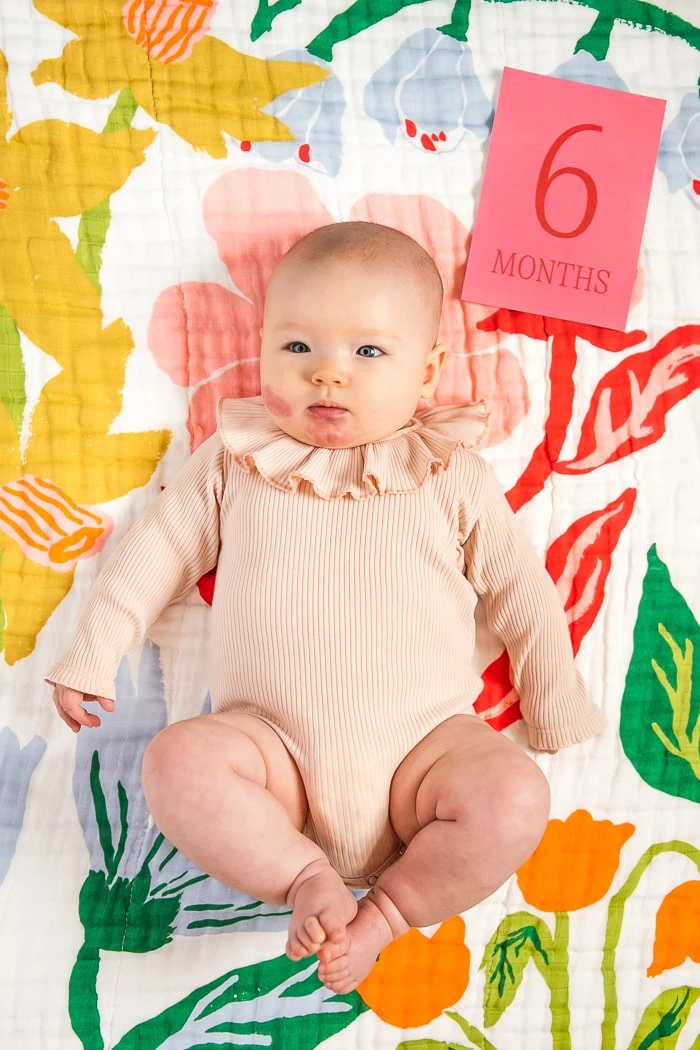
Printable milestone cards for baby
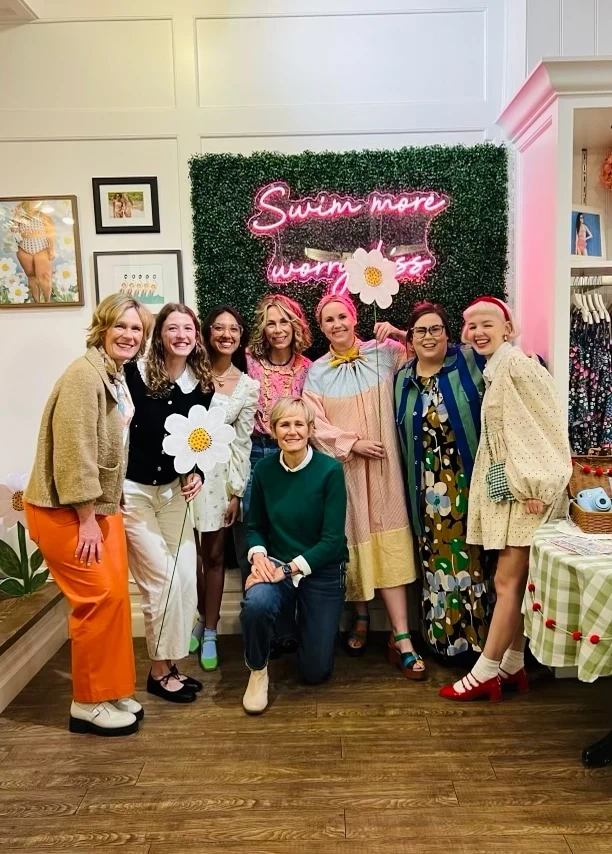
Lime Ricki launch party
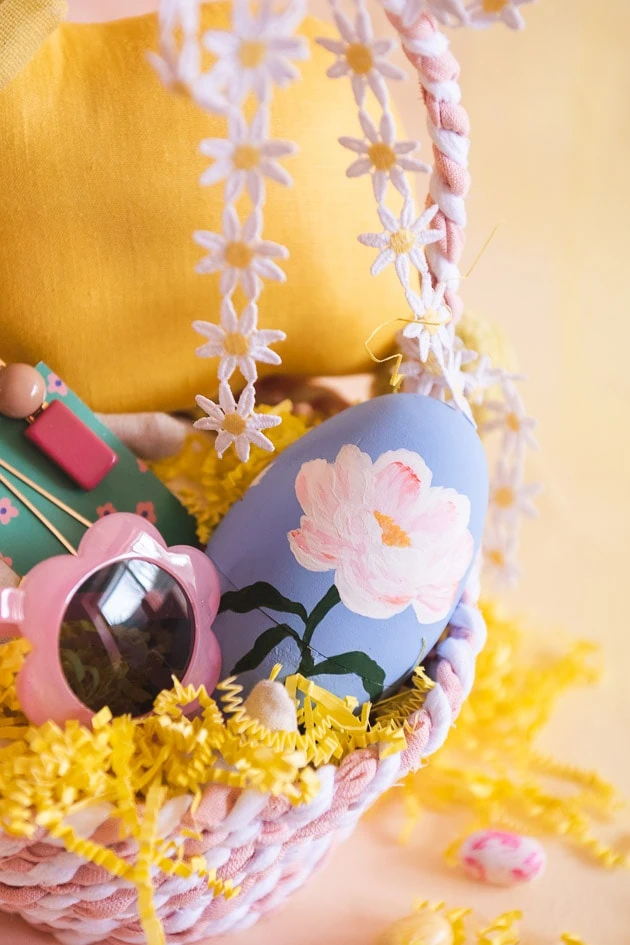
Easter Crafts

Paper shamrock decoration
How to play with patterns
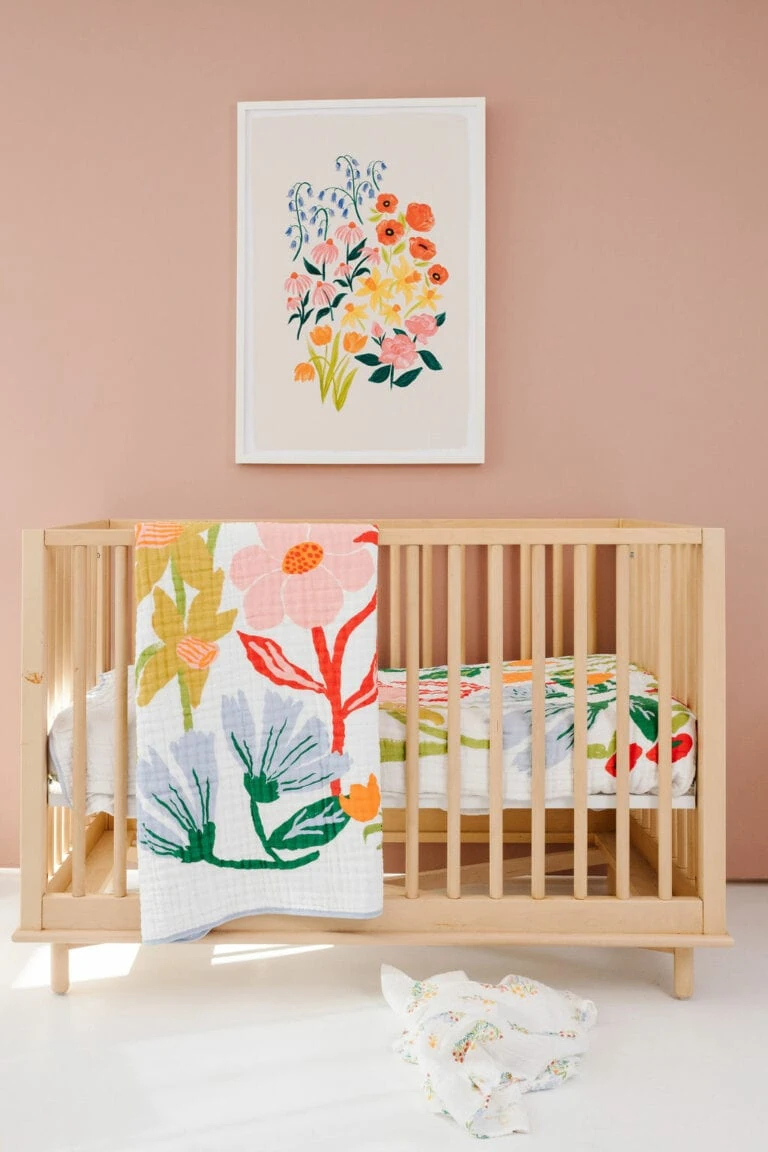
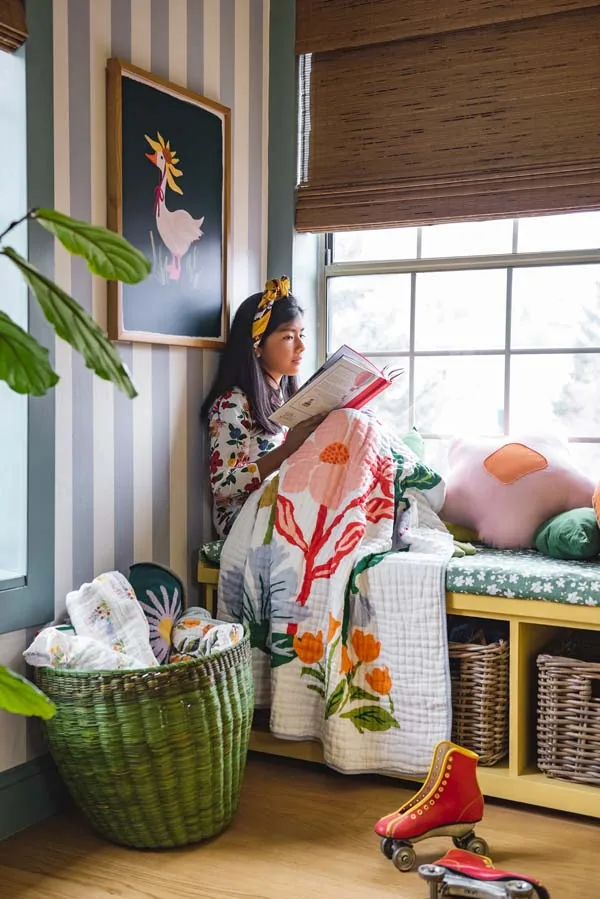
Our new baby nursery collection!
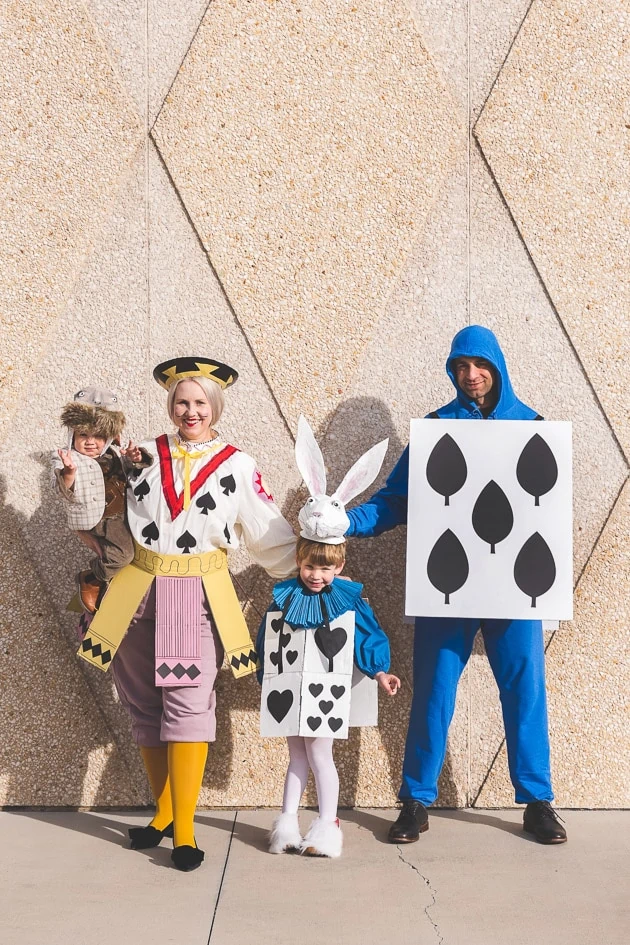
Alice in Wonderland Family Costumes

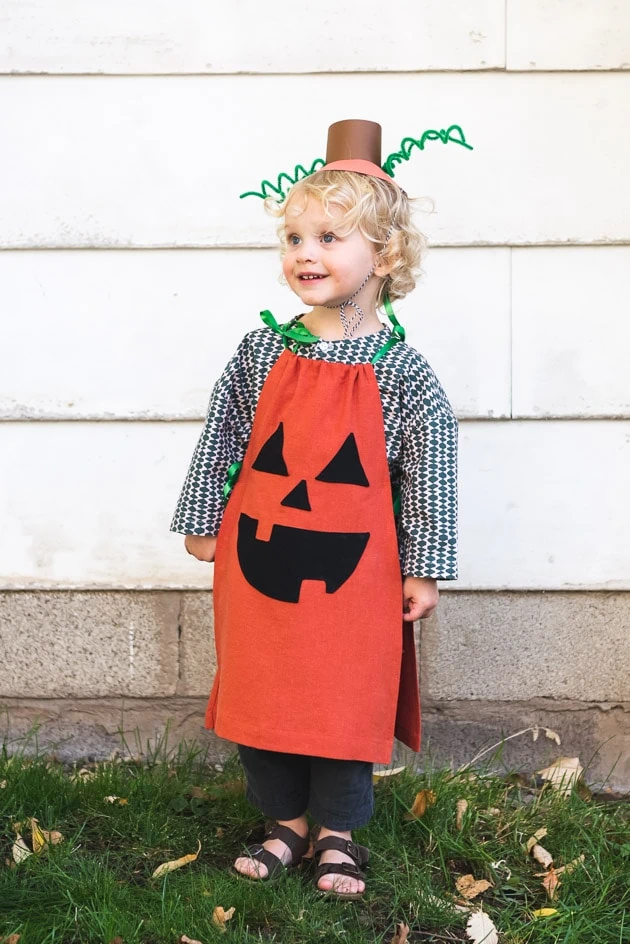
Easy Halloween Ideas From Our Shop
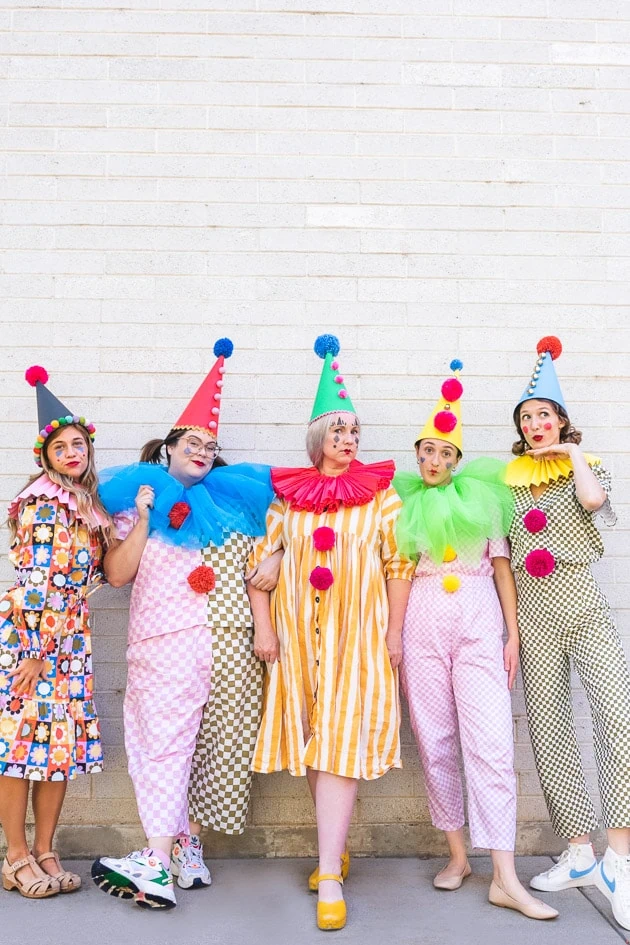
Vintage Clown Costumes

Barbiecore Costume Ideas
Classic Halloween Costumes
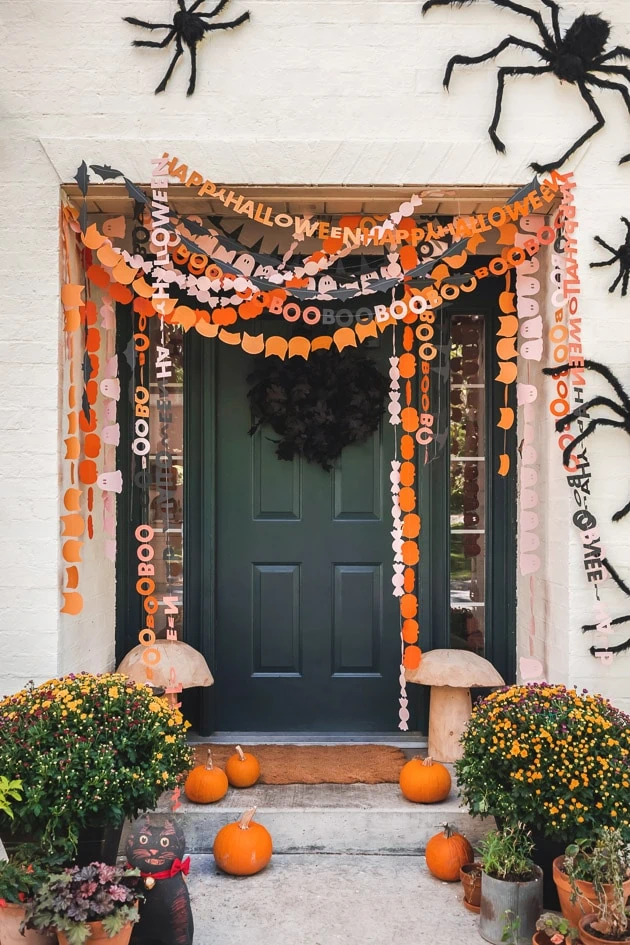
Halloween Garland
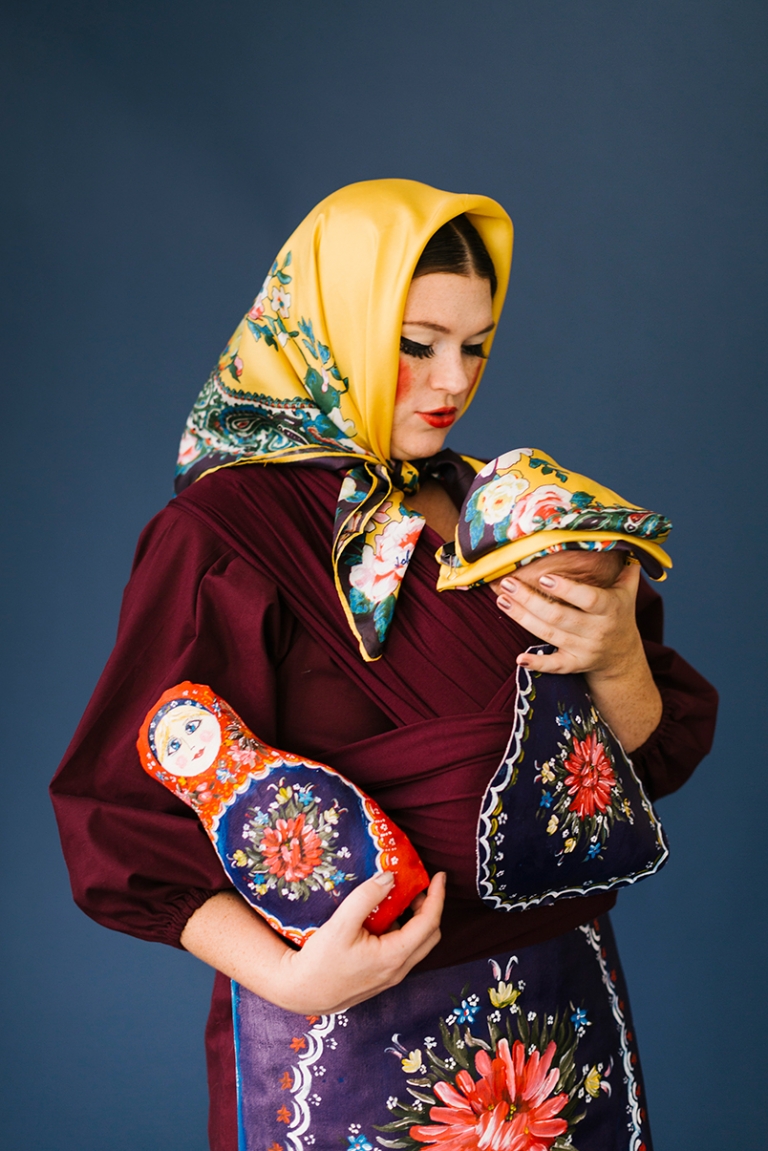
Mommy and Me Halloween Costumes
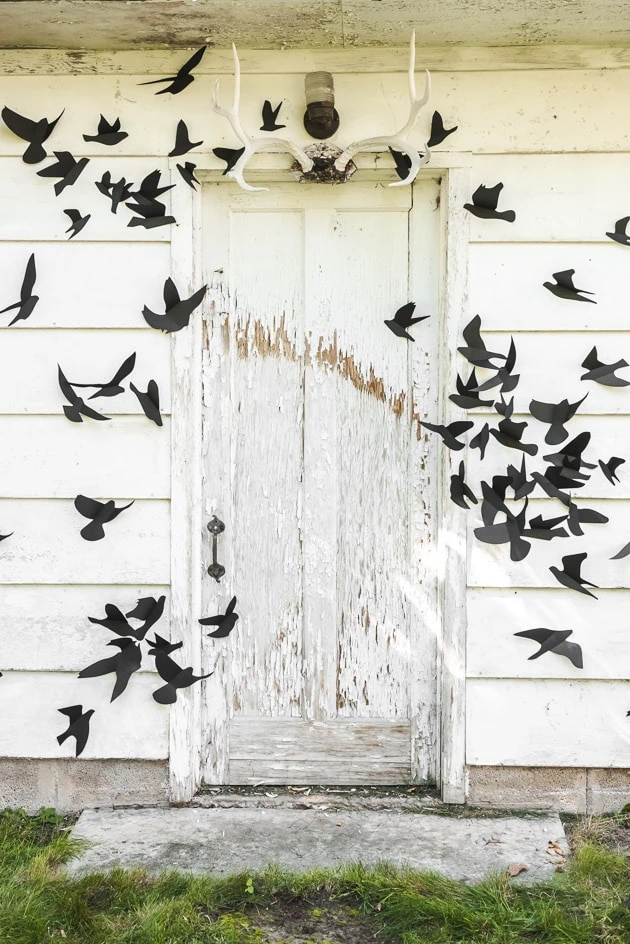
“The Birds” Halloween Wall Decor
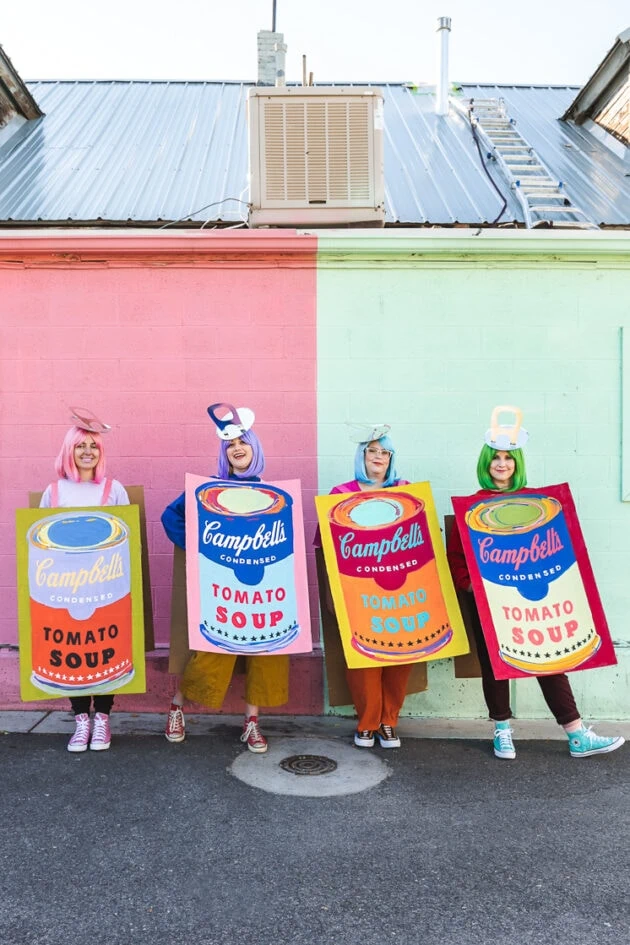
Best Cardboard Costumes
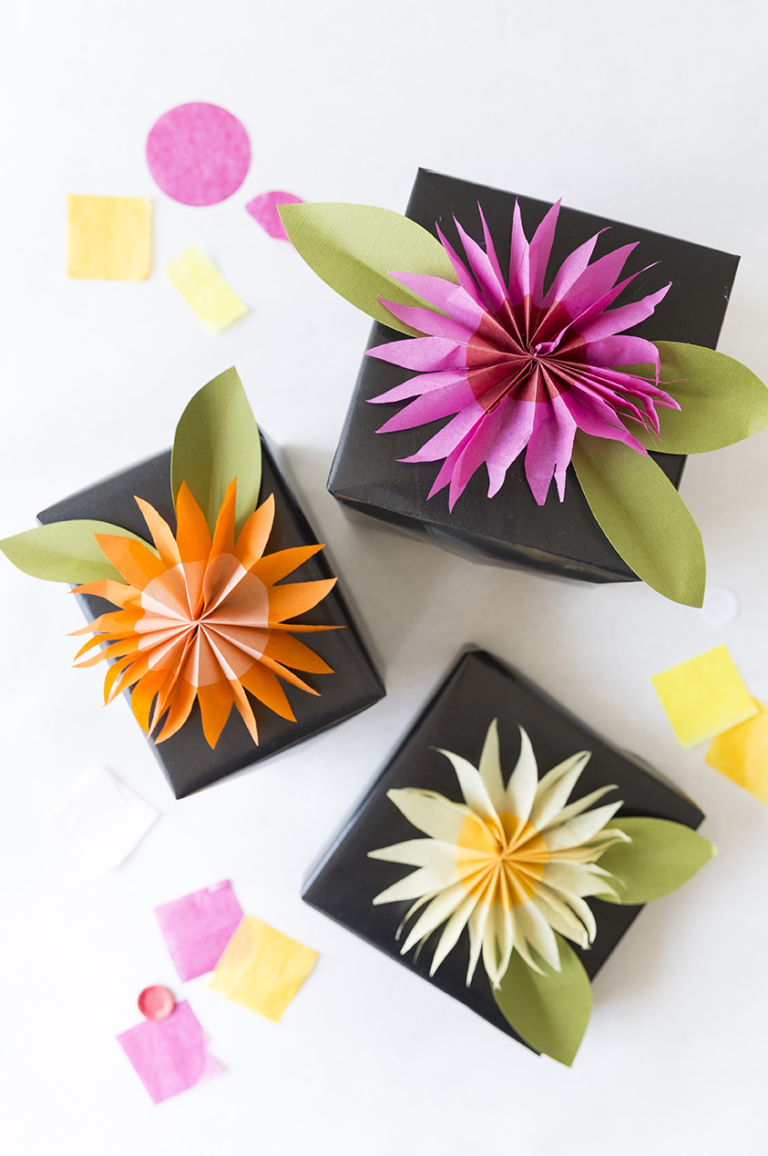
Paper Flower Gift Topper
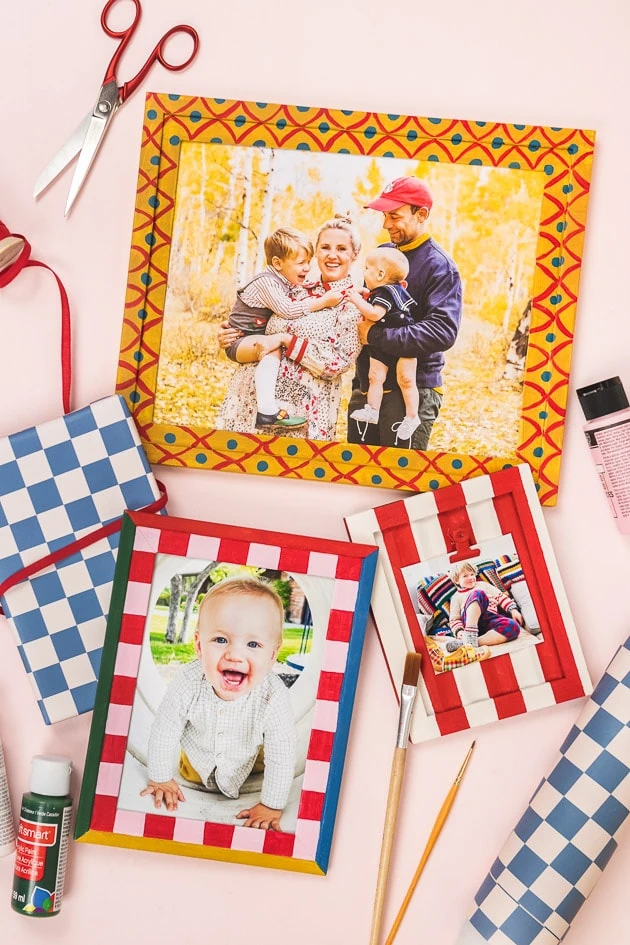
Painted Frames
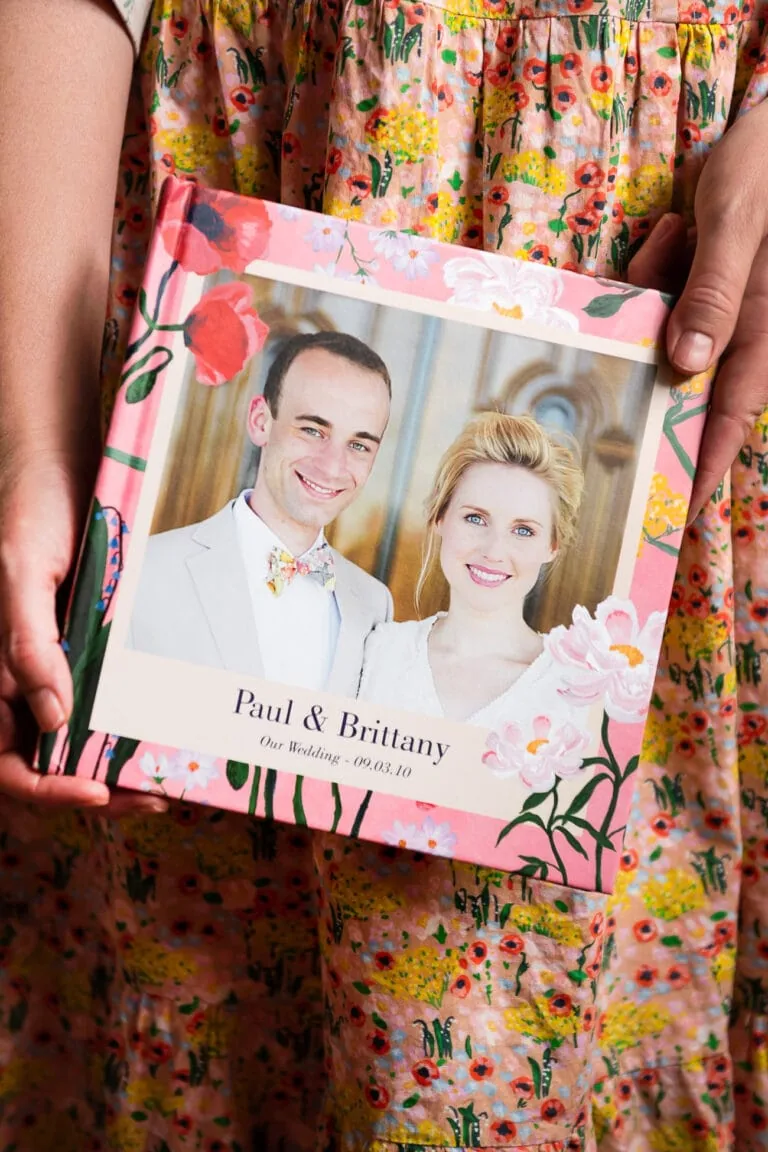
Mixbook Wedding Book
- 1
- 2
- 3
- …
- 18
- Next Page »