

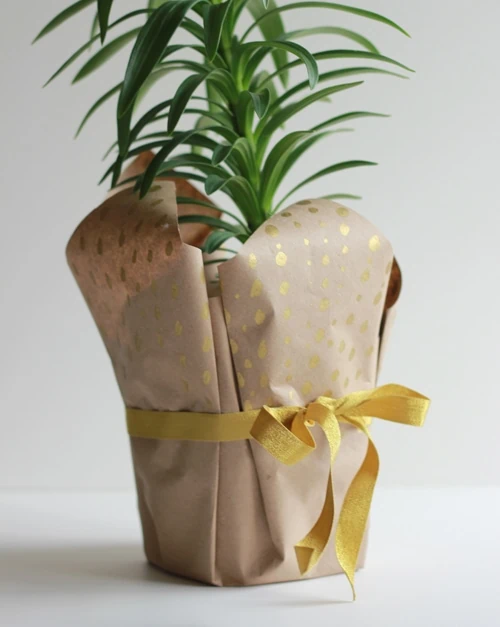
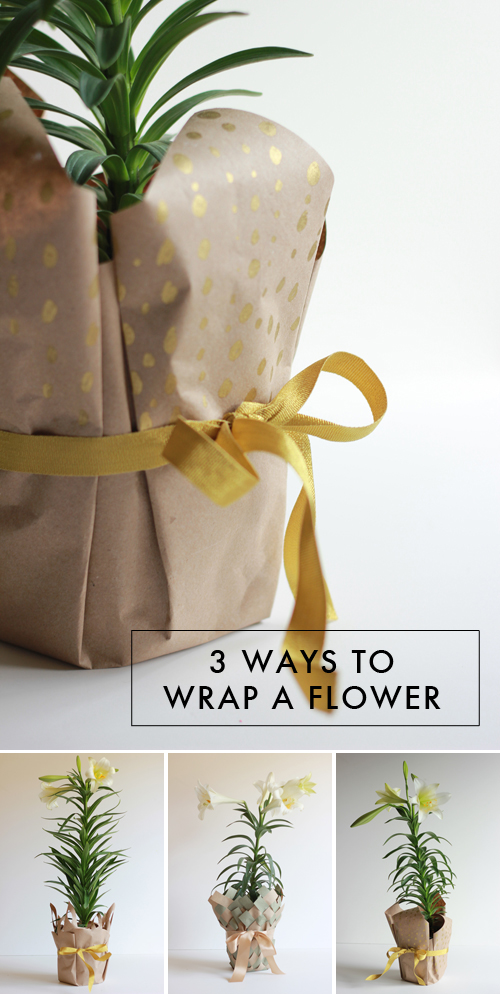
Flowers and plants are always good for gift-giving, but how do you wrap them? Rather than giving them over in their plain pots, we’ve gathered up tutorials for 3 ways to wrap a flower.
It’s super easy to embellish a flower or plant, and there aren’t a lot of materials involved! Read below for all of the details on the different ways to decorate your flower. And if you want to create everything from scratch, check out the links below on how to create flowers and plants out of paper!
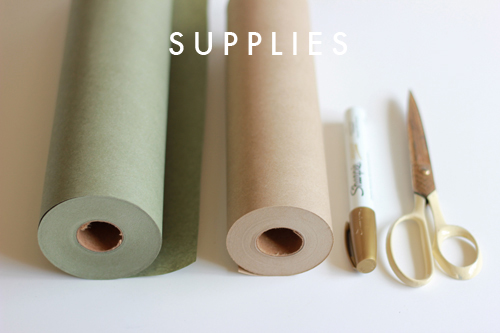
Materials:


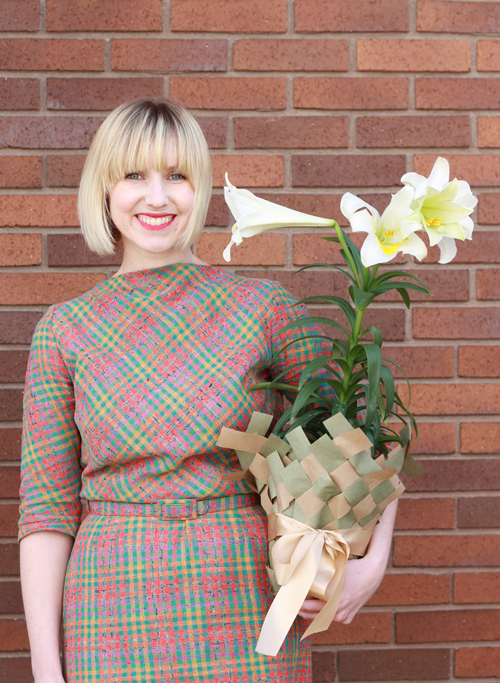
I’ve been noticing the lovely Easter lilies at the supermarkets and looking for any excuse to get one. I thought it would be the perfect host gift as we’re going to my brother and sister–in-law’s house for the holiday. Plants from the supermarket always come in tacky foil colors so I thought a quick makeover was in order. You might already have everything you need to make it!
3 ways to wrap a flower
Materials:
- Painter’s paper (I picked up some kraft painter’s paper– $2.50 for the roll!– at the hardware store)
- scissors
- gold paint pen
- Easter lilies (or flower of your choice)
- glue gun
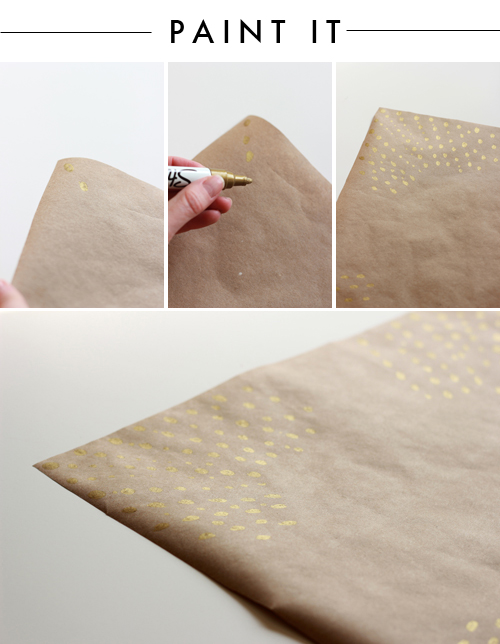
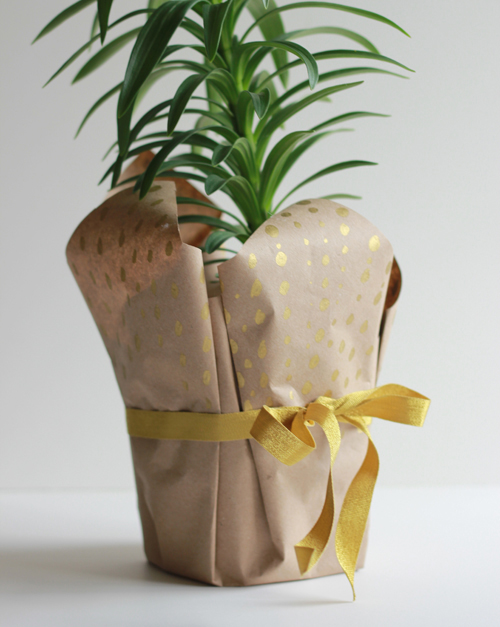
Paint your flower decoration
- Use the square foil that the flowers come in to measure the shape and cut to it.
- I wanted a starburst type pattern so I started in the corners making circles with my gold pen and coming inwards.
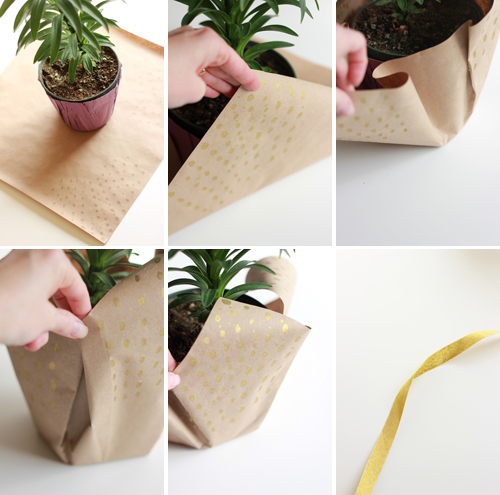
- To wrap it around the flower, place it in the middle and bring one corner up. Like a napkin, tuck the two sides under so that the corner is in the middle. I glue gunned mine in the creases to make it easier before tying the ribbon.
- Repeat to all sides.
- Secure with a ribbon.
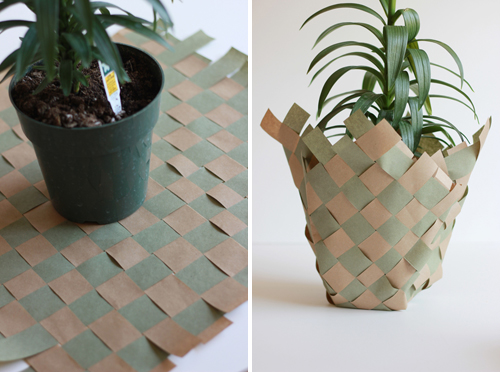
Weave your flower decoration
- Use the shape of the original foil to cut the strips (however big you’d like but I used about 1″) to that length. Leave a little extra room. Lay them side by side to see that it fits the original square size.
- Start at one end by going in and out. Continue.
- When you get to the end, adjust the strips so that they fit snuggly together.
- I secured mine with a glue gun at the edges.
- To fold, follow the same steps as above.
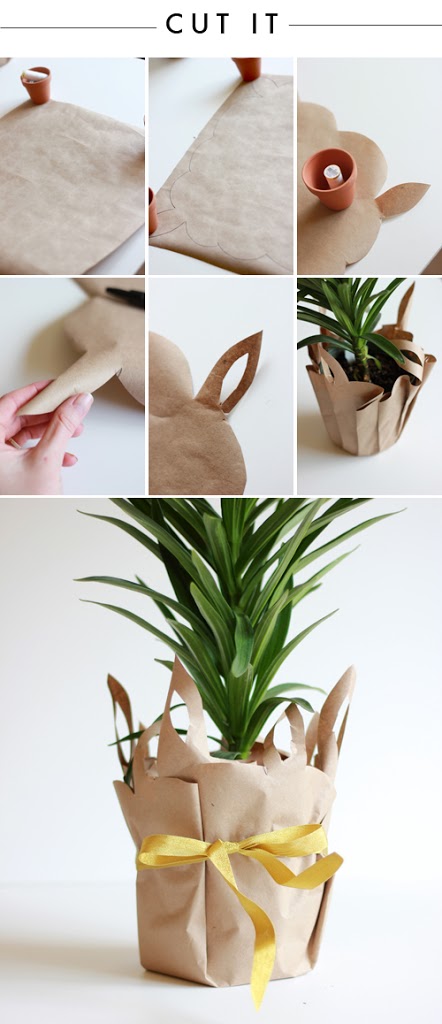
Cut out your flower decoration
- Use the kraft paper to cut pieces larger than the original foil square. Cut two of these.
- Create your design. I emphasized the corners by making it the shape of a leaf and then scalloped the rest.
- Make some paper cuts to show off the design.
- Repeat the same process onto the second piece of paper.
- Wrap the plant the same way as above. You’ll wrap the second paper around again, but space it out so that the leaf points spread around evenly.
Thank you, Audrey, for your help!
Making your own paper flowers
Now that you have ideas for 3 ways to wrap a flower, you can get extra creative! If you want to make your own paper flowers or plants, you’ve come to the right place! Paper plants are especially great if, like me, you don’t have a green thumb. And they can last much longer than real flowers or plants! Browse the list of paper flowers here, including this paper flower Narcissus, Daffodil, and Amaryllis! You can also check out some of our favorite paper plant tutorials here. Happy crafting!