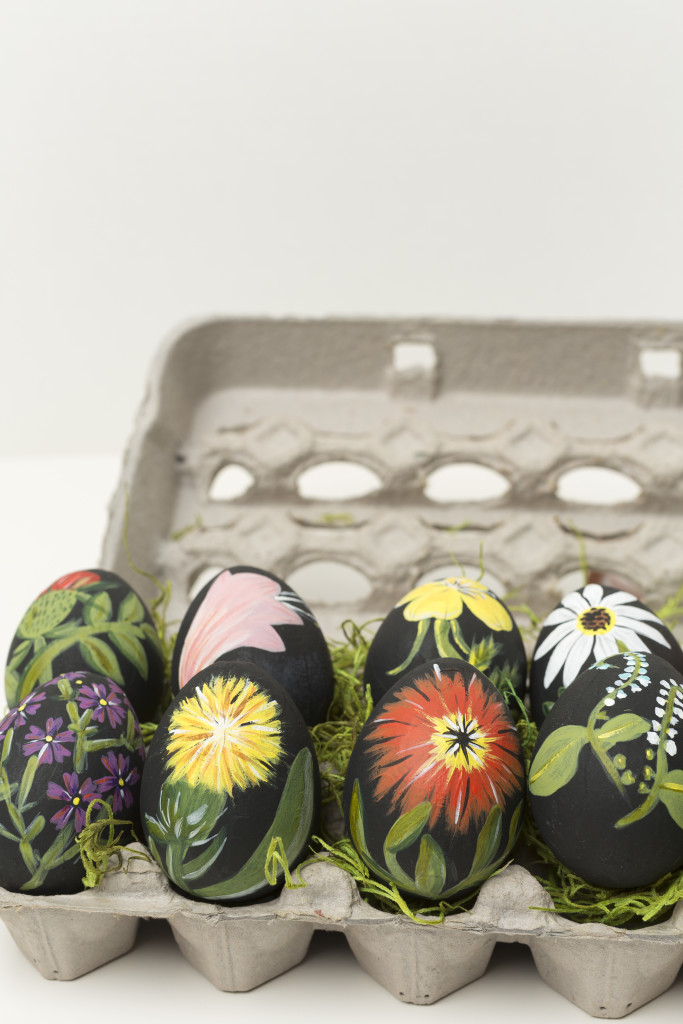
Painting eggs is my favorite Easter tradition, and I’m always looking for new ways to decorate them (check out how to decorate Easter eggs with dried flowers here!). For more florals in our Springtime crafts, I created a tutorial for these botanical Easter eggs.
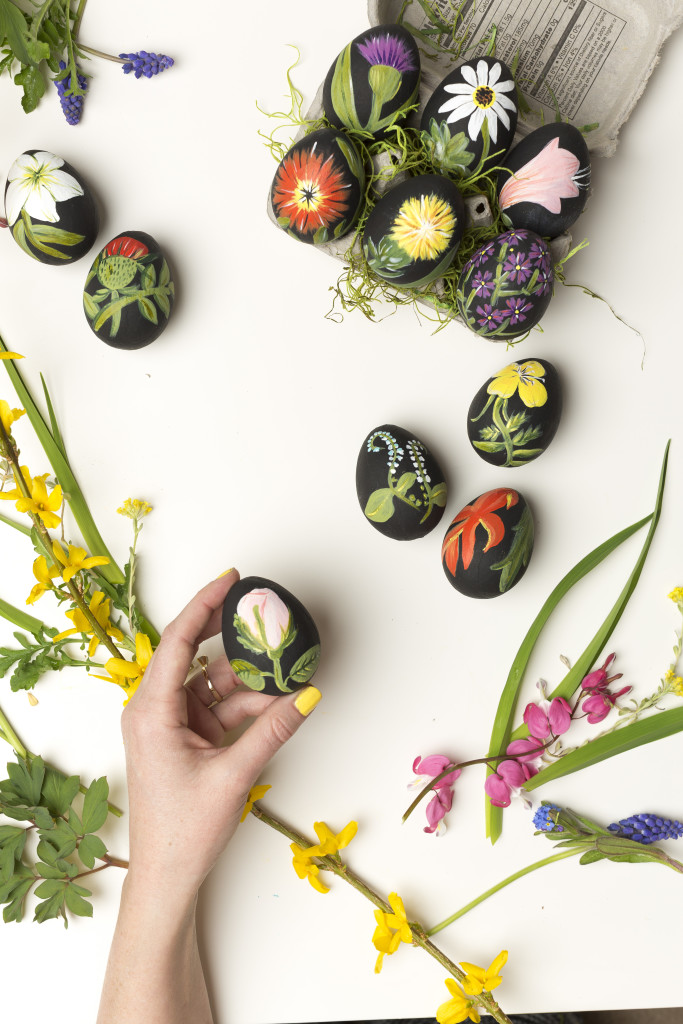
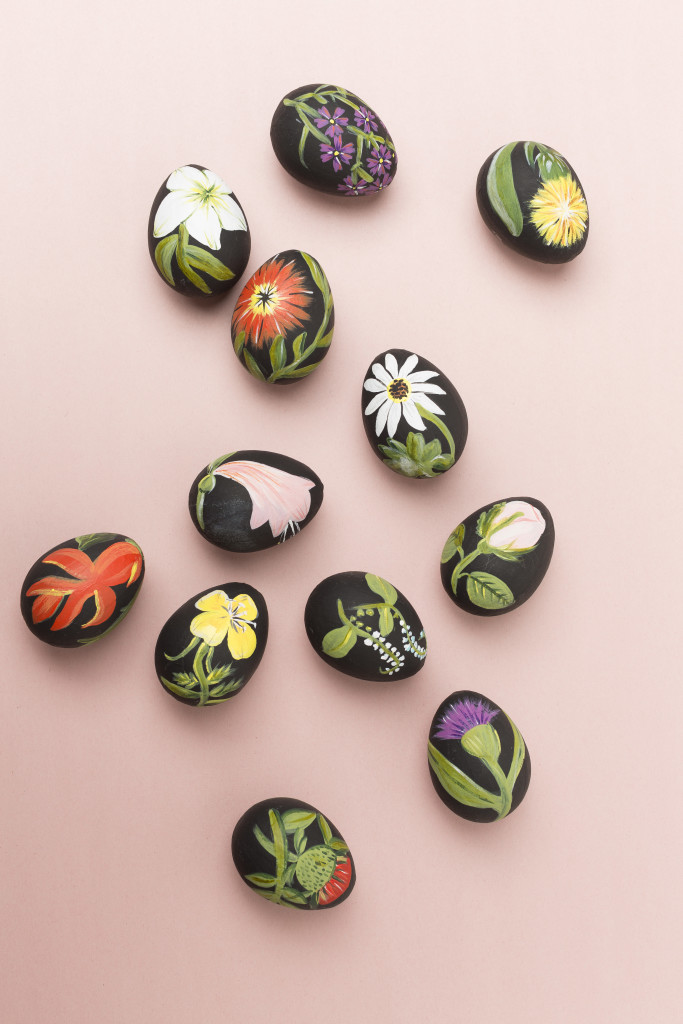
I’ve wanted to try these black botanical Easter eggs since last year when I became obsessed with Molly Peacock’s book about the 18th century paper artist, Mary Delany, The Paper Garden. In fact, I even suggested we start a book club with this title and then I just NEVER followed through–because it’s my blog and I can do whatever I want–ha! So I bought Easter eggs, painted them black, lost them, then rebought and painted new ones last week, AND THEN found last year’s. Go figure. Well, if you need any botanical Easter eggs, you know where to find them. These are a great idea if you like to spend a bit of time on an art project. I realize the detail is a bit more advanced, but you can simplify with easier color blocks and shapes to cut down on time. These could be great for kids in this simplified way. I give some suggestions below.
DIY botanical Easter eggs
Difficulty:
beginnerTime:
10-30 min eachMaterials
Instructions
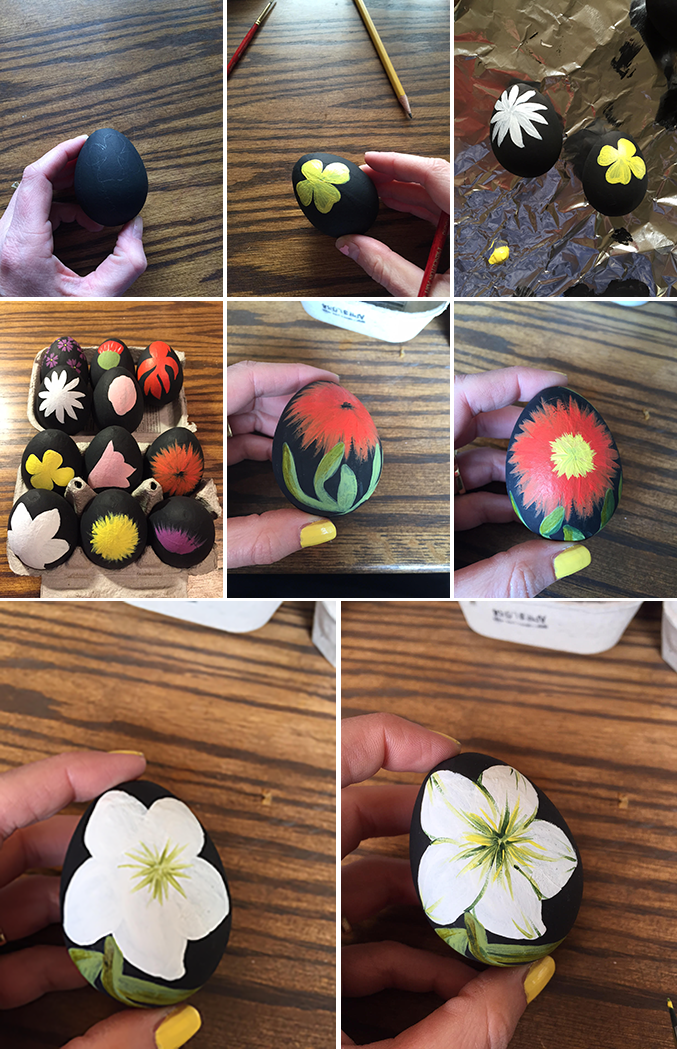
- I chose to use paper mache eggs because I didn’t want to worry about cracking. Paint them black with acrylic paint.
- Draw flower shapes with a pencil and paint them in in solid blocks. I painted all the shapes first on all the eggs before moving onto detail. I used shapes inspired by Mary Delany’s work and made a Pinterest board that you can use as a reference.
- 3. Once the solid shapes are in, start adding in the detail with additional color and small paint brush strokes.
- If you want to, apply a varnish. I left my plain because I like the matte look.
If you make your own, make sure to take a photo and tag it with #MakingWithLars or #EasterWithLars!
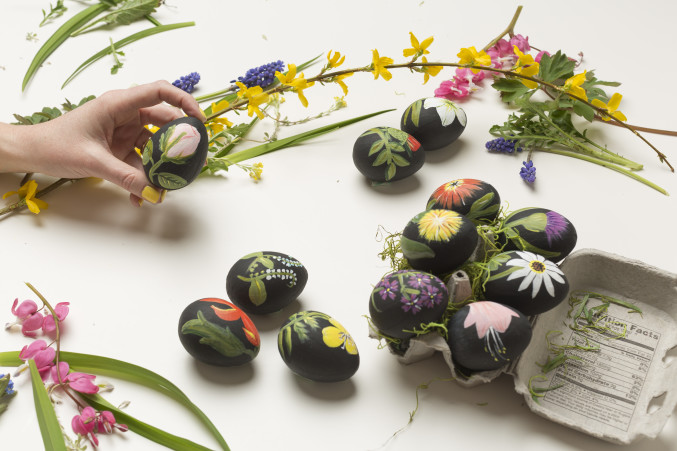
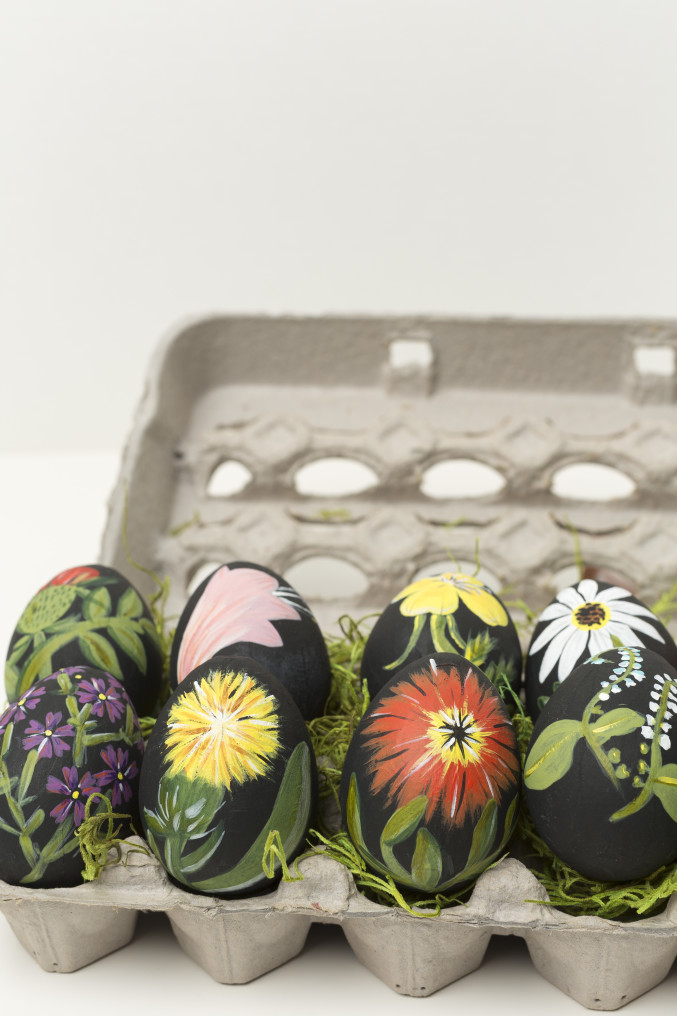
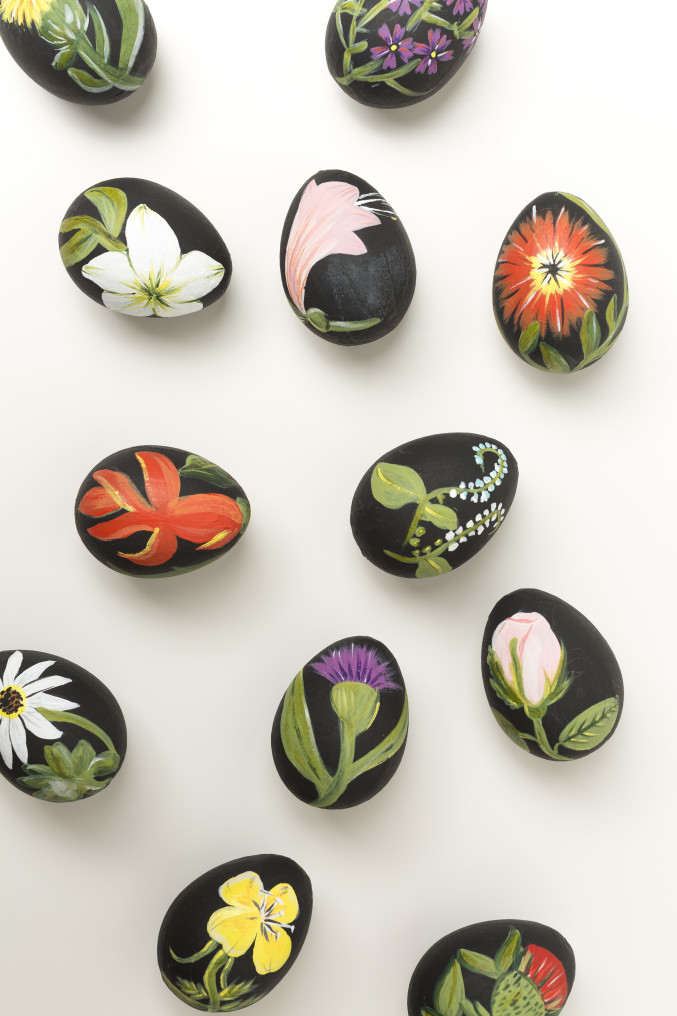
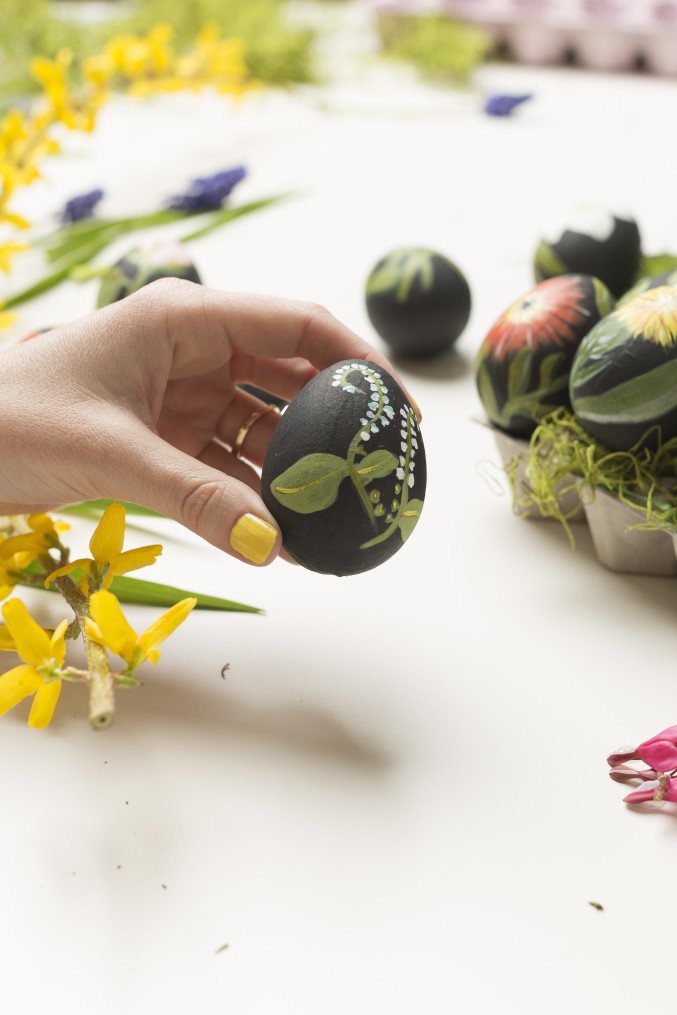
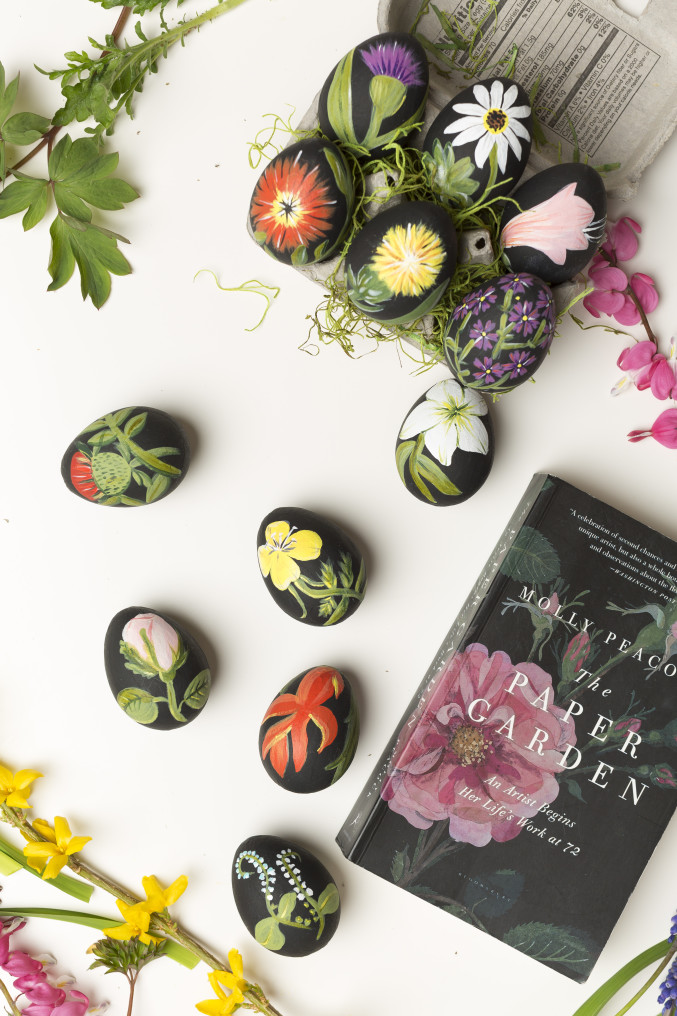
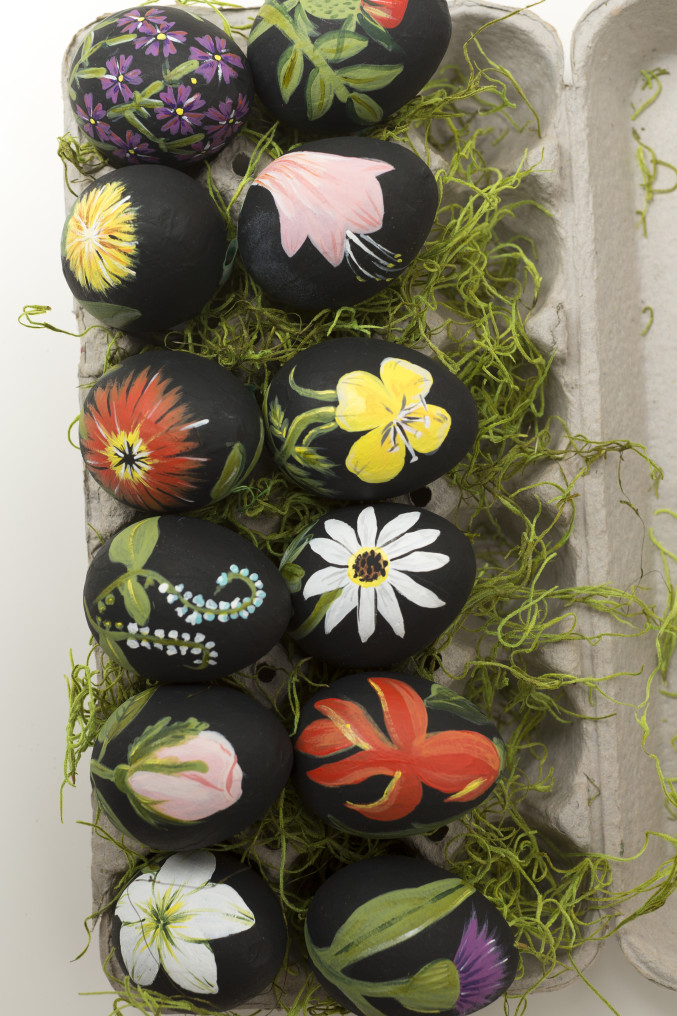
Photography by Trisha Zemp | Crafting and styling by Brittany Jepsen


Comments