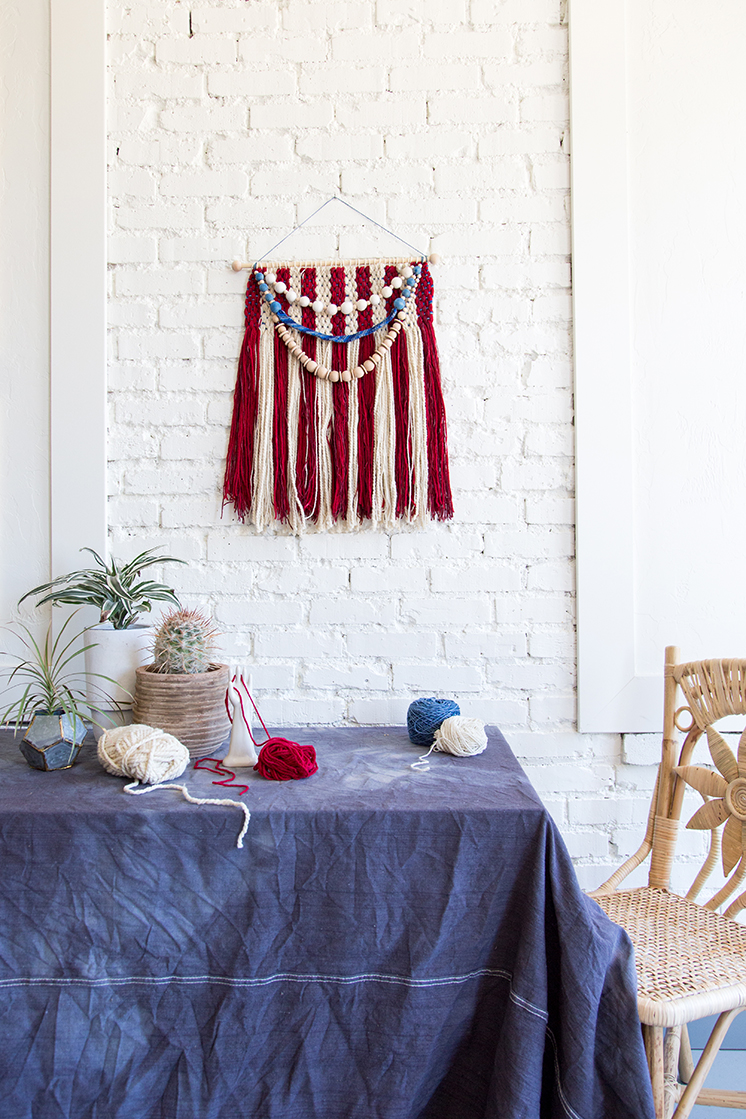
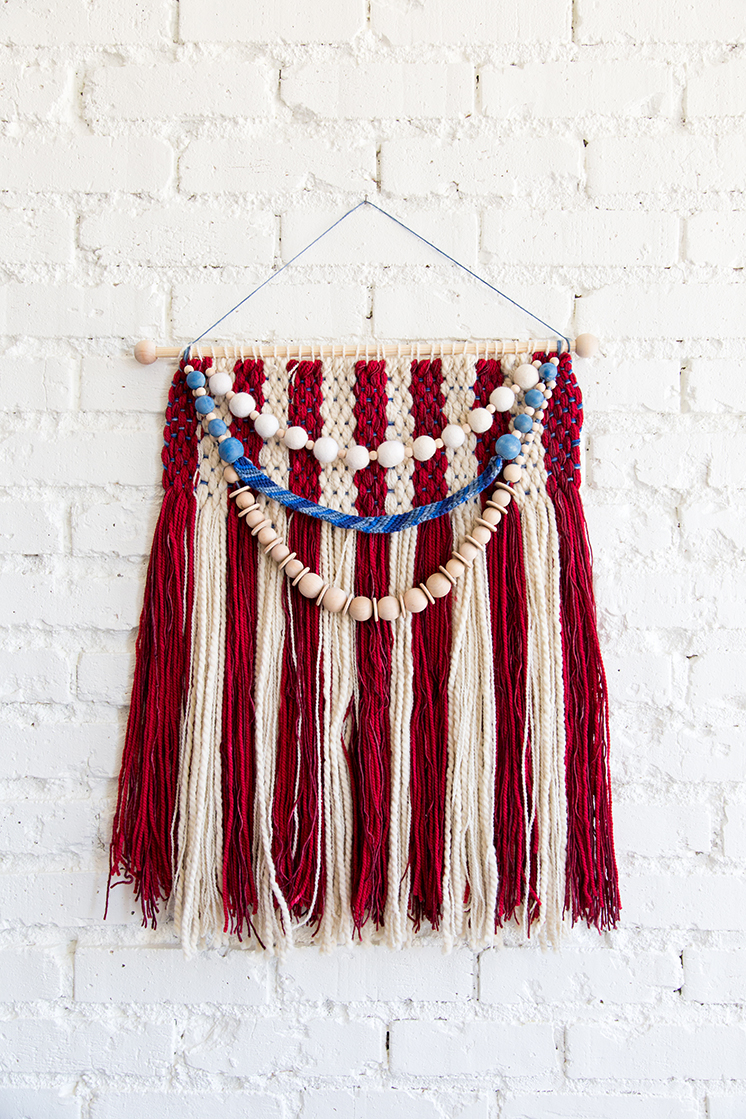
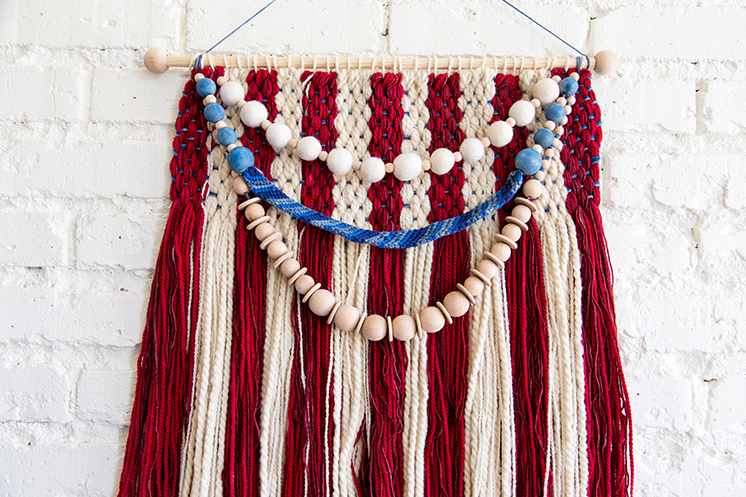
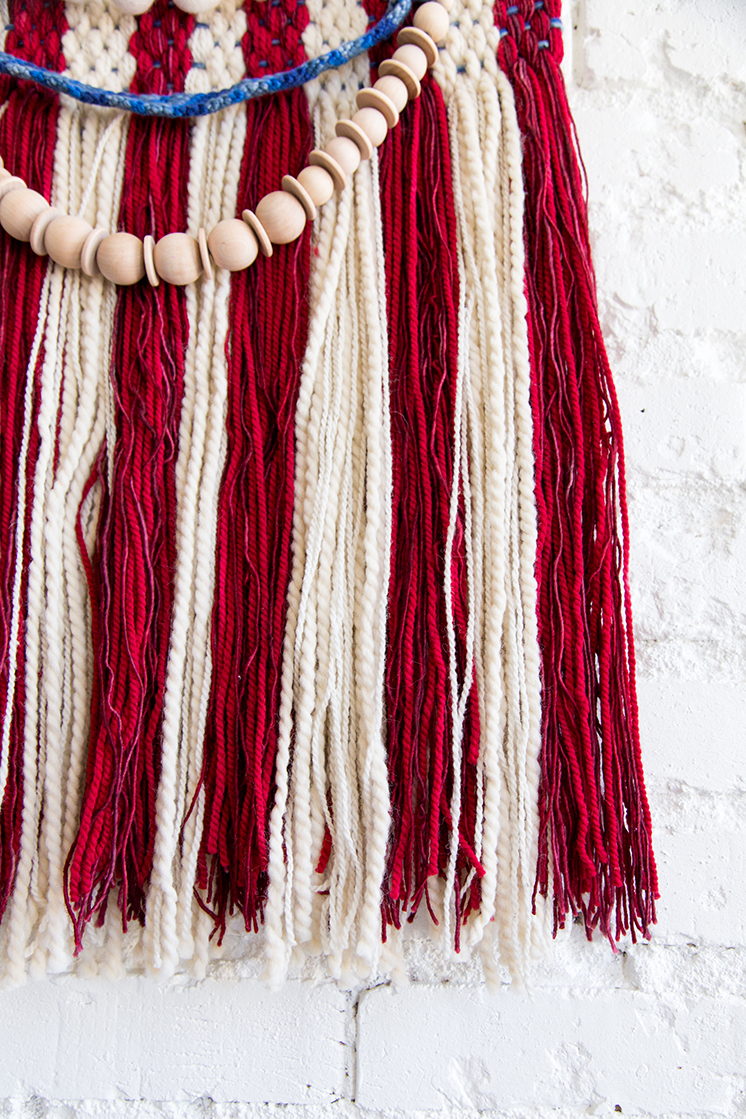
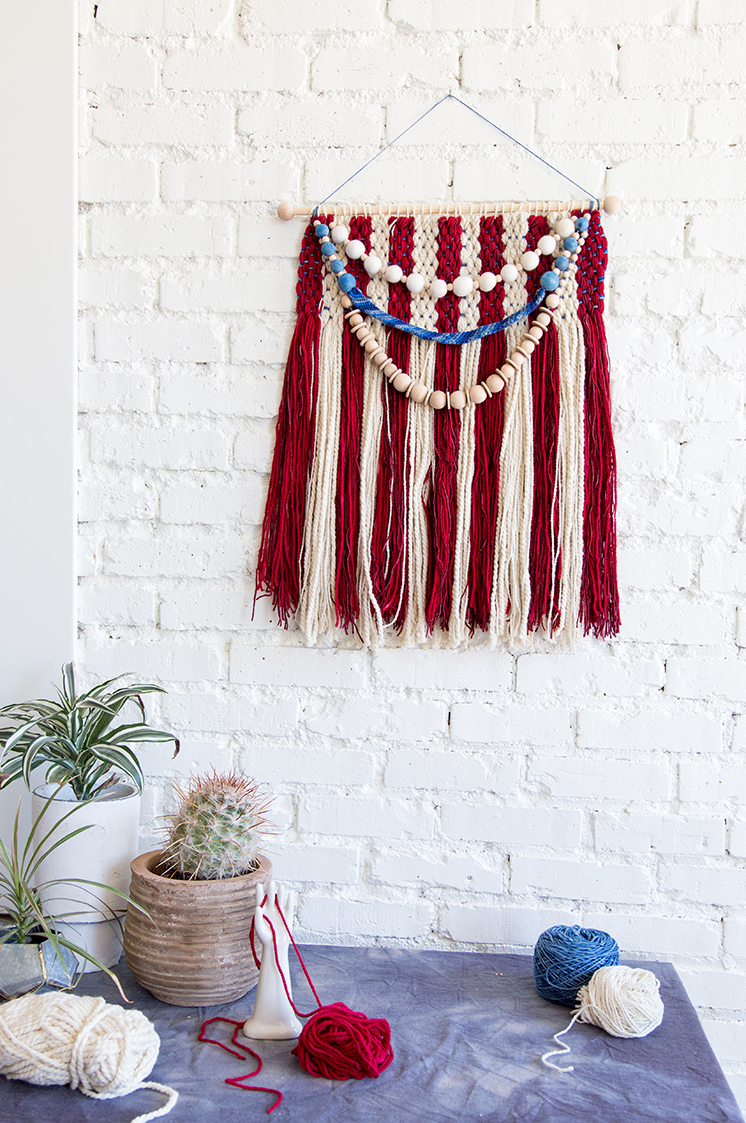
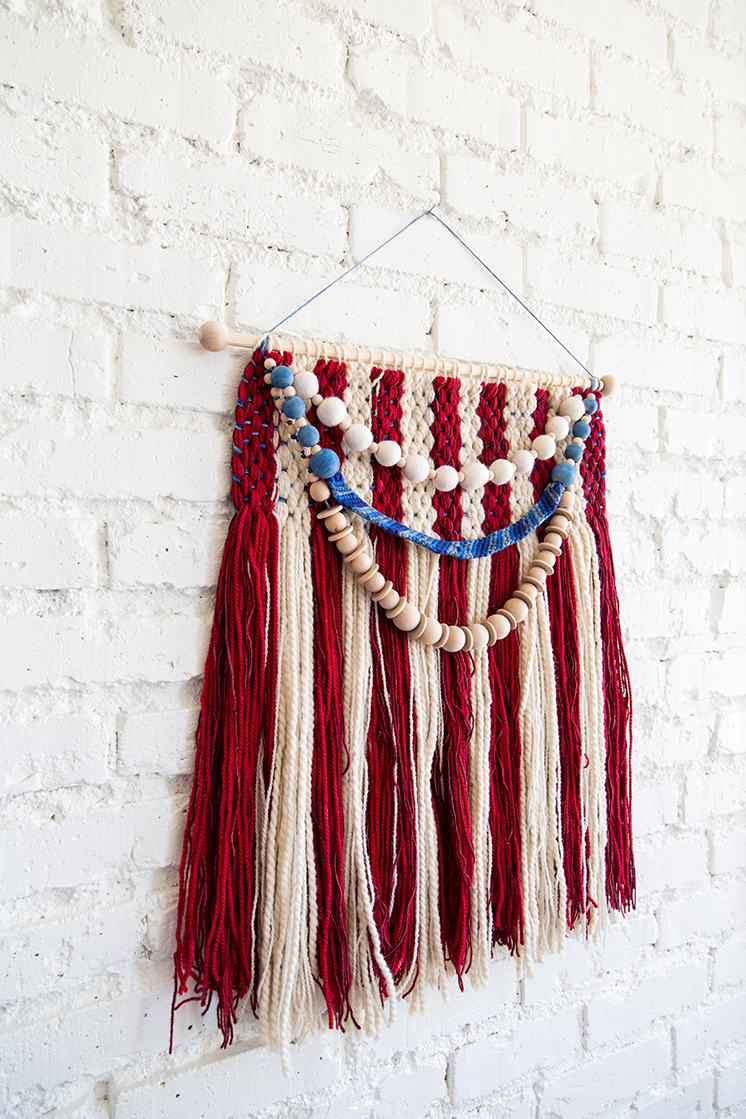
Time to pull out the ‘ole red, white, and blue, folks, because we’ve got a birthday to celebrate. America is turning 240 years old! Ashley came up with this gorgeous wall weaving to get your patriotism fix. It’s not a complicated weaving, but it does take some time. Head outside on a lawn chair and get your weaving on!
Materials:
- wooden dowel
- loom (or make your own with a sheet of particle board, nails, pencil, and a hammer)
- wooden dowel end caps
- measuring tape
- various textures and shades of yarn in red, cream, and blue
- doll needle and sewing needle
- fork
- thread
- cream wool felt balls
- blue paint, water, and paint brush
- yard stick
- wooden beads and disks in various sizes
Instructions:
- If you are constructing your own loom, use your pencil and measuring tape to mark out every half inch on both short sides of your particle board. Put your particle on a hard surface that you can’t damage (outside on concrete is great) and hammer a nail into each mark.
- Use one of your red yarns and tie a double knot around your bottom left nail. Don’t cut any length of yarn, just leave it attached to your spool so that you can use as much as you need. Wrap the yarn around the top left nail on the opposite side of your loom. You don’t need to encircle the nail, just wrap the yarn around the far side and bring it back toward you to make a ‘U’ shape around the nail, as shown in the step-by-step photos. Continue this process around the first 3 nails. If you are using multiple red yarns you’ll want to alternate yarns until the 3 nails are pretty dense with yarn. Try to wrap the yarns so that they are tight, but not straining. If you pull them too tight the yarns will shrink up when you take the weaving off of the loom. When you are finished with your first red stripe, cut each yarn and tie them around one of the bottom nails with double stripes. Make sure all of your knots are at the bottom.
- Repeat step 2 to create 7 (total) red stripes. Make sure that your first and last stripes are red. I skipped 2 or 3 nails in between each stripe.
- Repeat step 2 with your cream yarns between the red strips. In the areas where I was only able to leave 2 nails for a cream stripe I overlapped the cream and red for a few wraps.
- Turn your loom around so that the knots are all farthest away from you. The end without the knots should now be closest to you (making it the new “bottom”).
- Thread your blue yarn (we used a mix of 3 thin yarns) through a large doll needle. I loved this needle SO much for this project! You are going to weave your needle through GROUPS of yarns (so the entire cluster of yarns on the left side of the first nail is group 1, the entire cluster of yarns on the right side of the first nail is group 2, the entire cluster of yarns on the left side of the second nail is group 3, the entire cluster of yarns of the right side of the second nail is group 4, etc.). Start by weaving your needle and blue yarns over group 1 and then under group 2, over group 3, under group 4, etc, until you reach the last nail on the right side.
- Pull quite a bit of blue yarn through to the other side (enough to go across the stripes about 14 or 15 times). Use a fork to push the blue yarns toward you as close to the nails as you can.
- At this point grab your yard stick. I didn’t have one, so I used a rod that I had on hand, but a yard stick would have been much better. Weave your yardstick through the groups of yarn as you did with the needle and blue yarn in step 5, pick up OPPOSITE groups from the ones in step 5 (so if you went OVER a group with the needle, you’ll want to go OVER it with the yard stick). Once your yard stick is woven through, you can turn it on it’s side to raise and separate every other group of yarns. Now any time you are taking your blue yarn from right to left you can just pass the needle through the opening that the yard stick has created. That being said, pass the needle and blue yarn through this opening, right to left. Use fork to bring the blue yarns down as close to the nails as possible.
- Weave the needle and blue yarns from left to right as in step 5. Pass needle through the yard stick opening from right to left. Repeat this process until you have woven the blue yarns through all of the stripes 14 or 15 times. Leave 4 or 5 inches as a tail with your blue yarn and then cut them from their spools.
- Turn your loom around so that the knotted ends of the yarns are closest to you again. Use scissors to cut through all of the yarns/stripes pretty close to the rows of nails. Slip the loops of yarn from the other (woven) end off of their nails.
- Thread each blue yarn tail into the doll needle, then weave the tails through the back side of the weaving (careful not to go through to the right side) and knot and trim them.
- Cut a bunch of 6 inch pieces of cream yarn. Your weaving should still be wrong side up. Use the doll needle to thread a 6 inch piece of cream yarn through your top row of blue yarn every half inch. Place your wooden dowel along this bottom edge of the weaving as shown in the photo. Tie the ends of each cream yard around the dowel with 2 or 3 knots. Scoot the knot around so that it is hidden by the weaving. Trim the ends.
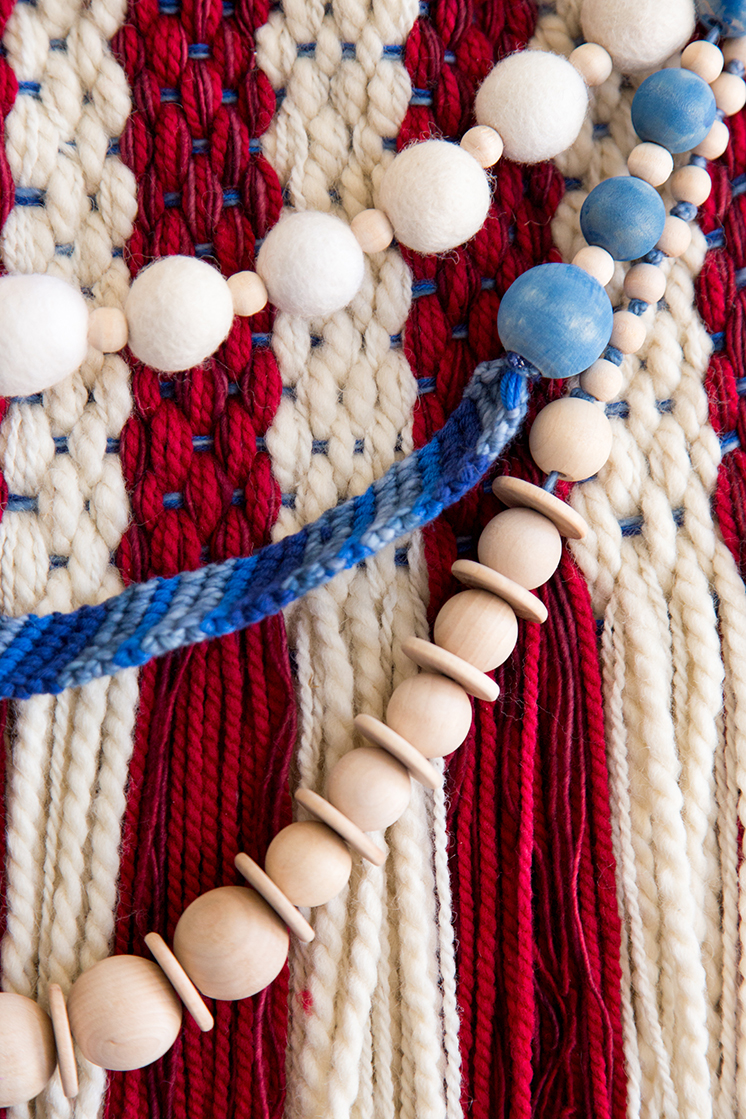
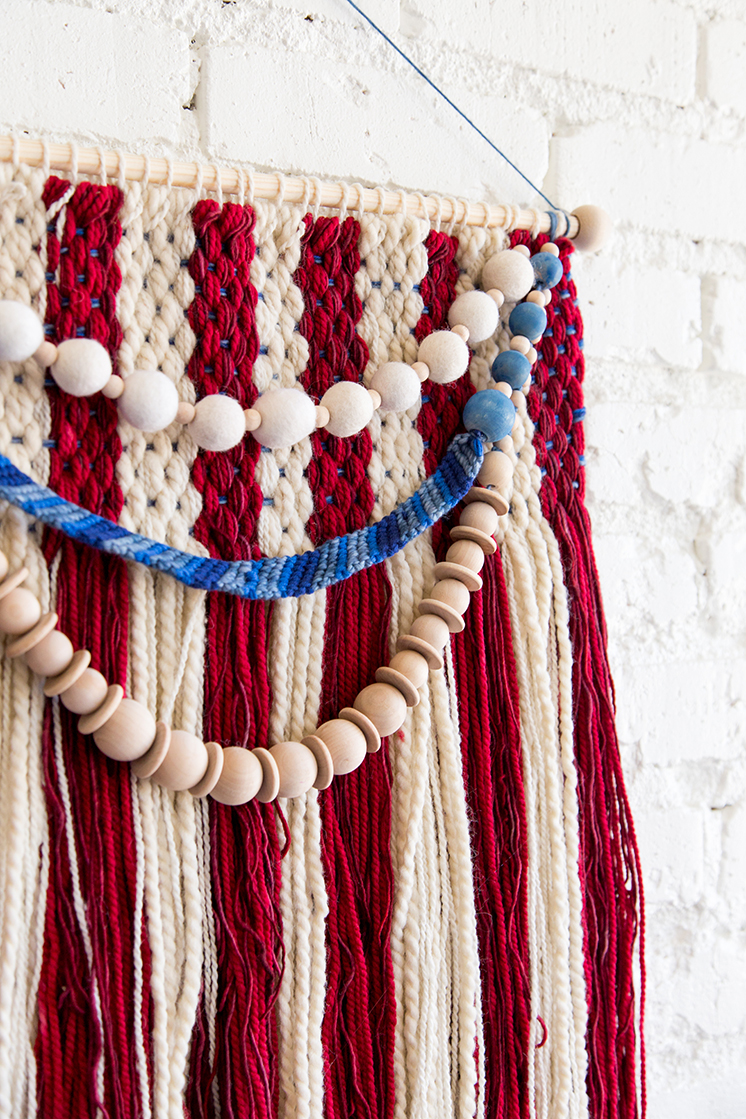
- Create the blue yarn swag by basically making a large friendship bracelet. There’s a good tutorial here. I used groups of 2-4 thin yarns for each strand. Knot, trim, and glue (to hold the yarns together) the ends. Tie another blue yarn to each end of the “bracelet”. Paint some wooden beads with watered down blue paint and allow to dry. Thread the blue beads on either side of the “bracelet” once they are dry.
- Create the wool felt ball swag by threading cream wool felt balls (alternated with small, natural wooden beads) onto sewing thread with a sewing needle.
- Create the wooden bead and disc swag buy threading various natural wooden beads and discs onto a length of blue yarn. I found it helpful to use the doll needle again. You can knot in between beads to add in more blue if you’d like.
- Attach the swags by threading each end through the doll needle and through the right side of one of the top corners of the weaving. Weave the tail through the back, knot the yarns, and trim as in step 11. Repeat with the opposite end of each swag through the opposite corner of the weaving.
- Hot glue the dowel caps to each end of the dowel.
- Tie a blue yarn to the dowel for hanging and throw a party because you’re done!
I found this tutorial very helpful as I was weaving for the first time!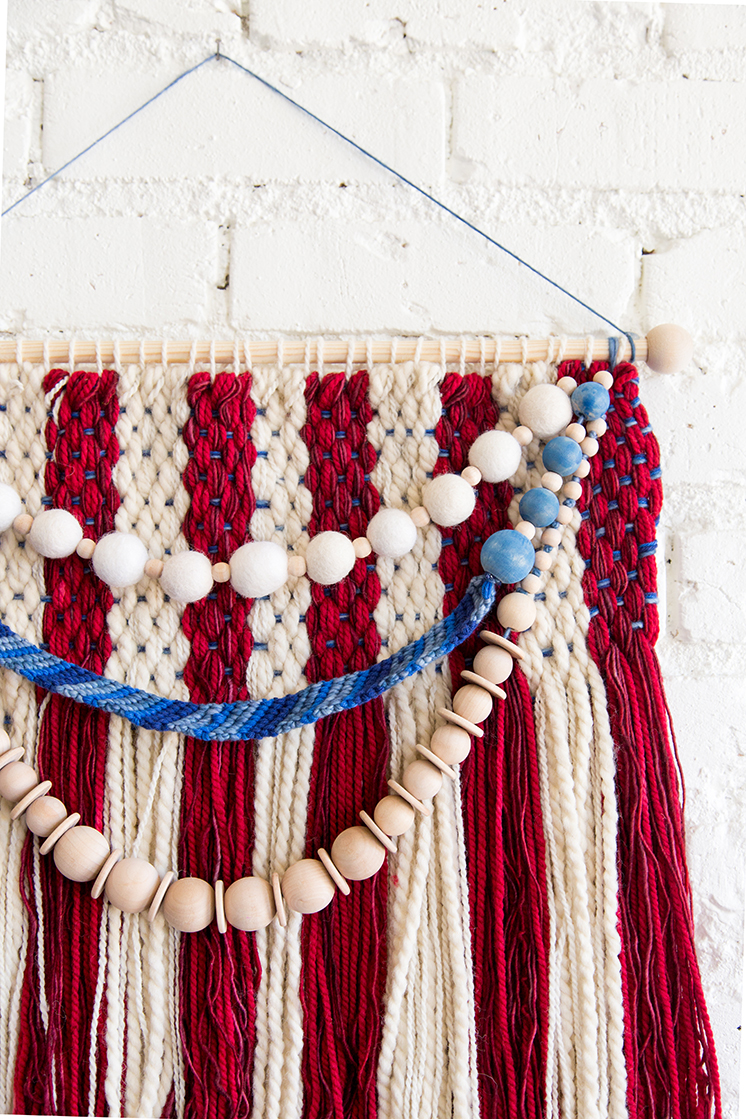
And if you’re not American, feel free to do it in the colors of your own flag!
Photography by Anna Killian | Crafting by Ashley Isenhour



Comments