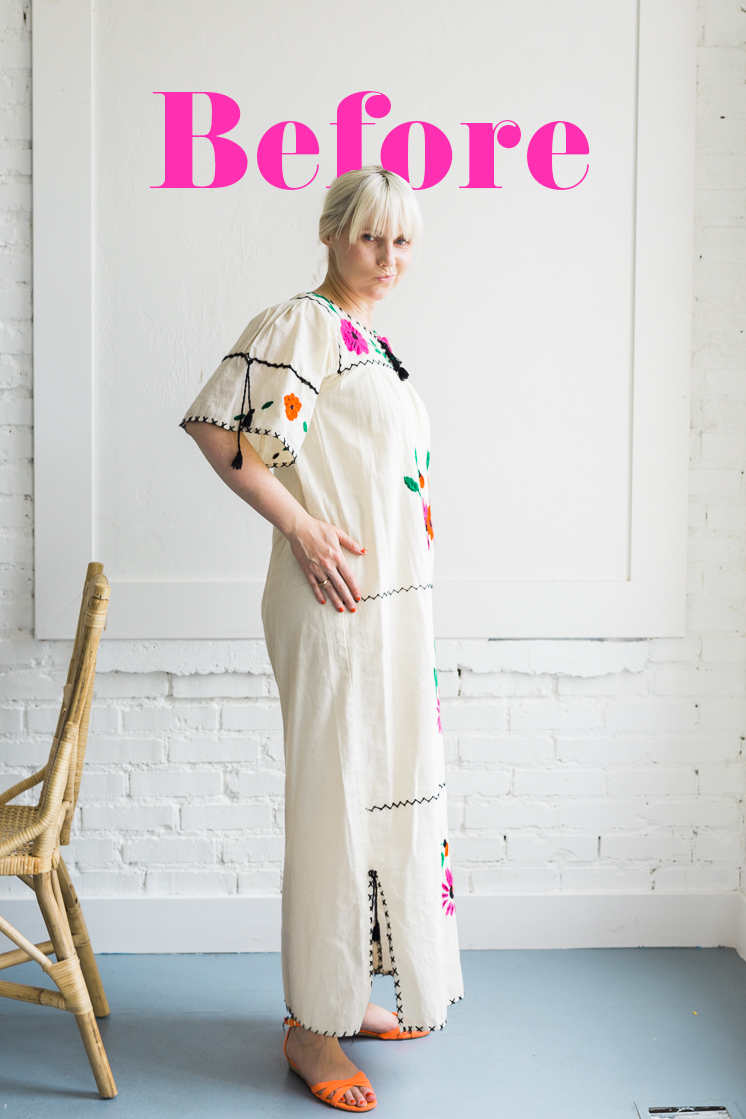
Get the full tutorial after the jump
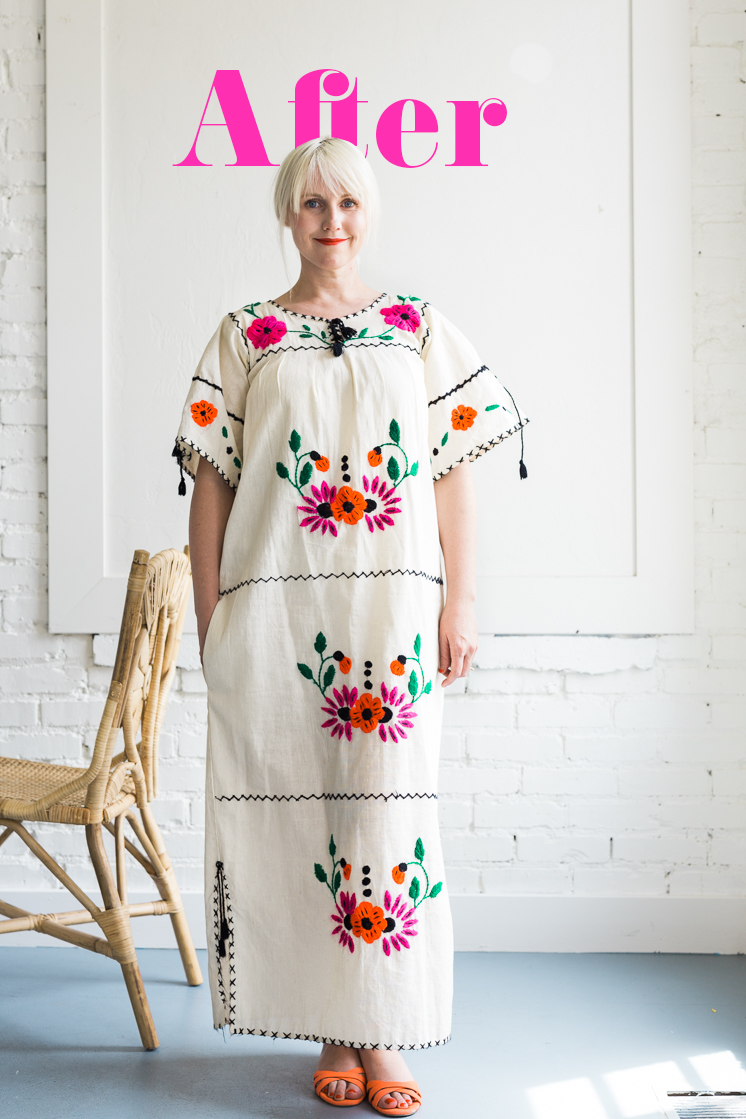
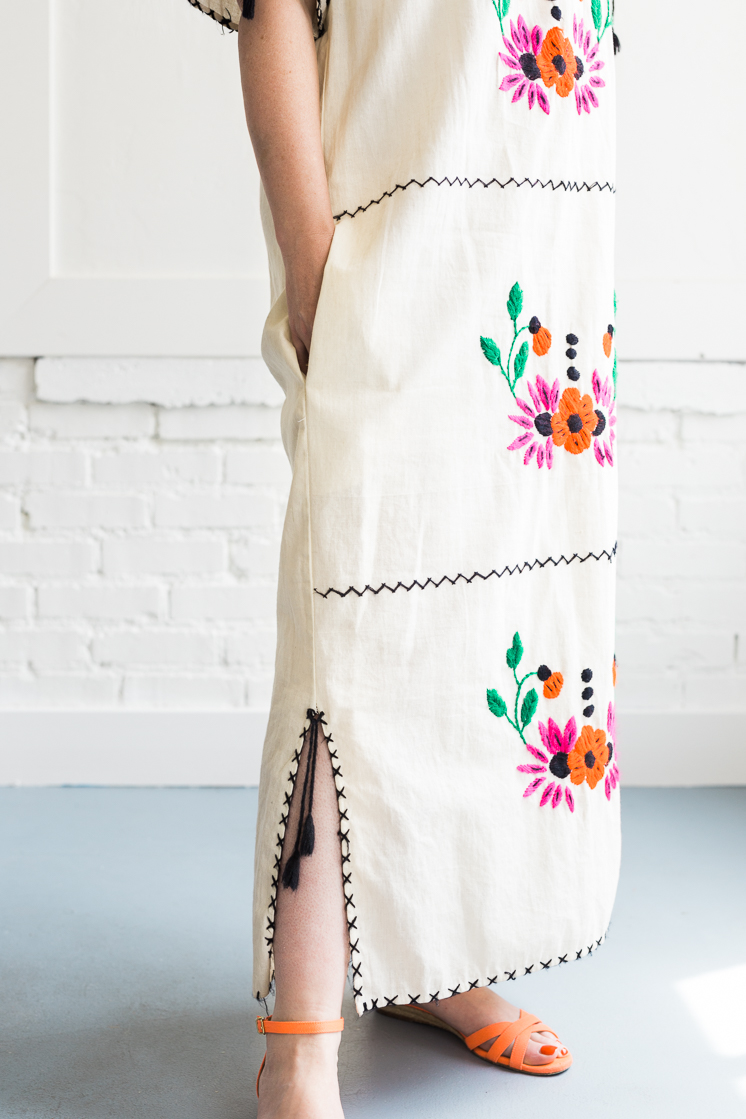
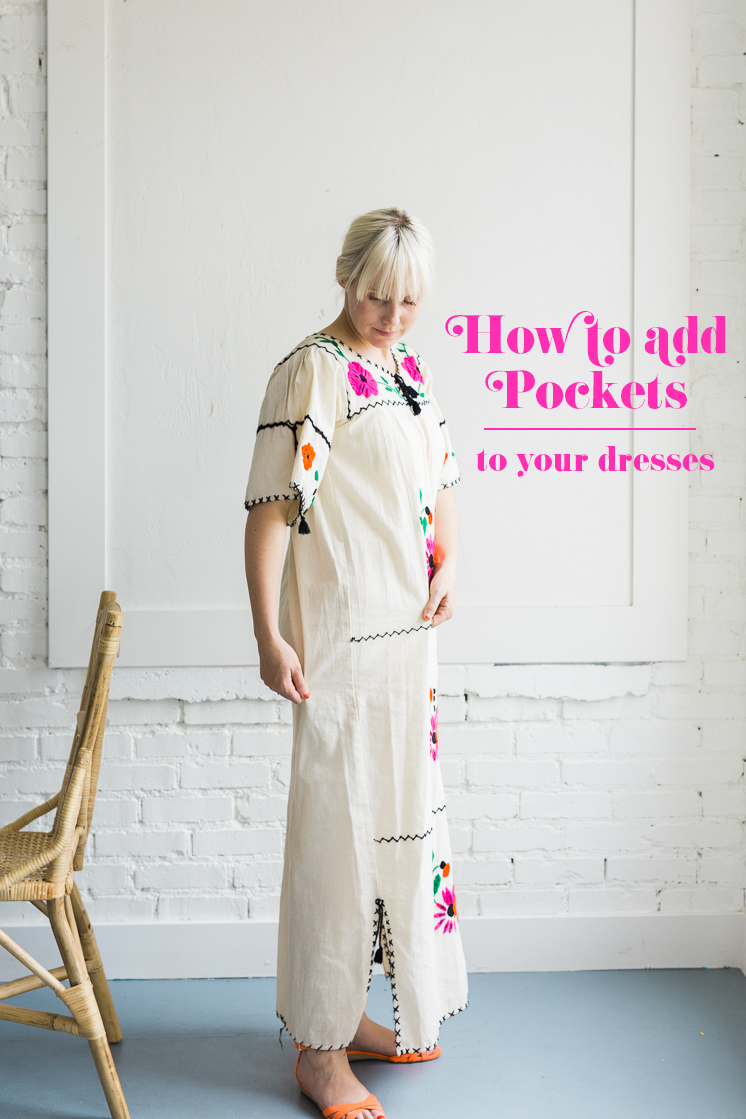
How to add pockets to your dress
Pocket Template SVG
Pocket Template PDF
A few dress requirements for adding in-seam pockets:
- The dress needs to have side seams. To put in-seam pockets in, you rip open the side seams to add in the pockets.
- Large enough seam allowances to add in pockets. A seam allowance is the area between the edge of the fabric and the stitching on the dress. It ranges between 1/4 inch and several inches. More is always better for pockets!
- Make sure the fabric of the dress is sturdy enough to be unpicked without ripping.
- Choose a dress that flows away from the body as opposed to tight fitting dresses. If the dress is form-fitting, the bulk of pockets will show.
- Choose a fabric for the pockets that is the same or lighter weight than the fabric of your dress
Materials:
- Dress (that meets the above requirements!)
- Fabric the same, or lighter, weight than dress
- Matching thread
- Fabric marker, pencil, or chalk
- Seam ripper
- Pins
- Sewing Machine
- Iron (Optional, but very helpful!)
Instructions:
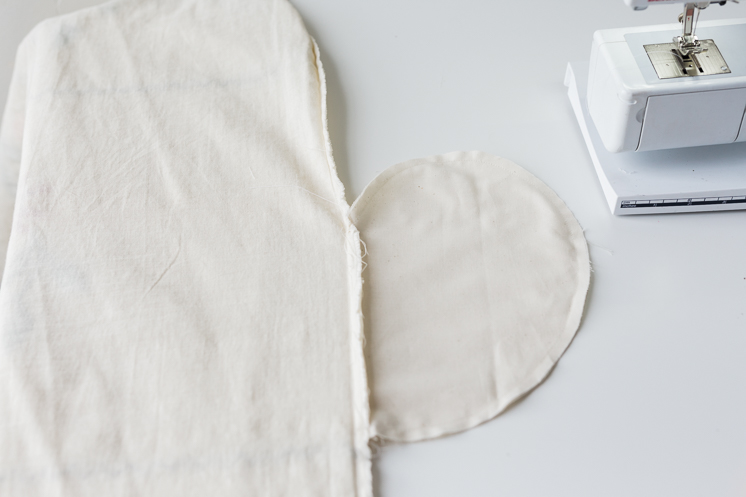
- Using the pocket template provided, cut out 4 pockets from your fabric, making sure you have two mirror images for each side.
- Mark where you want the top of your pocket to be on your dress with a marking utensil or pin. It’s helpful to try the dress on and see where your hands fall comfortably and make a small mark.
- When you mark the top of where you want the pocket to be, measure from the hem to the mark. Use this measurement to mark the pocket on the other side of the dress to ensure the placement is the same for both sides.
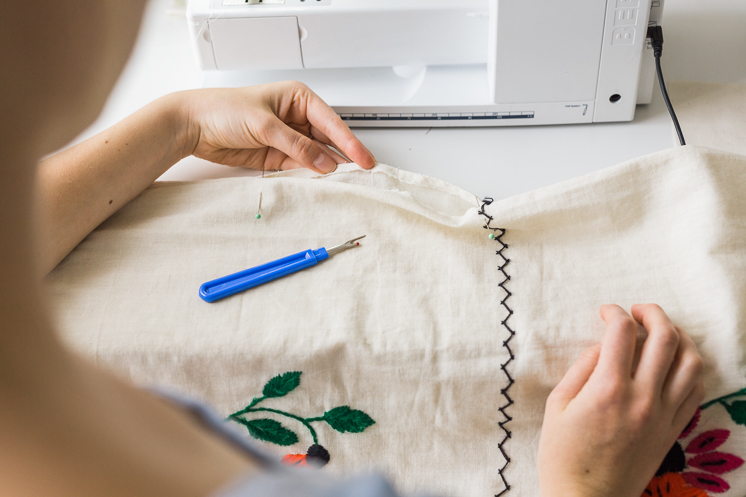
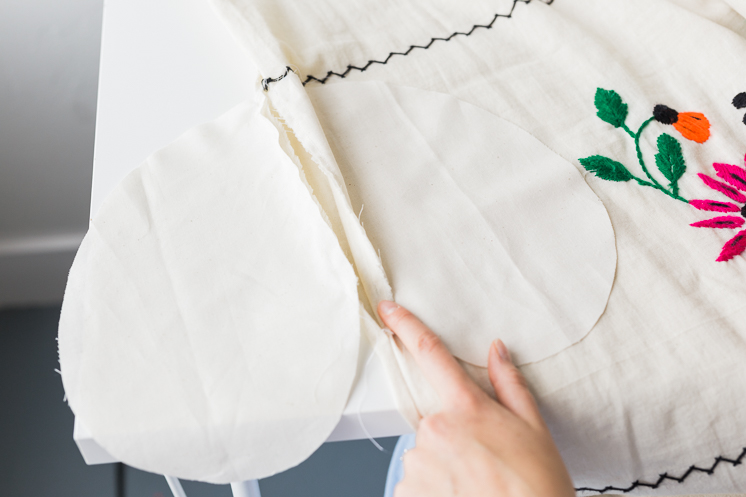
- Beginning just above the mark you made, unpick the side seam until just below the end of the pocket. Our template is 7″ long, so you’ll unpick about 8″ total, leaving 1/2″ above and below from where the pocket will sit.
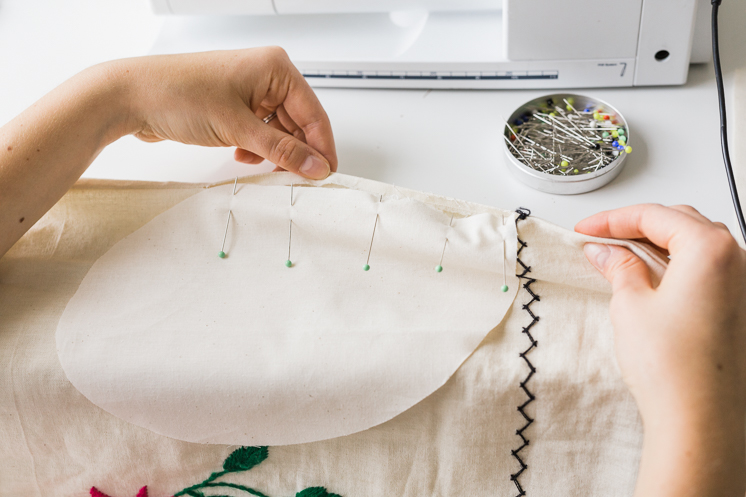
- With the dress right-side-out, pin one pocket piece to the front and one pocket piece to the back, with right sides of the fabric together.
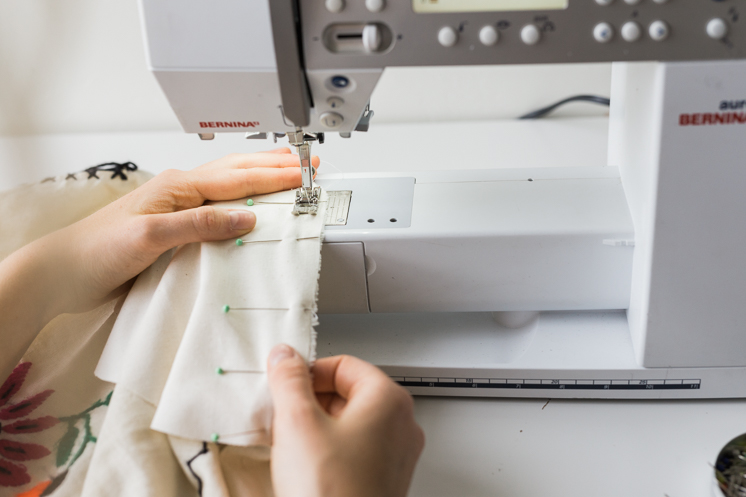
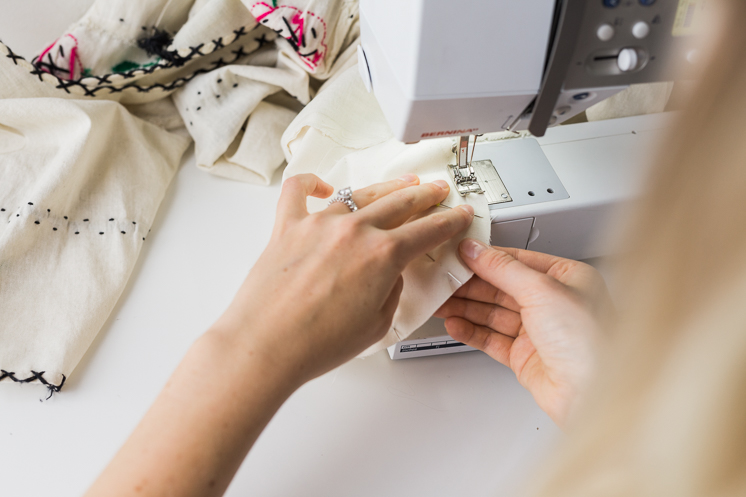
- Sew along the straight edge of the pockets for both sides of the dress, following the original seam lines. Remember to backstitch when you start and finish to lock your stitches.
- Iron the seams toward the pockets and then iron the pockets away from the dress.
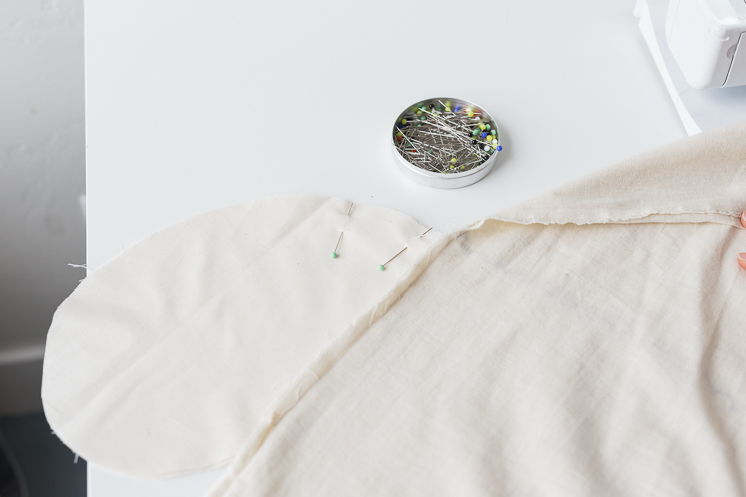
- Flip the dress inside out and pull out the pockets so they lay on top of each other. Pin in place.
- Beginning above the pocket on the side seam of the skirt where you’ve unpicked, begin to sew down and around the pocket and back down the unpicked seam below the pocket. Remember to backstitch when you start and finish to lock your stitches.
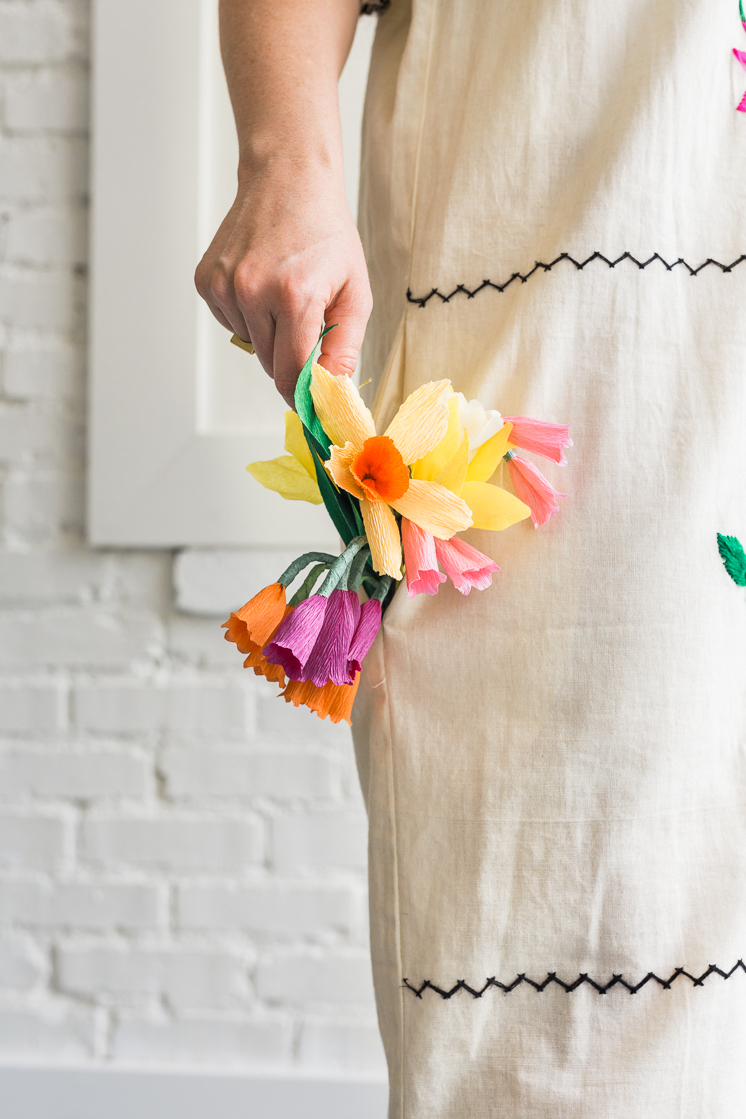
- Flip the dress right-side-out and push the pockets in. Iron and favor the edges so the pocket is completely invisible.
Photography by Anna Killian | Sewing by Rebecca Young


Comments