Mark your calendars! Easter is April 1st this year. It’s much earlier than usual which means we all need to stock up on Cadbury Eggs ASAP. Jelly beans and chocolate eggs aside, I love Easter! To me, it marks the official start of Spring, I’m just hoping the weather doesn’t miss the memo. This year we’re decorating with this Rainbow Easter Egg Wreath!
Read below for the full DIY tutorial!
Materials:
Inspired by Naturally Dyed Eggs
We skipped the dying for this project to eliminate the mess and allow the wreath to keep for years to come. Naturally dyed eggs have such a pretty texture. We tried to recreate that look with paper. We textured a rainbow of crepe papers using bleach and paint to achieve the desired effect. With the addition of some paper leaf boughs, this is a step above your average Easter wreath! Brighten up your dreary winter days with this Rainbow Easter Egg Wreath and a handful of jelly beans 😉
Get step-by-step instructions and photos to help you make your own Rainbow Easter Egg Wreath!
Rainbow Easter Egg Wreath
Materials:
- Crepe papers in a rainbow palette, and green for the leaves. Find Crepe Paper HERE
- Bleach or paint to texture the paper, optional
- Paper mache eggs, we used regular sized eggs and mini
- 12-inch wire wreath frame
- 2 sheets of tissue paper
- Scissors
- Hot Glue Gun
- Floral wire
Prepping the Crepe Paper
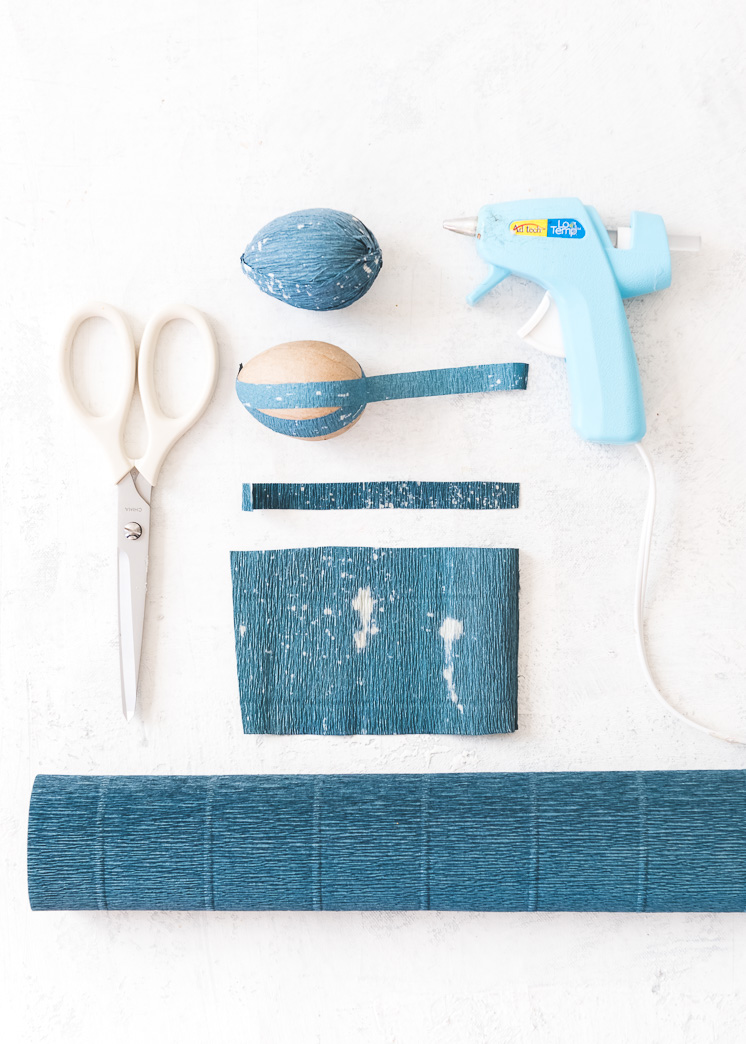
- If you’d like to texturize your crepe paper, use bleach or paint to add some splatters or brush strokes to a small section of the paper.
- Cut your crepe paper against the grain into 1/2″ strips and stretch out to remove the ridges.
- Wrap each paper mache egg with the strips of crepe paper, using dots of hot glue to secure.
- Repeat for all the eggs.
Prepping Your Wreath Form
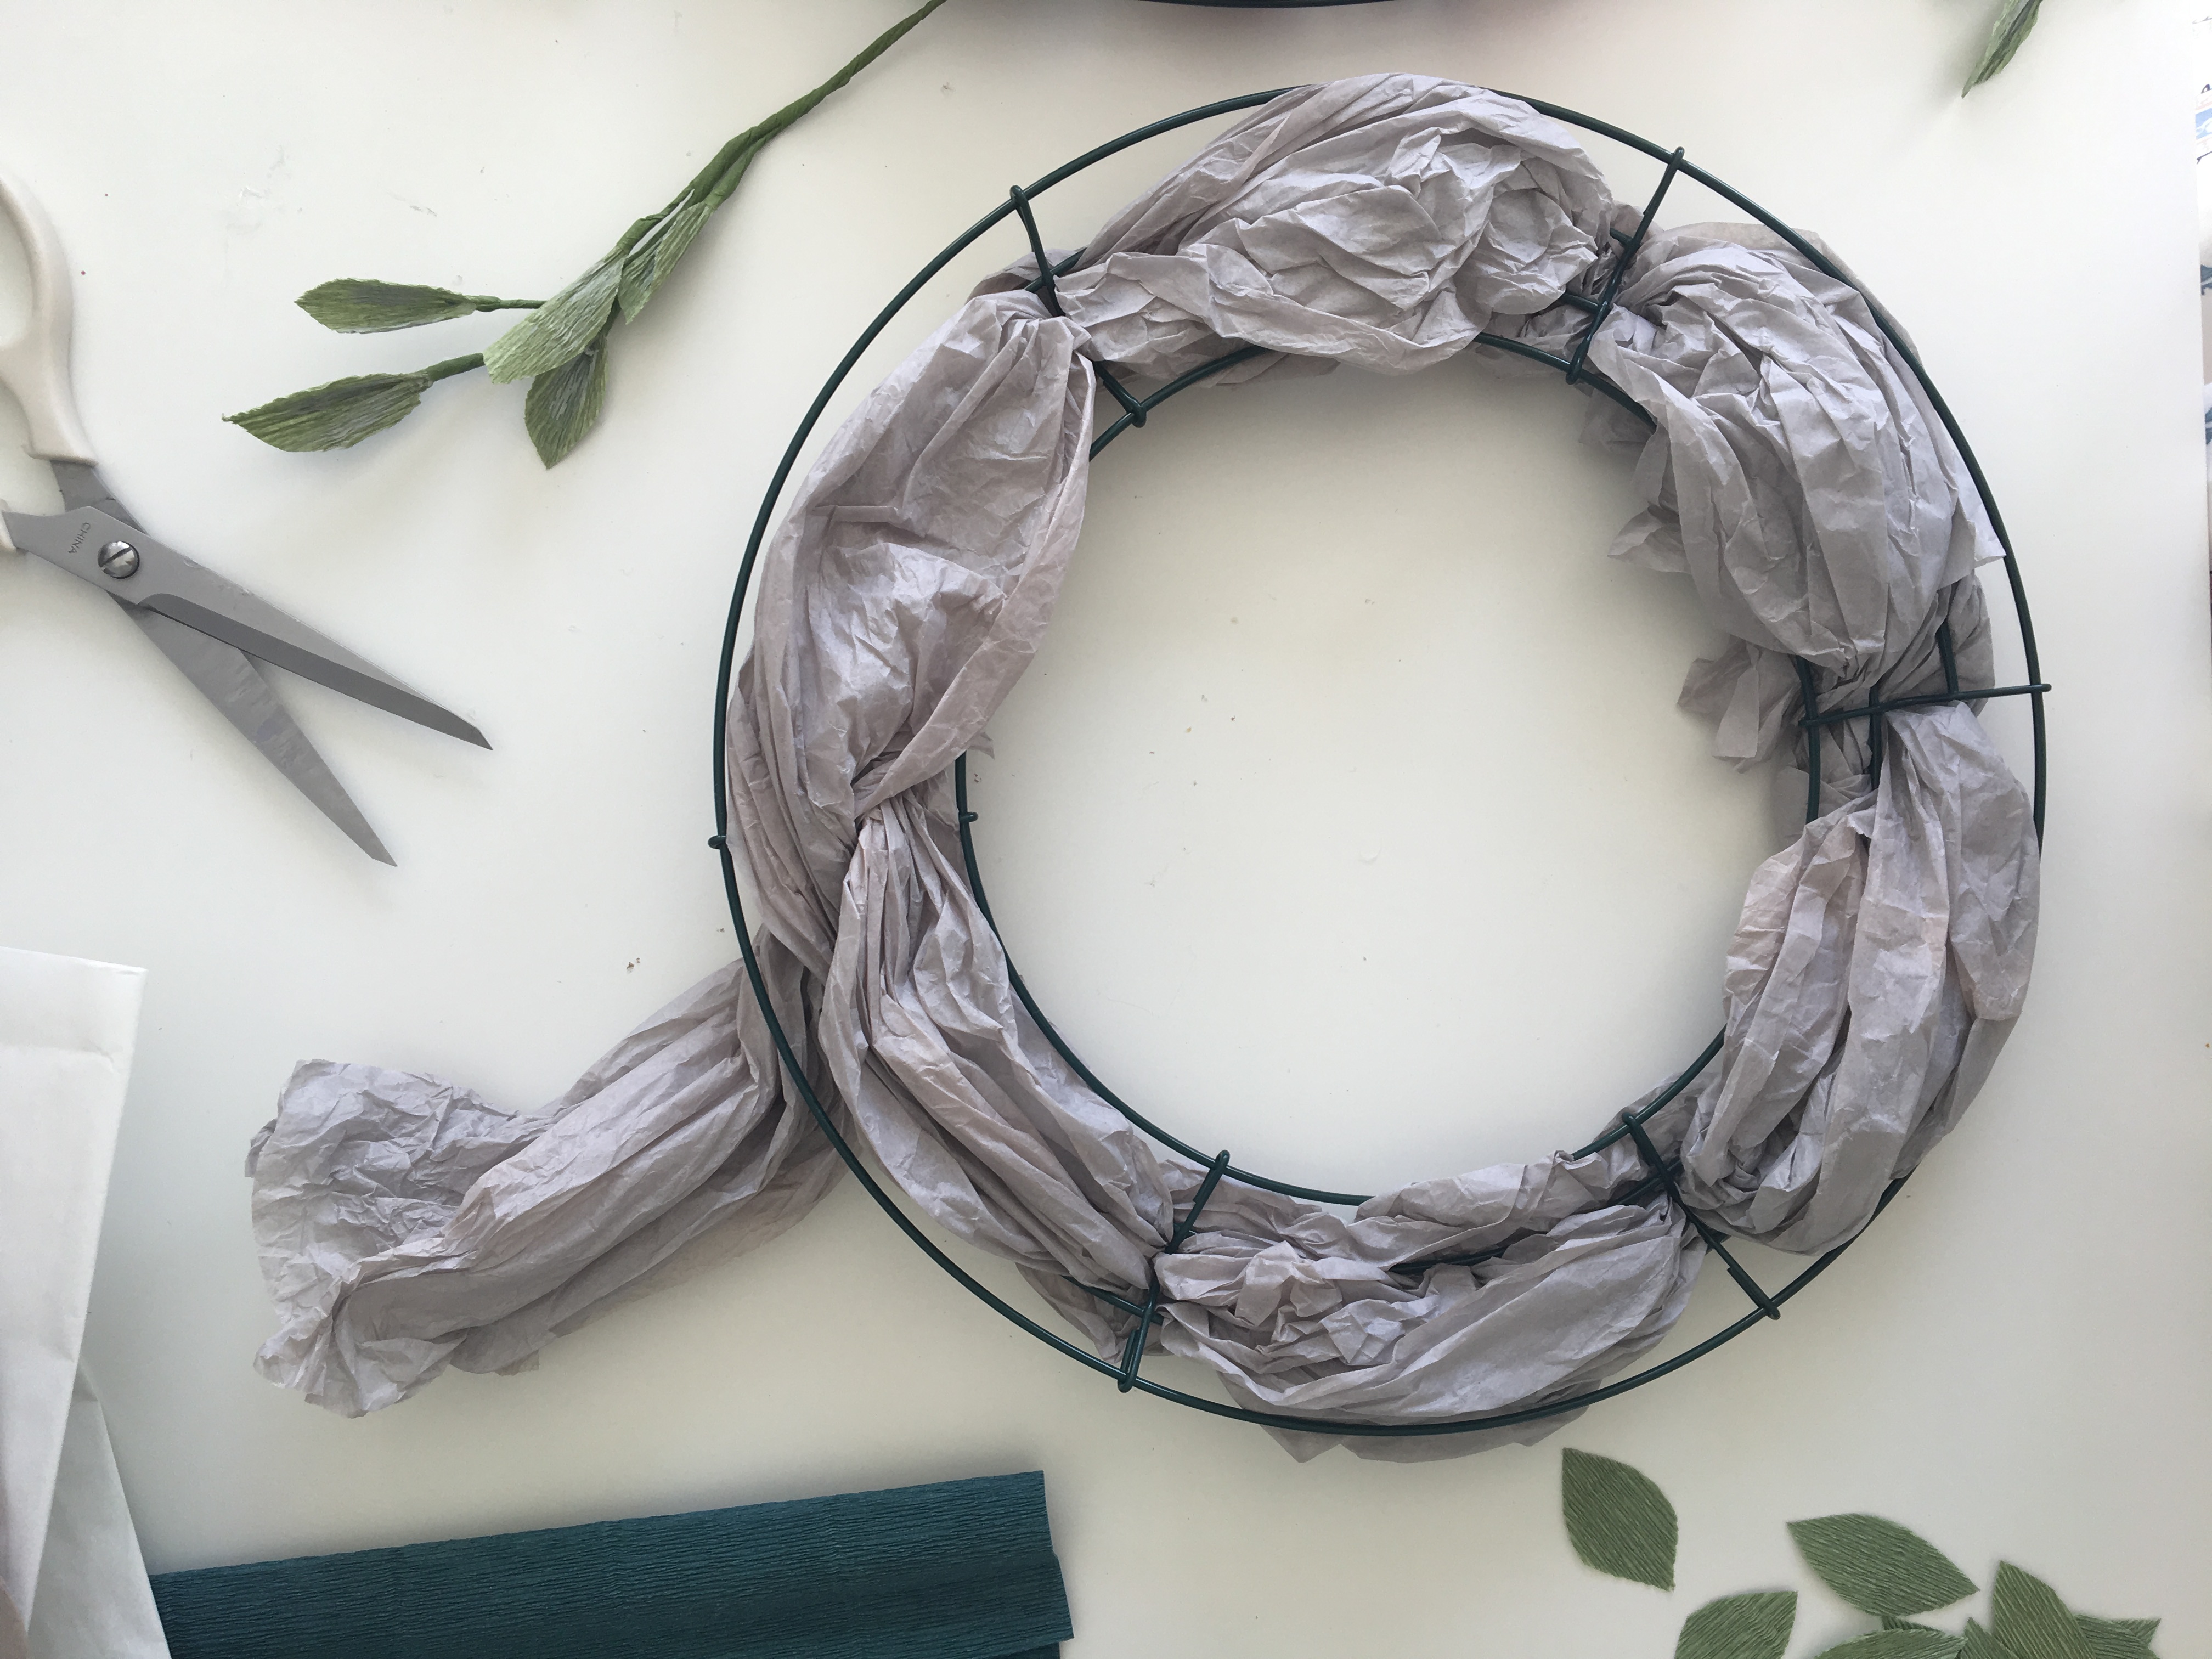
- Take your tissue paper and bunch up into a cylindrical roll.
- Weave the tissue paper into the concave side of the wire wreath frame. This will give you more surface to glue your eggs
Finishing Touches
- Arrange your eggs by nestling them into the tissue paper and using hot glue to secure them. We wanted our eggs to have some organic movement and not look too perfect, so place your eggs at different angles and don’t be afraid to layer them a bit.
- To finish, make come small leaf boughs to fill in the gaps of your wreath.
- Cut leaves approximately 1-inch tall.
- Glue a leaf onto the tip of a piece of wire 2-5 inches long.
- Wrap the wires in floral tape
- Cluster five leaves together and wrap with floral tape to keep it all together.
- Stick the leaf boughs into the wreath and bend the end of the wire to secure.
- Shape the leaves to give some movement
Hang your wreath and welcome in the spring season!
Photography by Jane Merritt | Crafting by Rebecca Hansen











Comments