

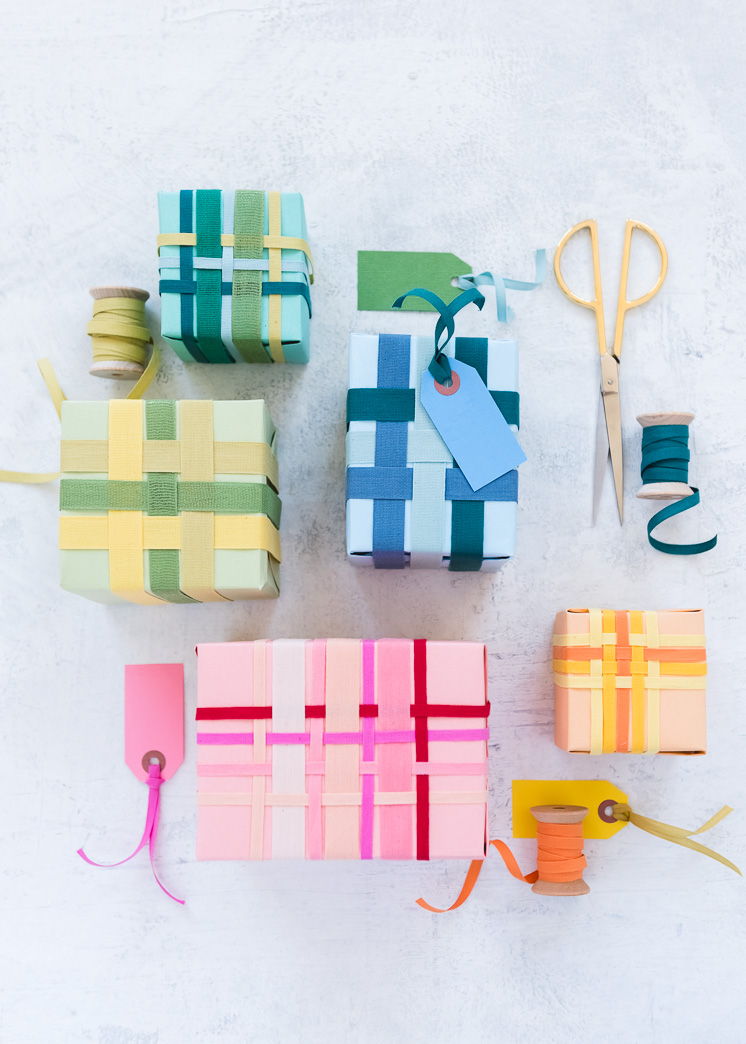
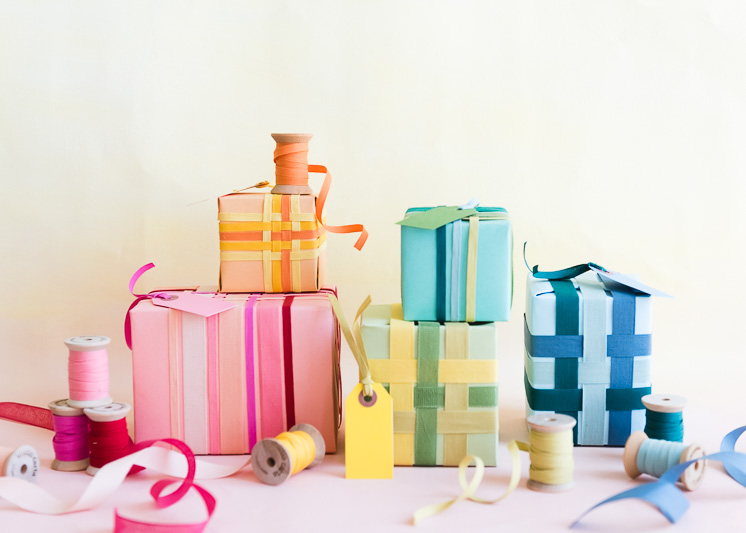
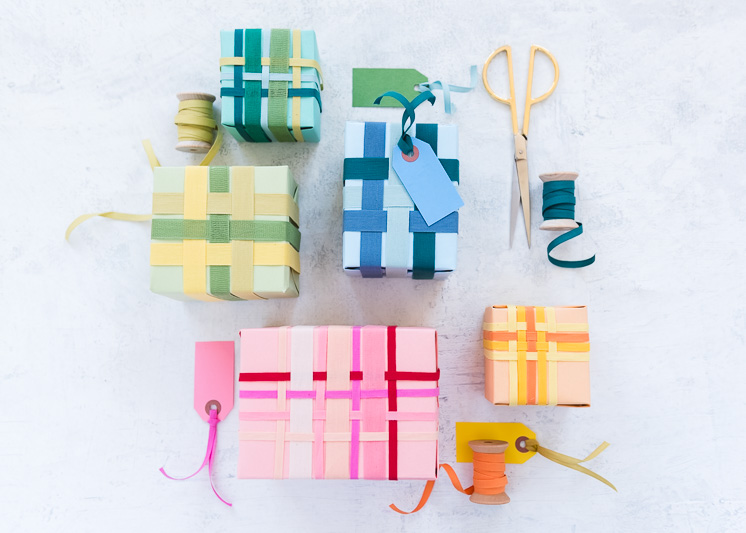
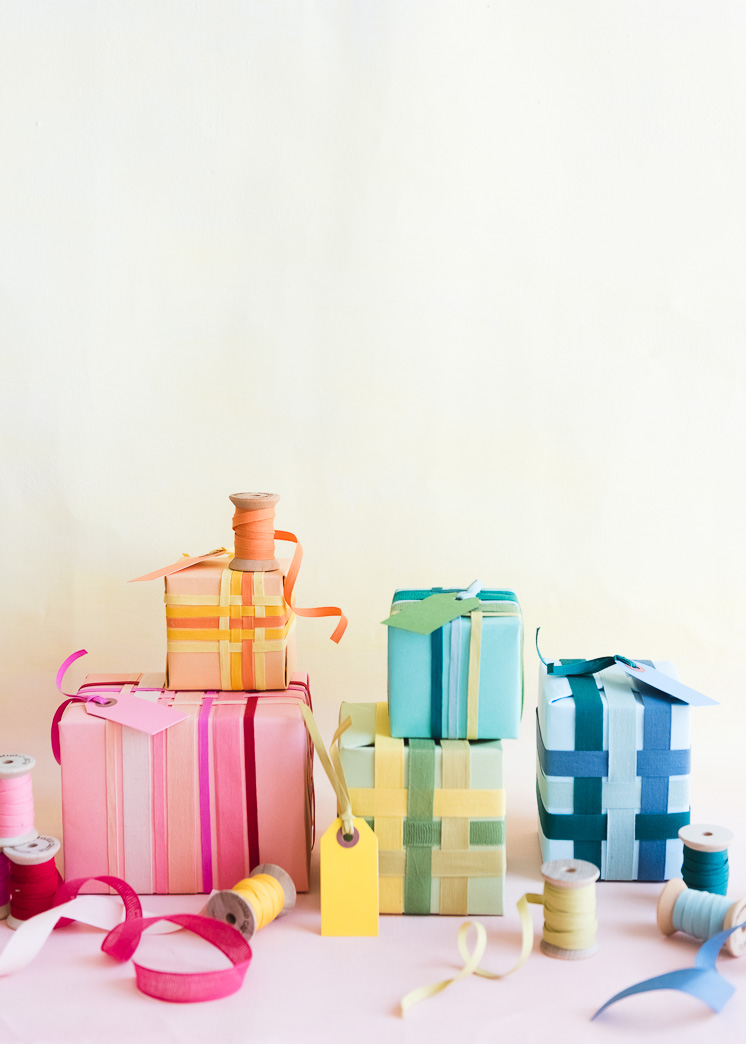
We’re always looking for new ways to wrap presents. A gift is just that much more special when it is delivered in a pretty package, no? So when we received all these beautiful ribbons from Studio Carta, we were overwhelmed with the possibilities! If you’re not familiar with Studio Carta, you should check out their web store and browse all their beautiful ribbons and scissors. Studio Carta was the provider of the beautiful gold scissors we offered as pre-order gifts with our book! Anyways, back to the ribbon. The color options are incredible and we really wanted to highlight the lovely shades. We wrapped the packages in a muted rainbow of paper and then assigned each one a variety of similar colored ribbons. We created a simple weaving pattern on each one and the end result was so lovely! No bows necessary here!
If you like their ribbons as much as we do, Studio Carta is also doing a giveaway starting today. With a minimum purchase of $95+ you’ll receive a copy of Craft the Rainbow while supplies last! So pop on over to enter and find some beautiful things! Their ribbons and scissors make perfect gifts and gift wrapping. Ideal for Mother’s Day which is just around the corner! The offer is only valid starting today and ending Friday, May 4th at Midnight Eastern time.
Ribbon Weaving Gift Wrapping
Materials:
- Ribbons in various colors and widths. We used the 1/4″ tight weave, the 5/8″ tight weave, and the 1/2″ loose weave.
- Tape
- Scissors
- Covered packages to wrap with the ribbon
Instructions:
- Decide which ribbons you want to go with each package. We chose anywhere from 3 to 7 different ribbons for each package.
- You’ll need two lengths of each ribbon for your weaving, one to fit all the way around the box lengthwise and the other widthwise. Cut all your ribbons accordingly.
- First, wrap all the ribbons around the box going one direction and tape in place on the bottom of the package.
- Now you’ll move onto the ribbons going perpendicular to the previous set.
- With the first ribbon, tape to the bottom of the box and wrap around.
- When you come to the top, weave the ribbons under and over the ribbons you’ve already set. Just follow the pattern: over, under, over, etc..
- Repeat this process with the next ribbon, but starting under instead of over: under, over, under, etc..
- Once you’ve complete the weaving, tape the ribbon ends to the bottom of the package like the others.
Photography by Jane Merritt | Designs by Rebecca Hansen | Ribbons from Studio Carta
Comments