This post could also be called “How not to get pinched” on St. Patrick’s day. As you know, I’m a dresser upper for holidays. It used to be a lot worse but I’d say I’m a bit more toned down in my more, shall we say, “mature” years. Mostly because I work from home and I don’t leave the house much. Sometimes you just need to show that you’re not a Scrooge so you’ll add in a bit of red for Valentine’s Day and a dash of green for St. Patrick’s day. Amiright? And usually you don’t want to spend much time on it, so here are 5 easy (nearly glue gunless and sewless) ways to add in that dash of green for St. Patrick’s day.
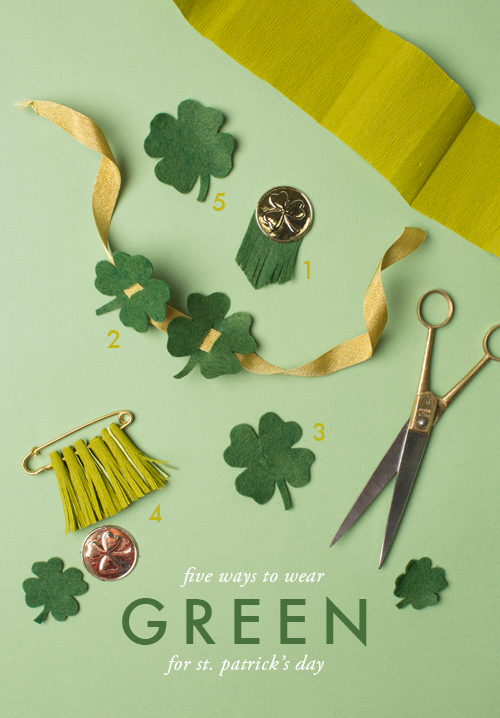
Make shamrock accessories
Difficulty:
BeginnerTime:
5 minutesMaterials
- green felt
- scissors
- gold ribbon for bracelet
- plastic gold coin
- green crepe paper
- gold pin
- shamrock template
Instructions
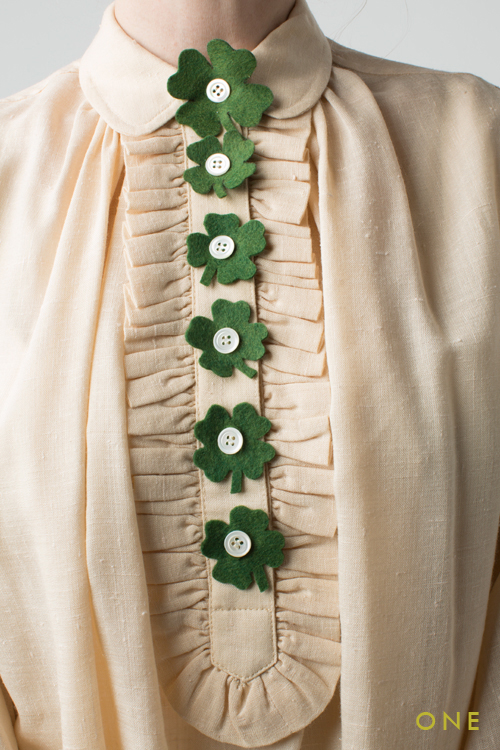
Make a felt shamrock button cover
-
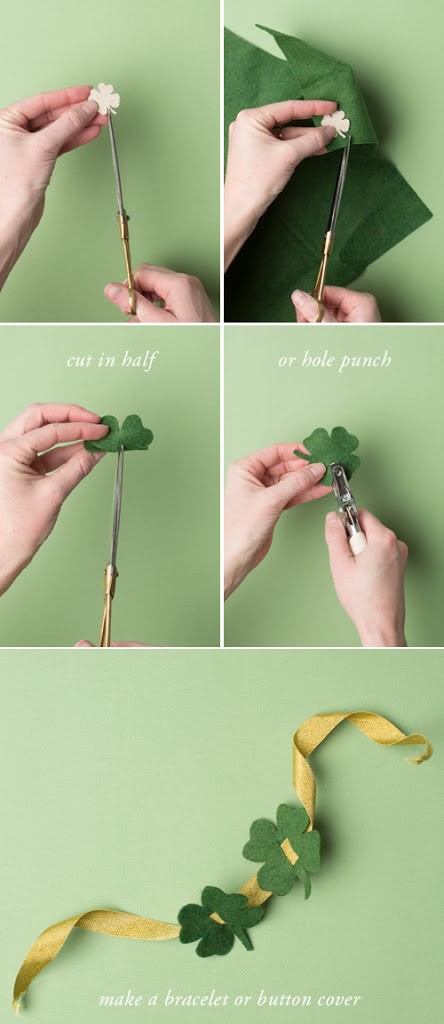
Cut a shamrock shape onto chipboard to use as a template
-
Cut this shape onto a piece of felt.
-
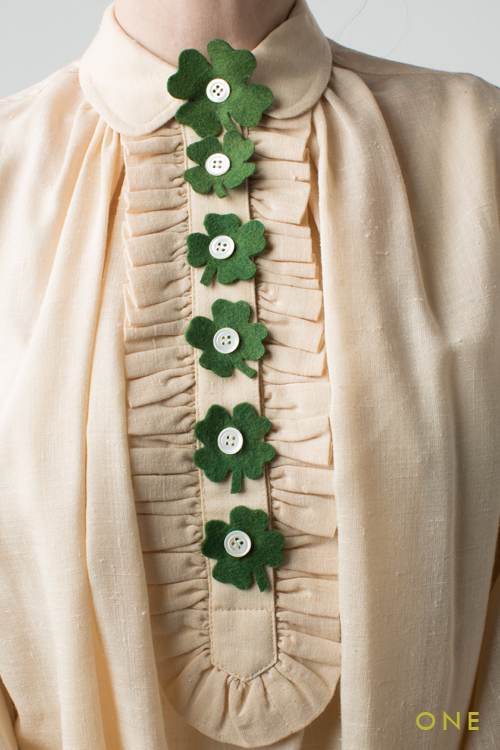
For a button cover, fold the shamrock in half and cut a vertical cut according to how long your button is and place it onto button.
-
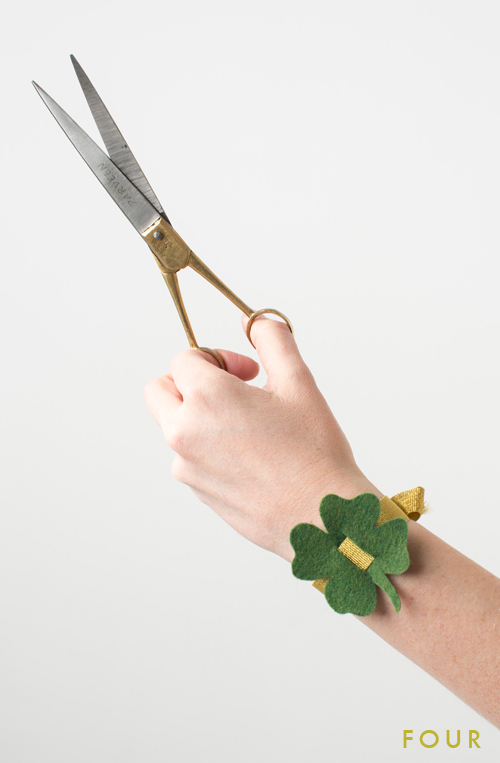
For a bracelet, cut two vertical lines and slide a gold ribbon through.
-
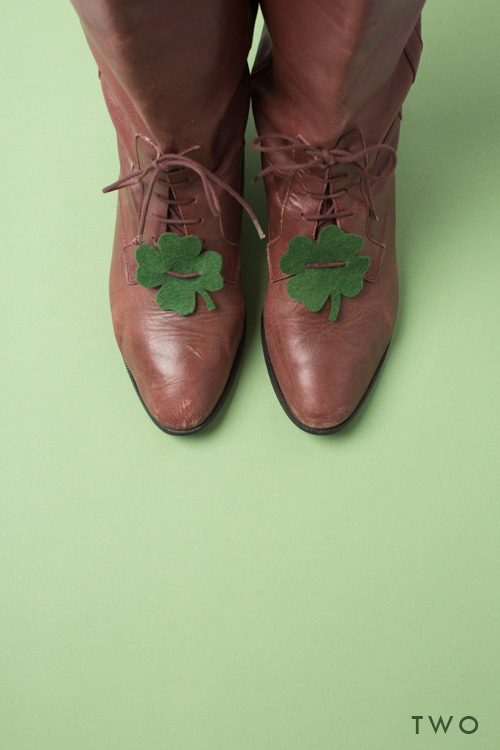
For a shoe accessory, use a hole puncher to cut two holes on either side and slide it onto a shoe lace.
Green paper fringe tassel
-
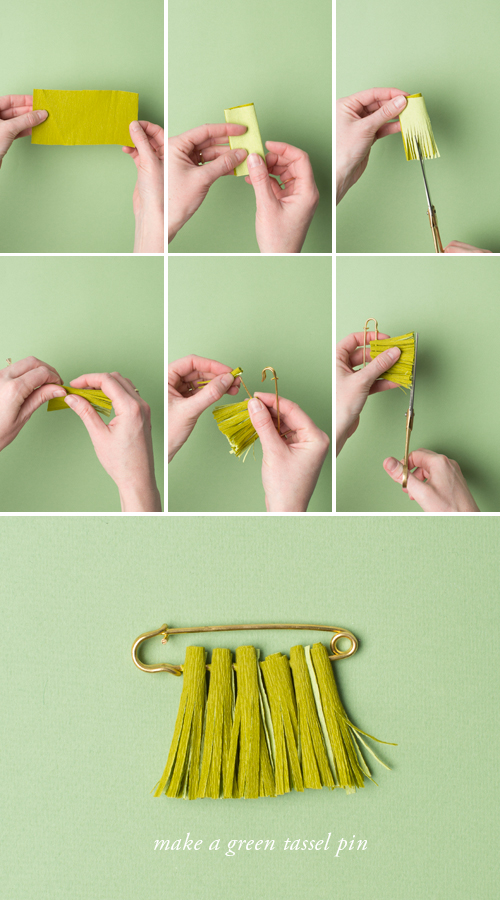
Cut a piece of green crepe paper about 4″ wide going against the grain of the crepe (meaning that the crepe will go vertically once rolled).
-
Fold it in half a few times.
- Cut fringe into it leaving about 1/2″ gap from the top.
- Roll it up. Like a joint. And that’s the only metaphor I have.
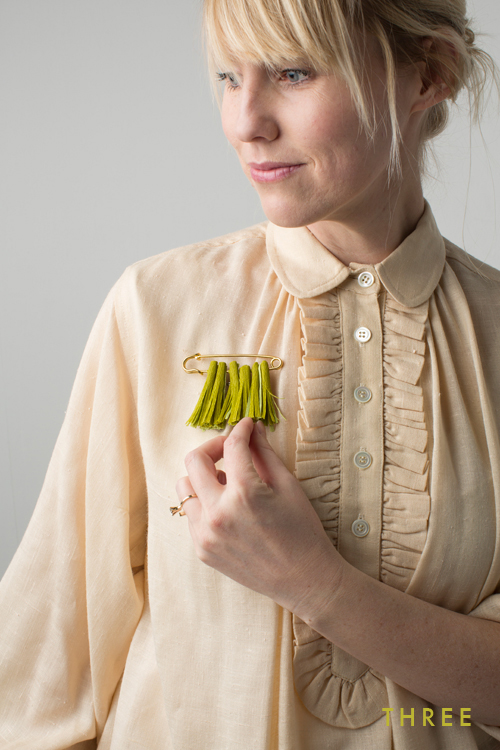
- Puncture the tassles and place them on an oversized gold pin.
- Cut the tassels off to leave a nice clean edge.
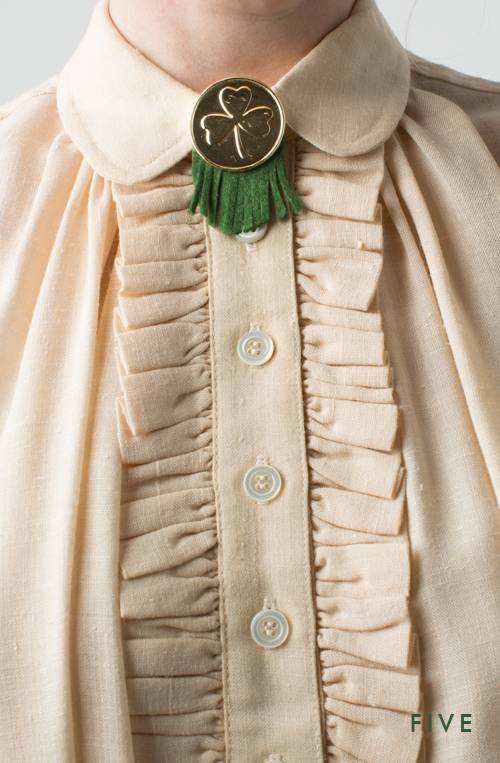
Gold coin medallion
-
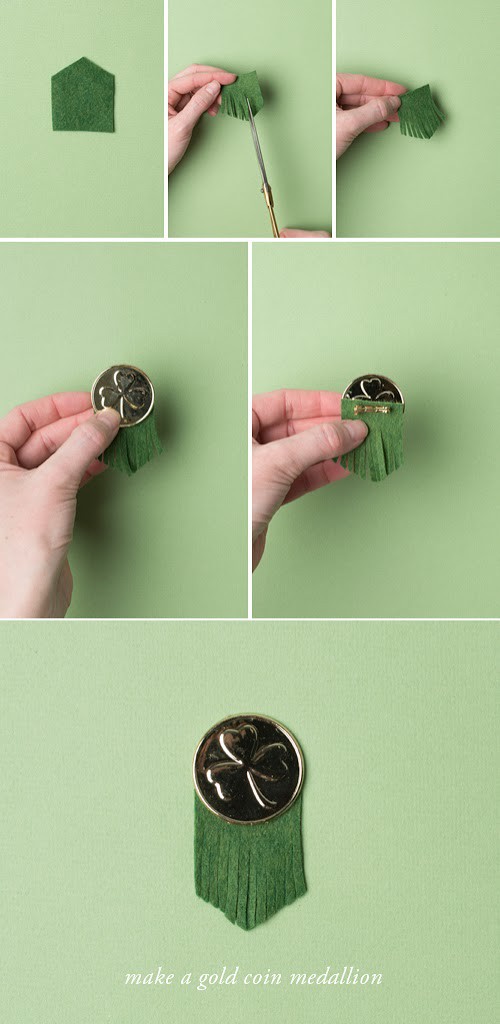
Based on my Valentine’s Day heart pins, I had a reader create a follow up heart fringe necklace (see here), which I LOVED. Then I was inspired by her heart necklace and created this. Cut out a shape like a house out of felt. I cut mine to the width of my gold coin.
-
Cut fringe into the bottom of it, about 1/2″ inch from the top.
- Glue the gold coin on.
- Gold the pin backing to the other side.
- VOILA. Easy breezy.
photography by Trisha Zemp
additional crafting by Erica Urry



Comments