

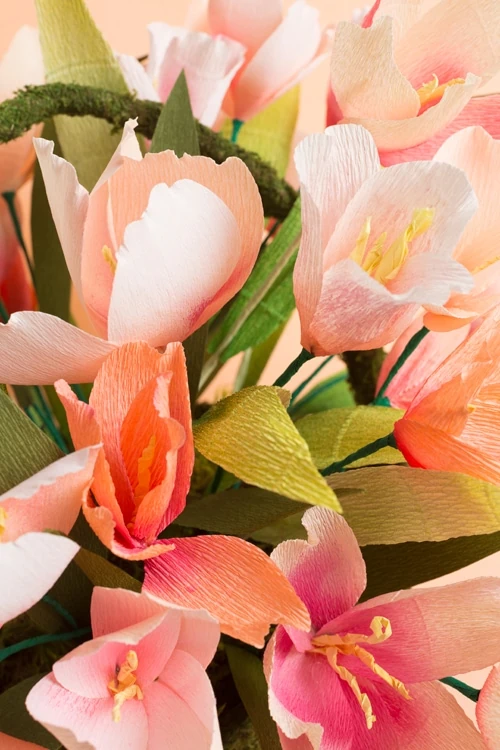

Fortuitously (?), I got sick last week. I was supposed to read the book for this month’s book club (feel free to join in! More deets here) but you know how you get when you’re sick? You just can’t work the mind too well. SO, I made lots of paper flowers instead. And turned them into a centerpiece. And I’m kind of stoked about how they turned out. Wouldn’t it be great as a spring centerpiece for the Easter table or to give for Mother’s Day? Or just sitting around looking pretty.
I first developed this paper flower tulip before decided that I needed to make a ton of them and turn them into a spring centerpiece. I found the loveliest moss basket to put them all in. Now, these tulips are unique in the fact that I crepe paper, but added in an extra special something to get that color variation.
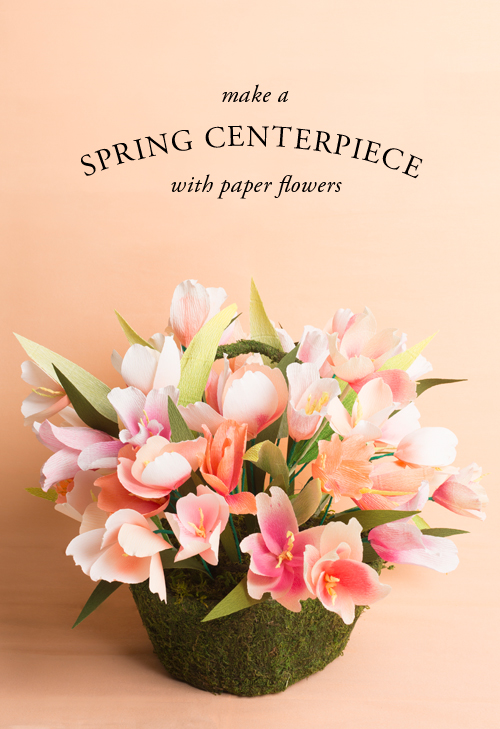
How to make a paper tulip basket centerpiece
Difficulty:
BeginnerTime:
1 flower will take about 10 minutesMaterials
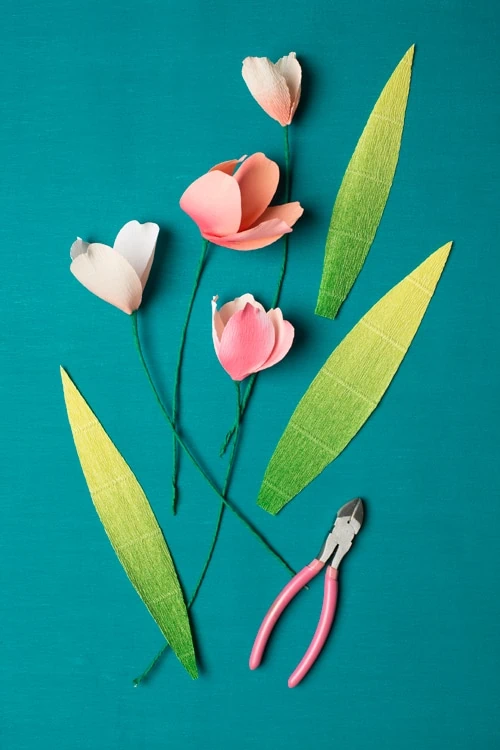
- crepe paper (double-sided works well)
- scissors
- wire (22 gauge)
- wire cutters
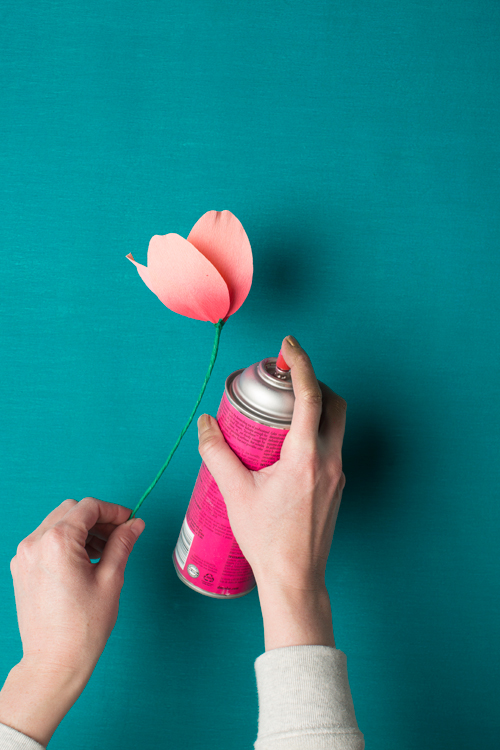
- different shades of pink/peach spray paints (optional but makes magic!)
- basket (I got my moss covered one here)
- wood wool
- moss to fill in
- tulip petal template
Instructions
Make the paper tulip
-
Cut out petals. I varied each flower by using anywhere between 3 and 5 petals per flower.

-
After you’ve made as many flowers as you intend to use, go outside and spray the base of each flower with a coordinating spray paint. I chose colors that mimic the paper I used so that they are in the same tones. Make sure you spray from far away so that it gets just a bit of paint on it.
- Add wood wool into your basket.
Make the tulip bouquet in a basket
- One by one, add in your flowers starting with the biggest flowers.
- Cut out leaves and add those to the stems of the flowers. I like the add them at this point so I can see where I want to place them.
- After they are all added in, add moss on top of the wood wool to cover.
Donzo! You now have a Spring centerpiece with Tulips to bring joy to your table for many months!
Gleee! I’m so stoked about my new paper flowers. I rarely keep my creations but this time I’m doing it!
If you make this project, use the hash tag #LarsPaperFlowers so we can share it to our Instagram stories!
Photography by Trisha Zemp
Comments