

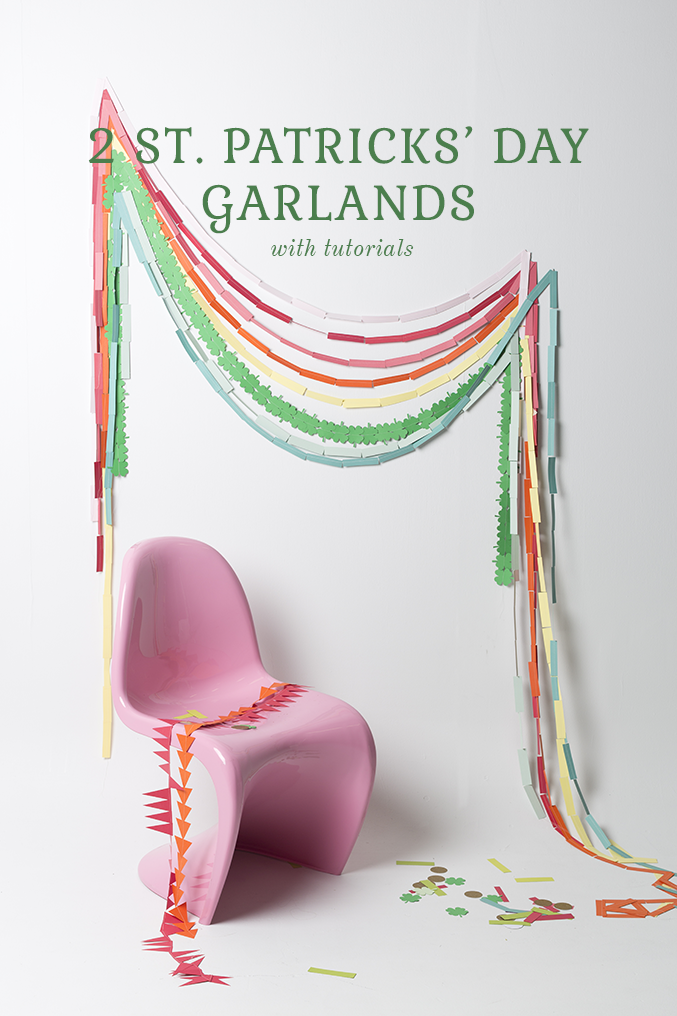
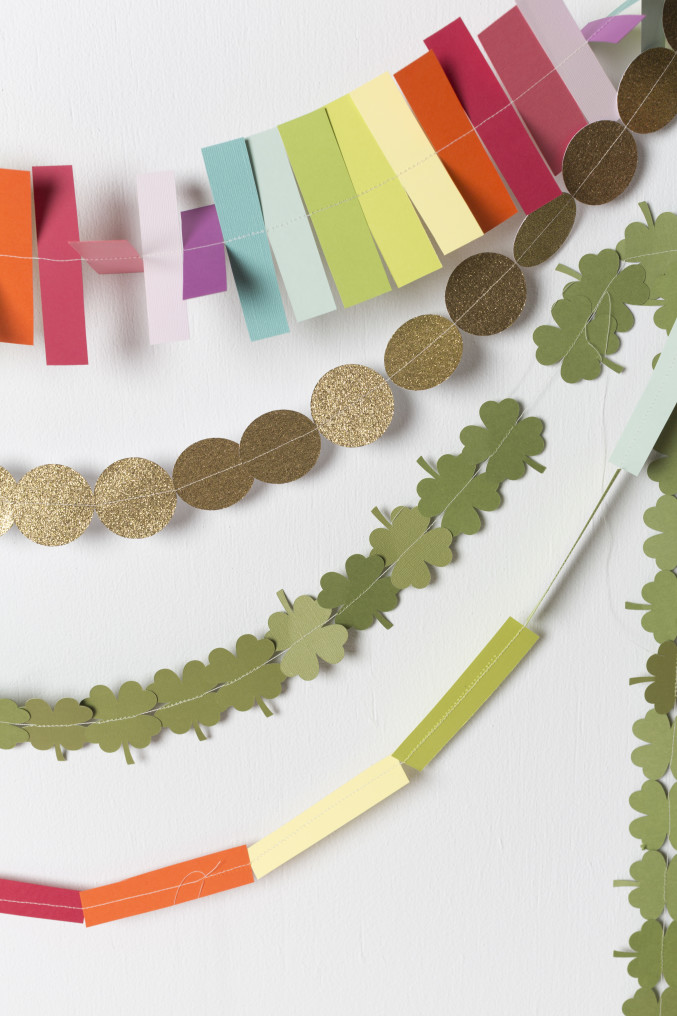
I’ve was super inspired by a garland tutorial that Design Love Fest featured by Kamryn Stimpson and thought it would be fun to do my own version but in rainbow colors along with some token shamrocks for a stellar St. Patrick’s Day garland. Wouldn’t it be fun for a party or something? And the great thing about them is that you can mix and match them for all sorts of occasions. I can see certain color pairings perfect for Valentine’s Day, Cinco de Mayo, or just for funsies year round. I made two different versions because I really got into it and couldn’t stop cutting out shapes. And I even whipped out my Cricut machine, which lead to many many many shamrocks. That machine is super handy when you have intricate designs that you need to cut out in bulk. 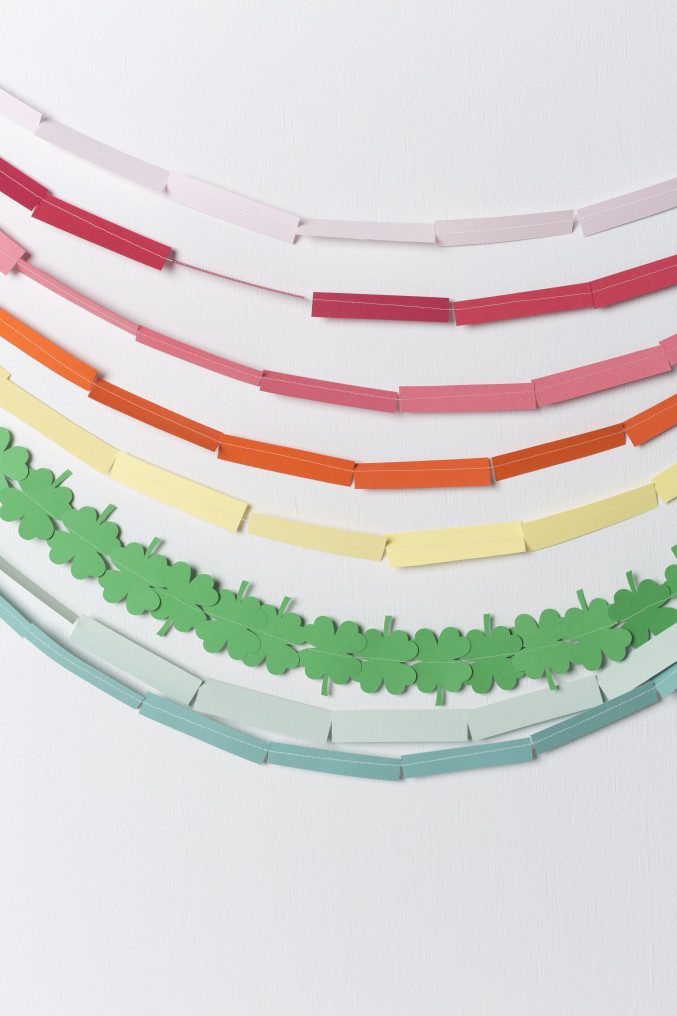
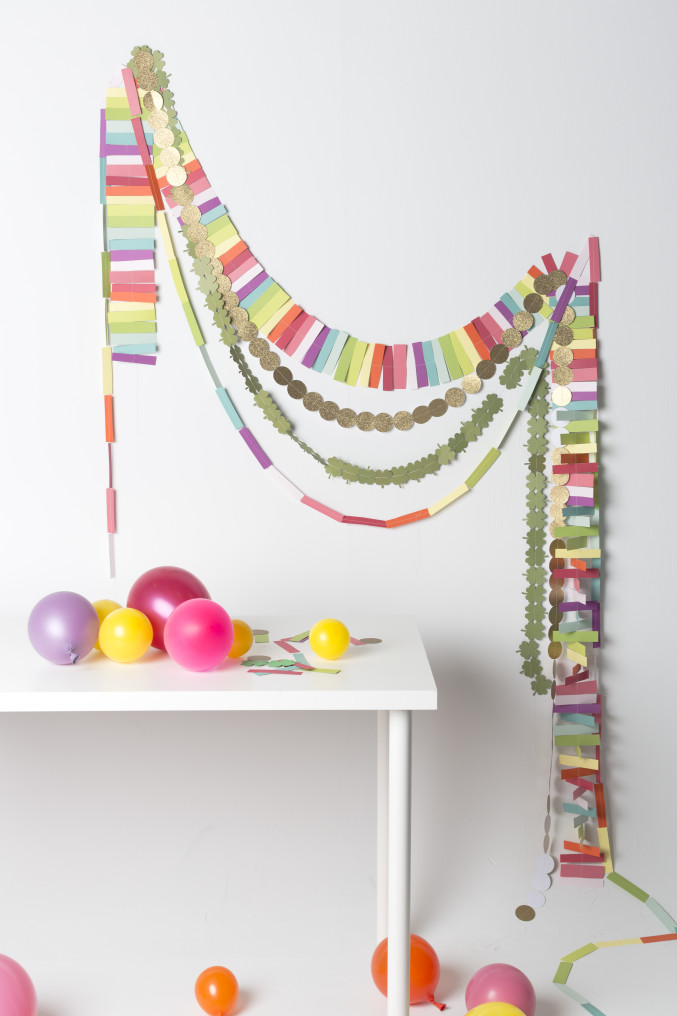
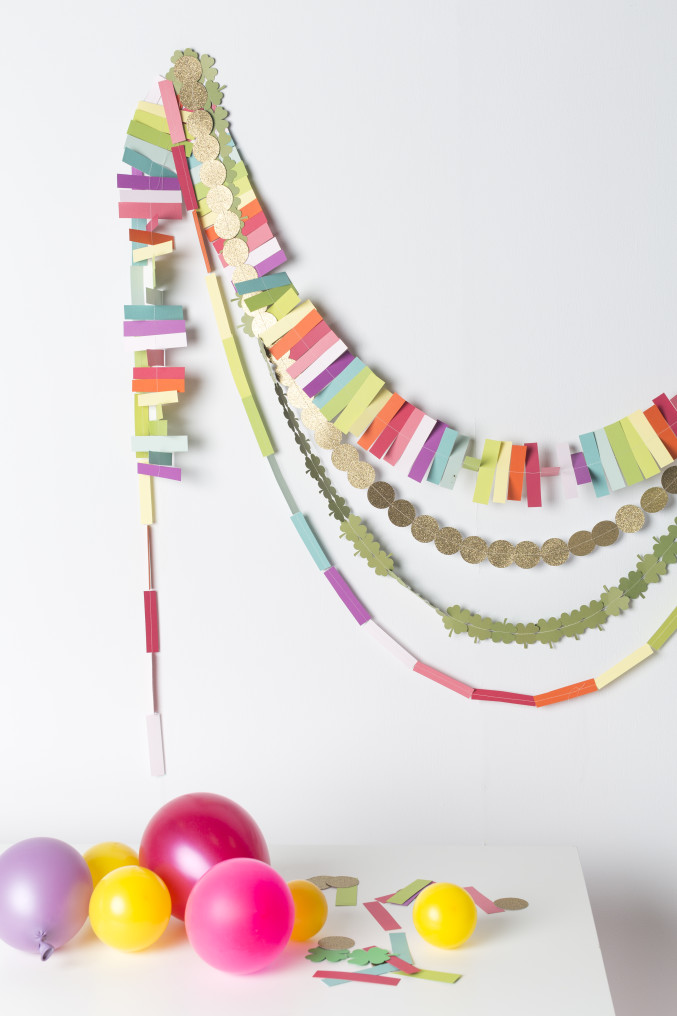
This second garland I’ve had in mind for ages. I added in some “gold coins” to complete the Patrick’s Day fest. Though, I’m pretty sure I want it up year round.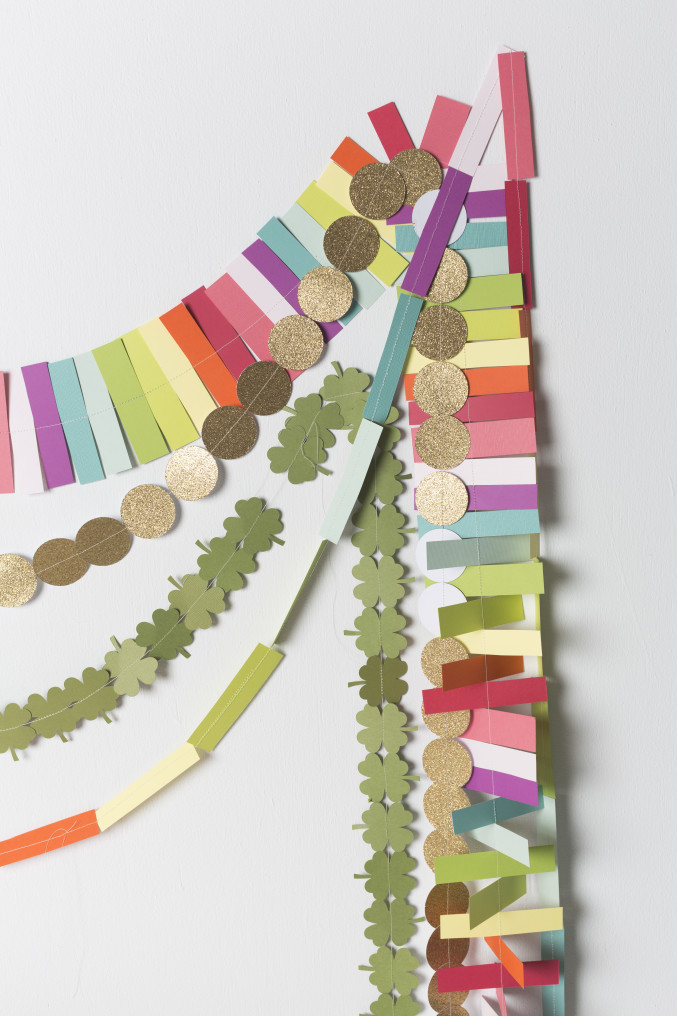
 Photography by Trisha Zemp | Craft assisting by Alexa Jorgenson | Crafting and styling by Brittany Jepsen
See the full tutorial and shop the look below
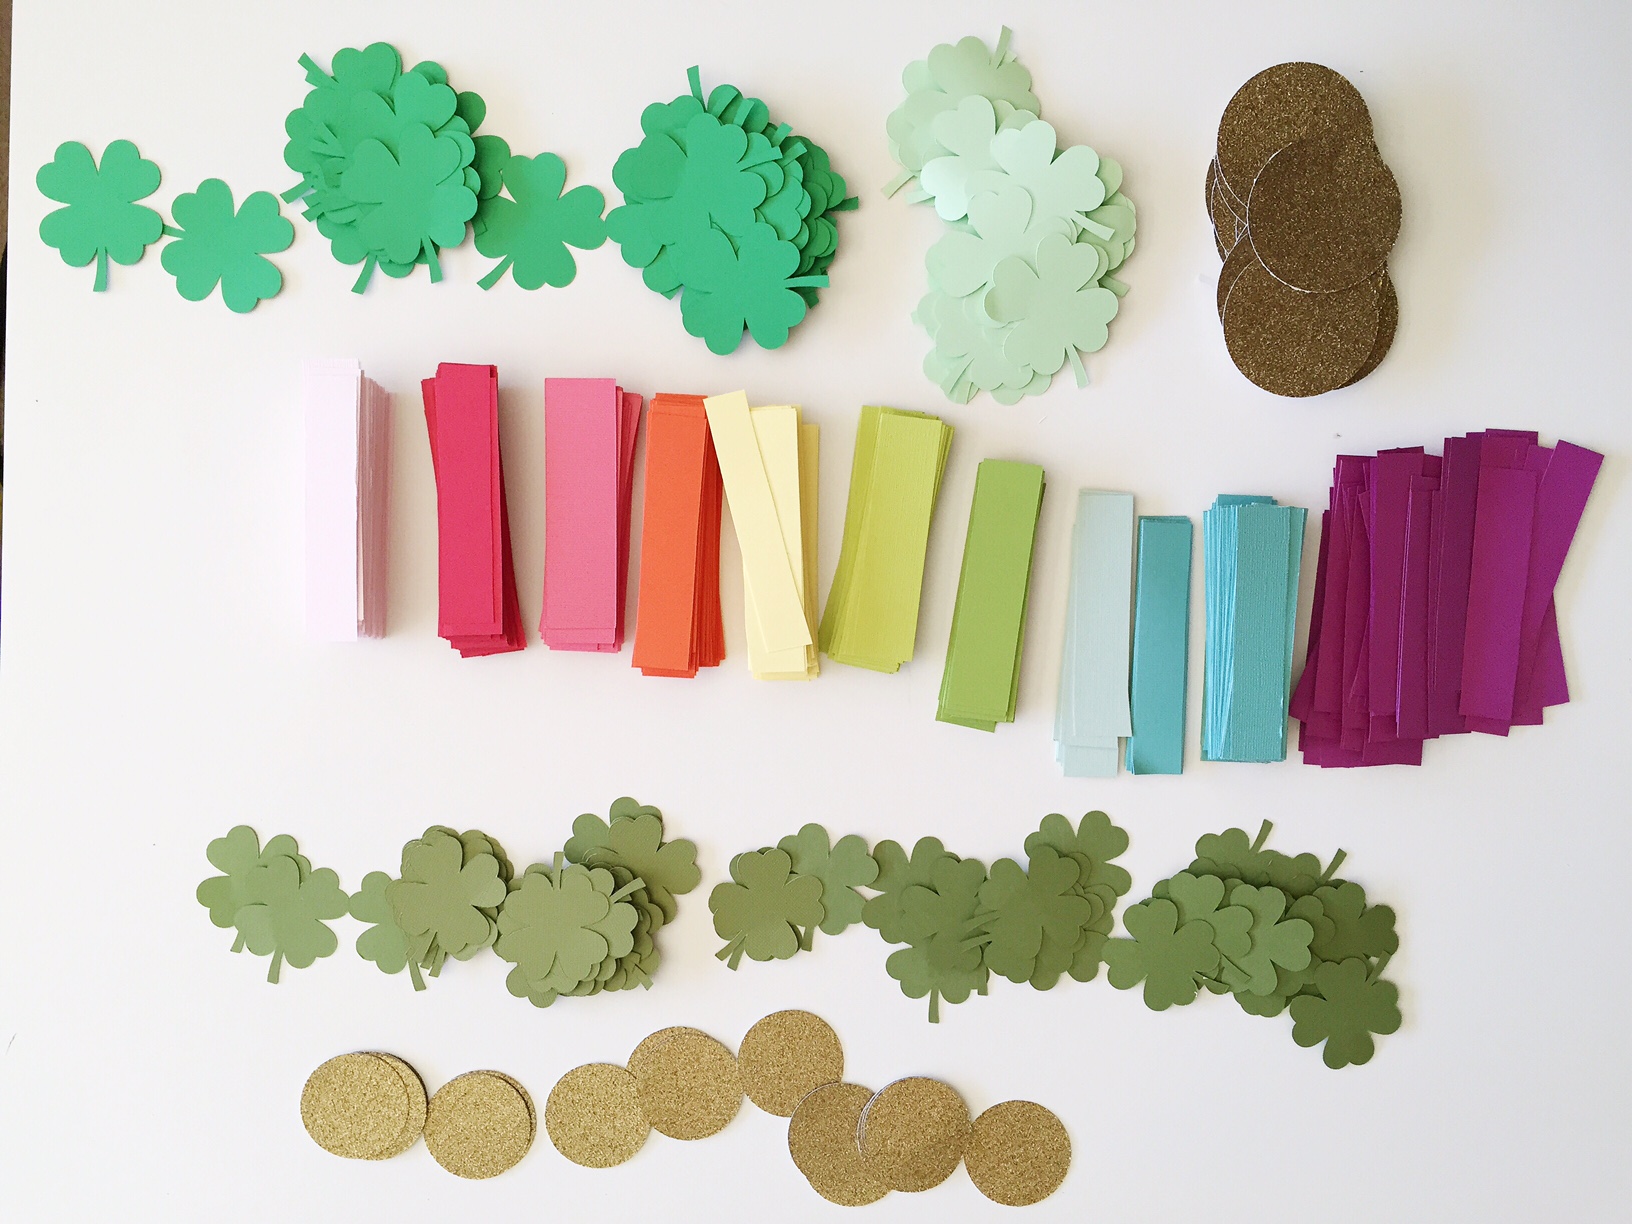
Materials: paper in a variety of rainbow colors greens and golds (about 2-3 pieces of scrapbook paper for each color for the rainbow and about 6 pages of green for the shamrock and gold), cricut machine, paper cutter, scissors, thread, sewing machine

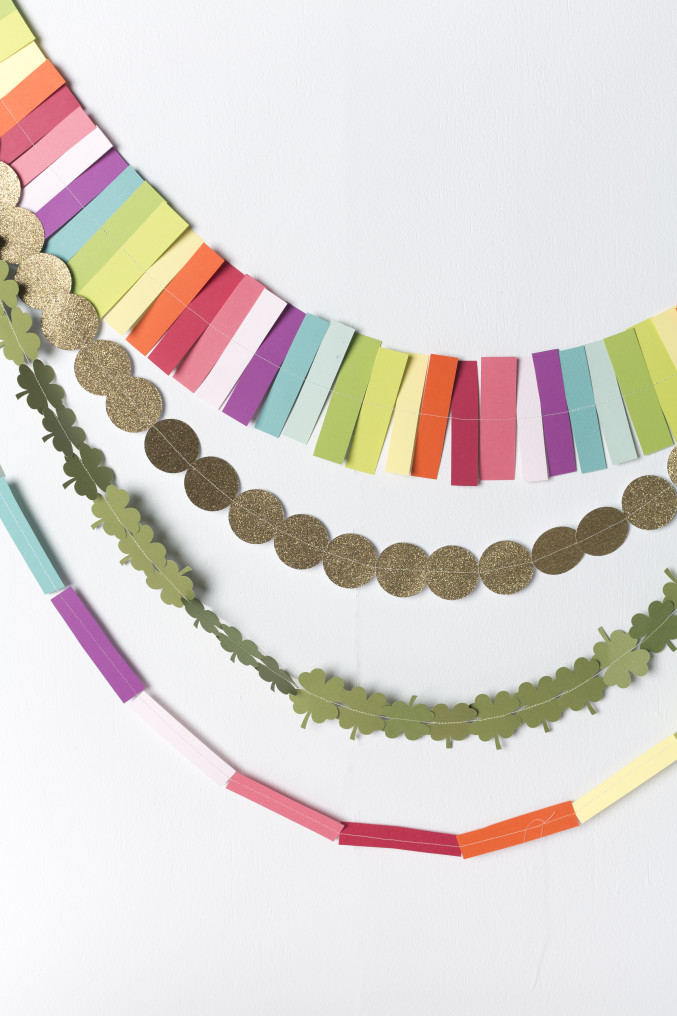
Step 1: Cut out all the shapes you want. I used a shamrock shape off the Cricut Design Space library, a circle from the library, and then I cut rectangles with my paper cutter about 3/4 x 4″.
Step 2: Once the shapes are cut, I sewed them with my machine right down the center of the shape. I slightly overlapped them. Don’t be afraid. I had never sewed paper but it’s really ok! Leave a bit of thread on the beginning and end so you can attach it.
Step 3: For the rainbow, trade off sewing pieces according to the pattern you want to create with the colors.
It’s really easy to make, just time consuming. I spent two evenings cutting out the shapes on my Cricut machine and then an afternoon cutting out rectangles and then another afternoon sewing them. So yes, it’s consuming. But get some friends together and craft. It’s so much more fun that way!

