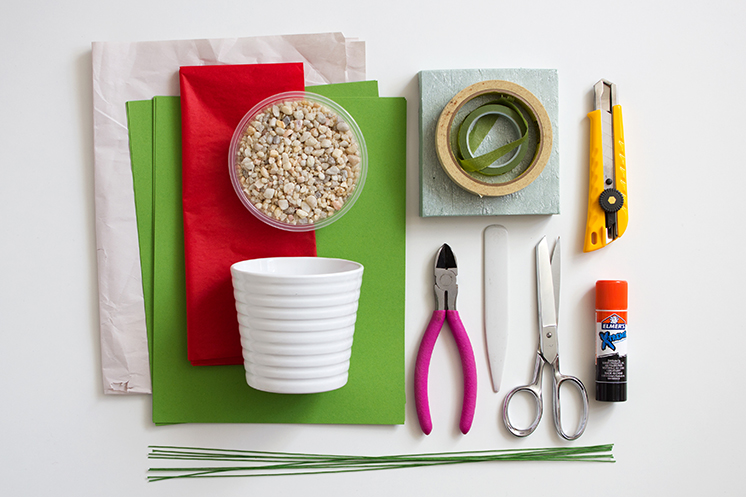
Supplies:
- Green text weight paper
- Red tissue paper
- Scrap paper
- Pot of your choice
- Gravel or sand
- Wire cutters
- Green paper covered wire
- Scissors
- Bone folder
- Elmer’s x-treme glue stick
- Foam
- Knife
- Green corsage tape
- Masking tape
- PDF or SVG files (download here)
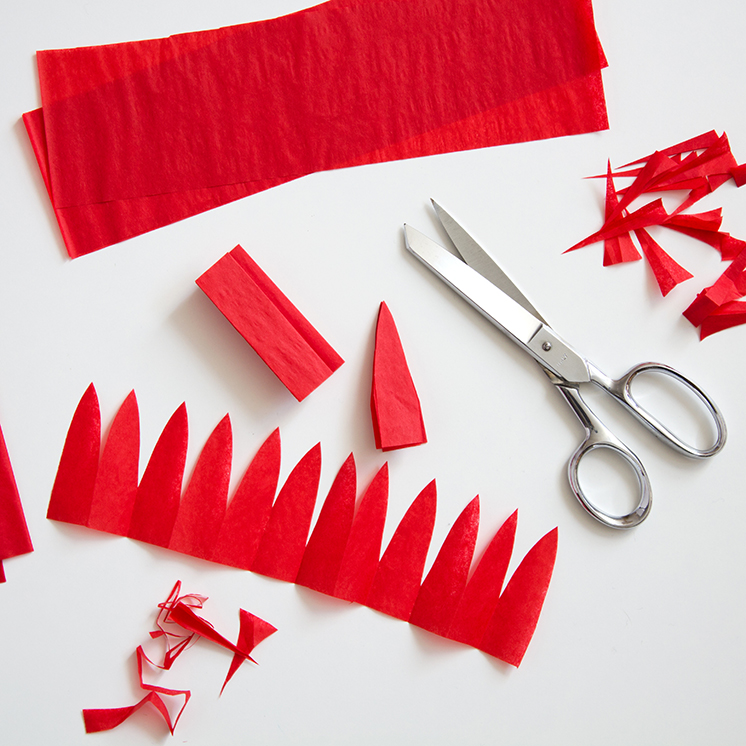
Step 1: Make the flowers for your cactus! You can make one for each stem, or apply them more sparingly and just add a few to your plant. First, cut a piece of tissue paper approximately 2.5” x 10”. Next, fold it in half and in half again, keep folding until your tissue paper is about ½” wide. Cut one end to a point.
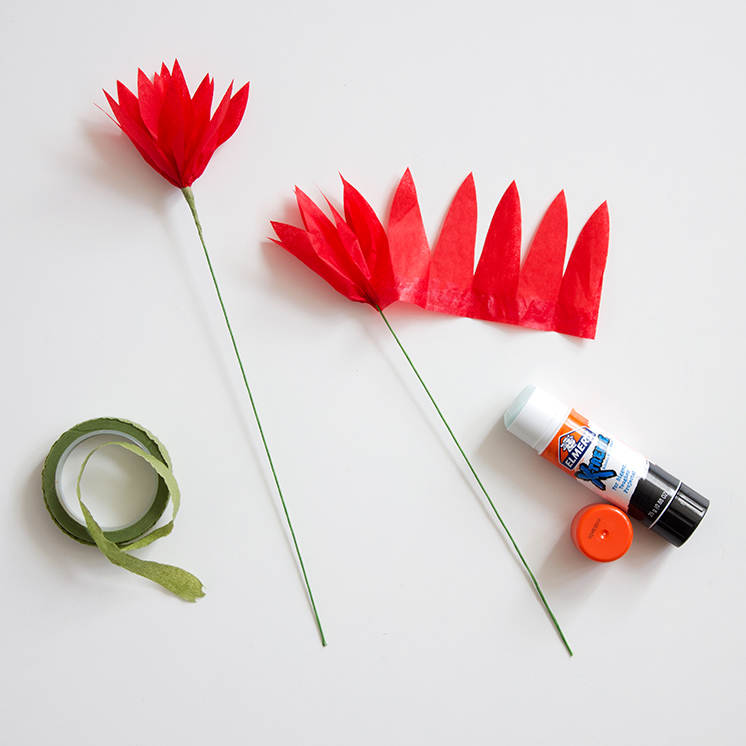
Step 2: Apply a line of glue stick along the straight edge of the tissue and begin to wrap around one end of your wire. You’ll be pinching and lightly folding as you go to achieve a more dimensional flower shape. Finish it off by applying a length of corsage tape.
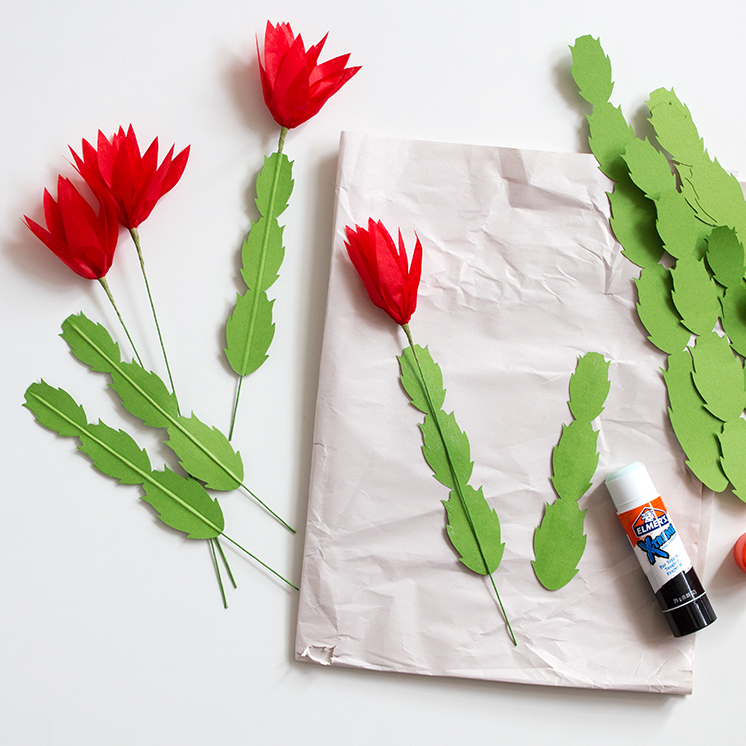
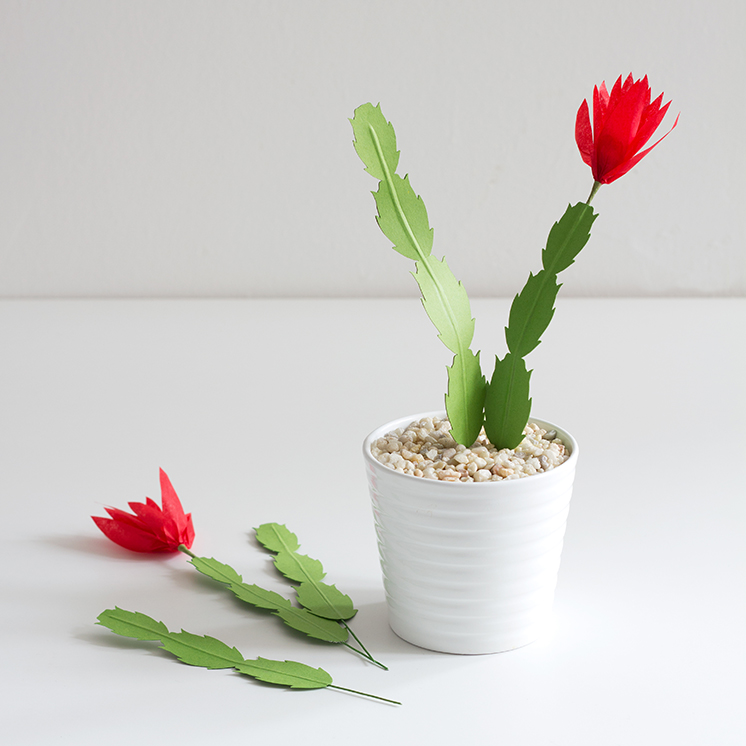
Step 3: Cut your cactus stems (either with your craft cutter or by tracing and cutting by hand). You’ll need 2 matching paper cut outs for each stem. Apply a heavy layer of glue stick and place the wire directly in the center. Apply a layer of glue to the other piece and carefully sandwich the wire in between, making sure the sides line up.
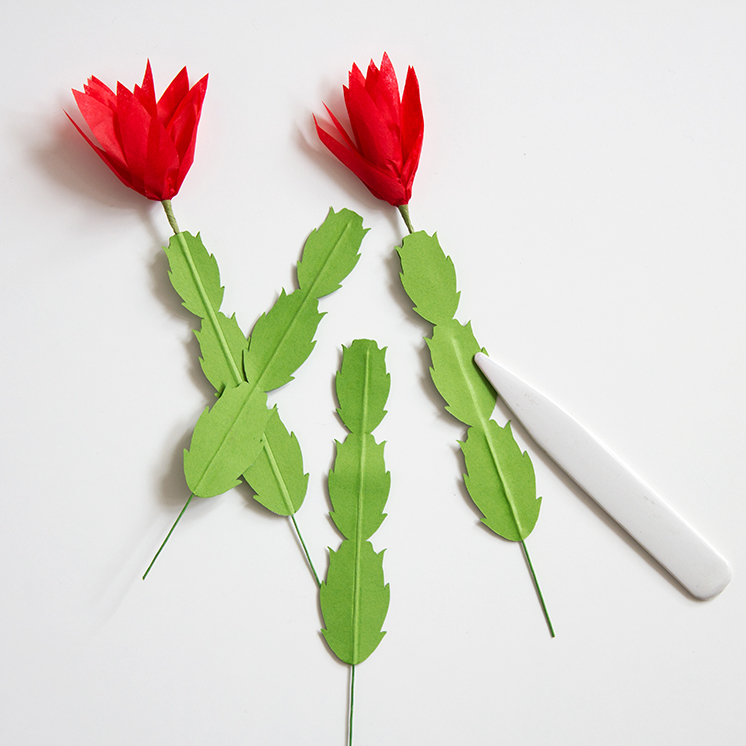
Step 4: Next, use your bone folder (old credit card also works) to burnish around the edges of the wire. You’ll want to do this while the glue is still wet. Press around the wire on both sides, making sure it’s secure. Set aside to dry.
Step 5: While your stems are drying, you can prep your pot! Cut a piece of foam to fit inside (about 1” from the top) and use the masking tape to hold it in place. Cover the foam with gravel or sand.
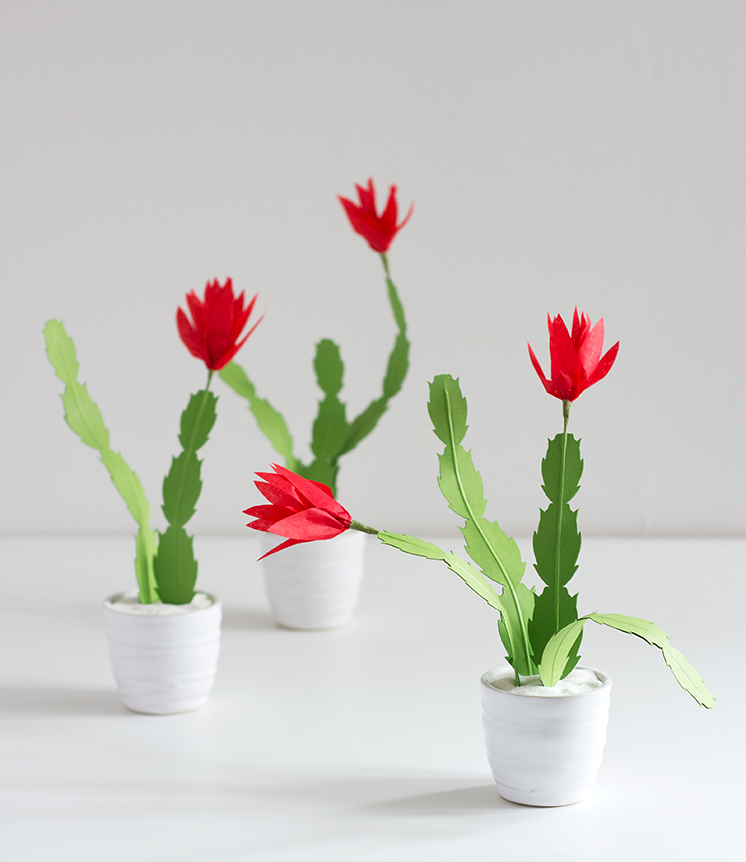
Step 6: Start assembling your plant! You can bend the wire to give it some personality!
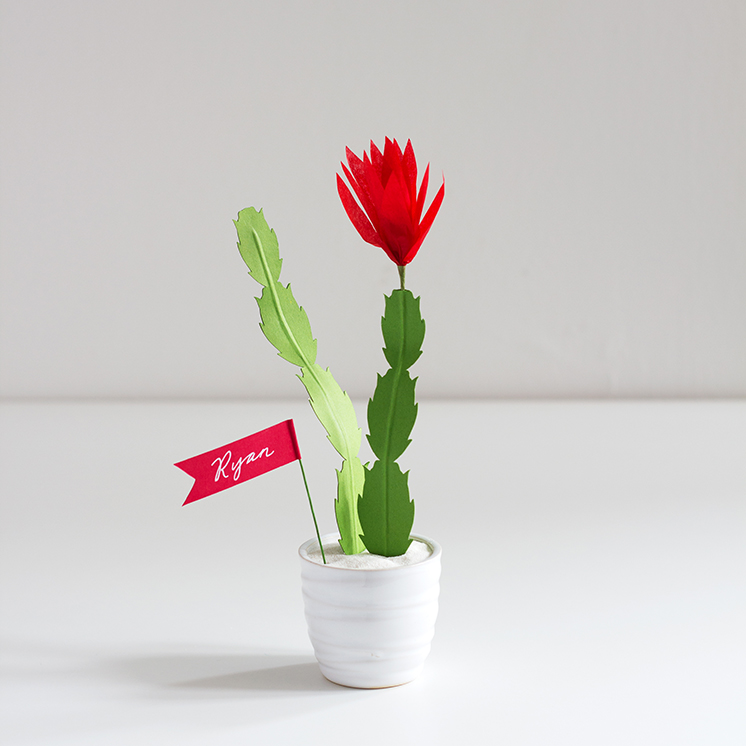
Bonus idea: Add a paper flag with your pal’s name to turn this little guy into a party favor or place card! They would look great marching down your holiday table!
Crafting and Photography by Corrie Beth Hogg of The Apple of My DIY
See more paper plant tutorials from Corrie Beth here



Comments