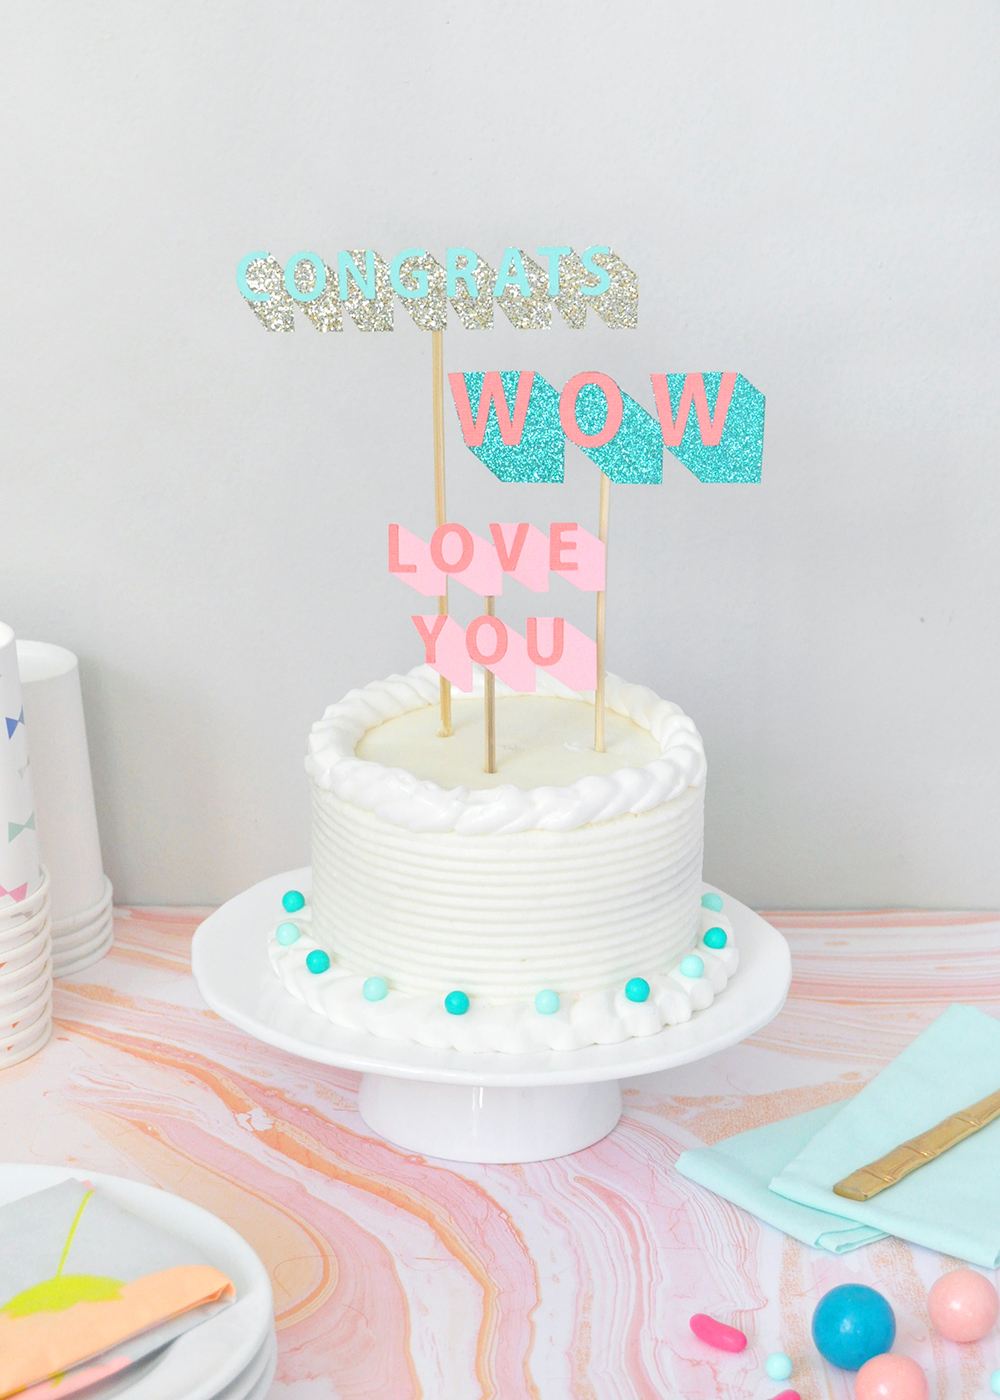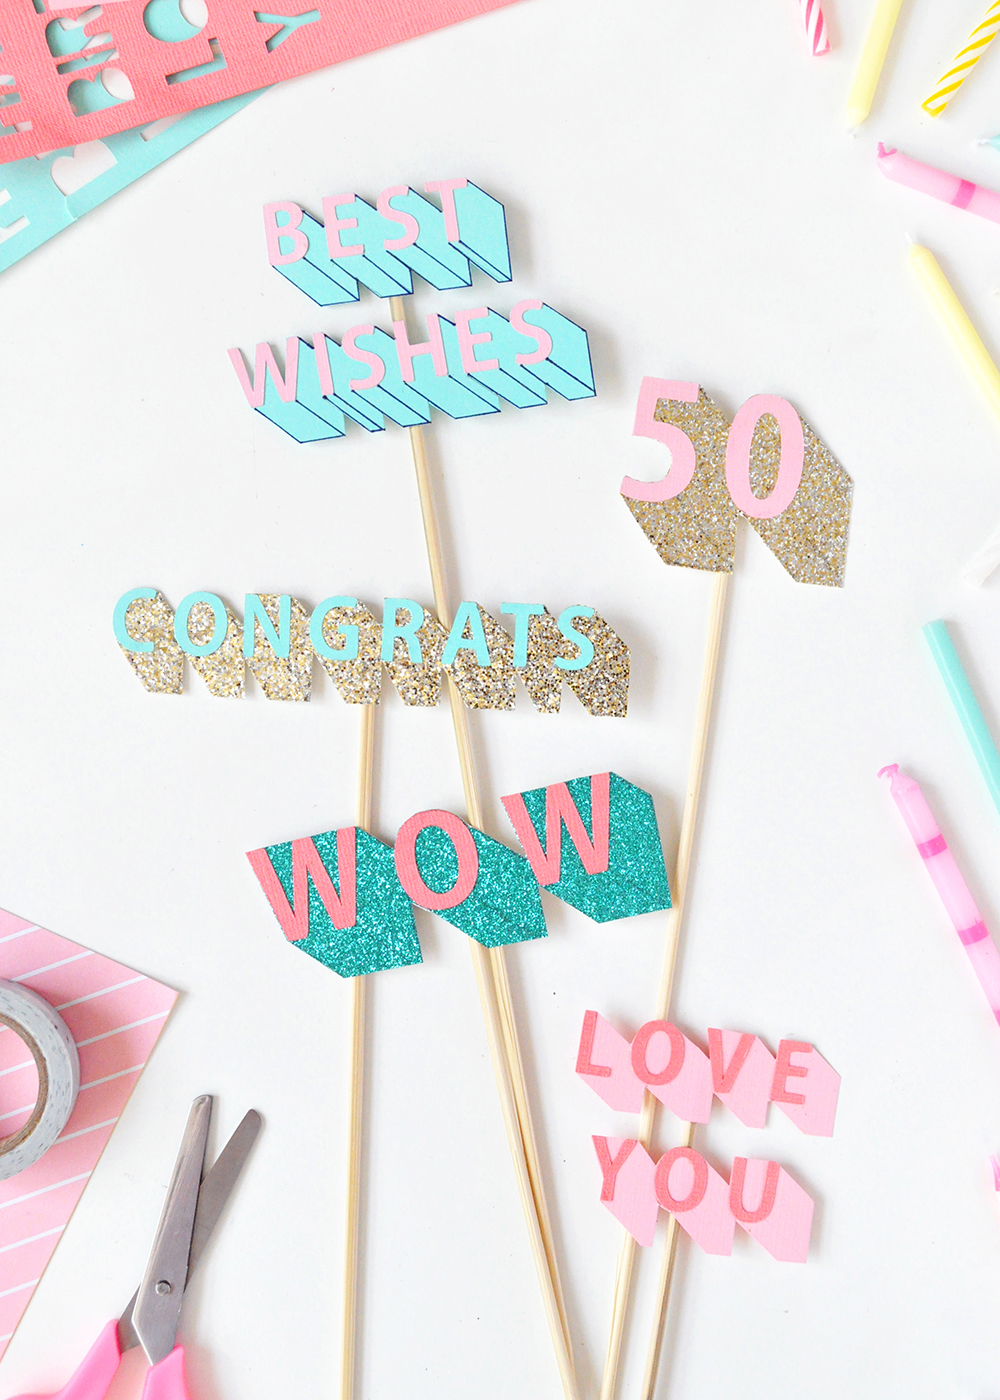
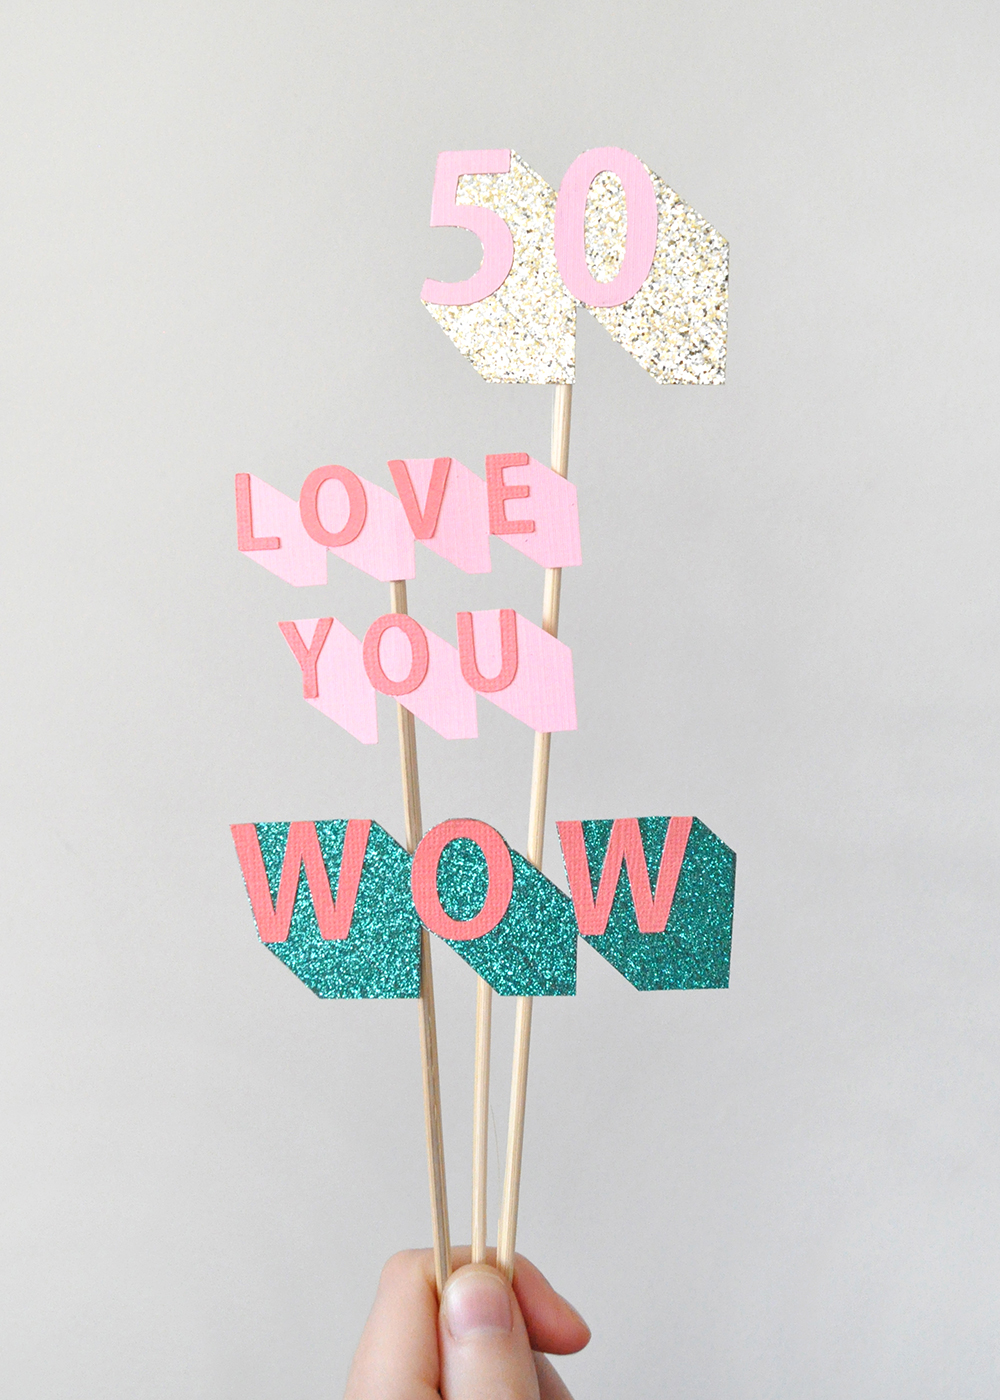
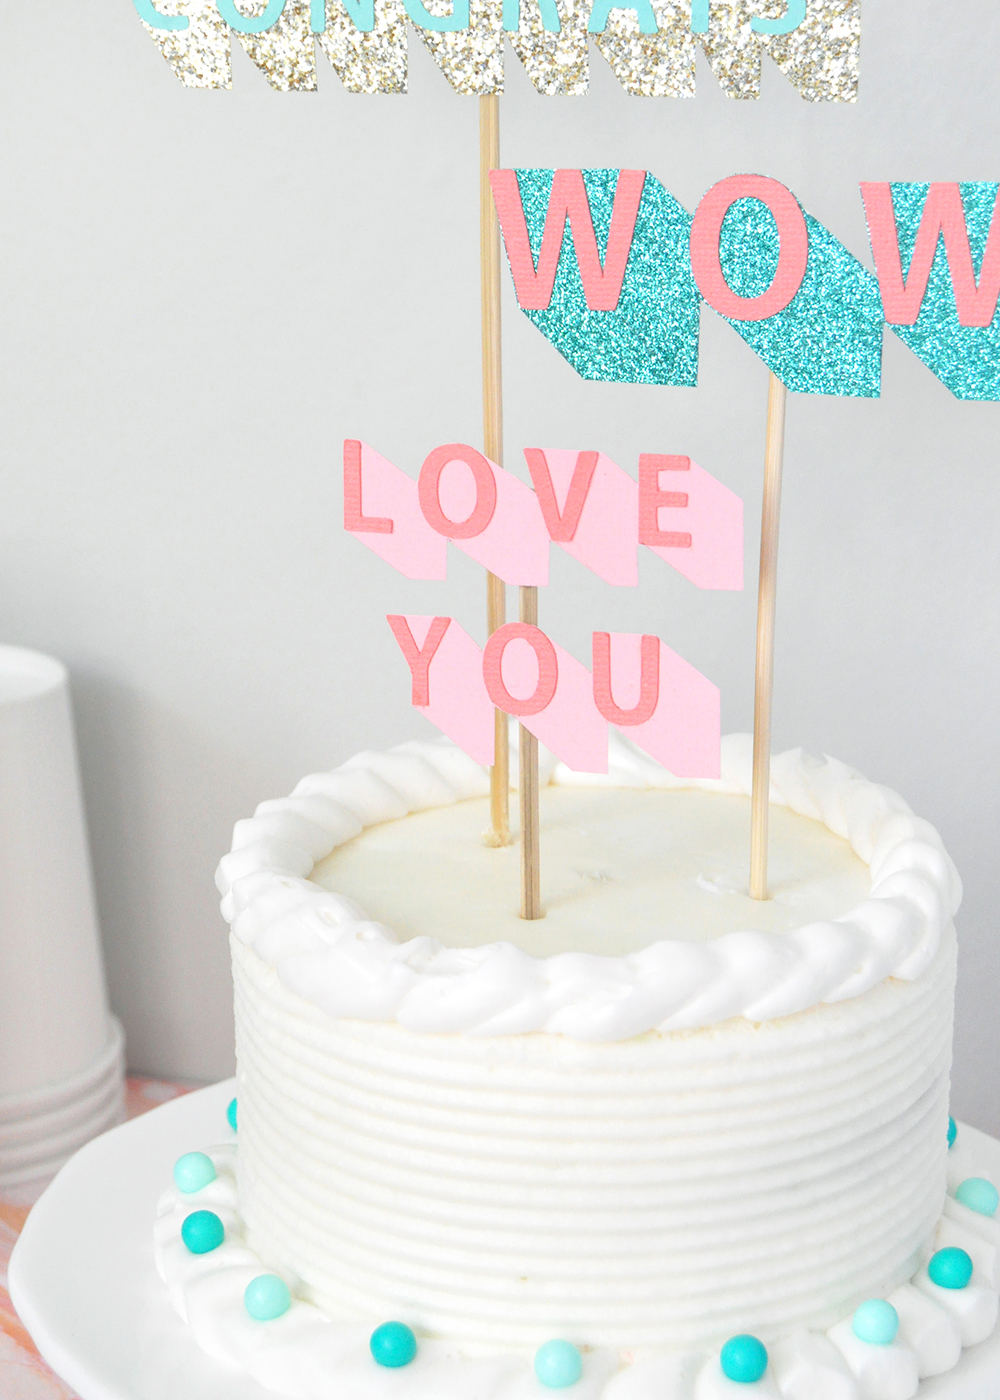
Raise your hand if you have a board on Pinterest solely dedicated to beautiful typography and fonts – I know I do! When I saw this image pop up in my feed, I fell in love with 3D block letters and couldn’t look away. It got me thinking that it wouldn’t be hard to turn any message into block letter art. I’m always looking for an excuse to eat cake, so my new block letter messages were turned into cake toppers! These 3D cake toppers are super easy to customize for any occasion – What will you spell?
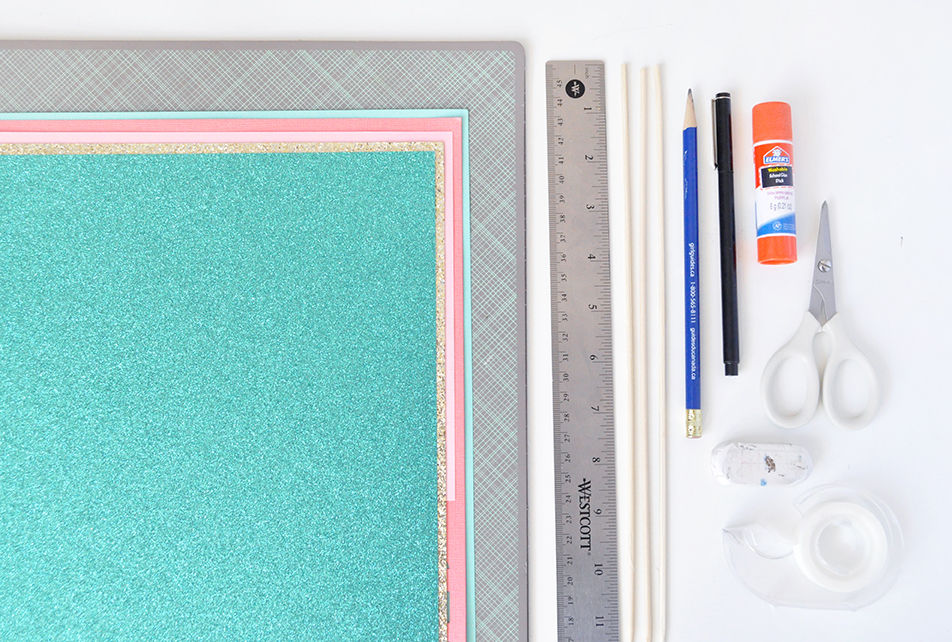
Materials:
- Cardstock (in various colors)
- ruler
- wooden skewers
- scissors
- pencil
- black pen
- glue stick
- tape
- eraser
- paper cutting machine (or craft blade and mat)
Instructions:
1. Prepare your message in your paper cutting machine’s software and cut out. (Or if doing this step by hand, trace the message onto cardstock and use a craft knife/scissors and ruler to carefully cut out each letter
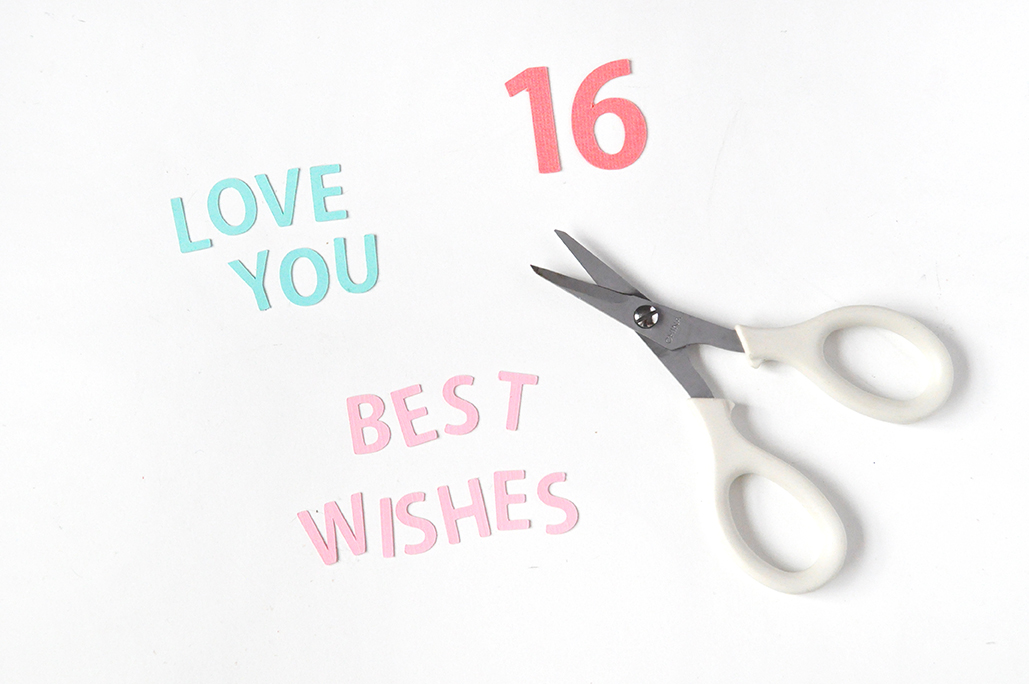
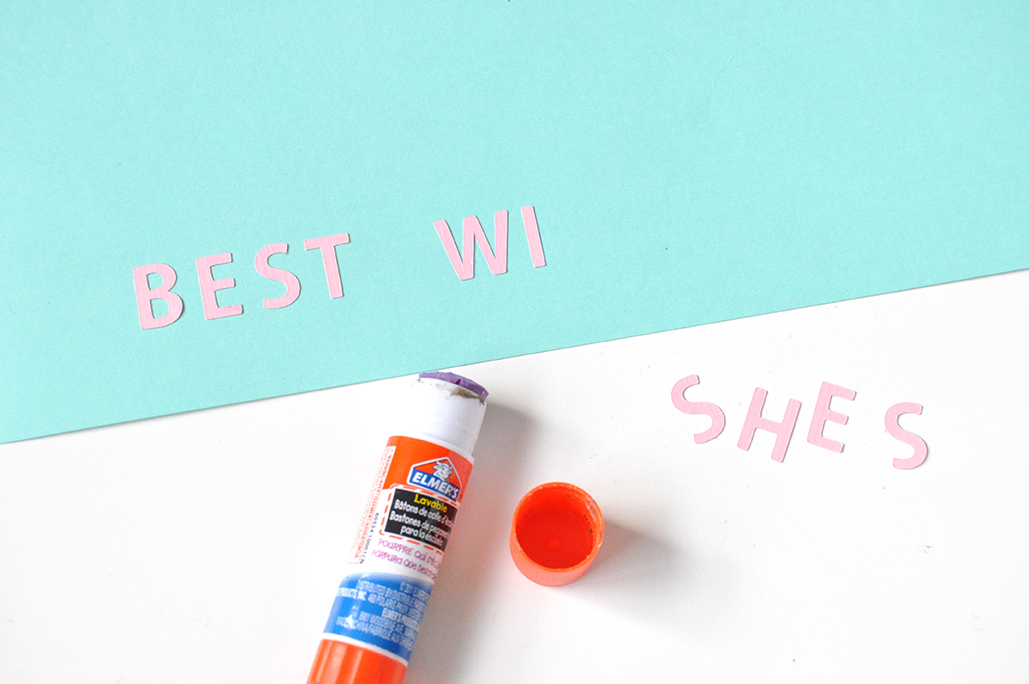
2. Glue the letters onto a contrasting piece of cardstock, keeping the letters evenly spaced and in a straight line as much as possible. Be sure to leave at least 1”of paper below your message.
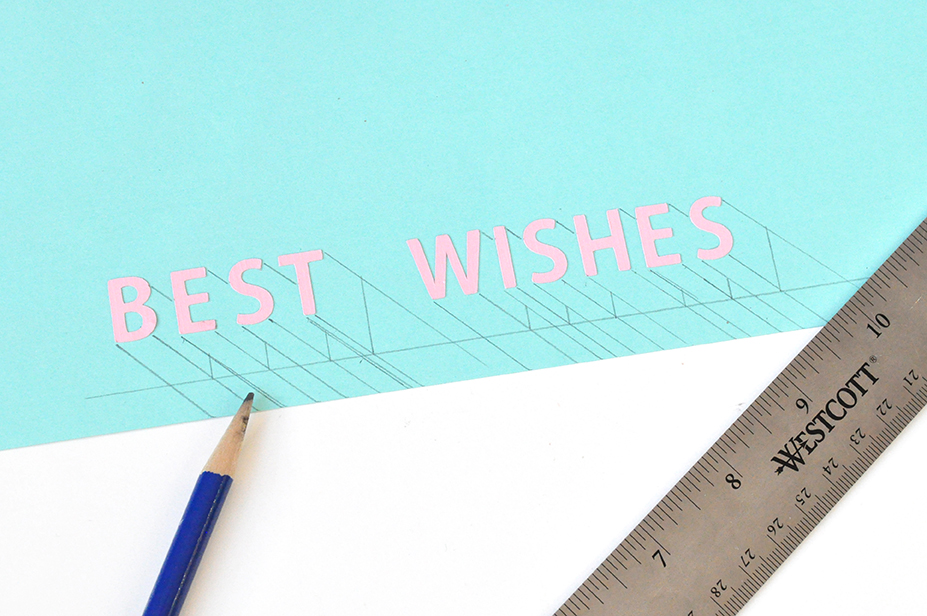
3. Now for the perspective drawing part: draw two diagonal lines (about 45 degrees) away from the bottom of each letter on the right and left corners. Then draw one diagonal line away from the top right of each letter until you reach the neighboring letter, as shown. Decide how far you want the blocks to extend, and draw a horizontal line there. Where the horizontal line meets the right diagonal line of each letter, draw a vertical line up but stop when you reach another diagonal line. This sounds trickier than it is–use the image as a guide and it should come together easily.
4. Cut around the letters and blocks you just drew.
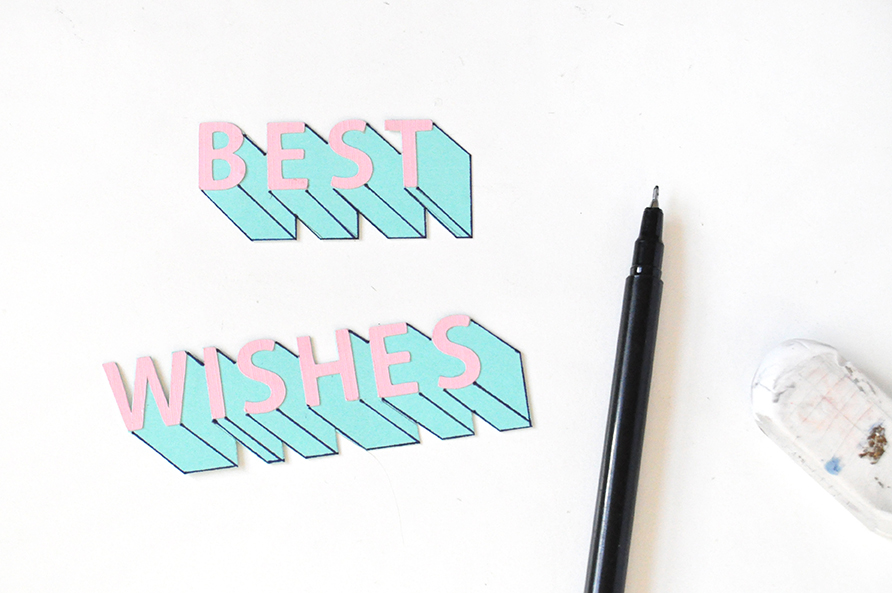
5. If using regular cardstock (not glitter) and can choose to draw over the pencil lines with a black pen or just erase the pencil lines.
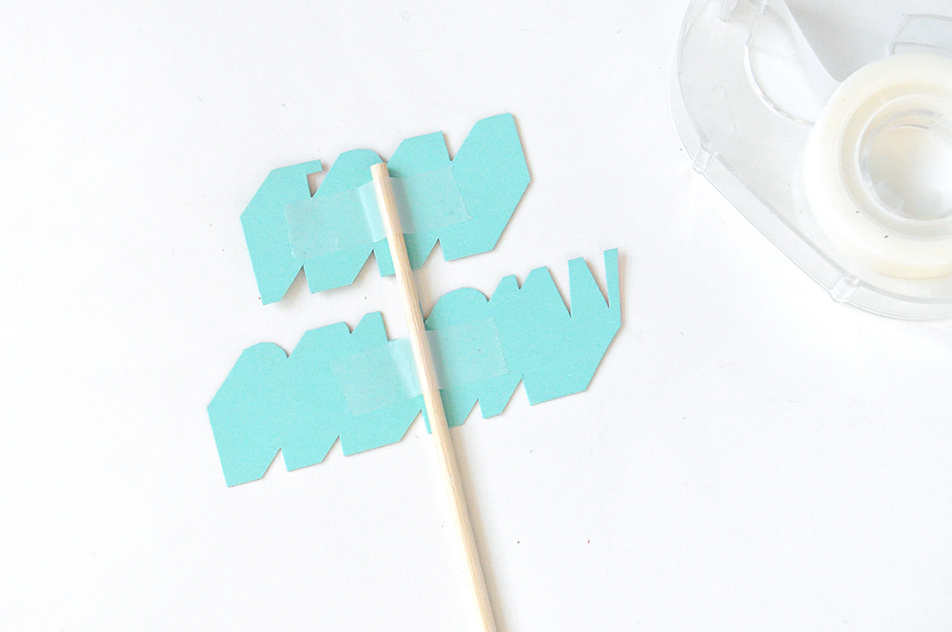
6. Tape a wooden skewer onto the back of the paper message and then style your toppers on a cake!
Project and photography by Kathleen Ballos of Snowdrop & Co


