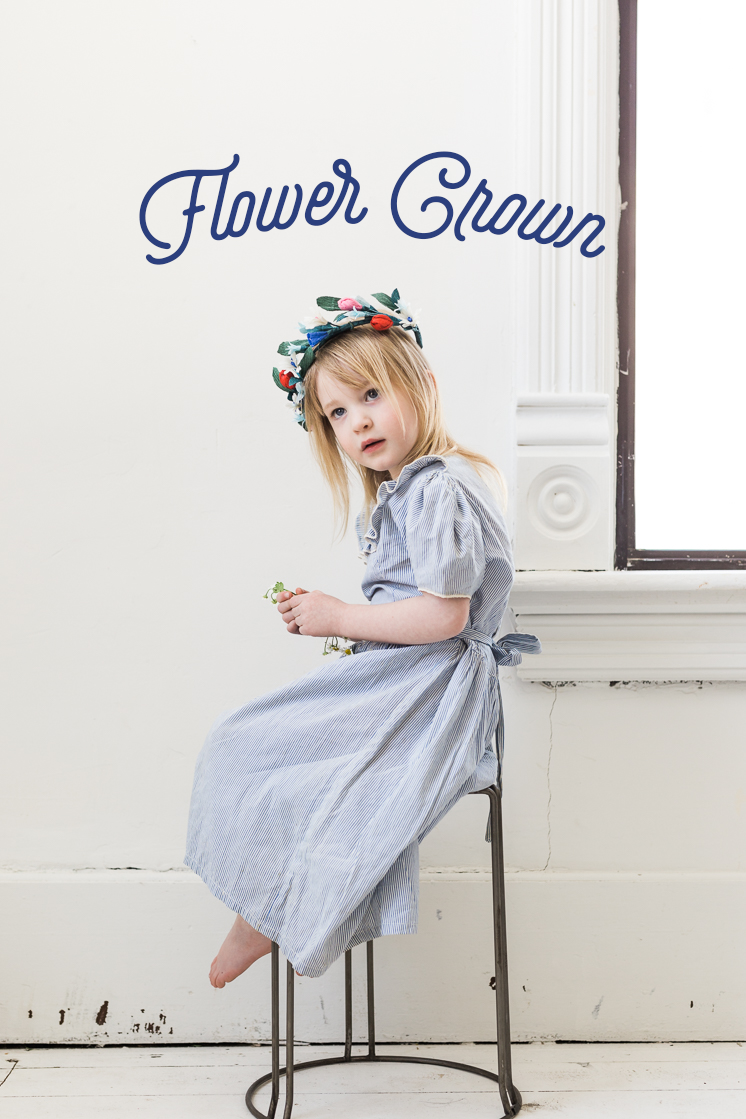
Rebecca Young, who has been working with Lars since last summer, and came on full-time earlier this year, recently got engaged and we couldn’t be more thrilled about it. We love throwing parties but for one of our own, we are over the moon! Rebecca lived in Sweden for a year and a half and loves all things Scandinavian just like me and her wedding is going to be one lovely Swedish garden. We will be documenting her wedding details along the way. Oh man! It’s got me wishing I had another opportunity to plan another lovely party myself. Stay tuned for all the juicy details starting with her flower girl crowns. Here she shows you how to make them.
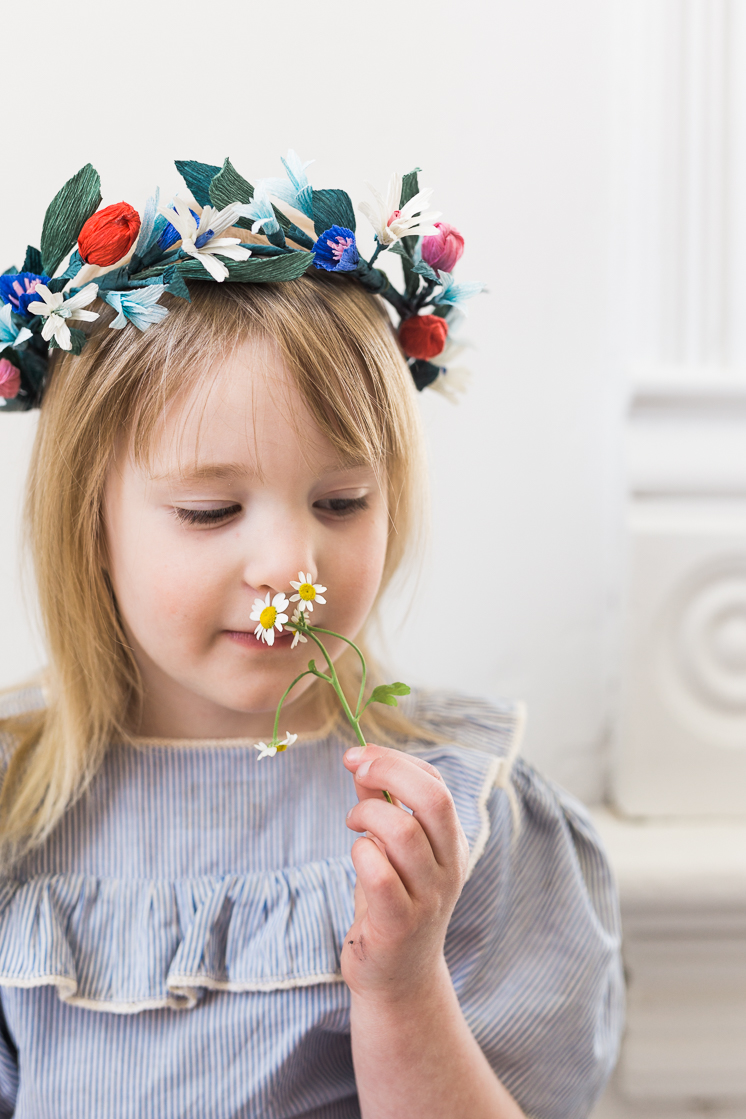
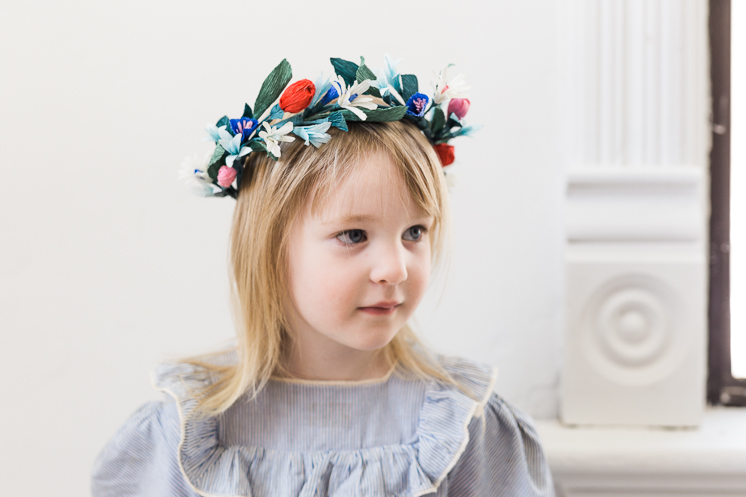
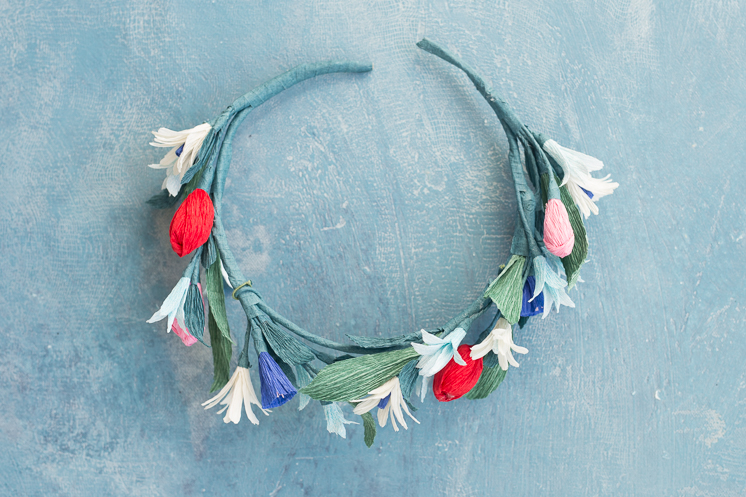
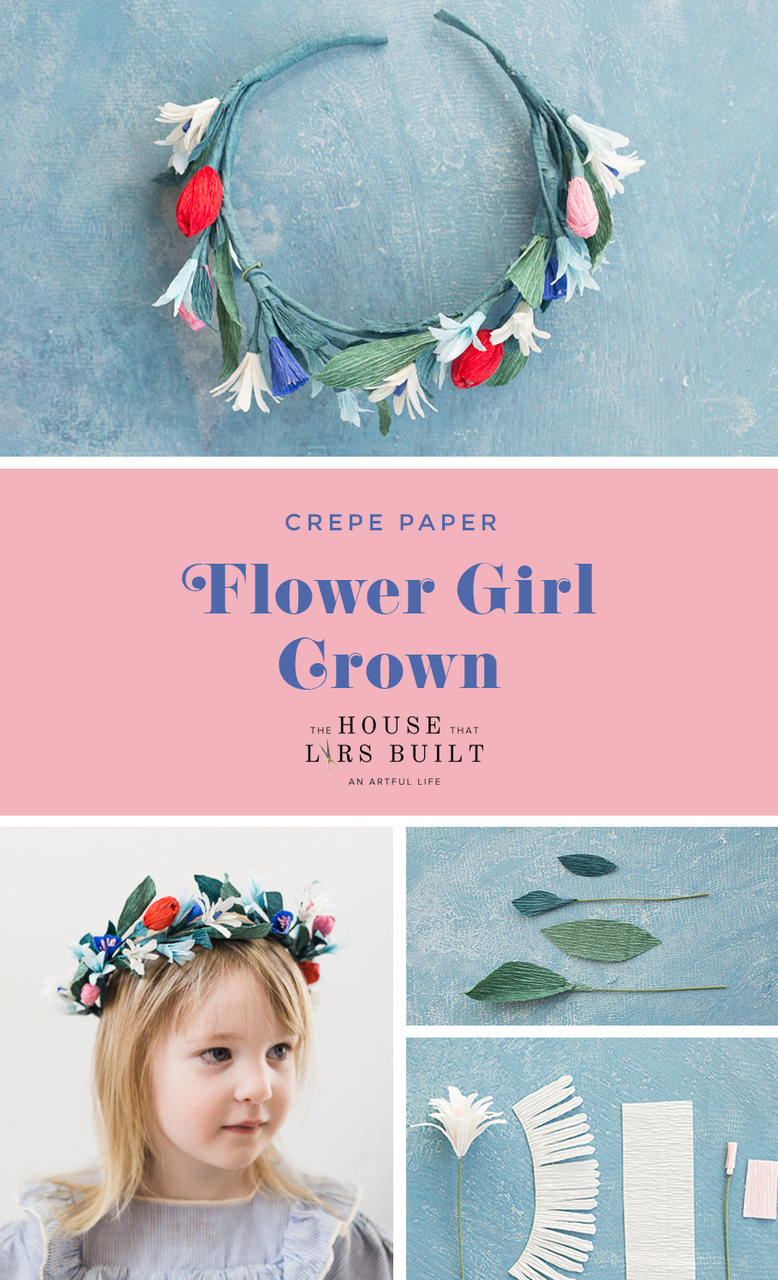
Hello! I’m giddy to be able to share a few glimpses inside of my wedding planning process. Planning can be stressful and wonderful and a roller coaster of emotions, but I’ve figured out a few tricks and tips that have helped me along the way. I’ll be going into more details on that later, so make sure to check back! But for now, I’m kicking my wedding series off with this crepe paper flower girl crown that our four nieces will wear on the wedding day. I wanted it to capture the Scandinavian garden feel of my wedding, highlighting the main colors and the whimsical nature of the wedding. I love that each girl will have a memento of the wedding day to keep. They turned out lovely and will be even sweeter on my darling nieces!
Continue for full instructions!
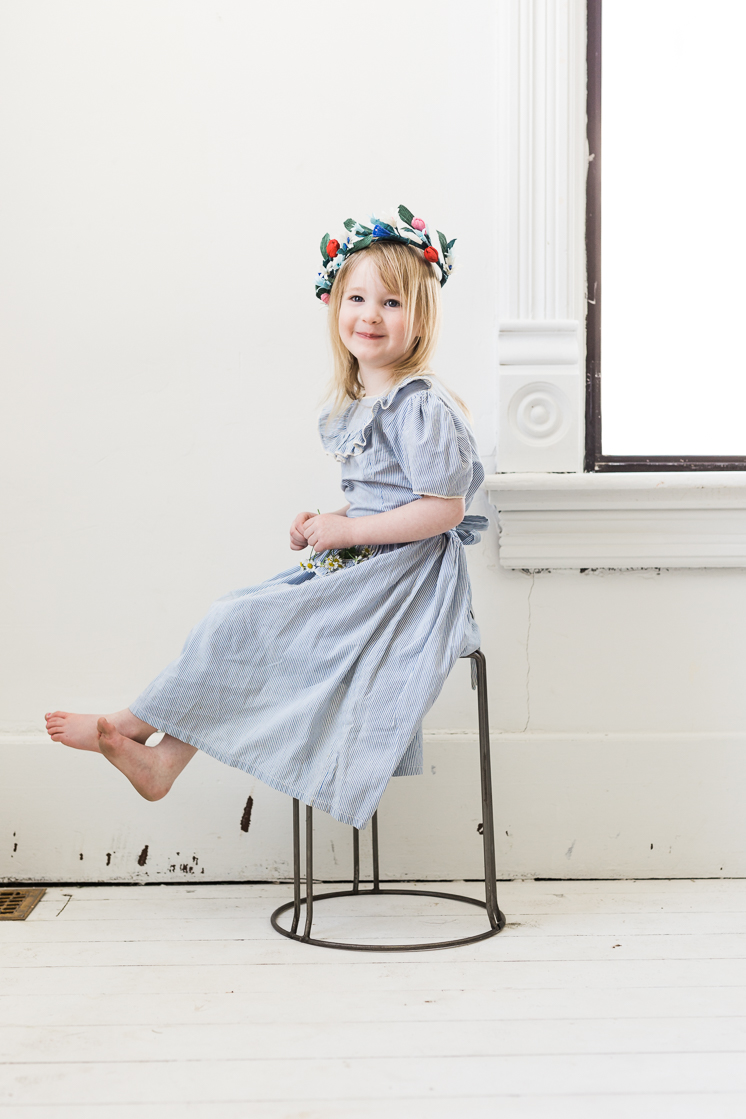
Isn’t she the sweetest!
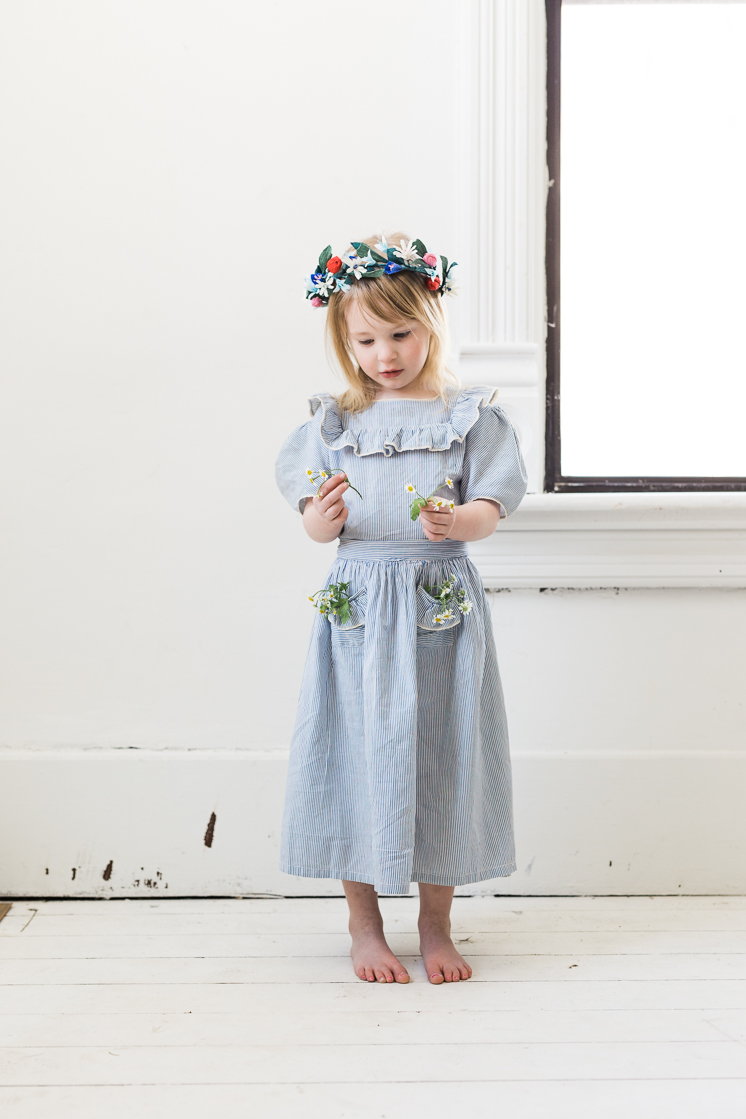
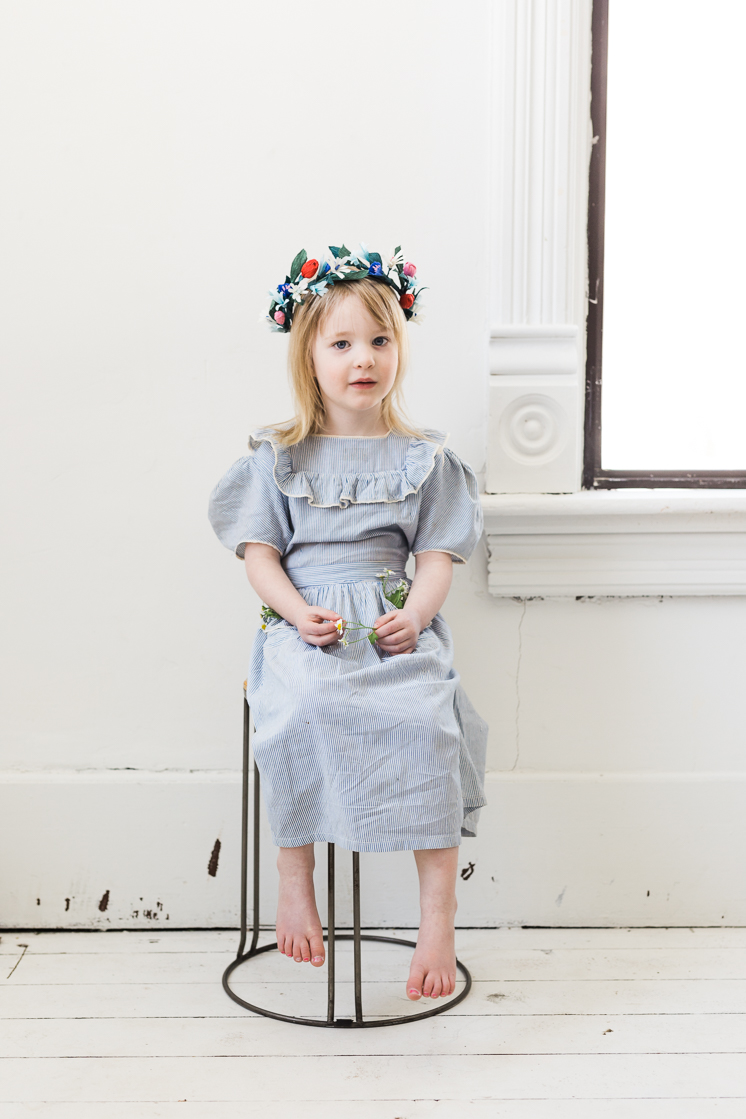
Since they’re paper flower crowns as opposed to real flowers, there is no need to worry about bruising the flowers or wilting petals. They girls can run and play without a care, which is exactly what I hope they do!
Crepe Paper Flower Girl Crown
Materials:
- 160-180 gram Crepe paper in red, white, blue, light blue, pink, light pink, teal, and grass green
- 22-gauge cloth wrapped floral wire stems, cut into 2-3″ pieces
- Kraft Wrapped 18-gauge floral wire (1 per crown)
- Wire cutters
- Hot glue gun
- Cotton ball
Instructions:
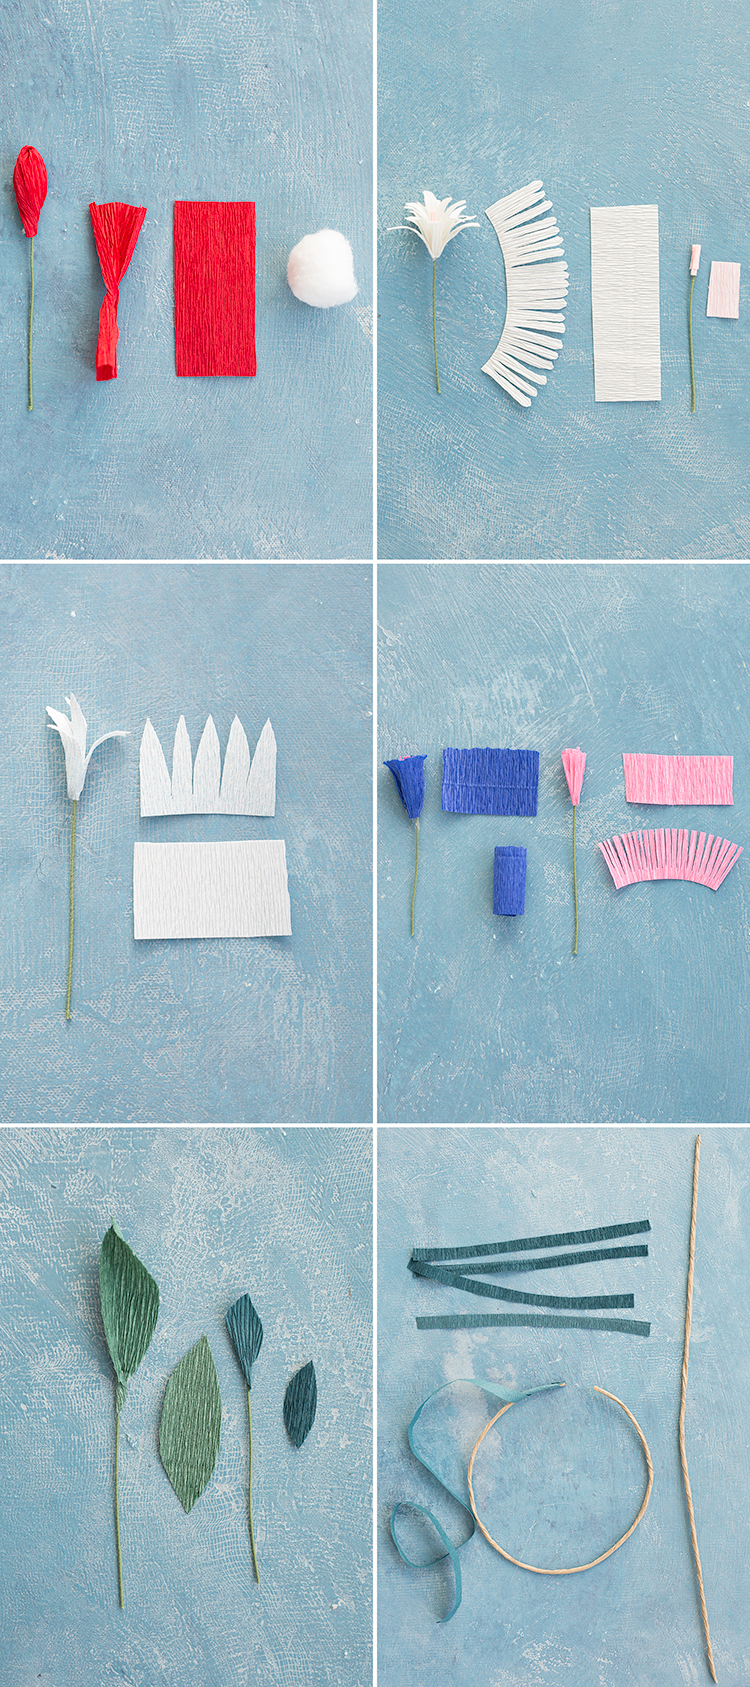
Red Rose Bud
- Take a cotton ball and split it into two pieces. You’ll only need half for each bud
- Cut a 1″/2″ piece of red crepe paper. Twist in the center.
- With a dot of hot glue on the tip of the wire, stick into cotton ball half
- Wrap the twisted crepe paper around the cotton ball, stretching to cover.
- Secure with glue
White Daisy
- With a small bit of light pink crepe paper, wrap around the tip of wire
- Cut a 1″/3″ piece of white crepe paper. Cut long petal shapes as shown in the picture
- Wrap petal piece around the pink stamen and secure with glue.
- With a paintbrush or pencil, gently curl the petals outwards.
Light Blue bell
- Cut a 1″ x 1.5″ piece of light blue crepe paper
- Cut 5 pointed petals
- Wrap around the wire and secure with glue.
- Curl the outer 3 petals with a paintbrush or pencil, leaving the two center petals straight up
Blue and Pink Blossom
- Cut a .5″ x 2″ piece of pink crepe paper and fringe the edge
- Wrap tightly around the wire
- Cut a 1″ x 1.5″ piece of blue crepe paper, giving one long edge a jagged edge. Glue edges together to form a cylinder
- Slip the cylinder of the fringed center and glue tightly at the base of the bud.
- Stretch out the top of the blossom to create a flutter on the edge of the blossom.
Leaves
- Create a small leaf shape and a large leaf shape
- Pinch at the base of the leaves and glue to wire piece
Crown
- With the Kraft paper wrapped wire, bend into a circular shape
- Cut strips of 1/4″ wide crepe paper and stretch to remove grooves.
- Glue one edge to the wire and wrap tightly around the wire, adding more strips as you go until completely covered
- Use this same technique to wrap the stems of each flower
- Cluster the flowers into small bouquets and begin wrapping them onto the crown base with more strips of crepe paper and hot glue.
- Adjust size by trimming the wire or simply overlapping them and securing with a ribbon or wire in the back
Photography by Anna Killian for The House That Lars Built | Crafting by Rebecca Young | House and adorable model provided by Merrilee Liddiard of Mer Mag


Comments