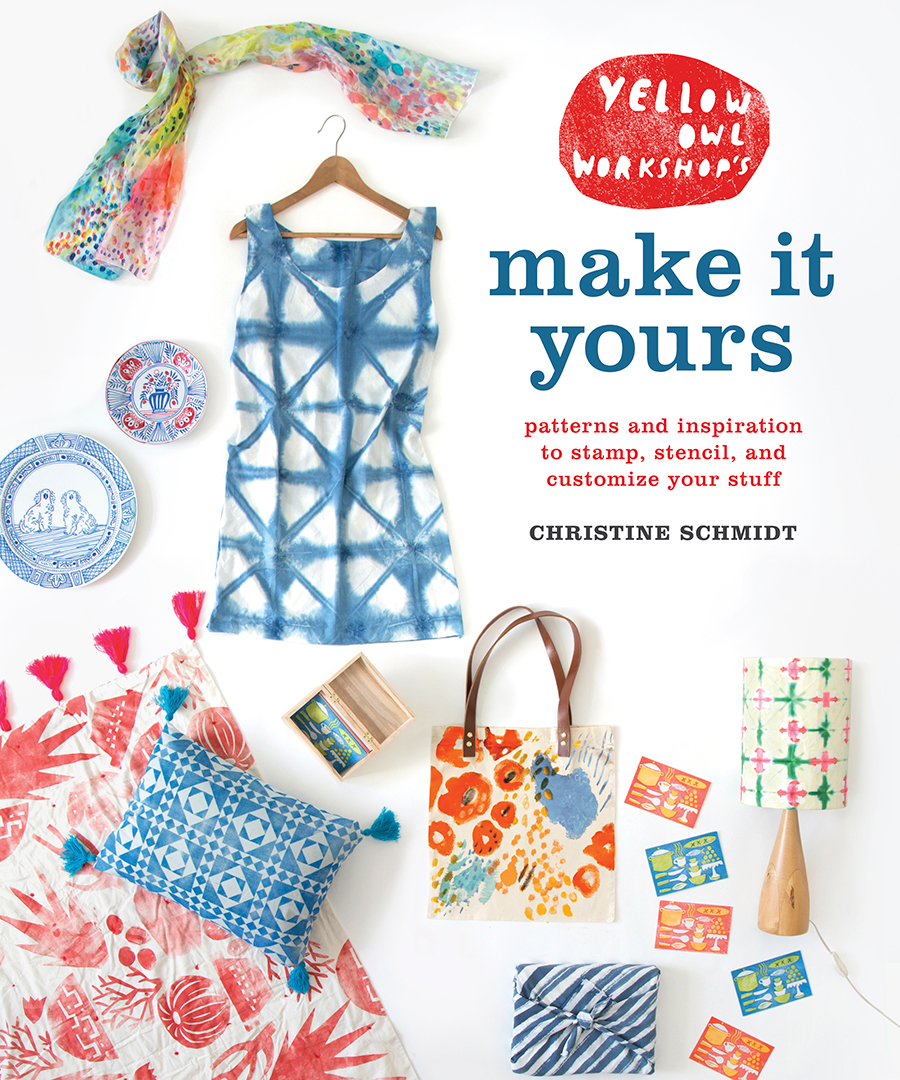
I’ve been a big fan of Christina Schmidt of Yellow Owl Workshop for quite some time and I was thrilled to receive an advanced copy of her brand new book, Make It Yours: Patterns and Inspiration to Stamp, Stencil, and Customize your Stuff due out March 28th (on pre-order now!). The book touches on a variety or techniques that she’s perfected in a fun and unexpected ways. It’s a great one to add to your craft library. Today she’s sharing a tutorial from her book.
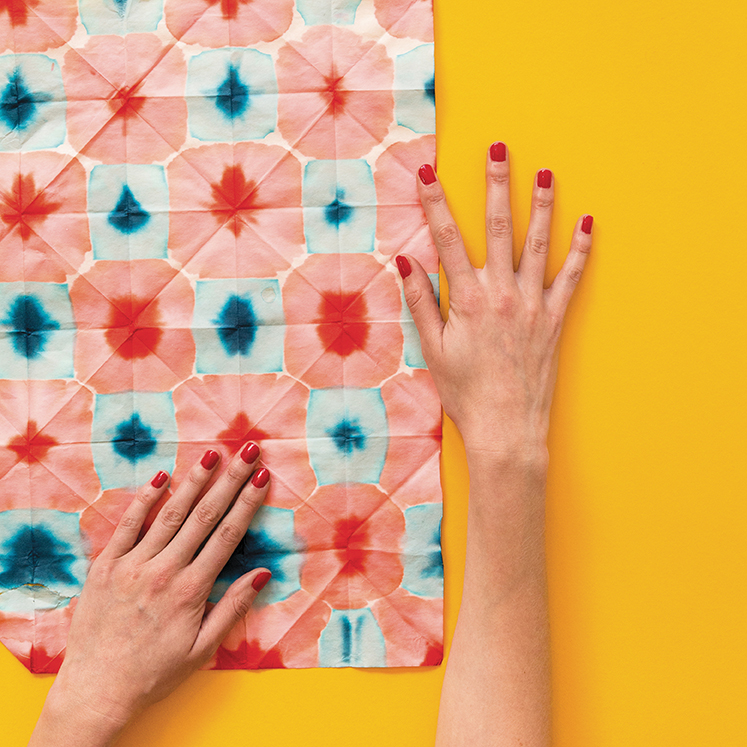
Simple, quick, and colorful is the name of the game when making this versatile dyed paper. The process only takes about 10 minutes, but I’ll bet you’ll have so much fun you won’t stop for hours. It’s important to use washi paper because it is thin enough to be folded several times, easily accepts ink (thanks to its uncoated surface), and has good “wet strength,” meaning it doesn’t tear easily when saturated. Use any size, but I like a large pad because I can fold it many times and achieve more complex patterns.
In terms of “dye,” studio staples such as watercolors and acrylics thinned to a watery consistency work, but surprisingly, I have the best luck with liquid food dyes from the kitchen pantry. (This also means I can safely use my kitchen bowls without worry of contamination.) Apply dye directly with an applicator or by placing the food dye tip directly to the edges for more contrast on the folded edges.

 Dip-dyed Washi Paper
LEARN: How to mix colors, and essential shibori folding techniques
REMIX: Use this technique to dye fabric; use the finished paper for stationery and other projects
Materials:
- Washi paper, 121⁄8″ × 181⁄8″ (30.8cm × 45.8cm)
- Bone folder (optional)
- Small bowl(s) at least 4″ (10cm) wide, one bowl per color
- Liquid food dye or liquid watercolor paint
- Water
- Iron (optional)
Instructions:
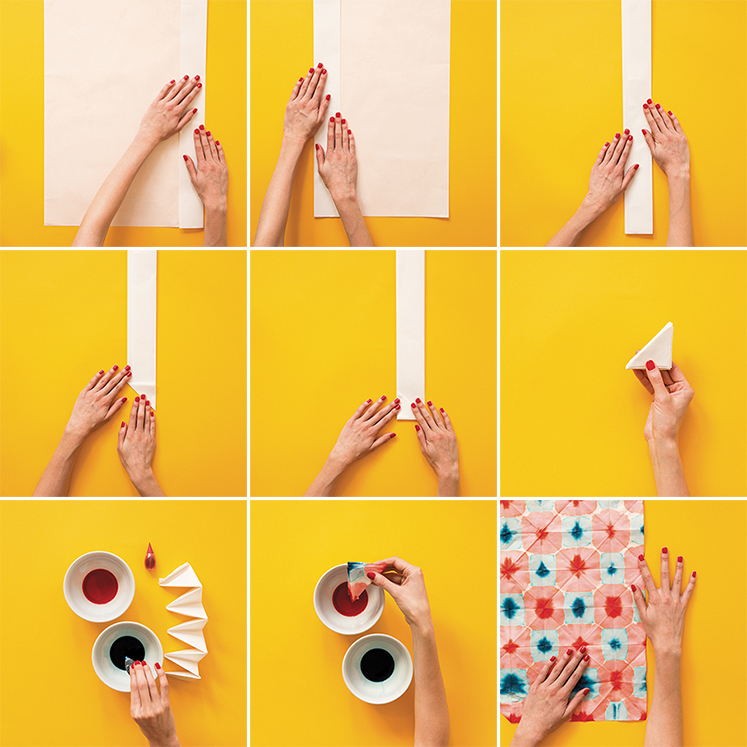
- Align the long side of the paper with the edge of the table. Take the right edge of the paper and fold it over to the left about 2″ (5cm). Crease with bone folder or side of thumbnail. (a)
- Flip the sheet of paper over and fold the creased edge in to the right until the edge of the paper is flush with the second fold. Crease with bone folder or side of thumbnail. (b)
- Repeat step 2 until the sheet is completely folded, accordion-style, and you have one long strip. (c)
- Fold the bottom-left corner of the folded strip up to meet the right edge. (This creates a triangle.) Crease with bone folder or side of thumbnail. (d)
- While holding triangle fold in hand, flip the paper over. Fold the bottom corner of the triangle up to meet the left edge of the folded strip and crease. (e)
- Continue flipping the paper over and folding up the triangles until you have a tight triangular stack. (f)
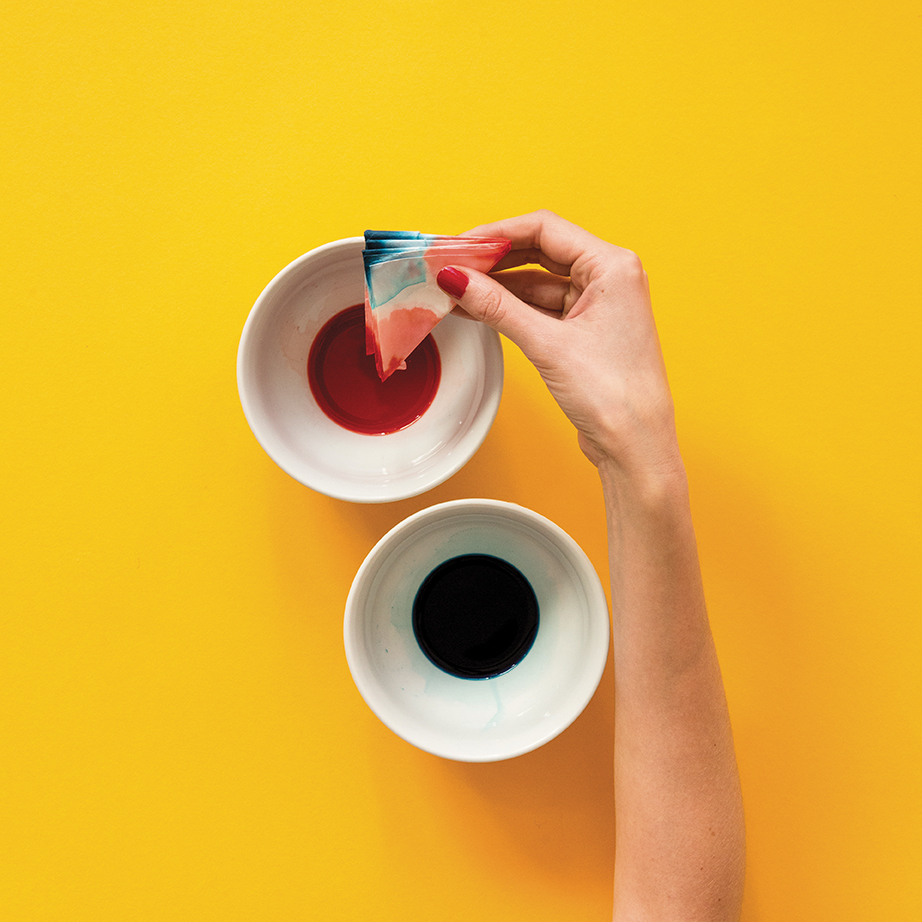
- Pour a small amount of food dye into a bowl and add water to dilute. The proportion of water to dye will vary the saturation of color. Use a more concentrated solution for brighter colors. (g)
- Dip corners or edges of the paper in the dye bowls and allow the dye to penetrate the paper. Leaving it in the dye bath longer will allow more dye to creep up the paper fibers, resulting in more color coverage. (h)
- Unfold the paper gently and lay it out to dry. Once dry it can be pressed using a no-steam iron on low to remove folds or wrinkles. (i)
Reprinted from Yellow Owl Workshop’s Make It Yours. Copyright © 2017 by Christine Schmidt. Photographs copyright © 2017 by Aubrie Pick. Published by Clarkson Potter/Publishers, an imprint of Penguin Random House, LLC.


 Dip-dyed Washi Paper
