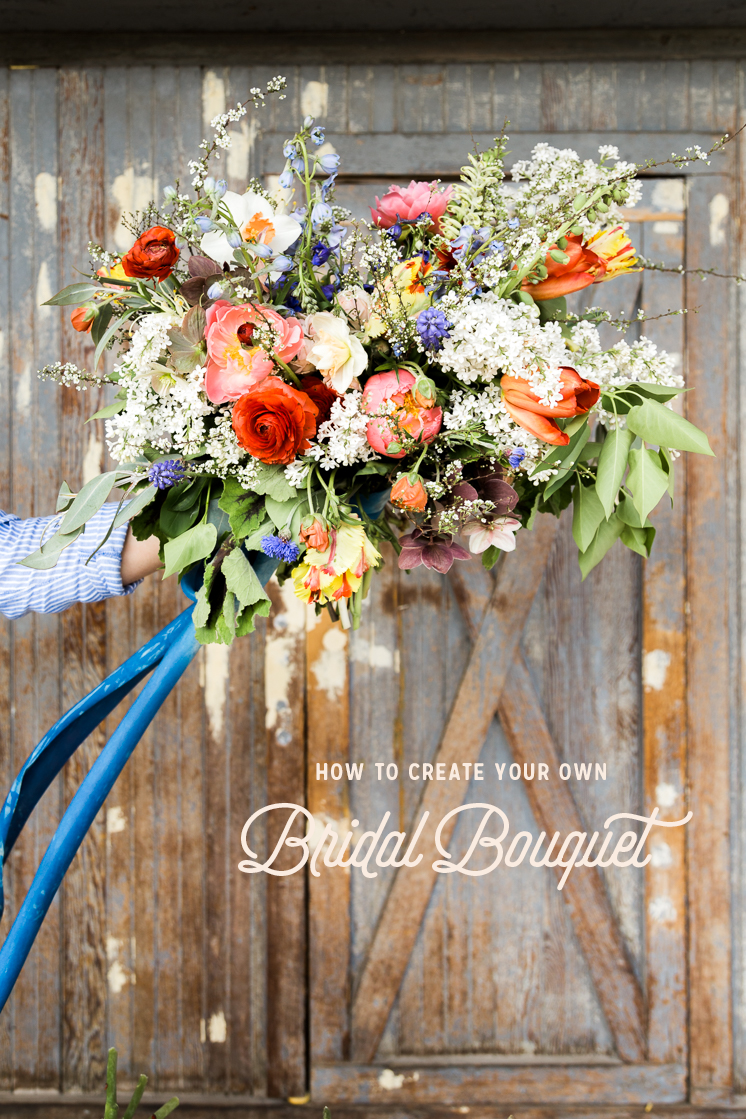
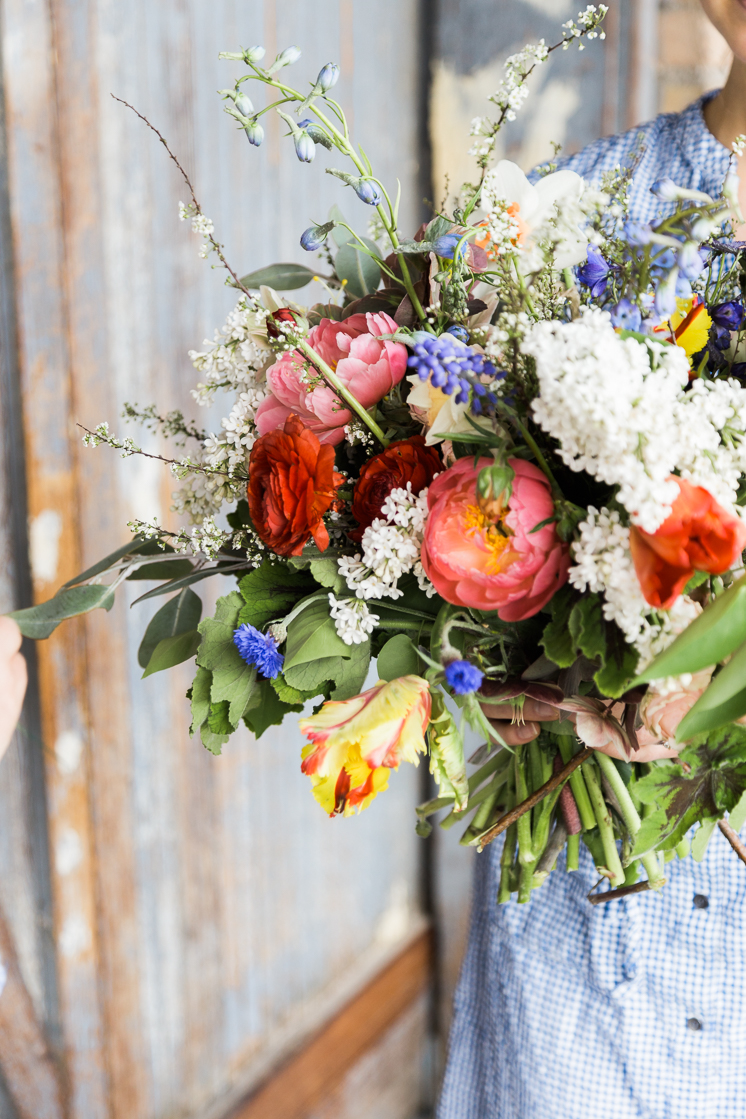
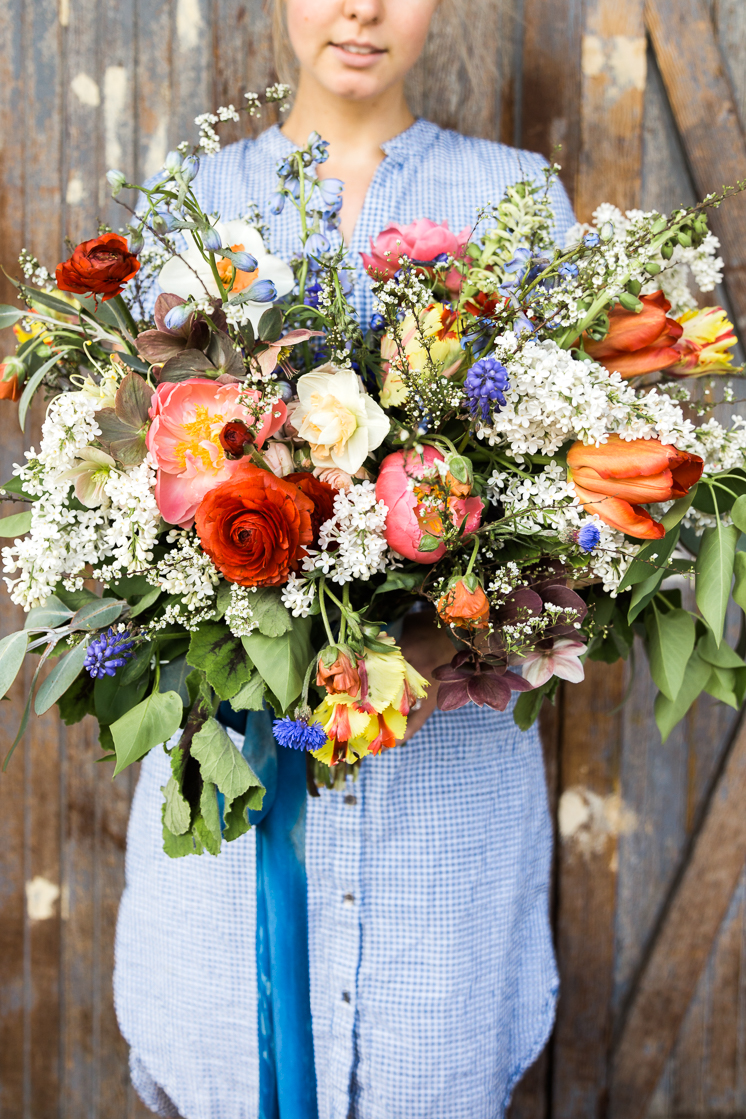
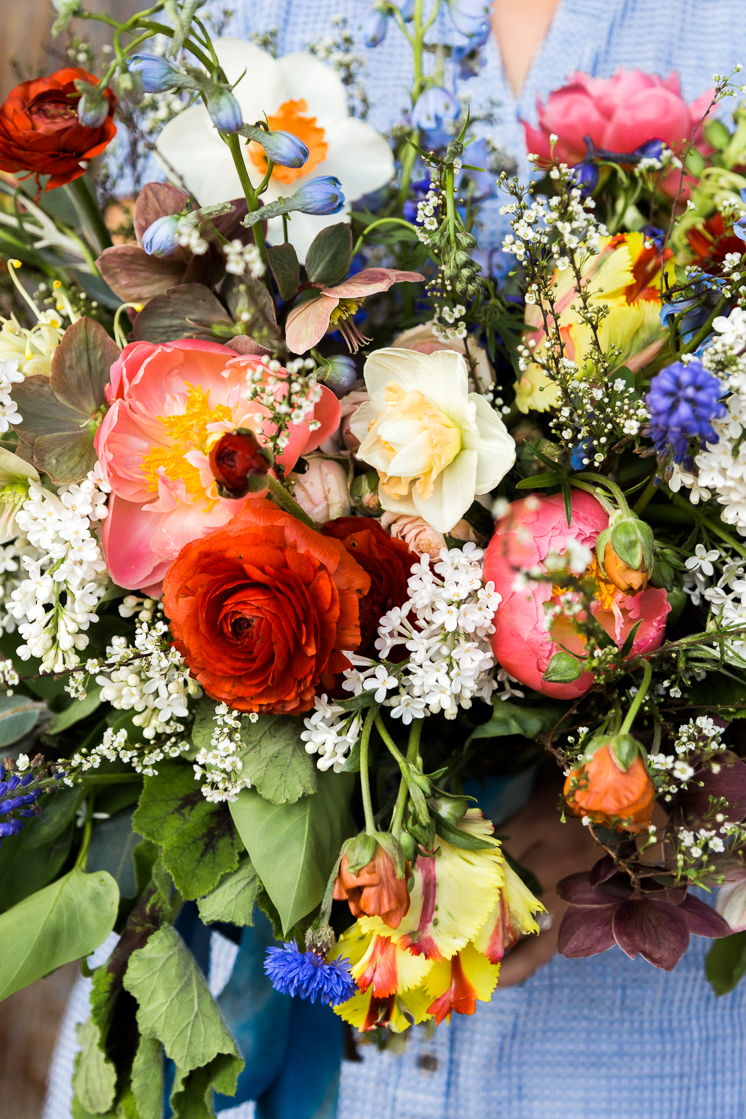
Oh, how I love flowers! They’re just the icing on the cake when it comes to every special occasion, most specifically a wedding. They manage to bring everything together: the colors, the theme, the feel. After I picked the theme for my wedding, Scandinavian Garden, I knew that the flowers were going to be a huge factor in creating the look I wanted. Can’t have a garden without flowers! I wanted a bouquet that would look almost as if it had been plucked fresh out of the ground: very whimsical, asymmetrical, and full of wild flowers.
Luckily, I found a florist, Erin Keller of Urban Chateau Floral, that I was able to work with on a more personal level to create my dream bouquet. After working with her side by side, I’d recommend this to every bride! Erin shared some floral design tips with me, asked me my opinion as we went, and made sure the bouquet was perfect in every way. I thought I would pass along those tips to how to create your own bridal bouquet! You’ll have some basic guidelines for creating gorgeous floral arrangements, whether you’re getting married or not. Flowers are always in season!
Read on for all the tips!
How to make your own Bridal Bouquet
Work with your local wholesale flower shop
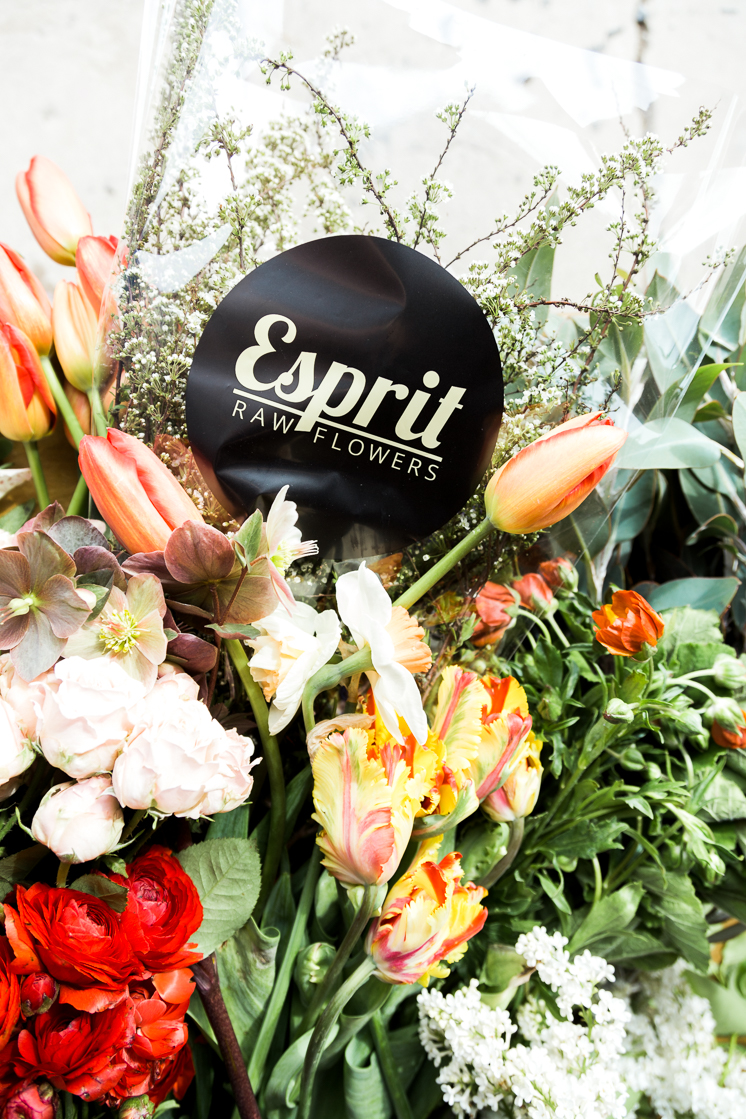
When purchasing your flowers, try and locate a local wholesale flower market. They have access to a much larger variety of blooms than you can find at the grocery store or greenhouse. We worked with Esprit Raw Flowers to find a huge array of blossoms perfect for the bouquet. They were so wonderful for working with us to order in the exact varieties of flowers I wanted. So get in touch with your local wholesale shop to help make your vision a reality!
Pluck off the bruised petals and extra leaves
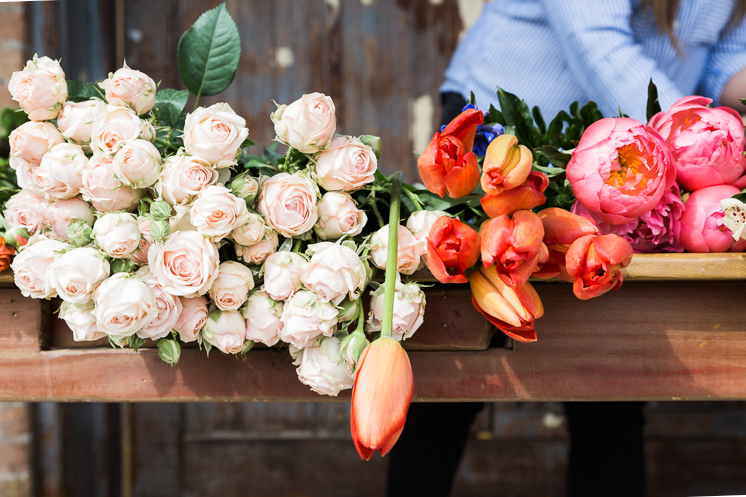
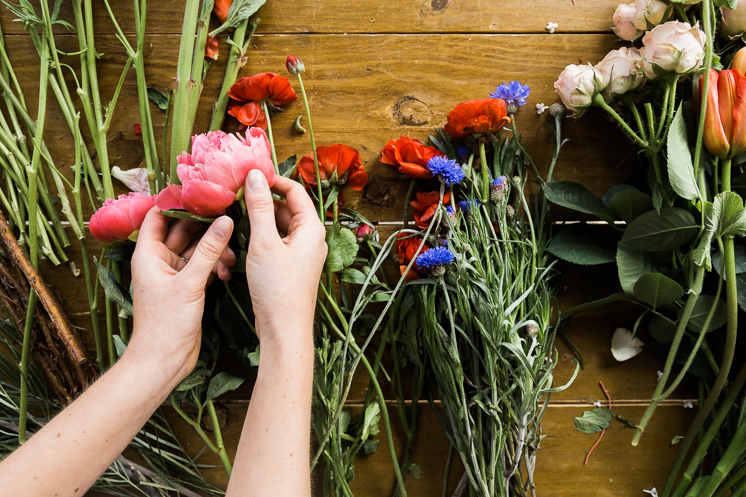
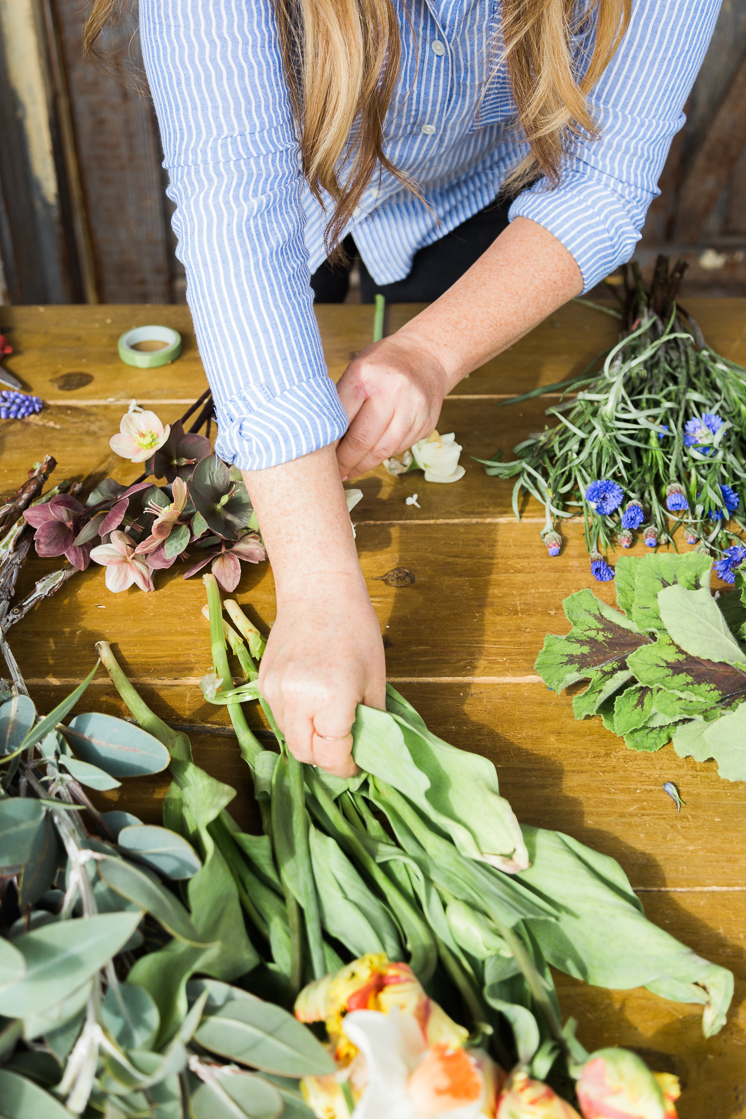
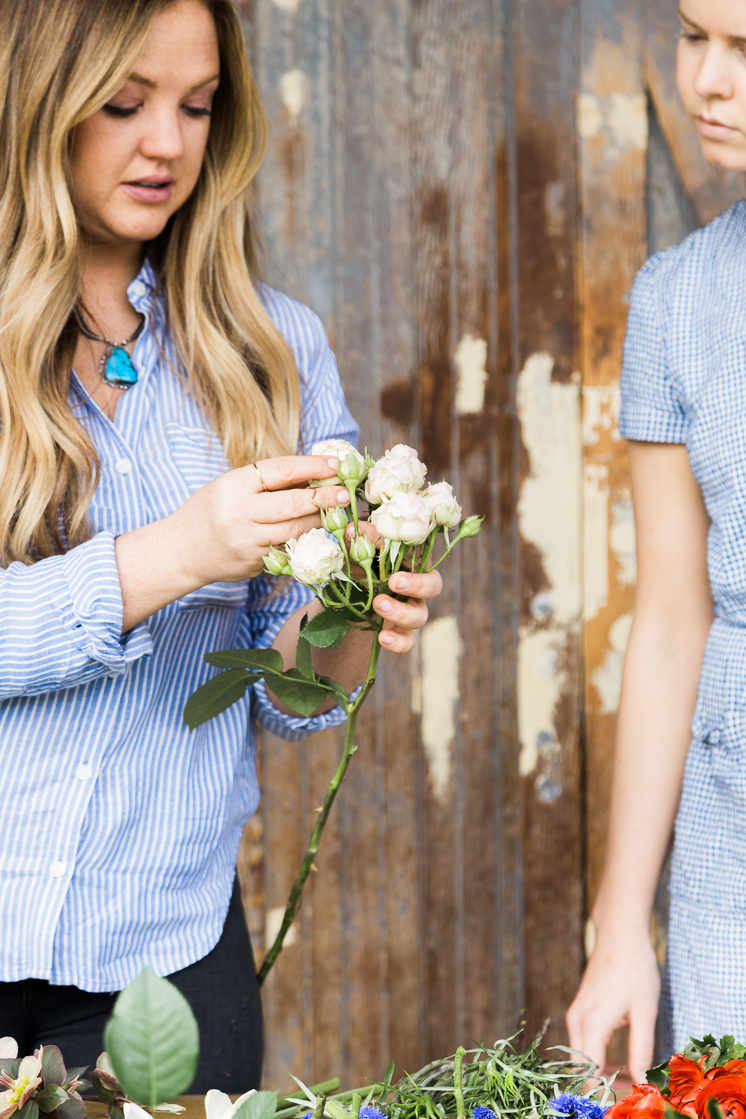
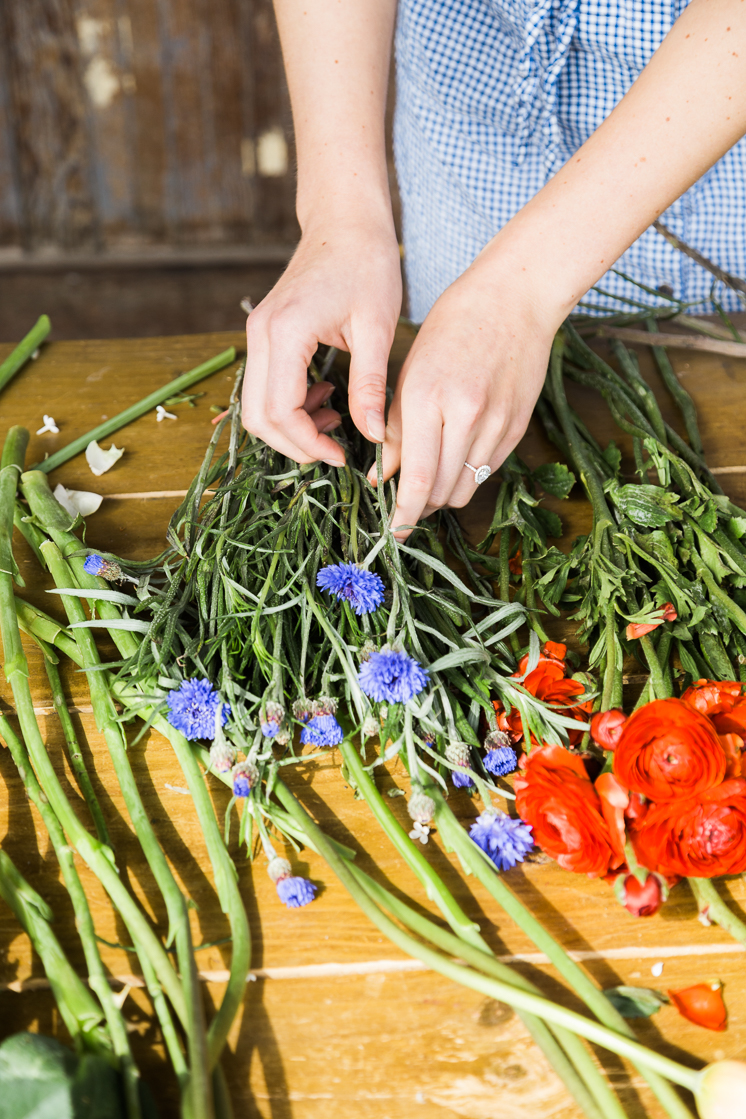
When you pick up all your flowers, lay them all out on a table so you can clearly see them by color and type. Take each flower and check for damaged petals on the outer layer and pluck them off. Also, remove any extra leaves or thorns so that you have clean stems to work with. You’ll want some leaves of course, but in order to create a well-shaped bouquet you will need to remove a lot of excess bulk.
Criss-Cross the stems when forming your bouquet
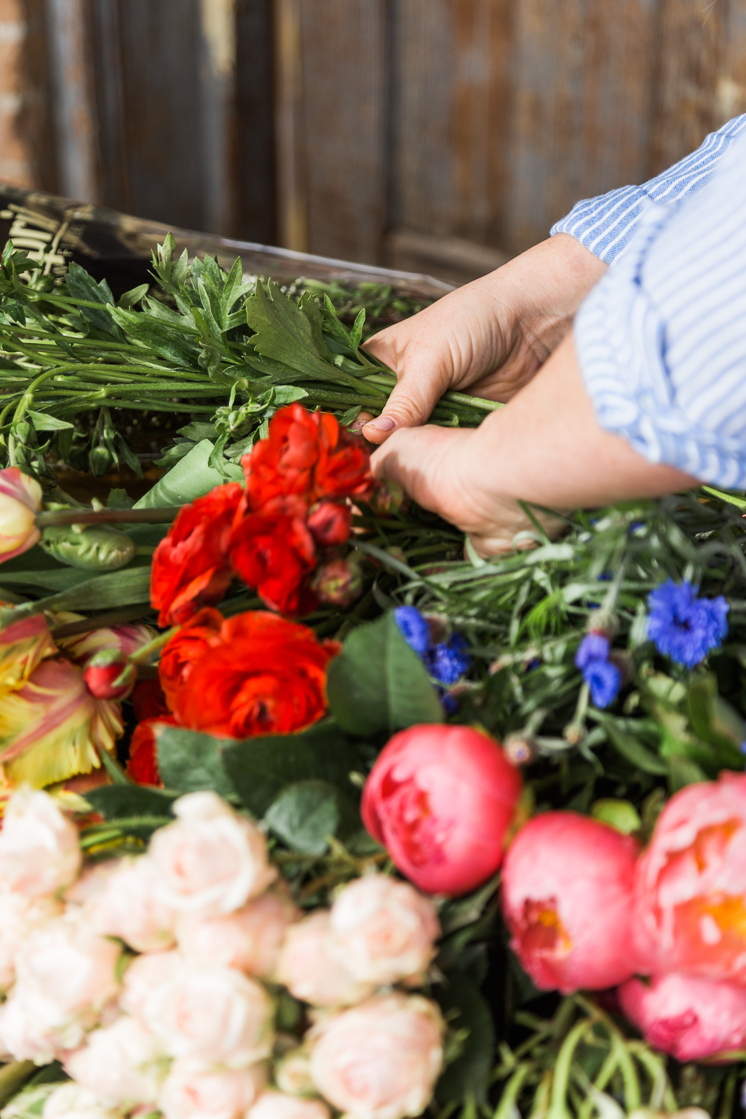
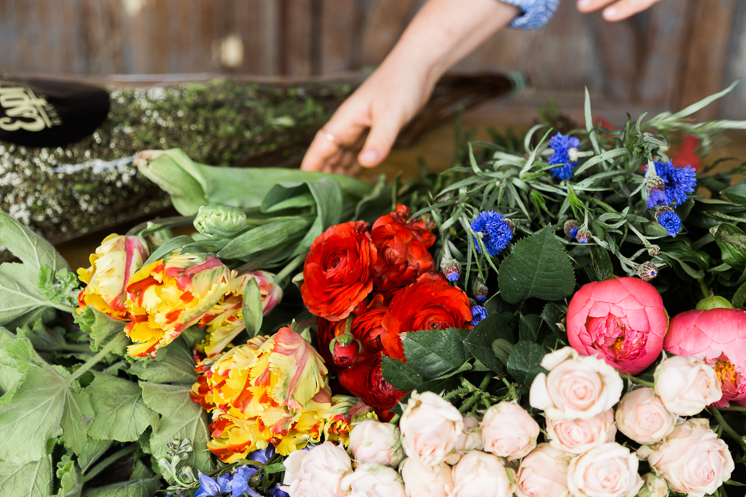
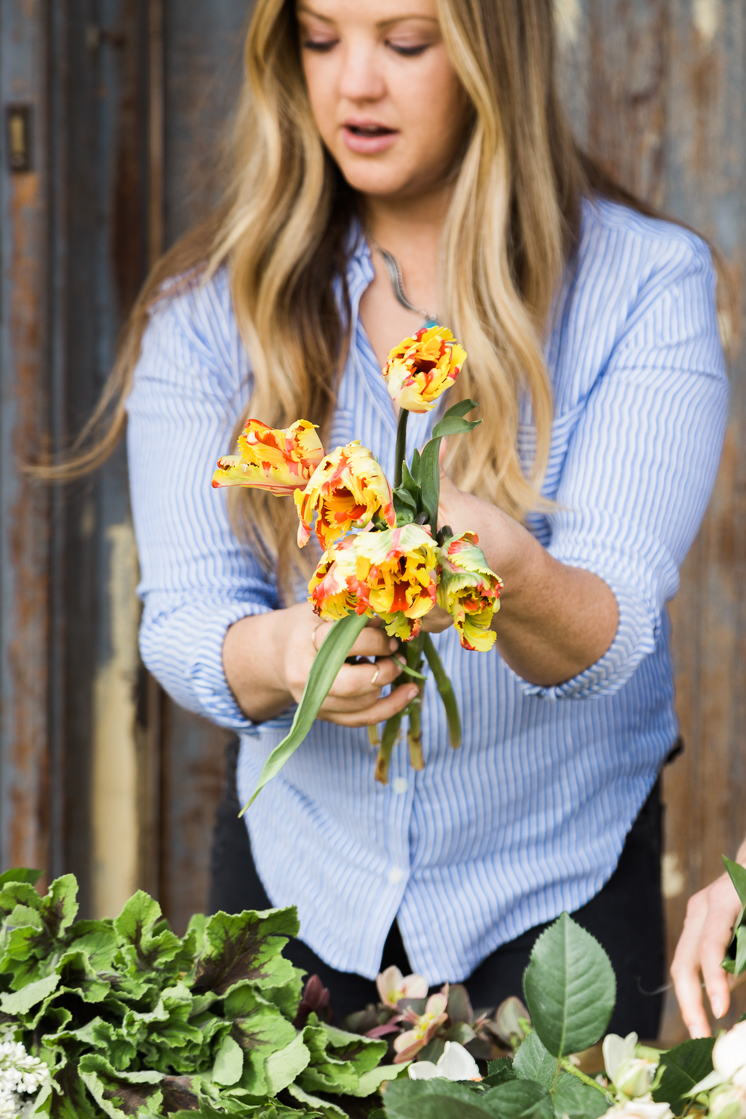
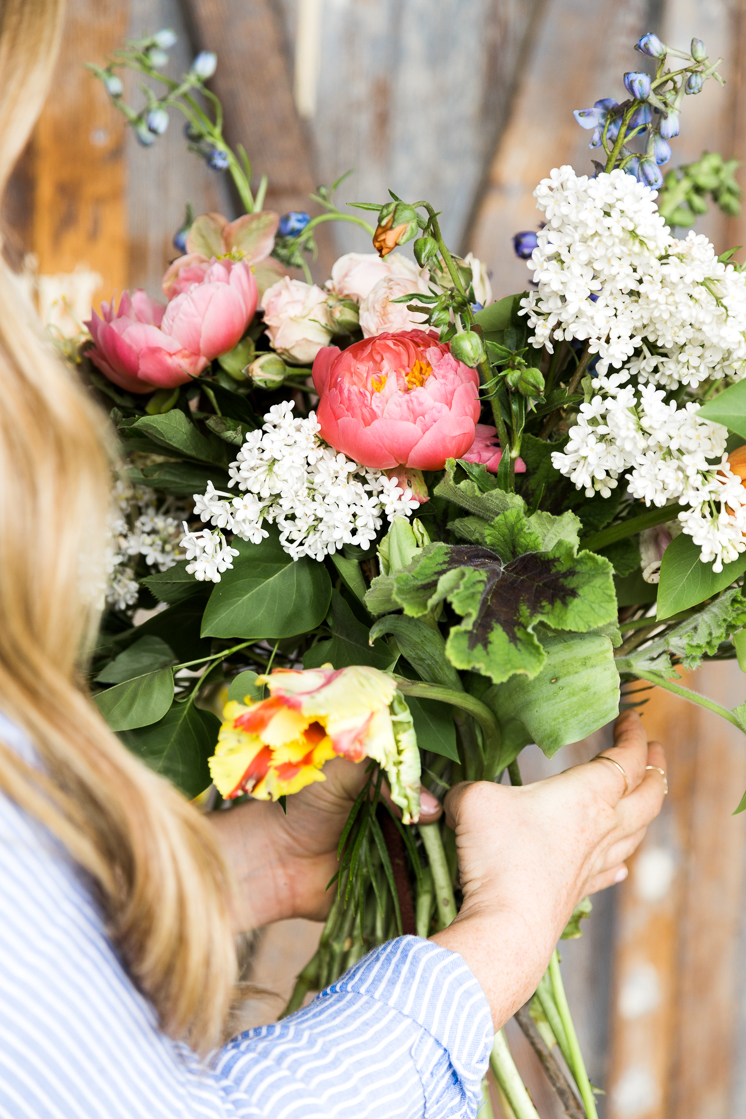
As you begin to put your bouquet together, try and criss-cross your stems as you go. This puts the flowers at an angle that is more visually pleasing than having them straight up and down. It gives the bouquet more dimension to work with as you go along. Continue adding in more flowers, varying the colors and heights of the stems.
Utilize Seasonal or Local Flowers
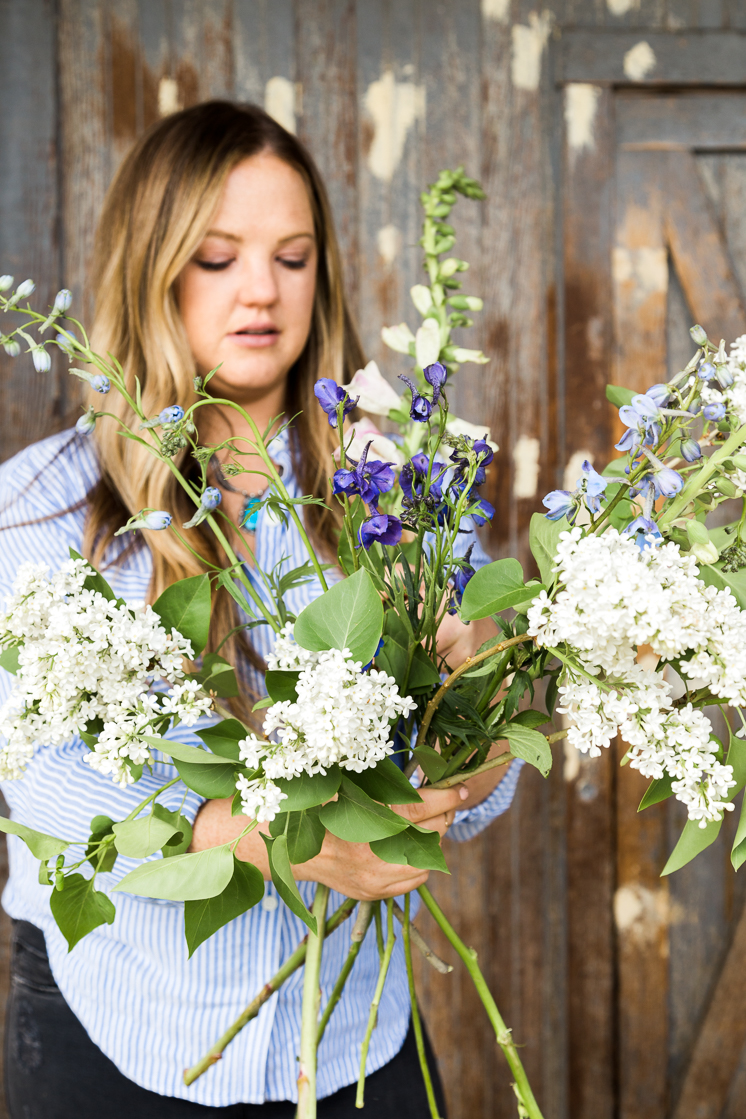
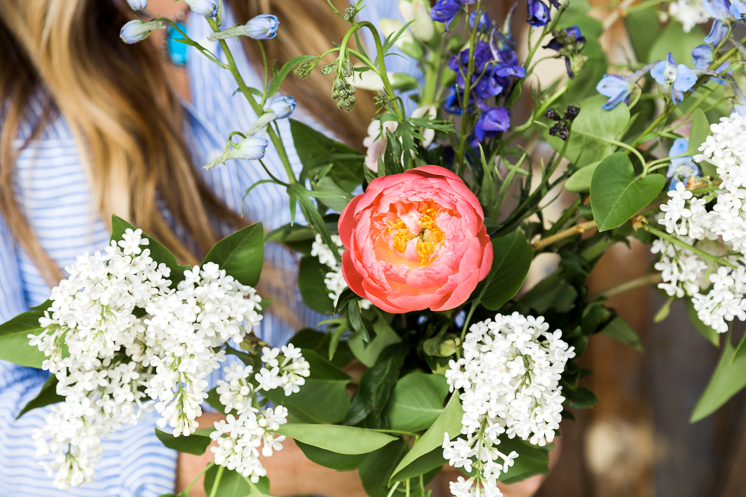
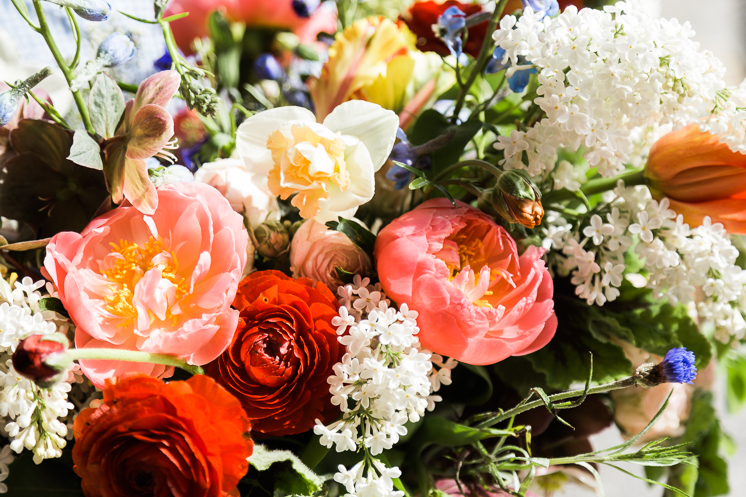
It’s always fun to incorporate flowers native to your area, and it’s much cheaper too! Lilacs are one of my favorite flowers and they smell divine! We had three huge bushes in my backyard growing up, so I was thrilled that we were able to use these gorgeous white lilacs in my bouquet. It is much easier to use seasonal flowers because of their availability and less expensive price.
Trim Stems and wrap them with tape
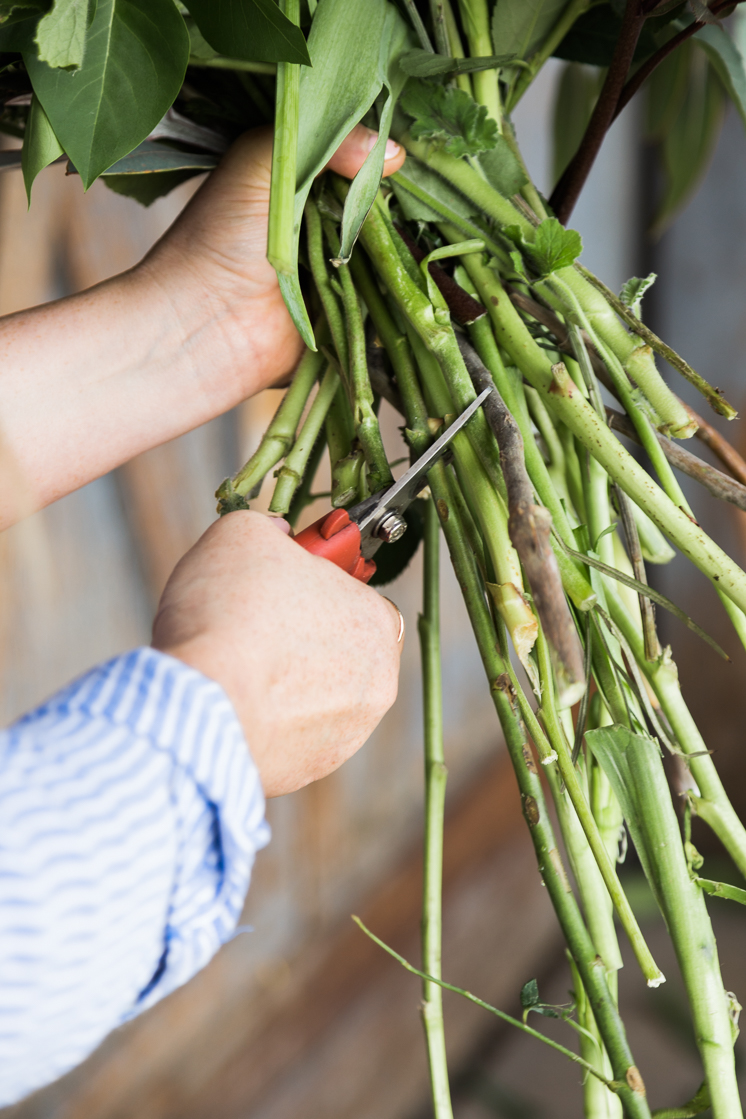
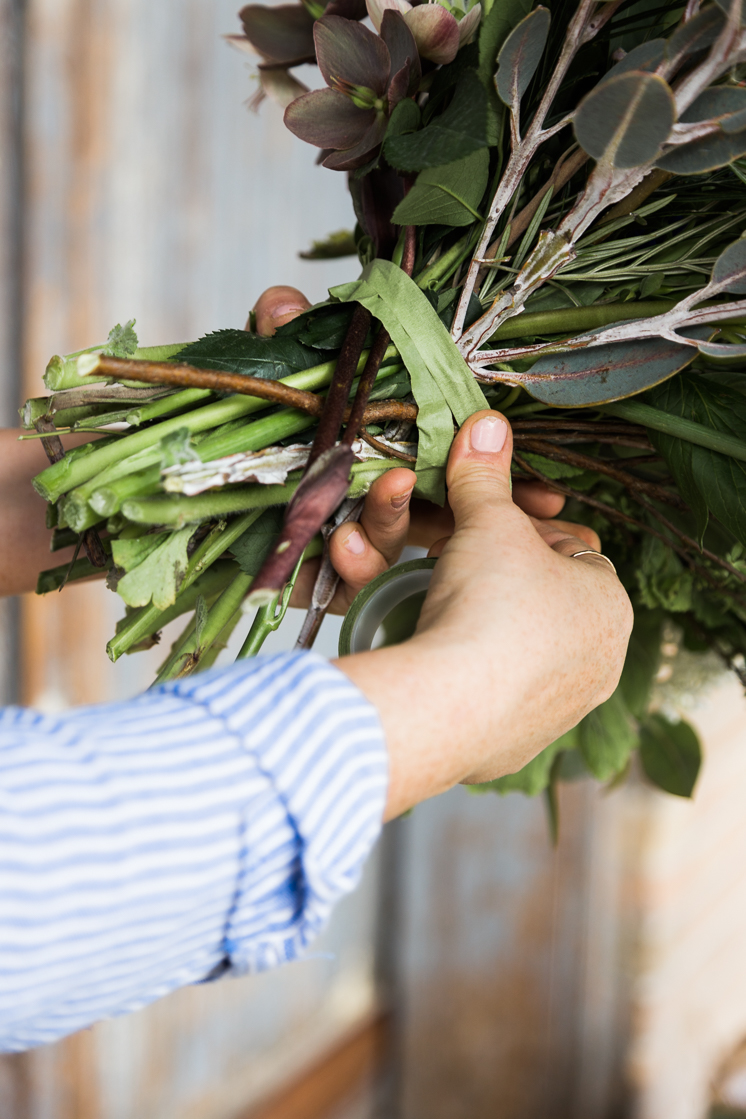
Once you’ve got a good-sized bouquet, trim all the stems at angles to better absorb water. Then take floral tape and wrap around your bouquet plenty of times to create a secure bundle. This doesn’t mean you can’t add more to the bouquet, it just makes it easier to handle and see the general shape before you add those final blooms.
Add Ribbon and Pin in Place
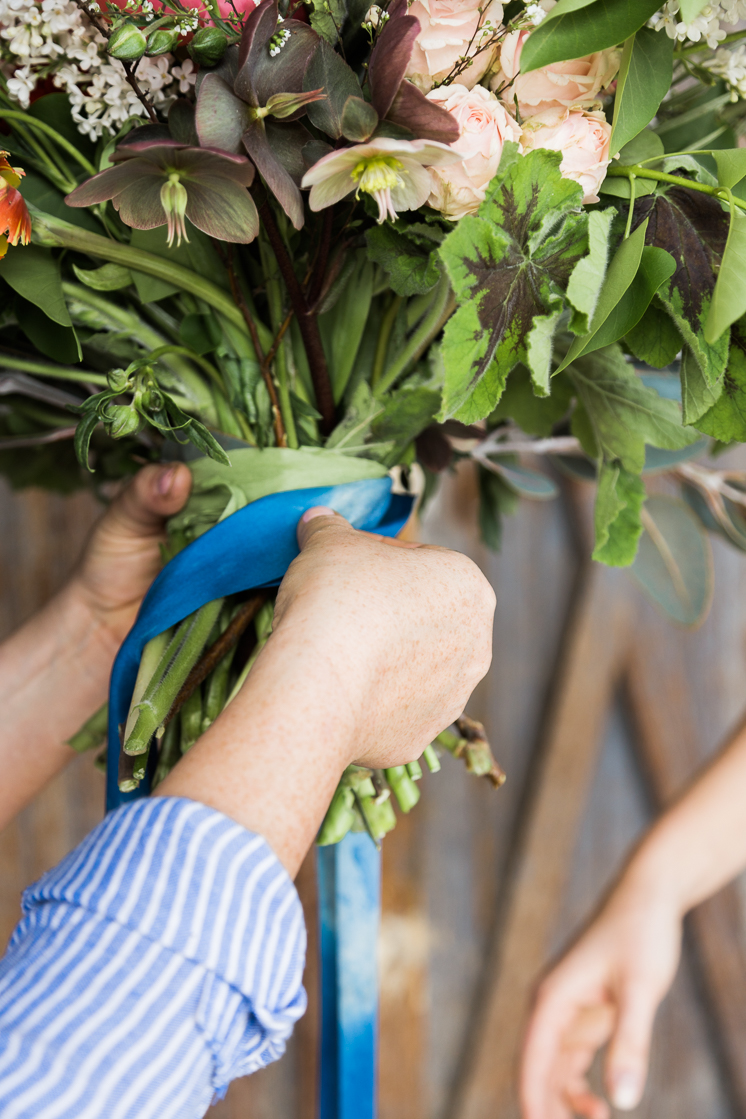
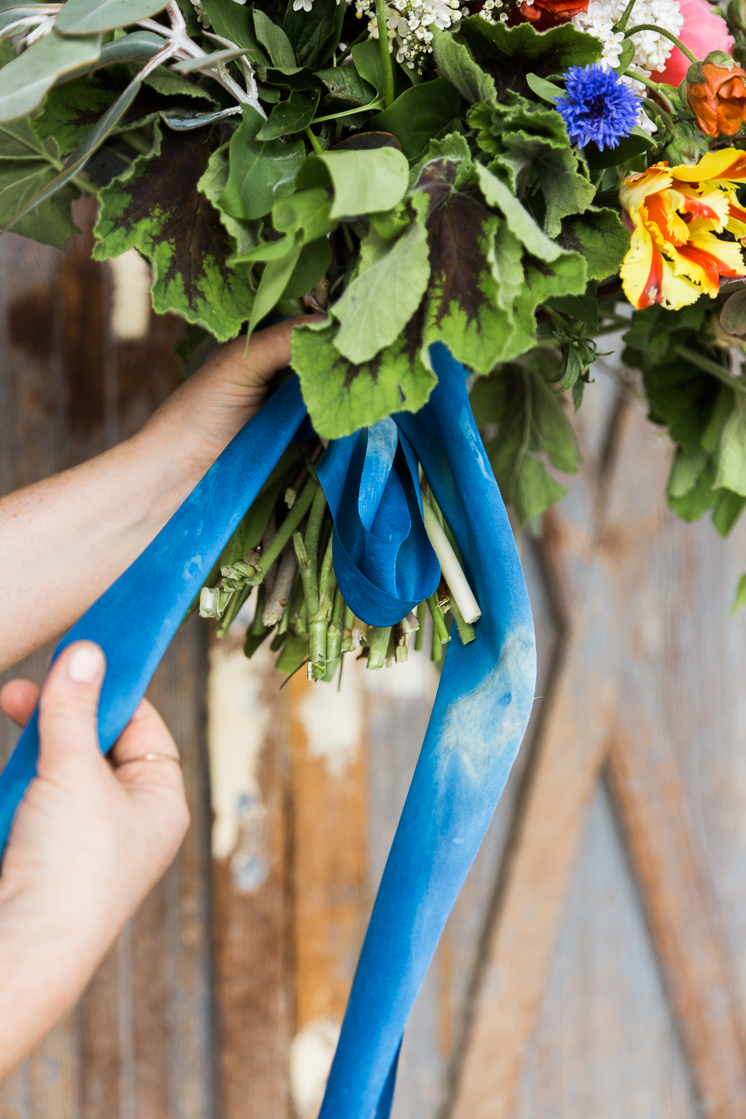
The ribbon is the finishing touch. I chose a beautiful blue marbled silk ribbon from Silk & Willow. Wrap around the stems, careful to cover the tape. We made a big loopy bow that we just pinned in place rather than tied, to avoid making wrinkles in the ribbon. Cut the ends of the ribbon at an angle and leave long lovely tails.
I couldn’t be happier with the end result and I loved being a part of the creative process! So find a florist who will work with you and wholesale shop that’s accommodating, because you’ll enjoy the process more and rest easy that it’s what you want!
Photography by Anna Killian for The House That Lars Built | Post by Rebecca Young | Flowers by Urban Chateau Floral


Comments