Here at Lars we live for a little holiday (well, not so little to us) called Halloween! If you don’t already know, I basically spend every day, spring, summer, winter, and fall thinking of what I should dress up as. I’m not even ashamed; to me, Halloween is the most wonderful time of the year! With this deep love comes a deep responsibility to dress up not just myself, but Jasper as well. I’ve got to make good use of the golden years, and by golden years, I mean a time when Jasper doesn’t get a say in what he would like to go as.
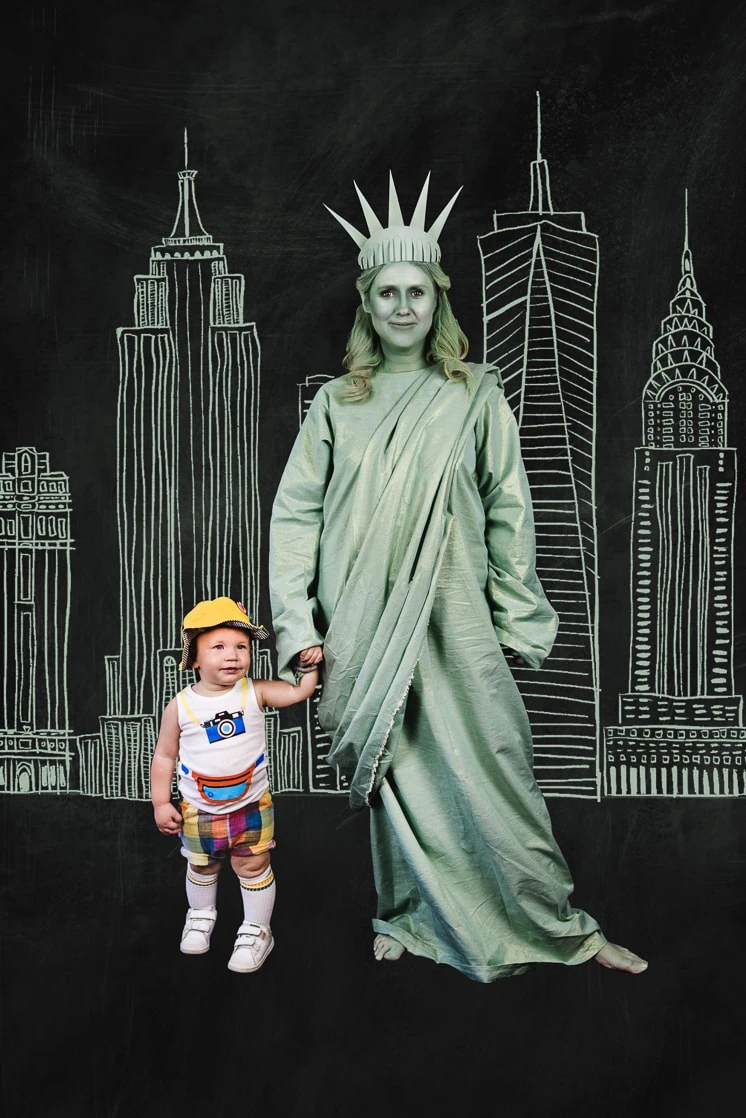
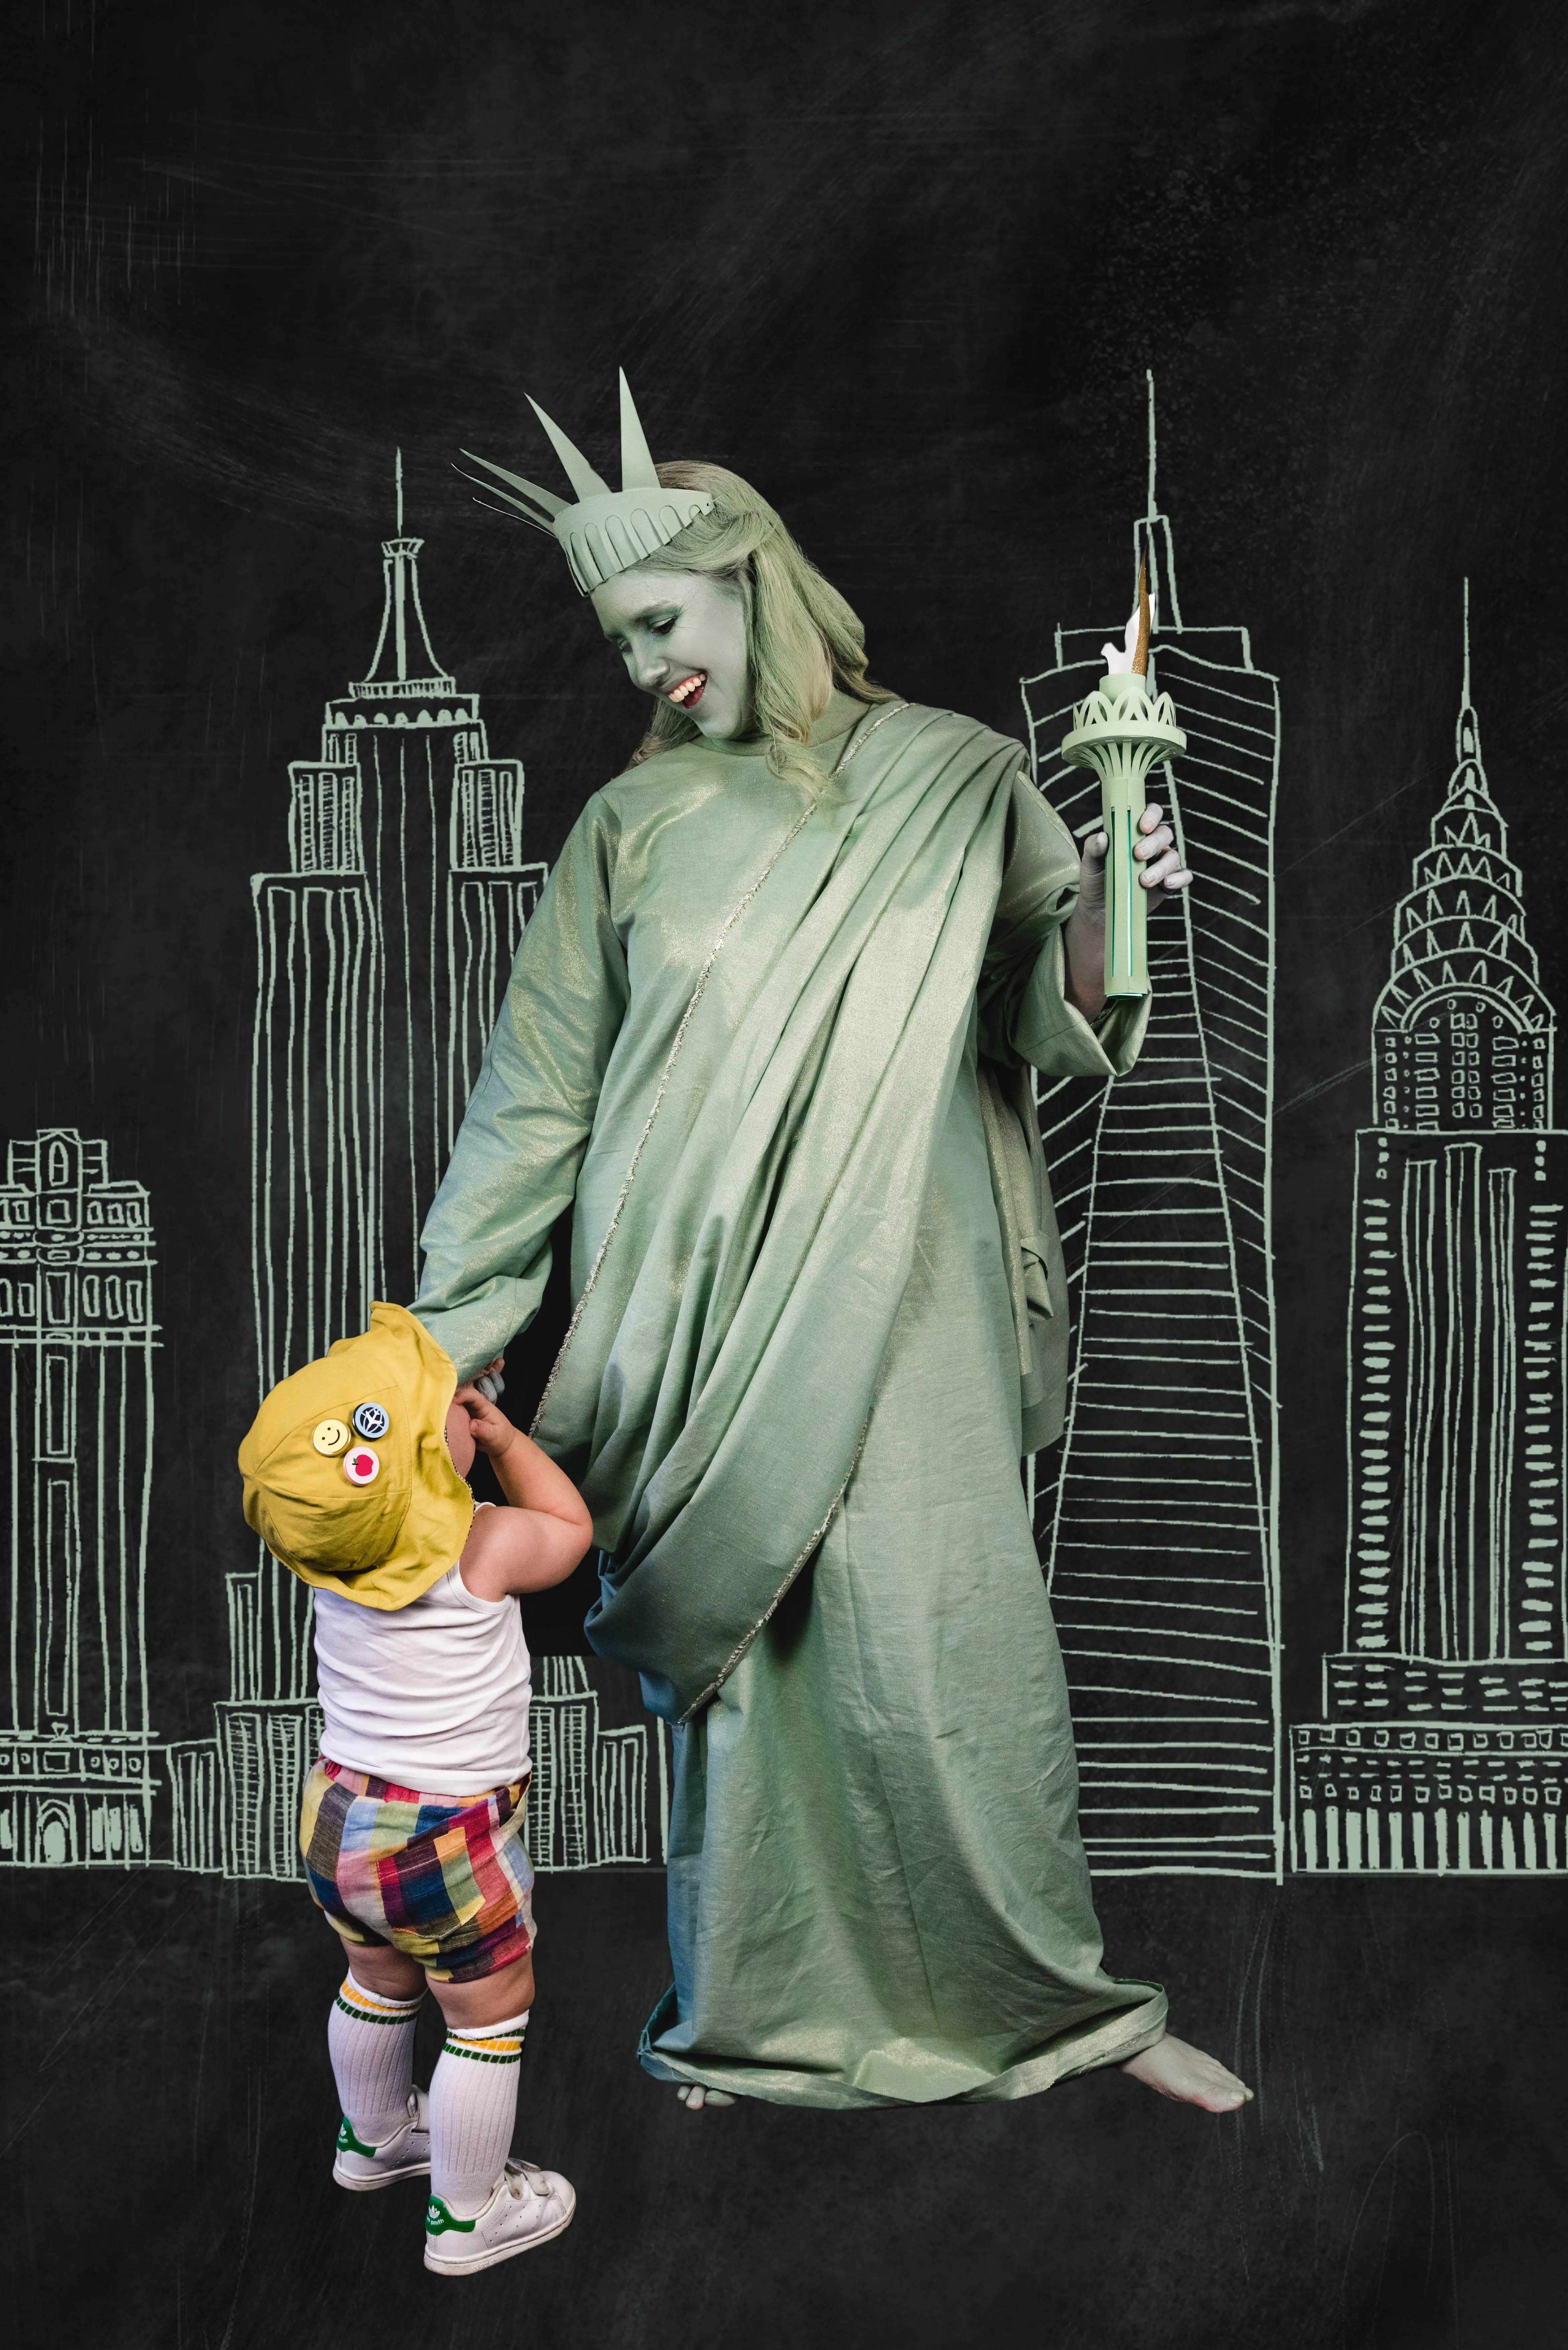
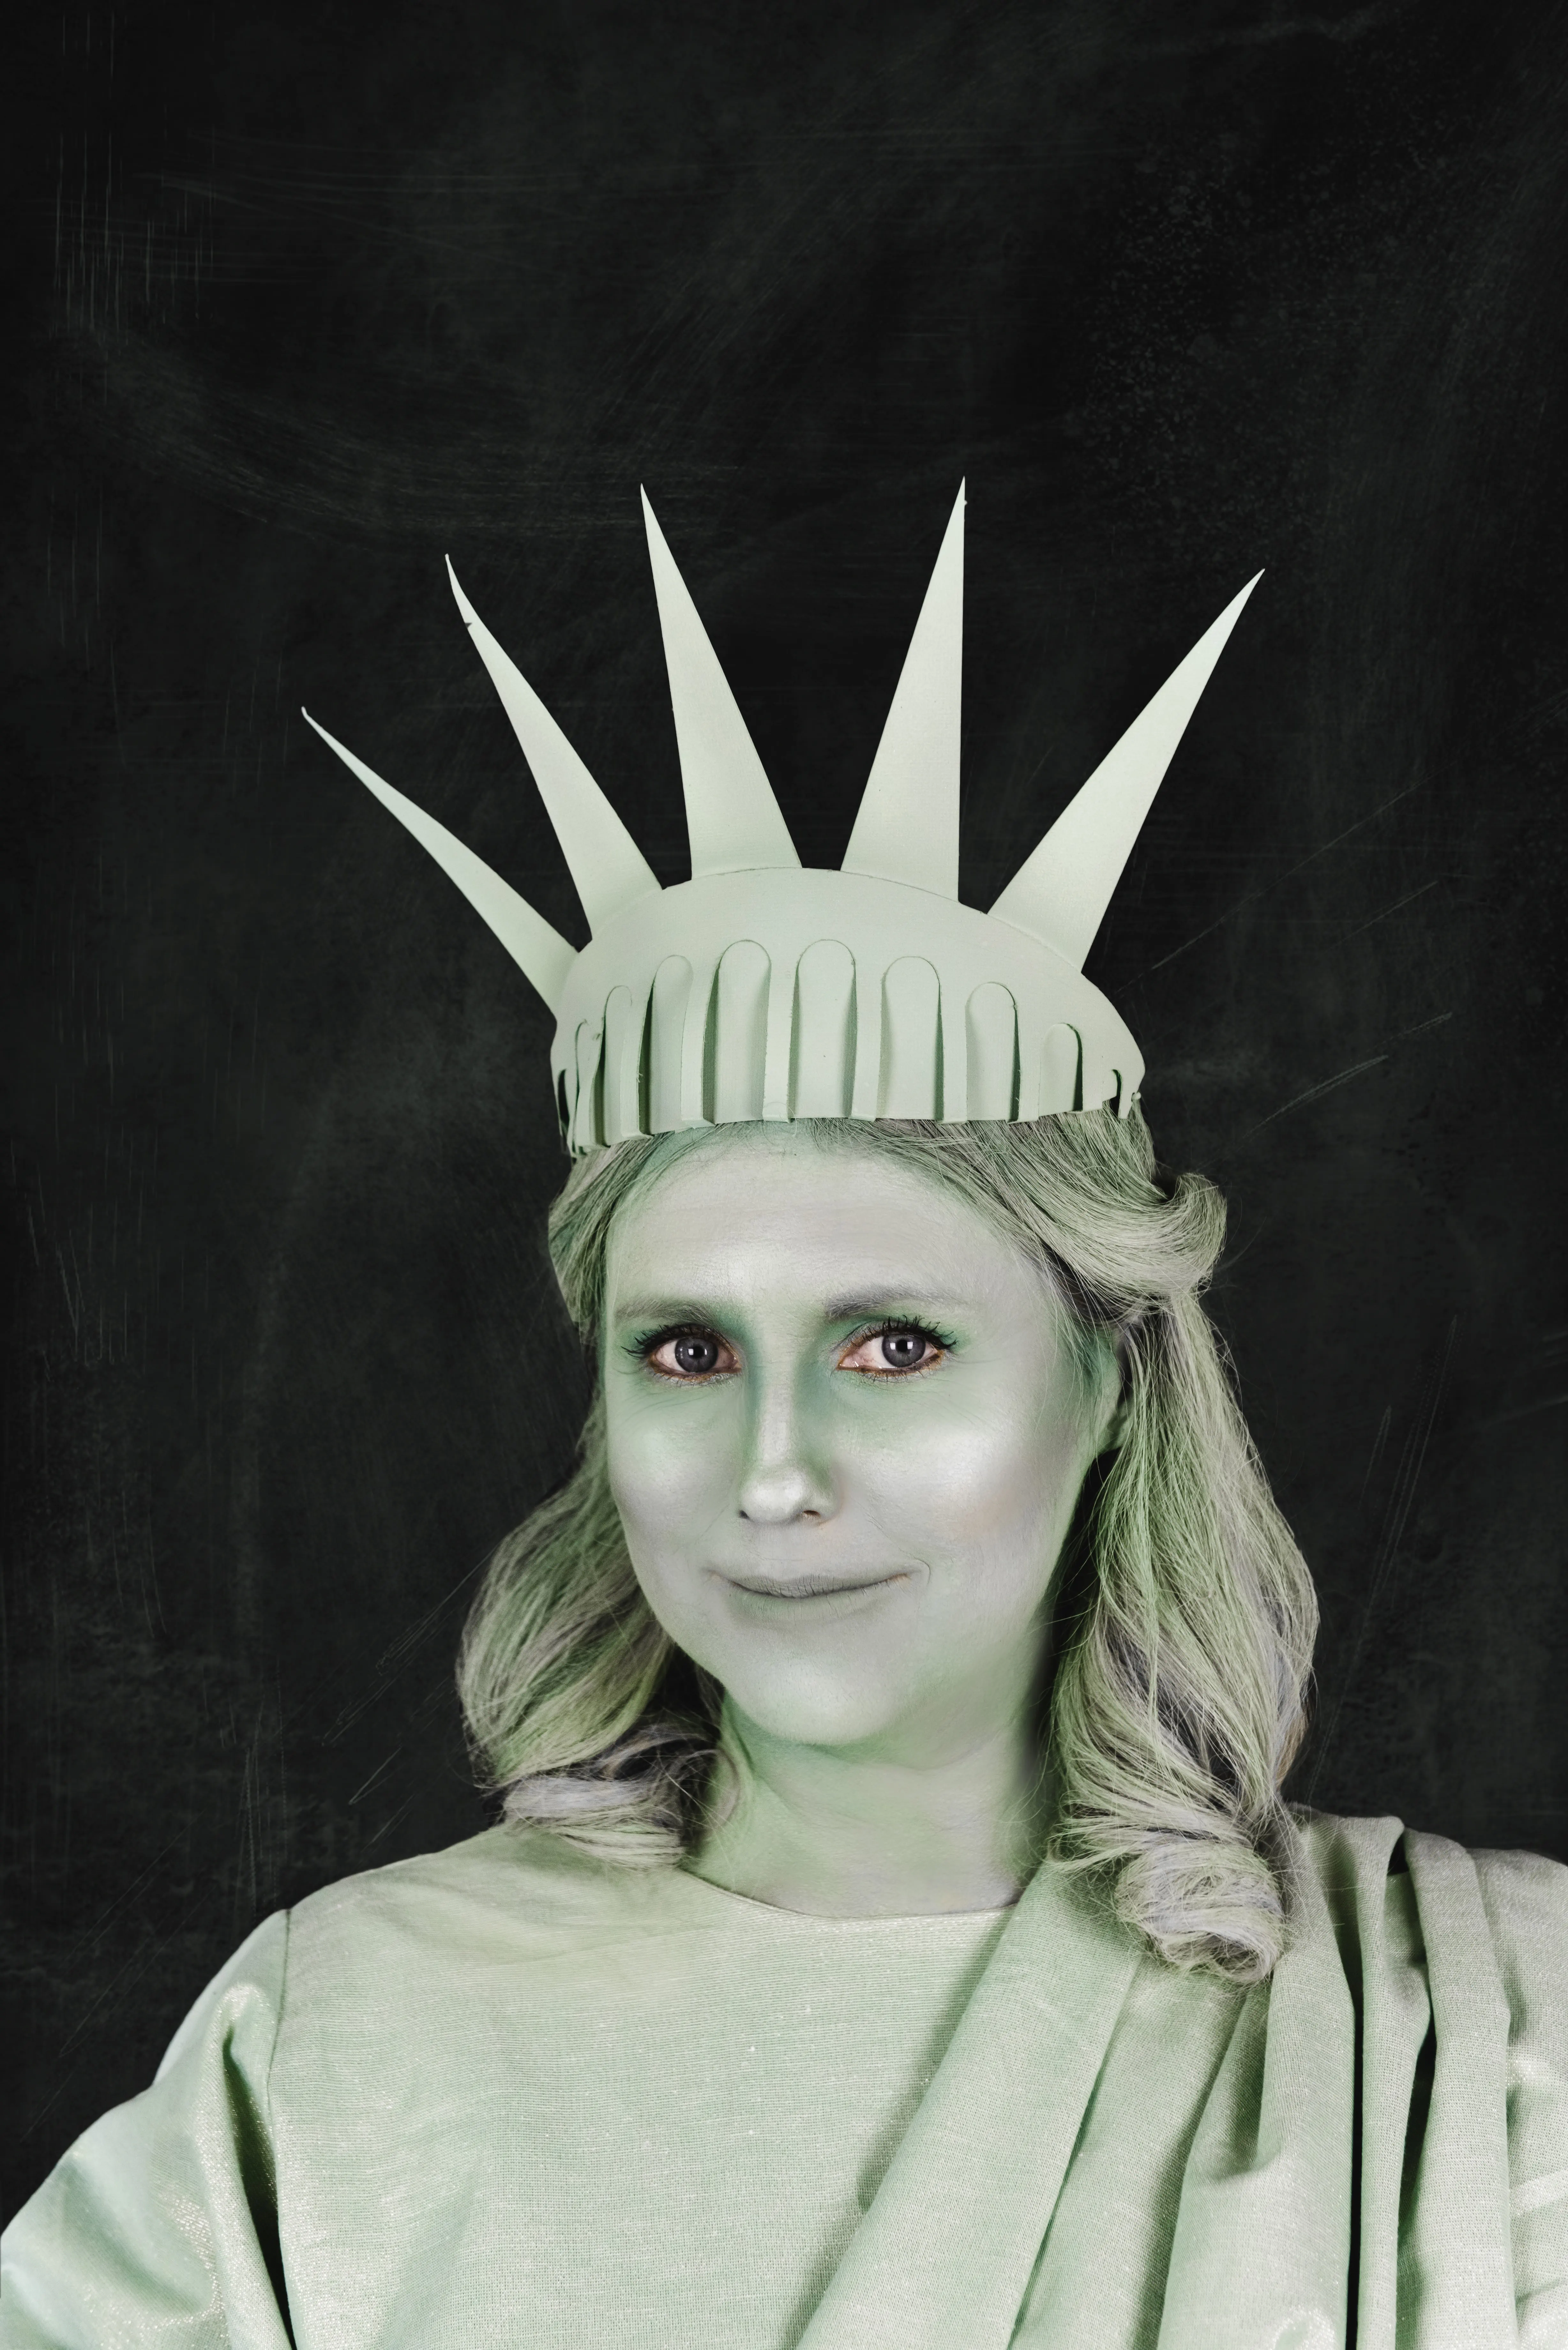
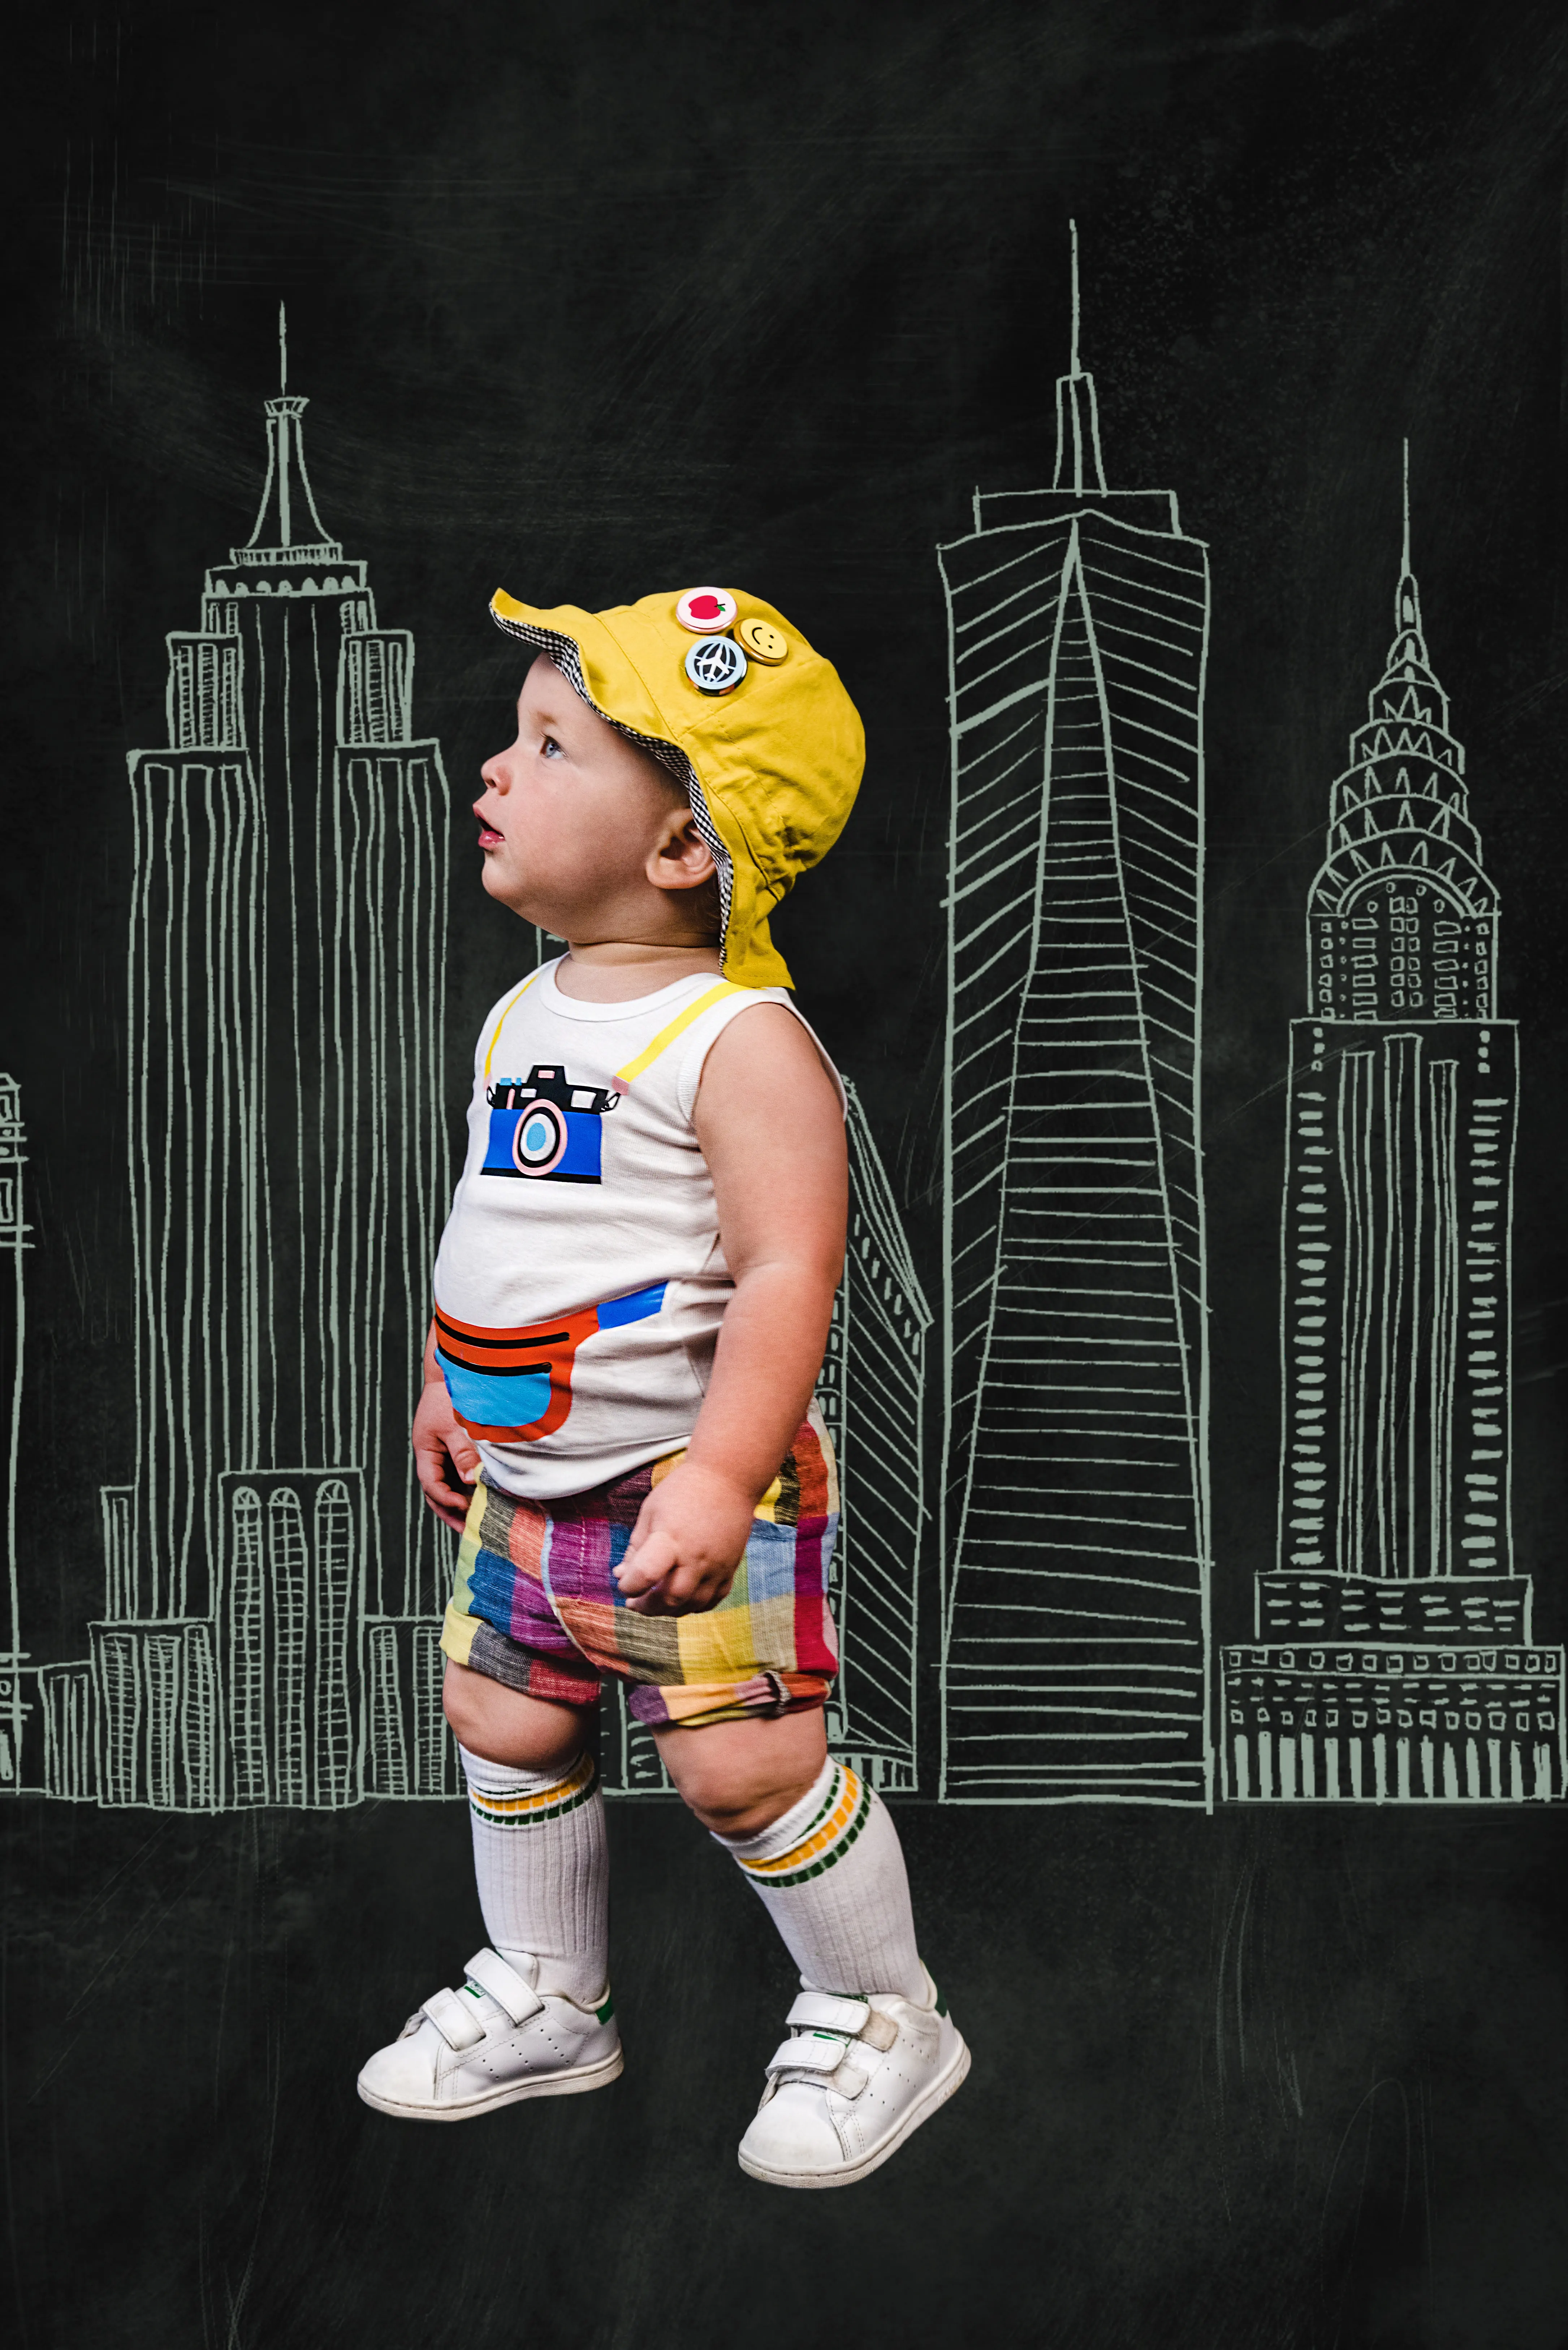
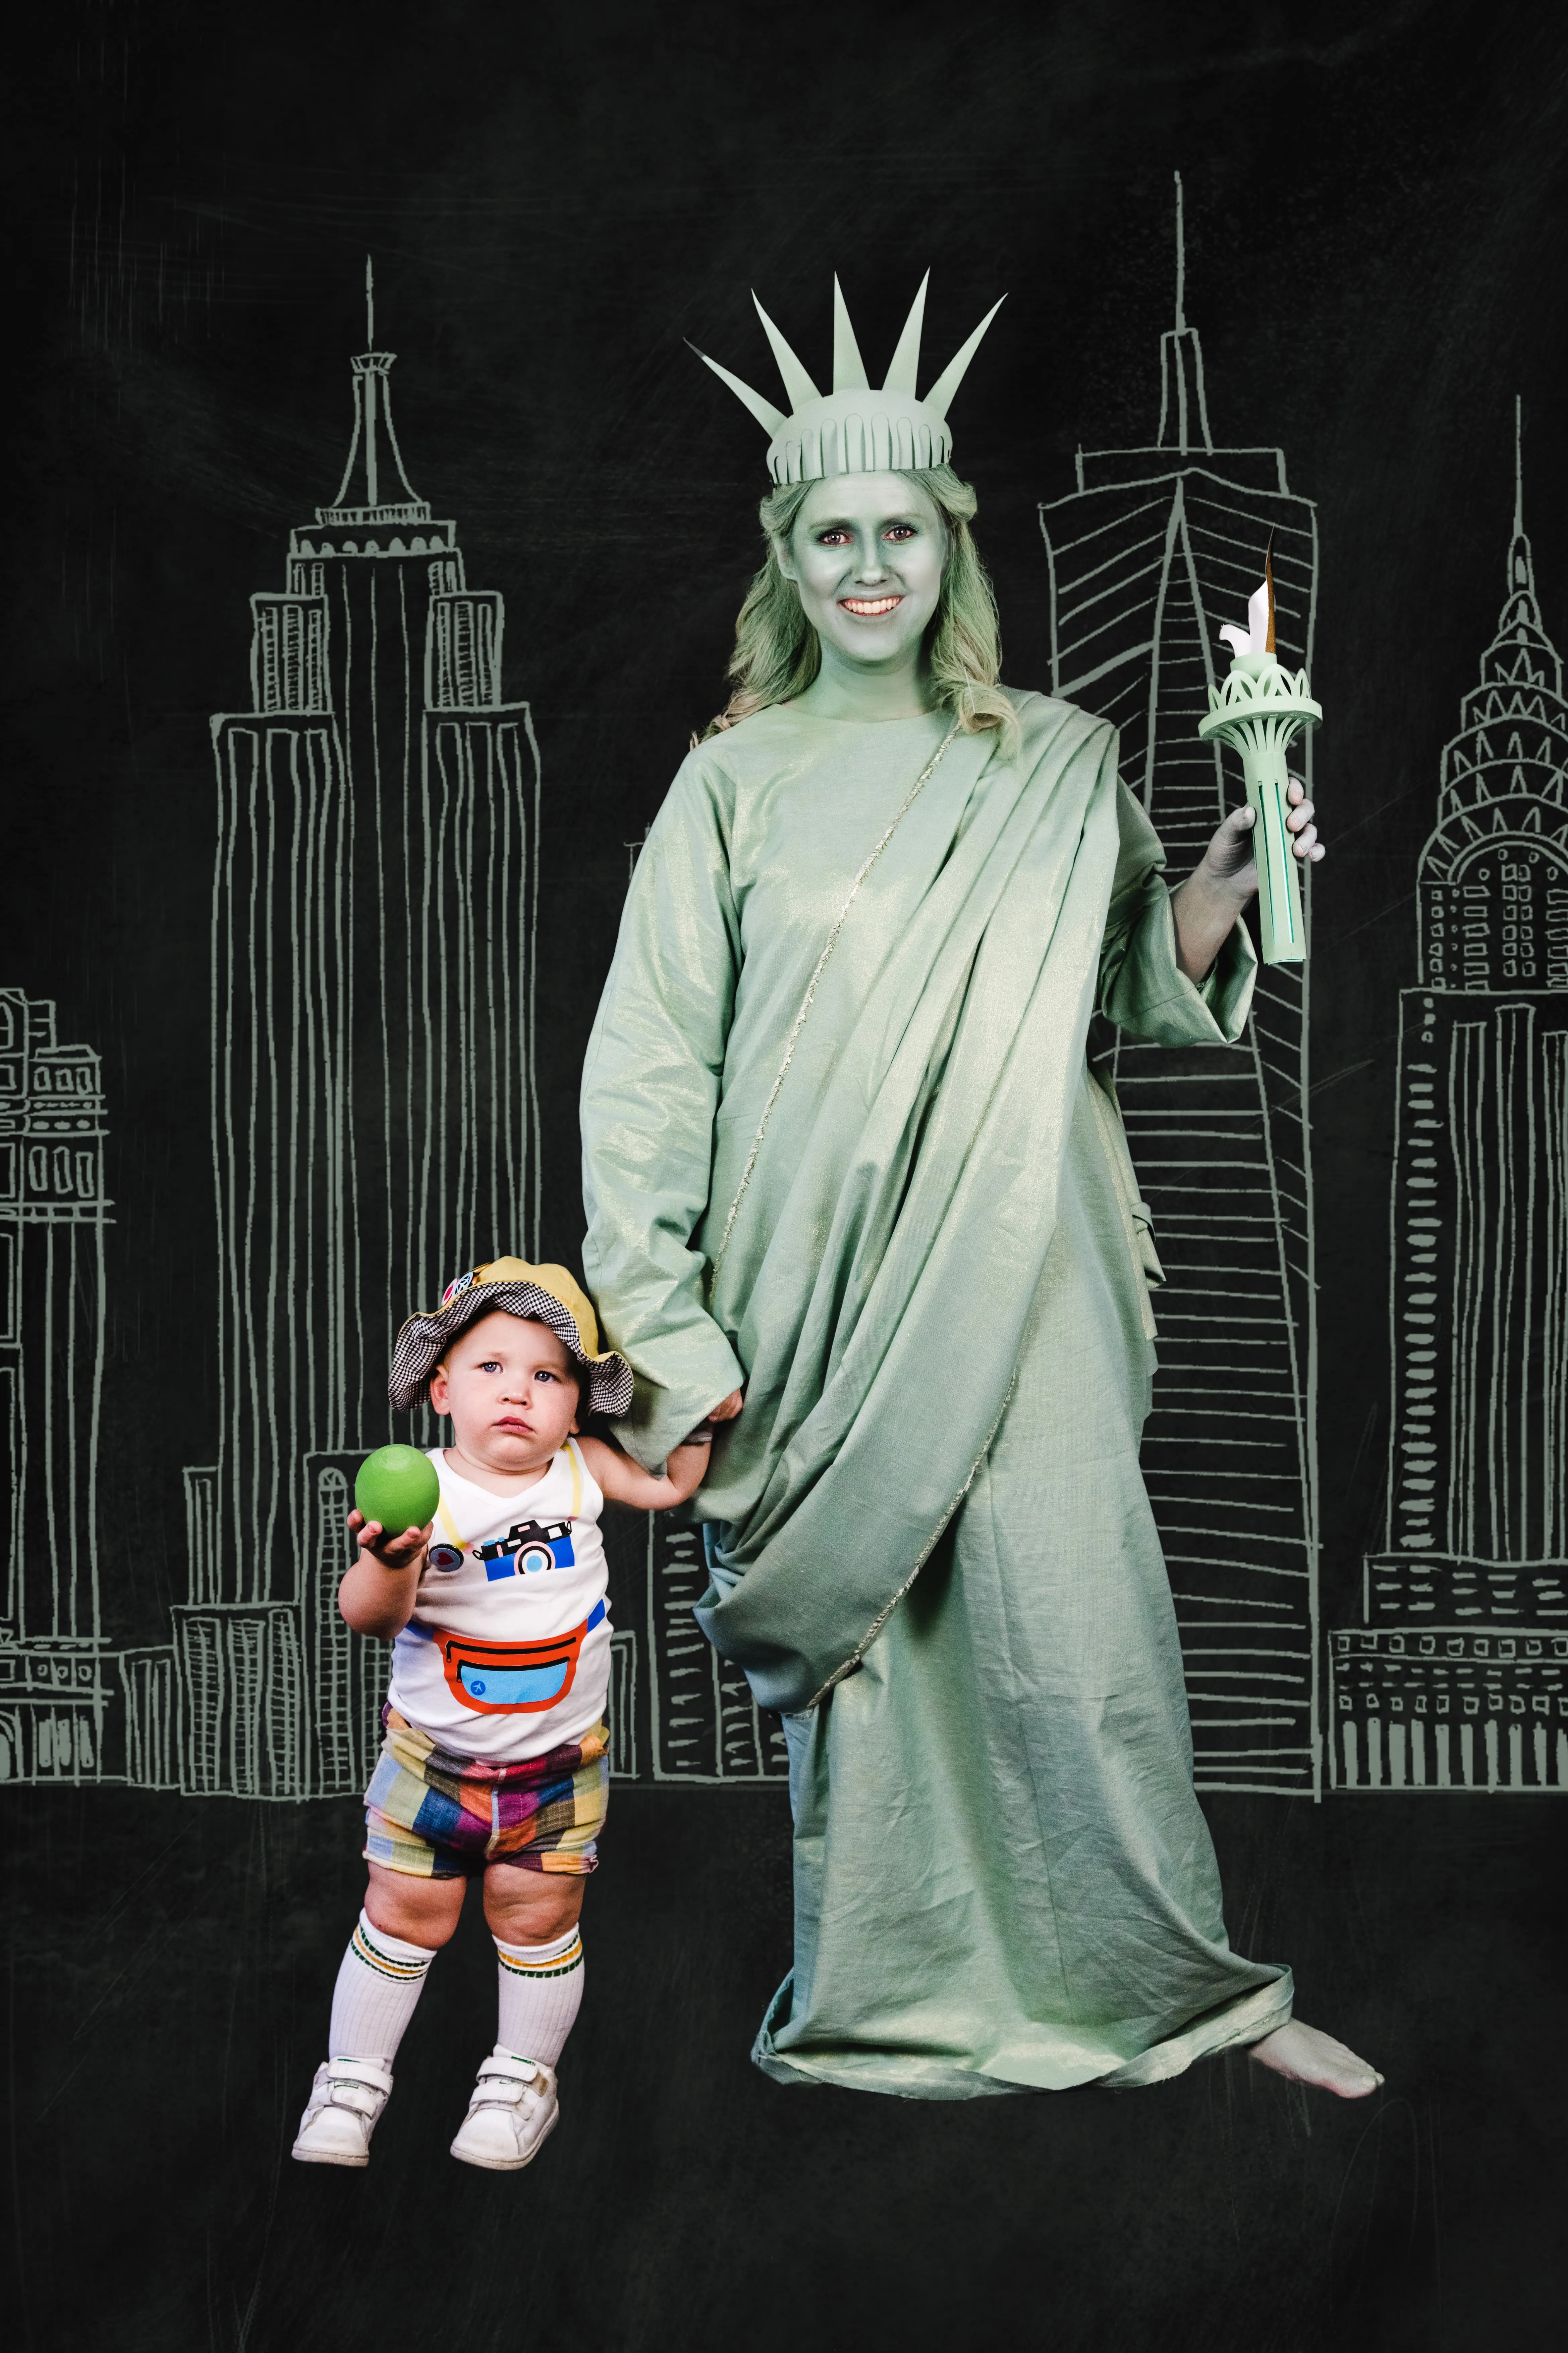
As I thought about the many things that a mother could force her son to dress up as, I realized I could finally realize one of my greatest dreams. In my humble opinion, there is no better outfit for a mother and a mother’s boy than Lady Liberty and her loyal tourist. After deciding on a theme, we partnered up with Cricut to bring you the magnificent Statue of Liberty with the tiniest (and possibly the cutest) tourist you’ve ever seen. The most important aspects of the costumes consist of paper and Everyday Iron-On vinyl. The other pieces you can find in your closet or sew up for a quick liberty dress! To make this even easier, we provided a template you need to cut the elements out! Seriously, so easy.
This is a sponsored conversation written by me on behalf of Cricut. The opinions and text are all mine.
Mommy and Me Statue of Liberty and Tourist Costume
For each of these costumes, the Cricut Maker was key. It made the process of cutting intricate and detailed shapes simple and organize It made it so simple to create and cut out intricate and detailed components for each costume. The machine not only cuts paper, but fabric, vinyl, iron-on, chipboard, and so many more materials, basically you name it and it can cut it which makes it one of our favorite tools. We also used the Cricut EasyPress 2 to apply the iron-on to Jasper’s tourist costume.
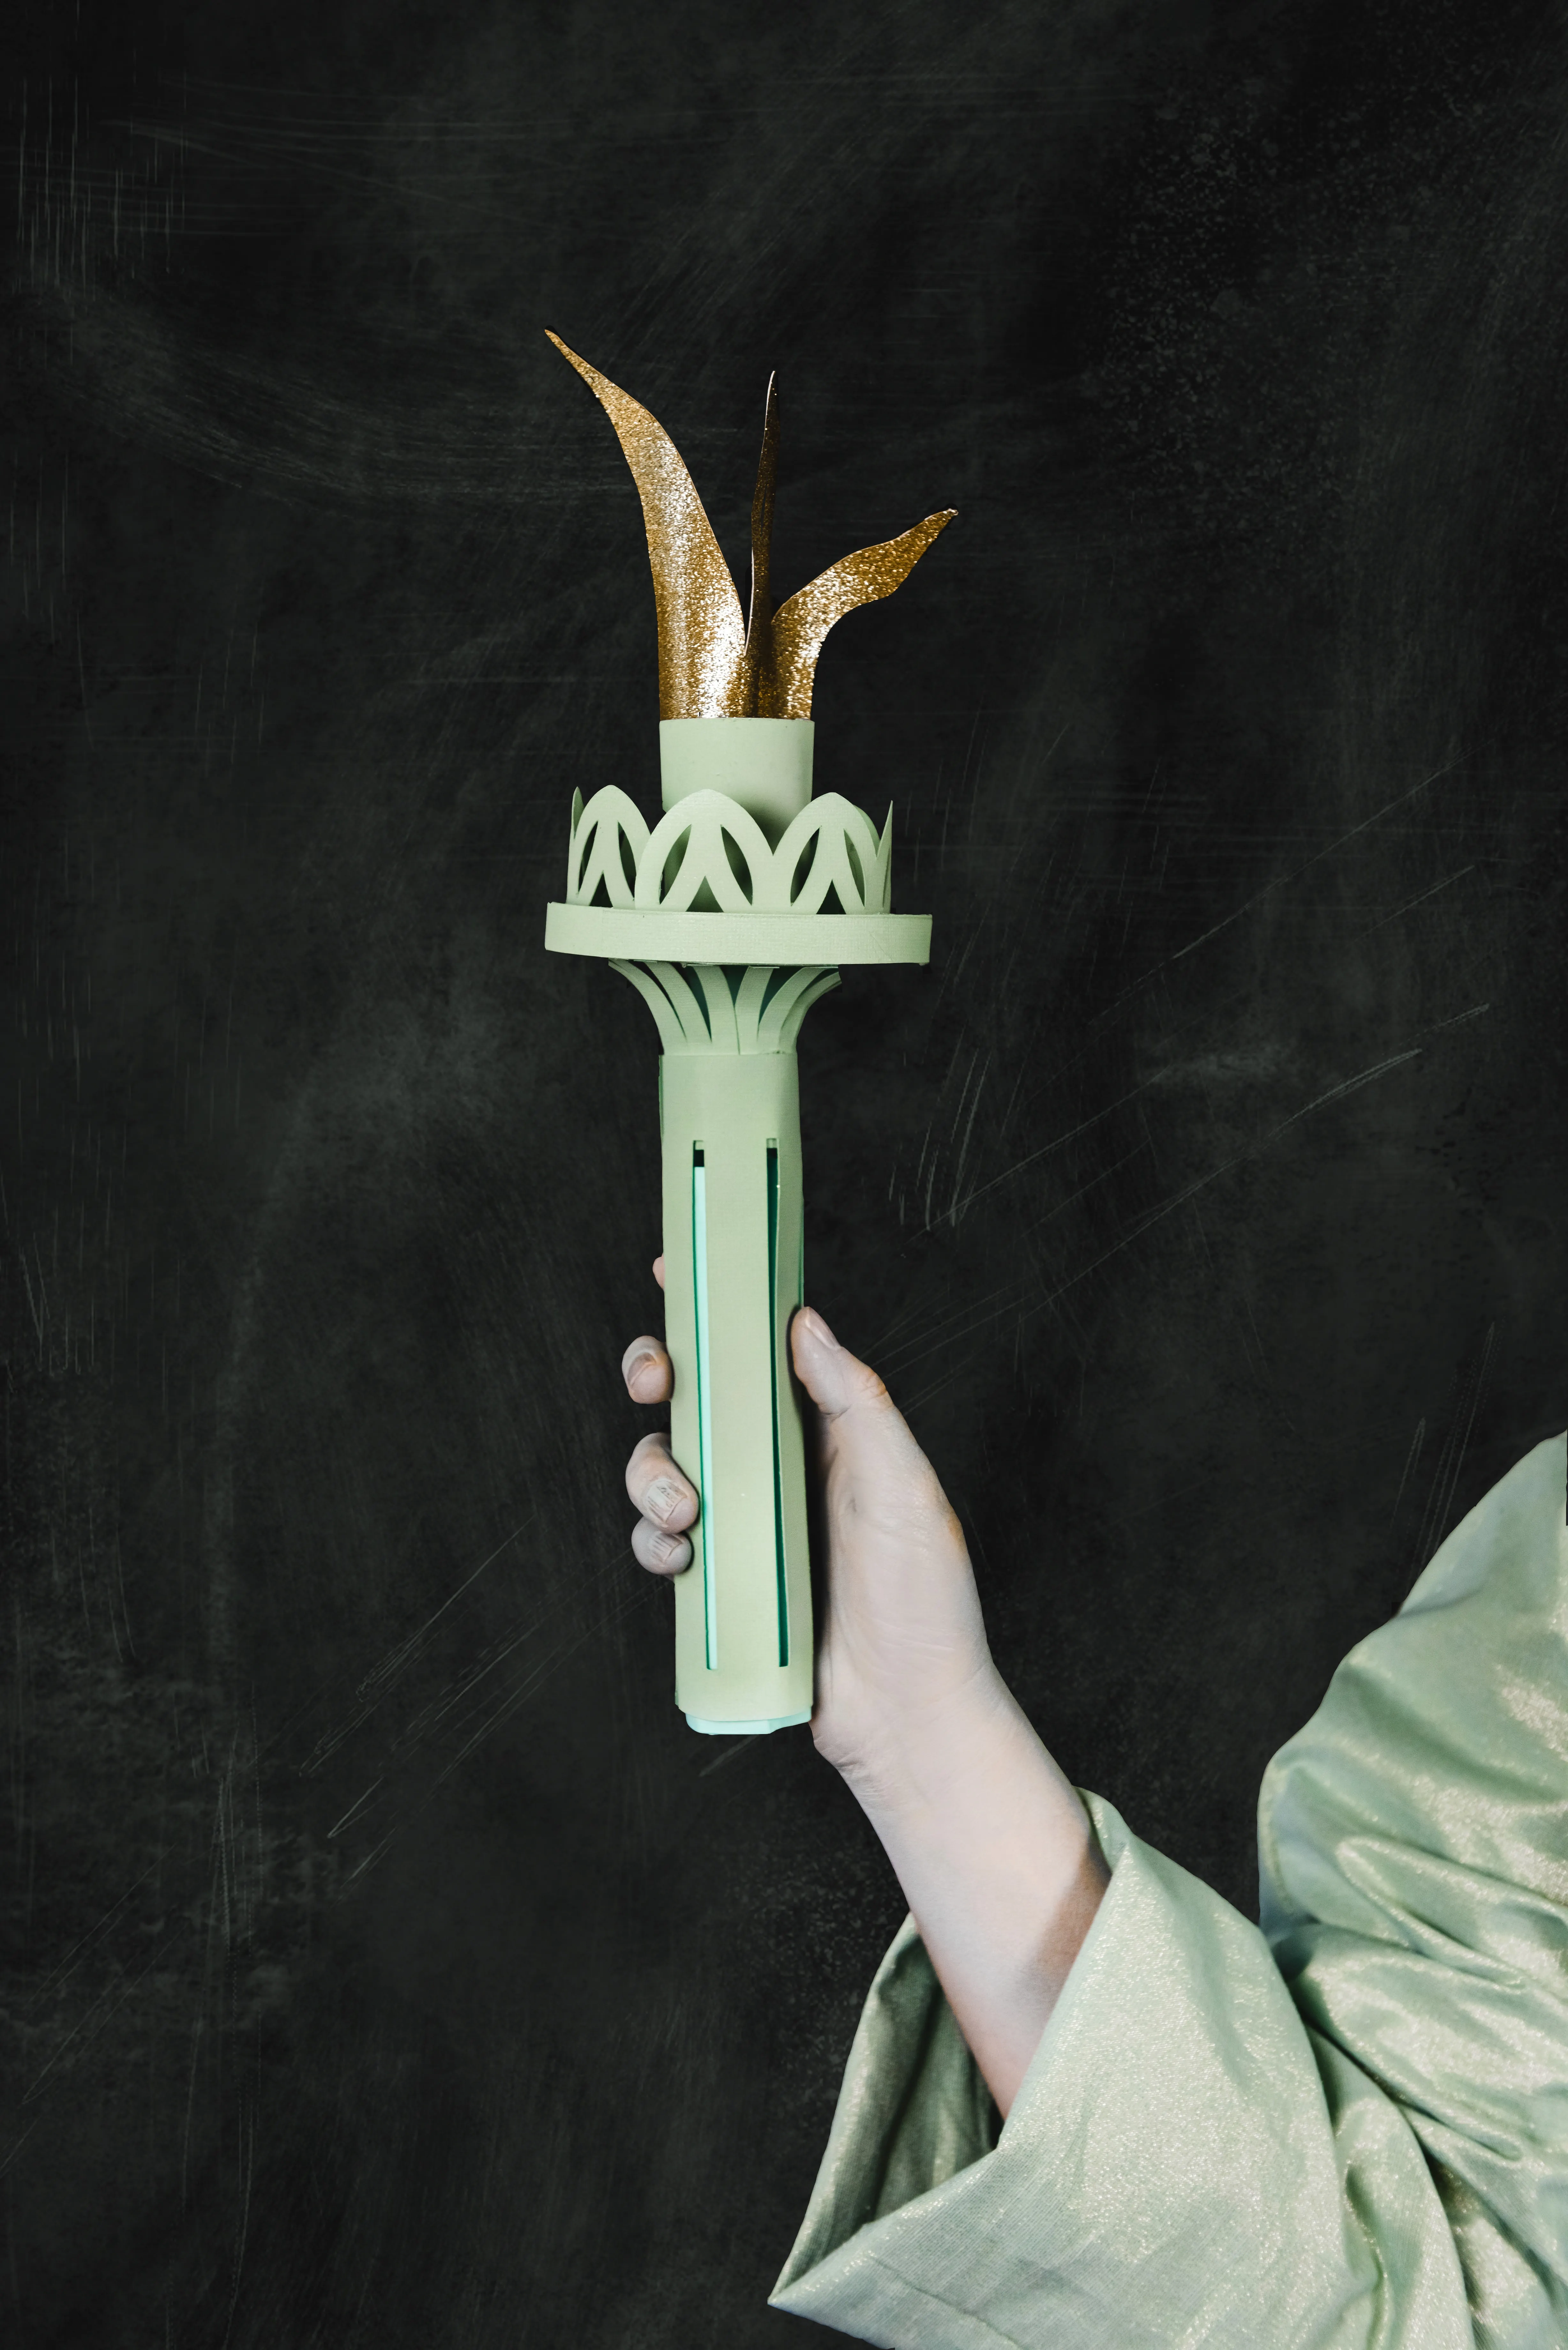
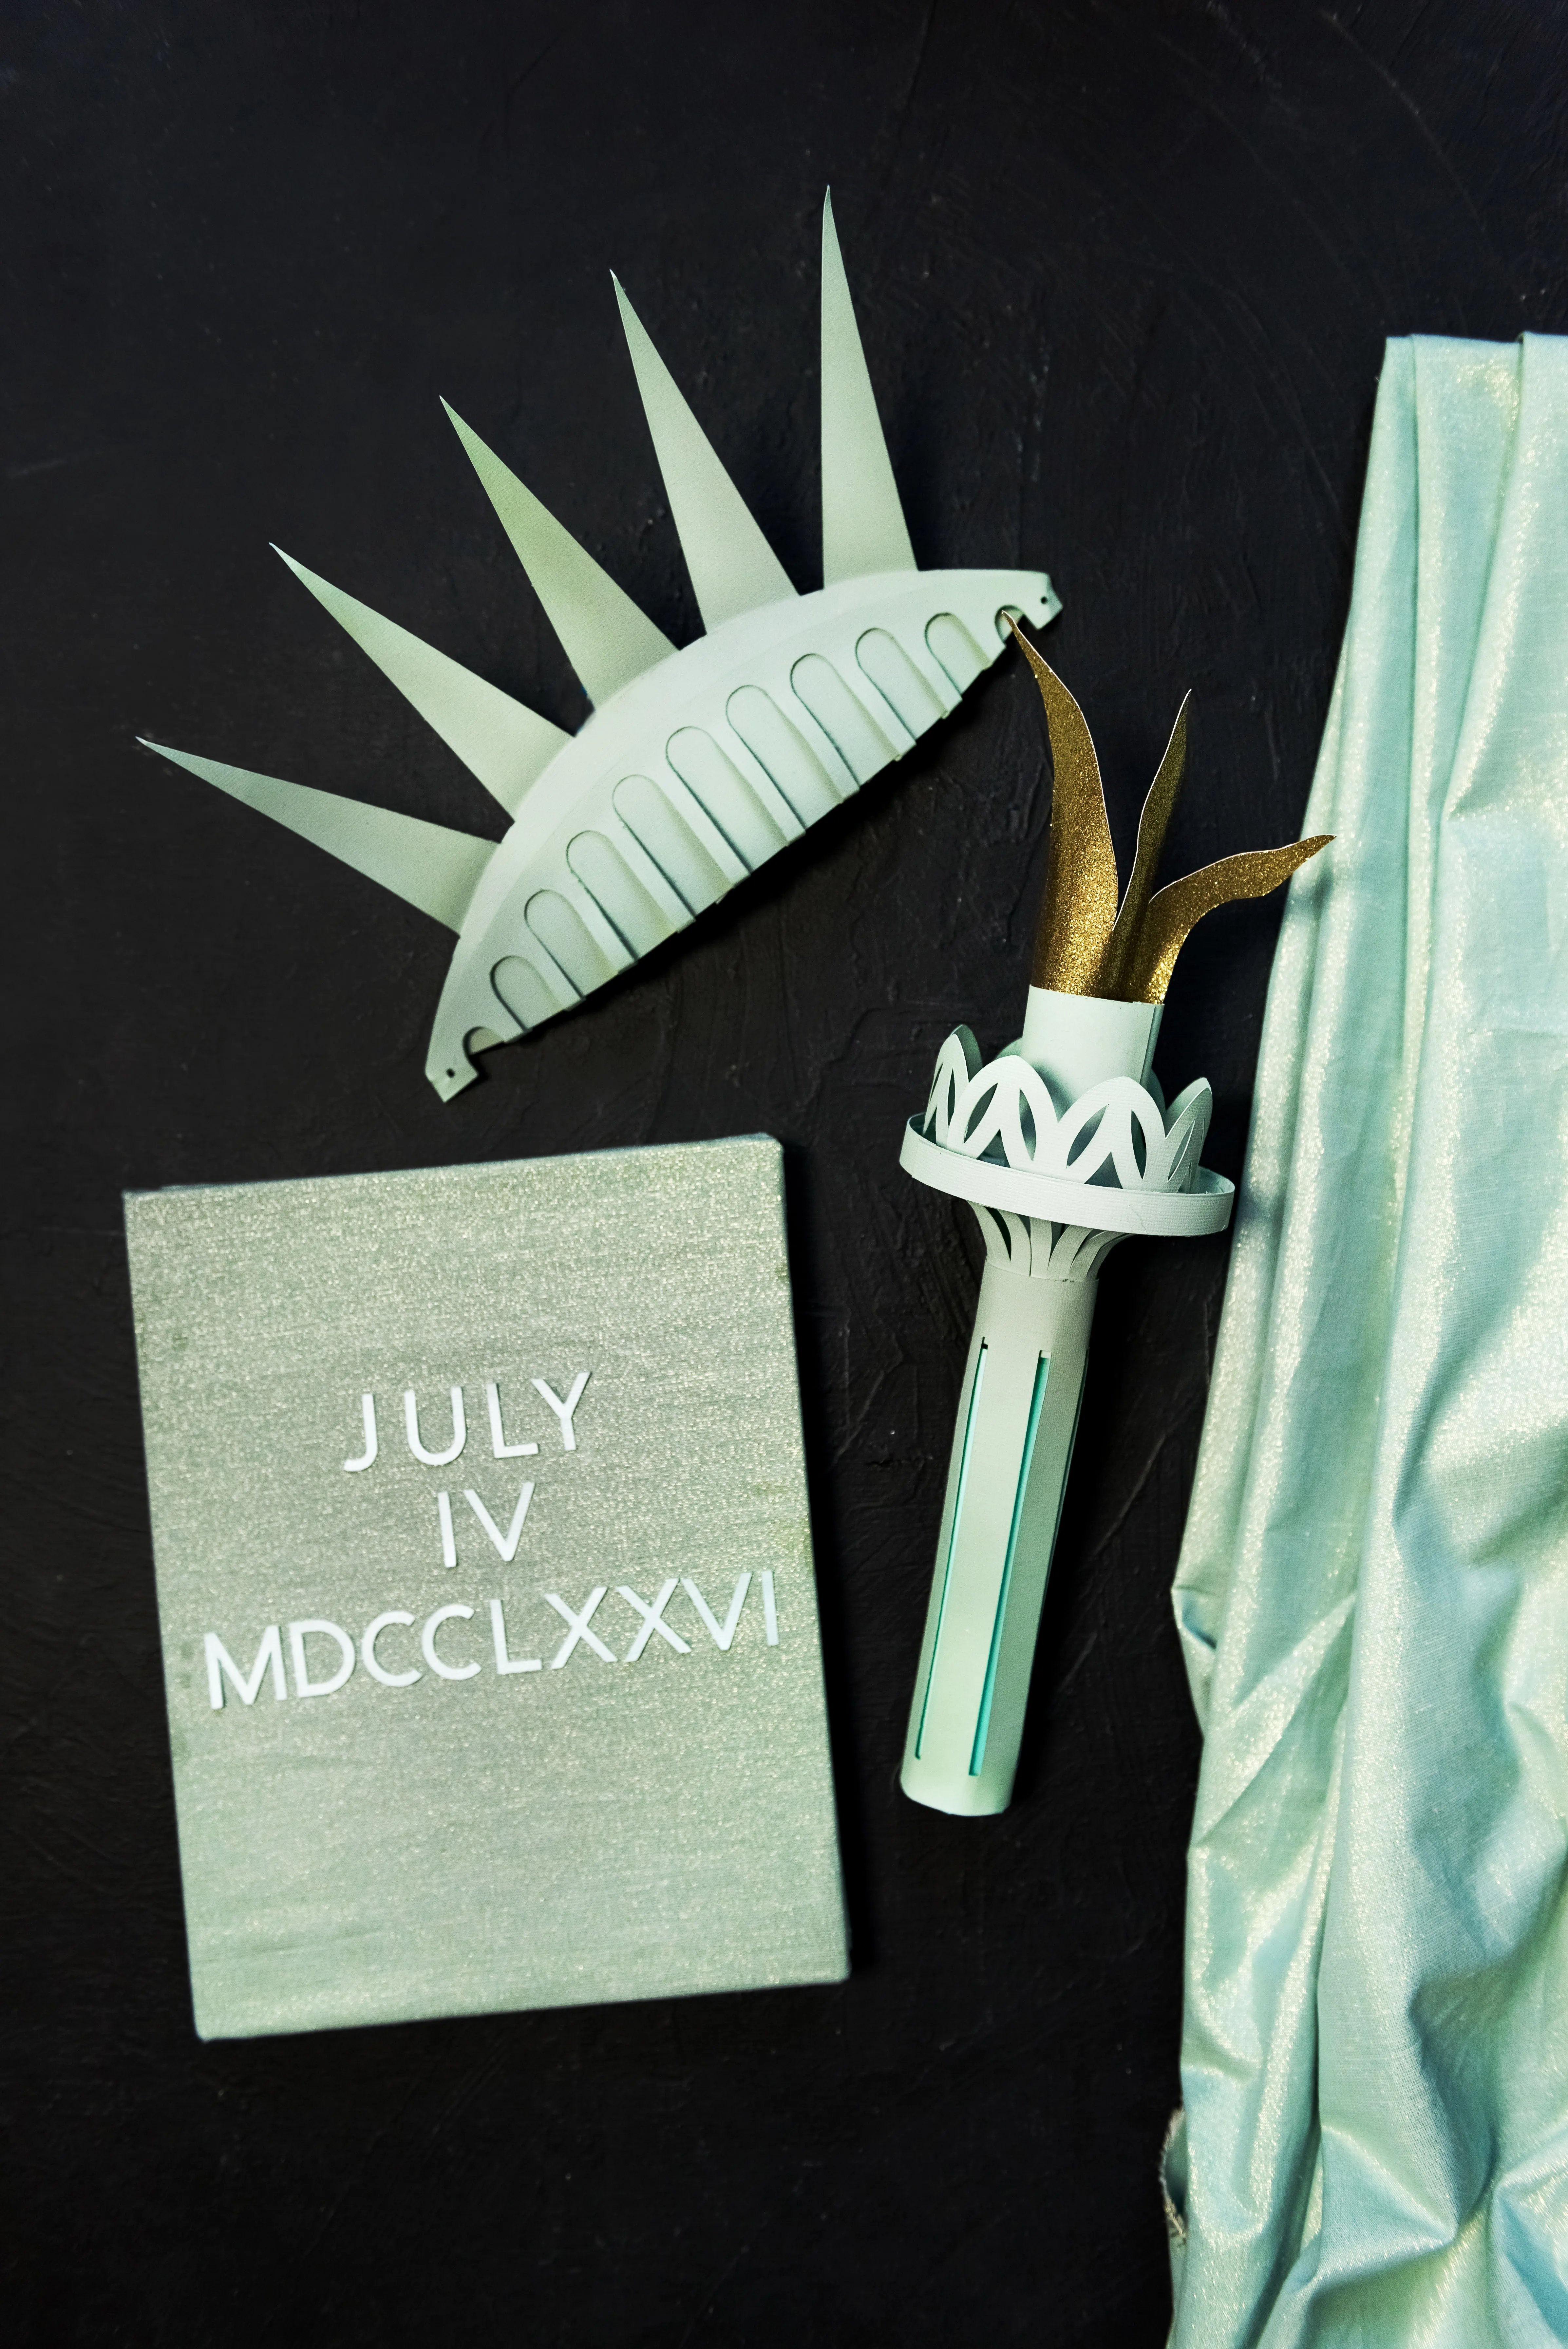
How to make a Lady Liberty Torch
Materials:
- 1 piece of 12” paper
- 1 piece of 12” paper in a darker or lighter color
- 1 piece of 12×24” paper
- Scoring wheel
- Fine blade
- Glue gun
- Templates on DesignSpace
Assembly:
- Follow the instructions in Design Space to cut out and score your pieces.
- Begin the assembly process by taking the rectangle with the small slits and gluing it into a cylinder. This is the handle of the torch.
- Take the larger circle with the slits and fold the pieces at the scored lines–this will create a decorative extension from the handle to the resting plate.Glue it together to form a cylinder. Glue the solid portion into the inside of the main handle.
- With the solid rectangle piece, create a cylinder and glue it together. Glue this into the inside of the handle. This is for a 3D effect.
- Create the resting plate (the piece under the flames)–the circle with the cut out tabs. Fold the tabs up. Glue this to the top of the handle. There will be about a ¼” space between the extended handle and the plate.
- Take your lace piece and fold the tabs under. Glue the ends together to form a circle. Glue the tabs onto the inside of the resting plate. It will be about a ¼” from the edge of the resting plate.
- Create your last cylinder with the smallest rectangle with the cut out tabs by gluing the ends together and fold out the tabs. Glue the tabs to the resting place.
- Insert your flames into the top cylinder. You can curve them to keep them in place.
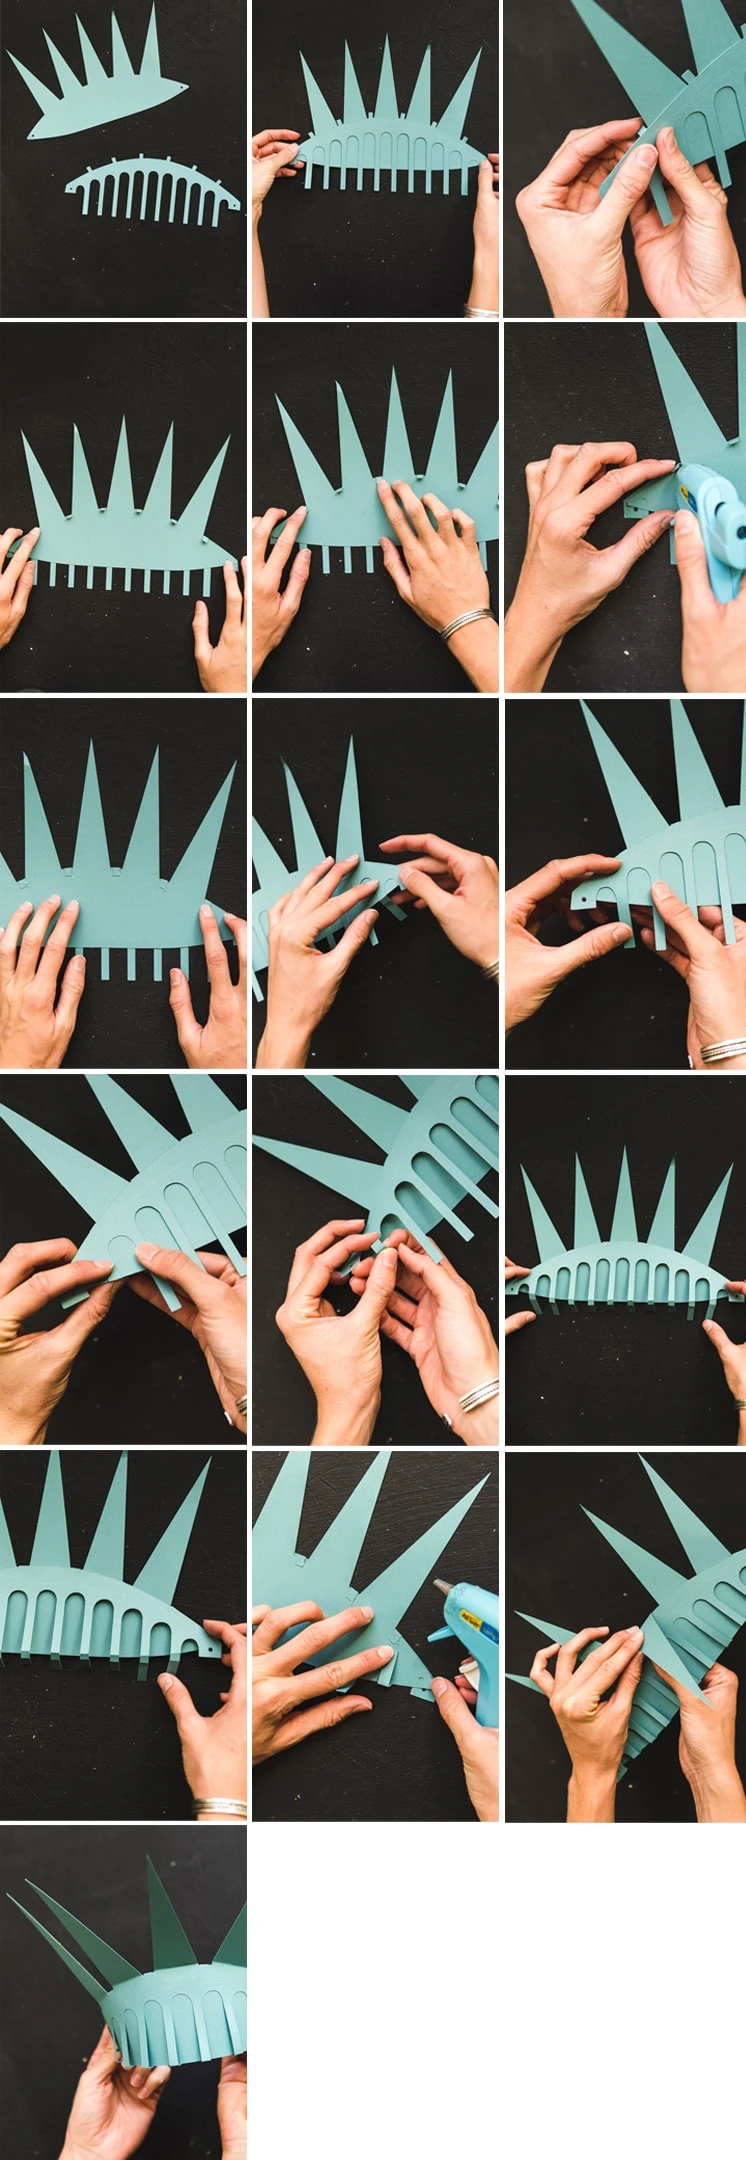
How to make a Lady Liberty Paper Crown
Materials:
- 1 12” piece of cardstock
- Rotary blade
- Fine blade
- Templates to DesignSpace
Assembly:
- Follow the instructions on Design Space to cut out your pieces
- Fold the spikes of the crown
- Use the tabs of the front piece on top and glue them behind each space of the spikes
- Fold the tabs of the front piece down on the bottom and glue the bottom portion to the back. It should extend out for a three dimensional effect.
Voila!
How to make a NYC Tourist Costume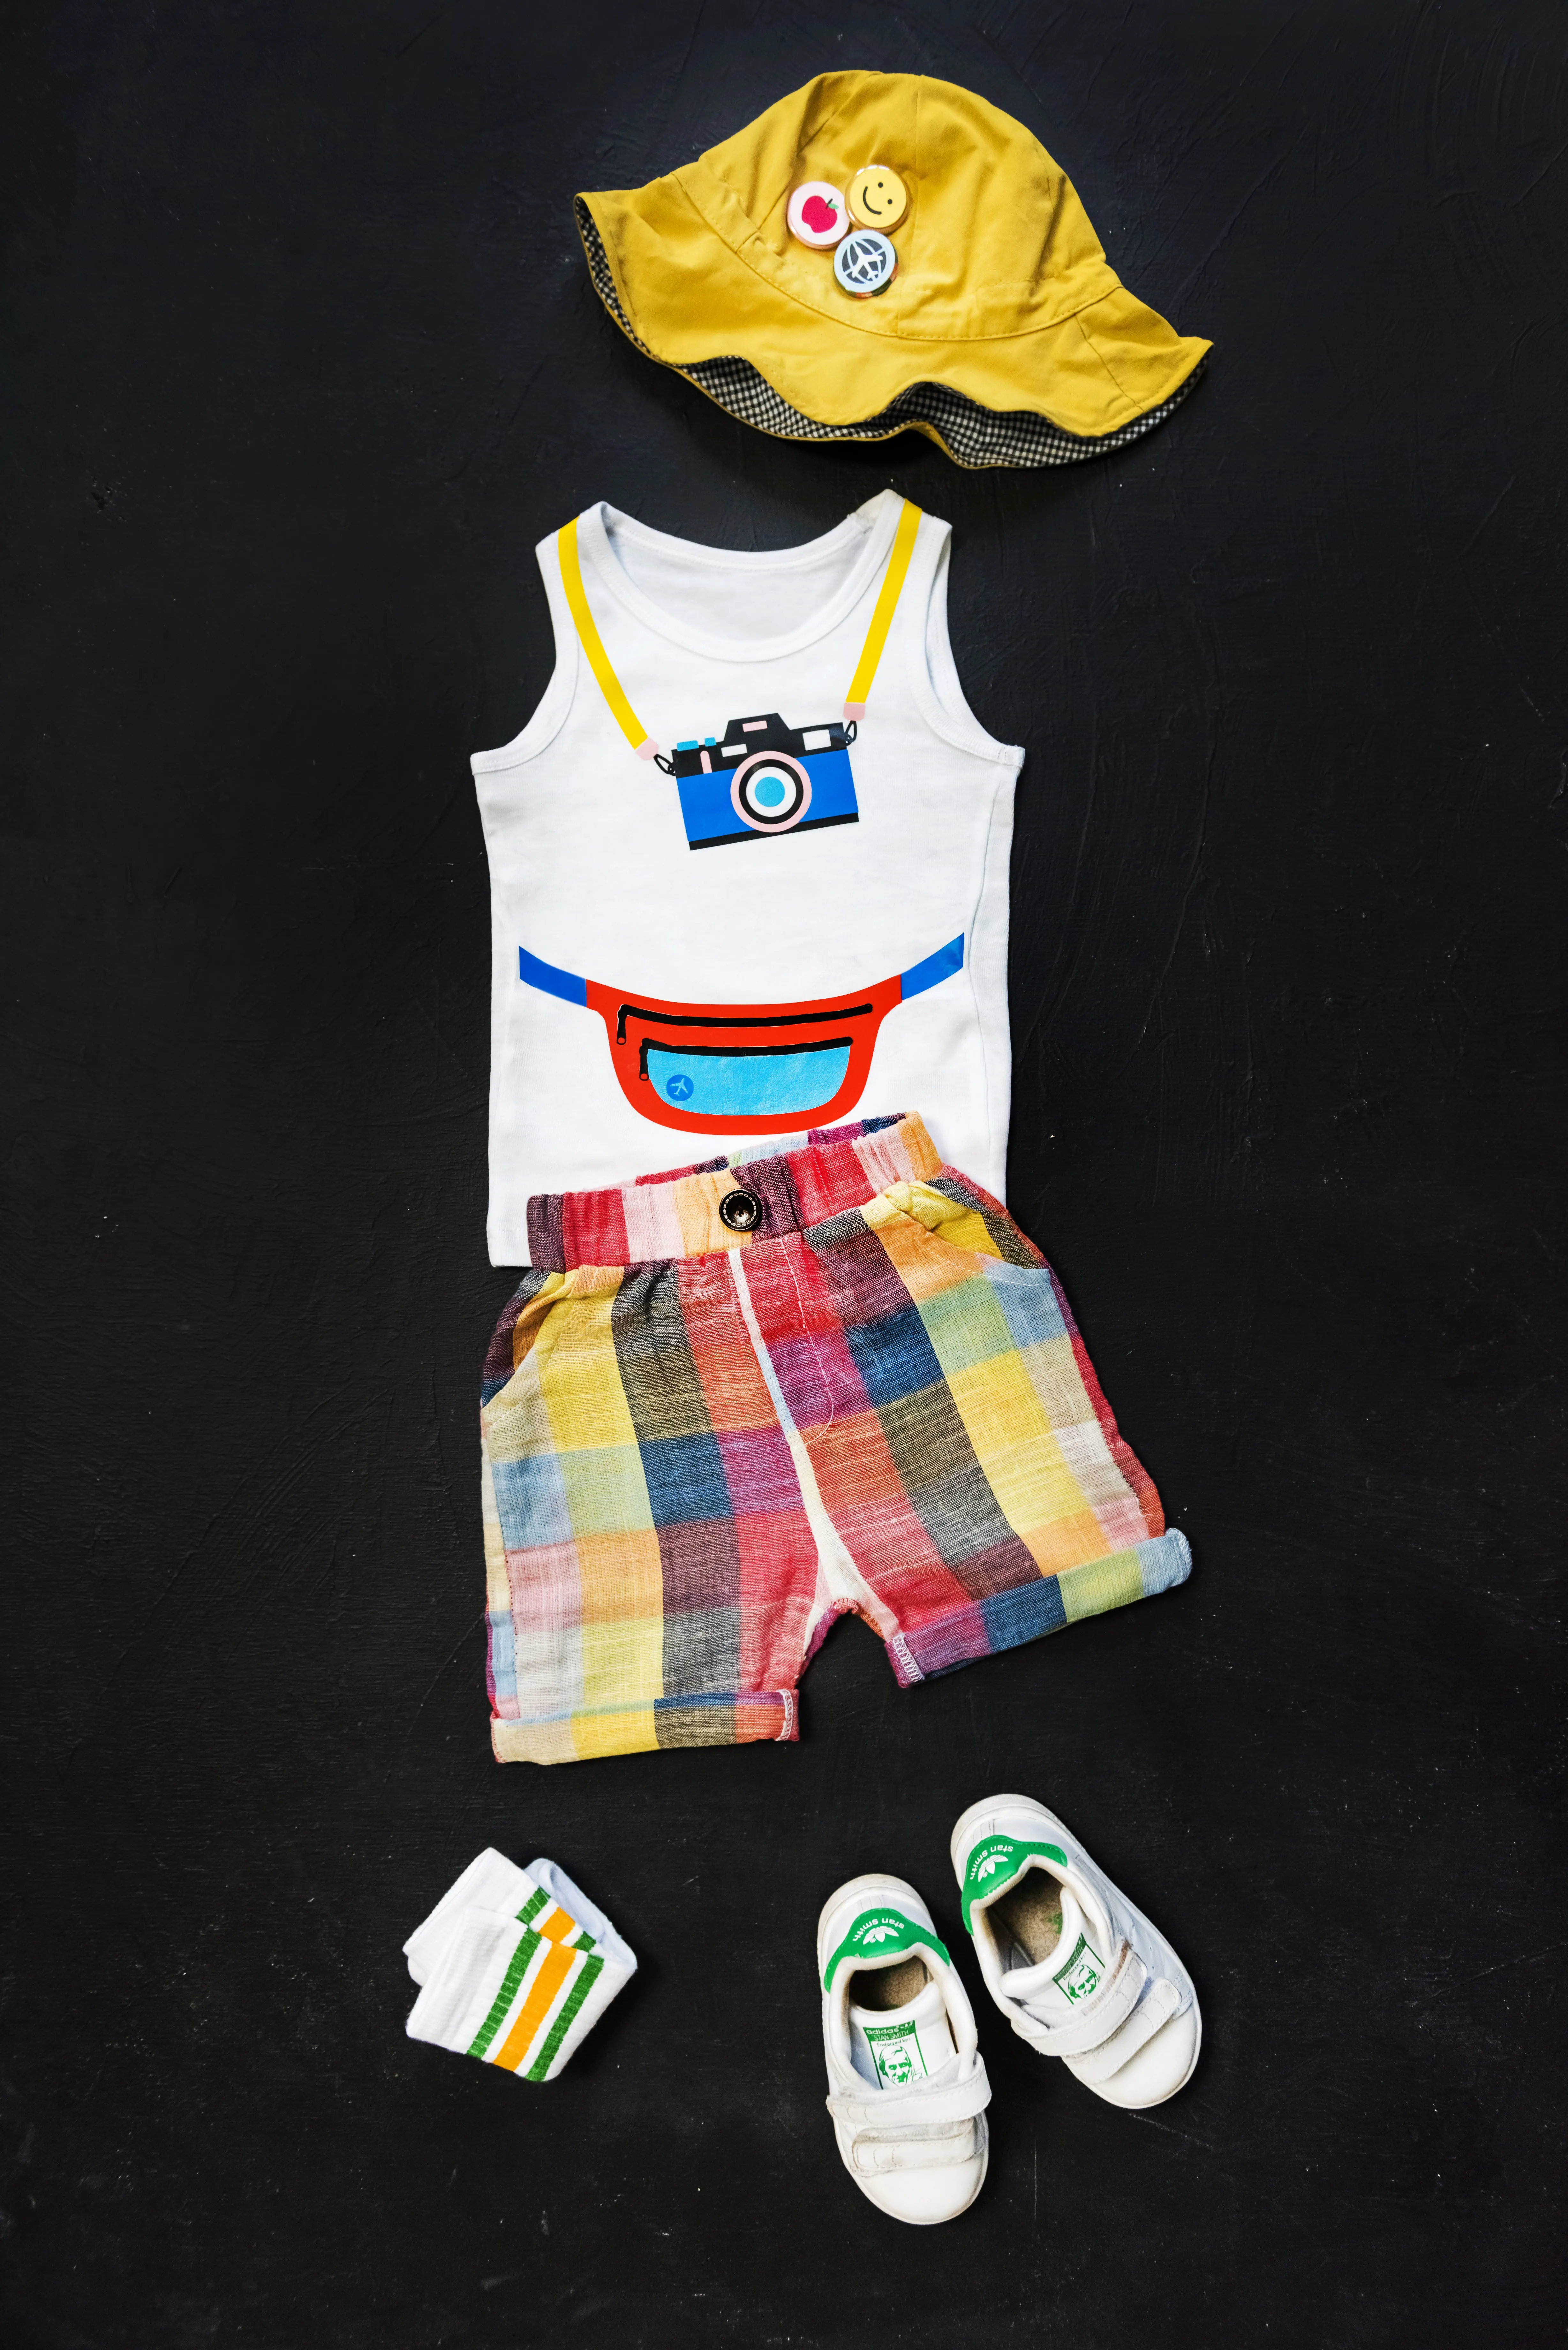
- Everyday Iron-On vinyls in yellow, blue, pink, black, light blue, green
- 100% cotton t-shirt
- EasyPress 2 (or iron)
- Colored cardstock in yellow, blue, pink, black, red, green, brown, white
- Templates to DesignSpace
Assembly:
- Follow the instructions on Design Space to cut out your pieces. Don’t forget to mirror your images before you cut!
- In order to press all pieces at once, we removed each iron-on materials from their backing and placed them all on just one of the sticky backing sheets (it is important to use the provided carrier sheet, which is specifically formulated to protect the material from heat)
- Place cut-outs on the carrier paper in their correct positions to create the camera and the fanny pack.
- Be sure to place iron-on material in with the correct side up.
- Follow EasyPress 2 instructions to apply the everyday iron-on camera and fanny pack.
- For the tourist pins, group the pieces for each pin together
- Create the smiley face using a small amount of glue and a circle cut to the correct size for the pieces to be assembled on top of it
- Repeat with other pins
- Apply a pin backing to the paper fronts
We can’t wait to see what Lady Liberty looks like on you and whatever cute tourists you might have in tow! Make sure to tag us with #larsincostume so we can see how your costume turns out!
This post is sponsored by Cricut. We love our sponsors who allow us to create beautiful and original content for you!
Comments submitted may be displayed on other websites owned by the sponsoring brand.



Comments