Thank you to our brand sponsor, Brother for working with us for this Birthday cake topper.
Materials:
As you can probably tell by now, we can’t stop talking about how much we love National Craft Month. It’s the perfect time to celebrate your creativity and get to work crafting up all of the amazing things you’ve been thinking about. If you are feeling like you are in a bit of a craft funk we have teamed up with our friends at Brother to bring you a sweet yet impactful project to get you out of your slump and on your way to crafting town!
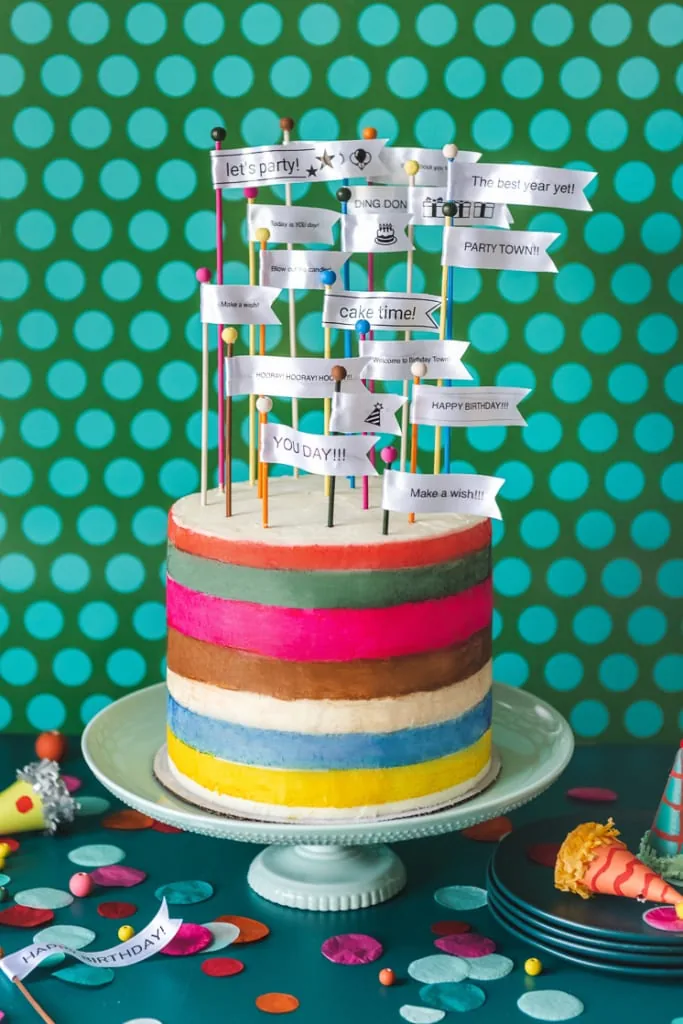
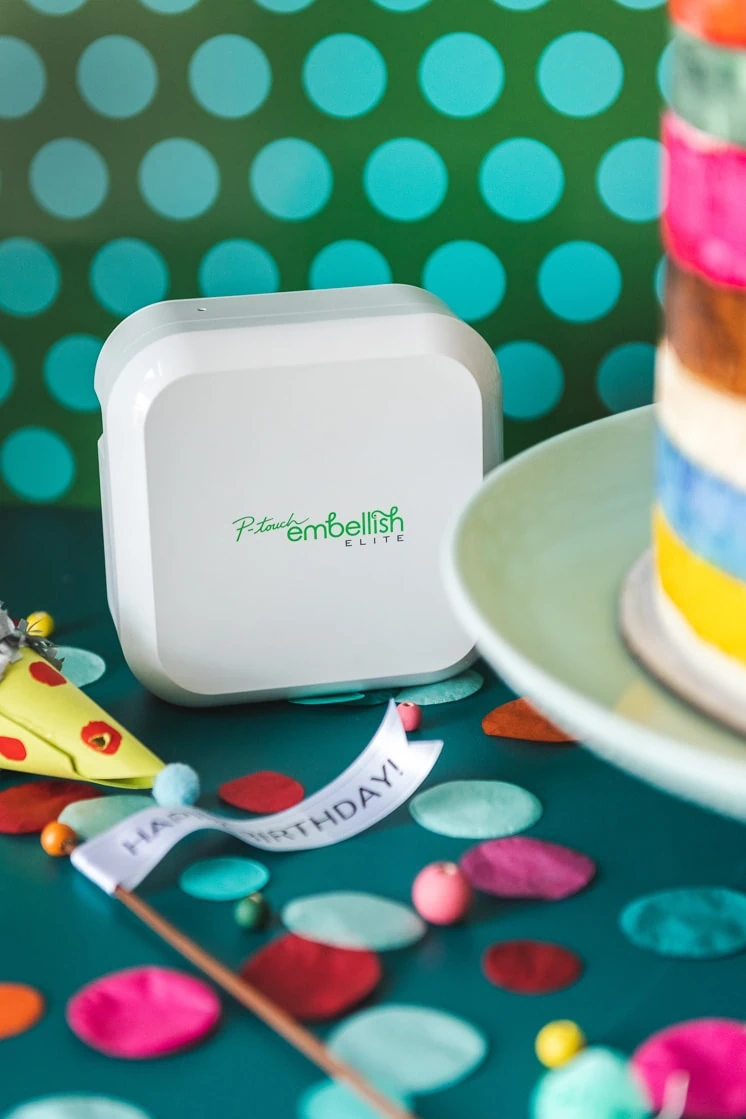
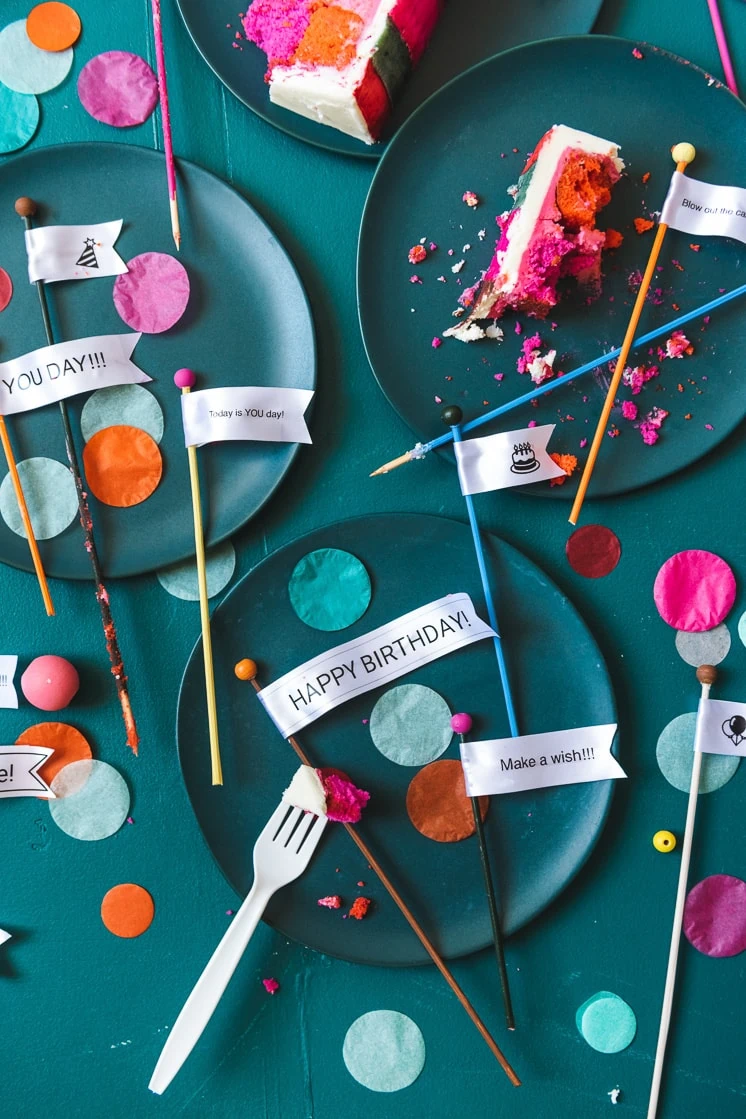
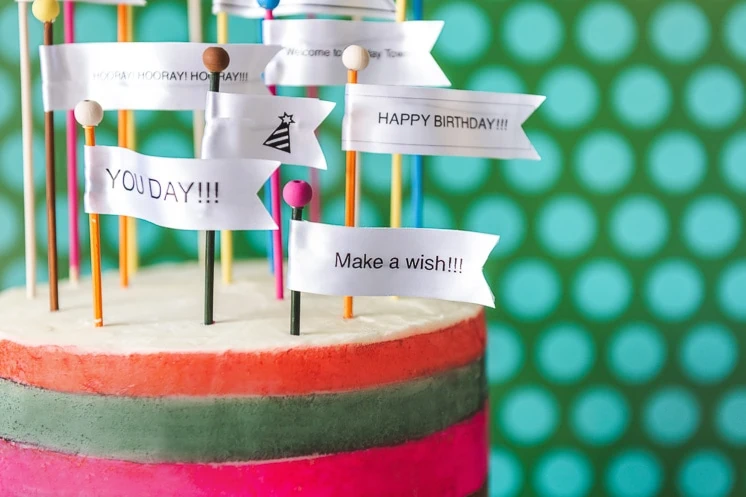
Using the Brother P-touch ELITE we created these colorful flag cake toppers inspired by our newest line from Abby Low found in the Lars Print Shop. You may know by now that we love celebrating and since we are already celebrating craft month we figured we may as well celebrate anyone and everyone out there with a March birthday with these adorable birthday flag cake toppers.
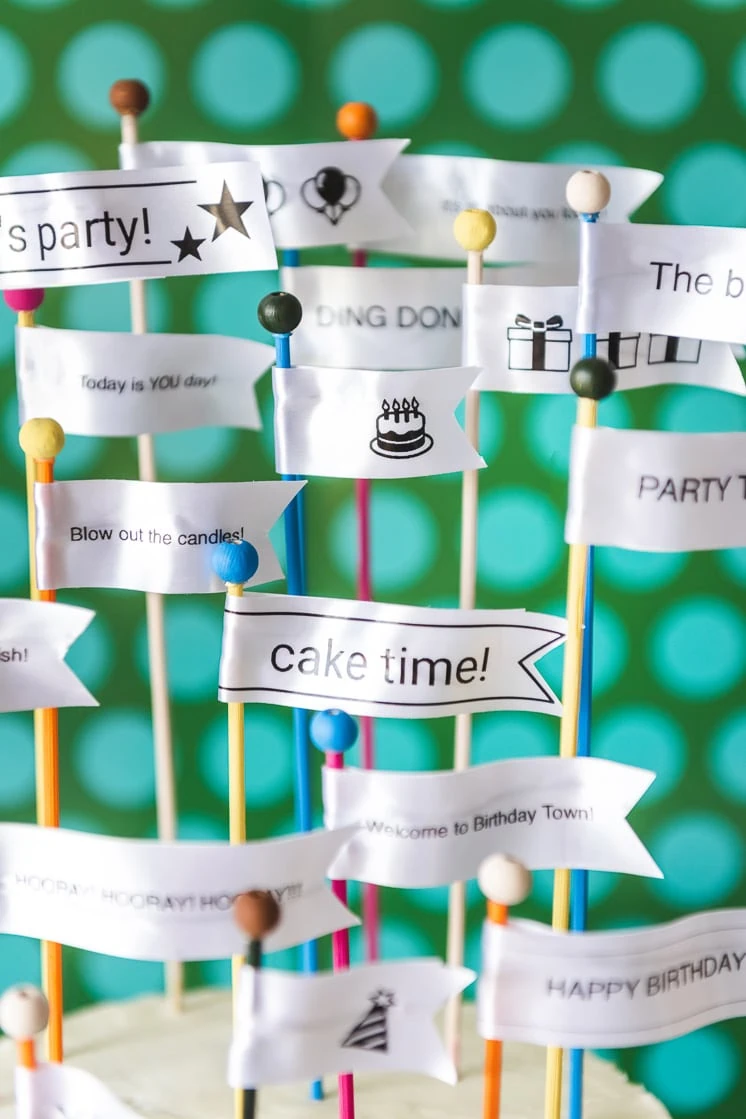
Birthdays are so very special and we tend to go bananas decorating and that’s part of the reason we love using the P-touch ELITE because of how easy it makes it to create personalized ribbon! Think up your birthday phrases and print them on ribbon (the P-touch Embellish ELITE prints on tape too!) so you can create the perfect phrases, specific for your birthday queen or king!
Here’s how you do it!
Directions:
- Pick your color palette
- Paint your skewers to the colors you have chosen. We painted three skewers of each color and used 21 skewers and six colors (the more the better in our opinion)
- Set aside to dry.
- Paint the wood beads in the same palette, three of each color in all six colors.
- Set aside to dry.
- Download the Ptouch Design&Print app to your phone!
- Select “Create your own label”.
- Select “text” and add in whatever you want the ribbon to say or even a graphic!
- Once the text is in click “Done”.
- Adjust the “Taper length” depending on how long your message is.
- Scroll to the left to find “label alignment” and align your text to the right”
- Once your text is in and the alignment is correct click “print”
- Set your ribbon to the side and begin building your flag frame.
- Attach a piece of wire around the dried painted skewer by wrapping it around the top.
- Once the wire is attached, measure the length of the wire against the length of the ribbon and cute wire accordingly.
- Using the glue stick apply glue to the back of the ribbon.
- At the mid point on the ribbon place the skewer there and fold the ribbon in half so the wire is in in between the two halves.
- Attach a painted wood bead to the top using a hot glue gun.
- Place completed flag in cake!
We love using the Brother P-touch ELITE it is the perfect easy-to-use ribbon and tape printer that you can use to create any and all of the exciting crafts you have planned for this Craft Month! We can’t wait to see what you create!
The green polka-dot background is from our Lars Print Shop. Thank you @glweddingcakes for the lovely cake!


Comments