A couple of years ago I visited Mexico City with my friend Nadia Aguilar Cates of Casa Palomi. She is one of the most passionate people about her beloved country and she is so good about teaching people about it. She does so through her cooking lessons (she makes the most amazing tamales!) and tours. I’m dying to go with her to Oaxaca and see the beautiful artisans.
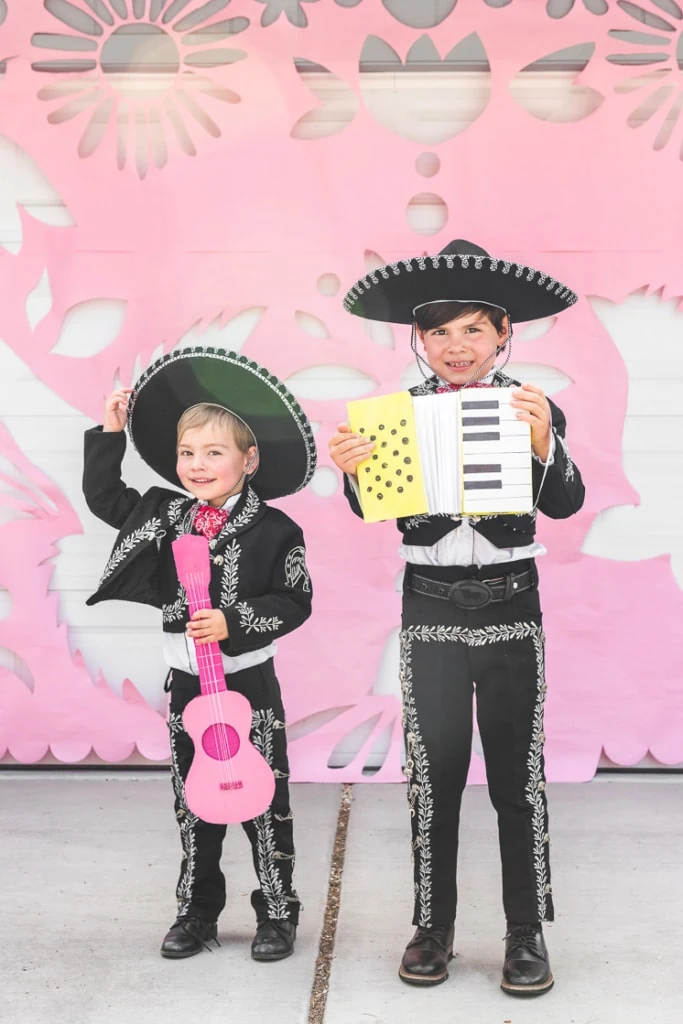
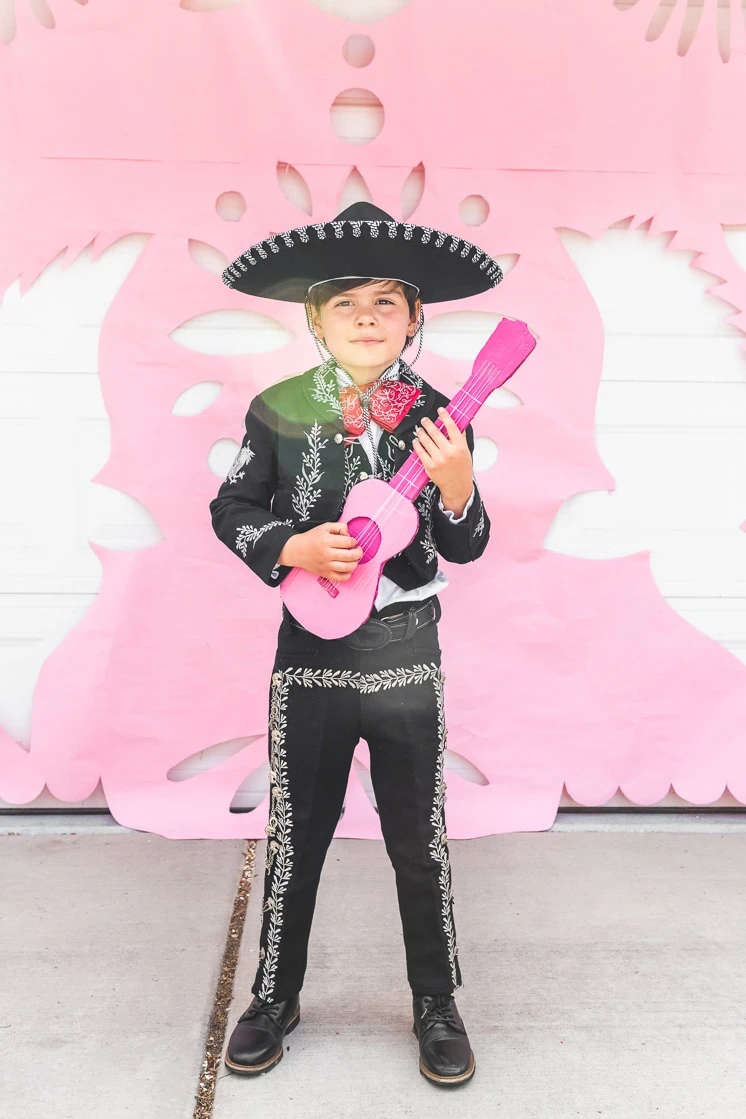
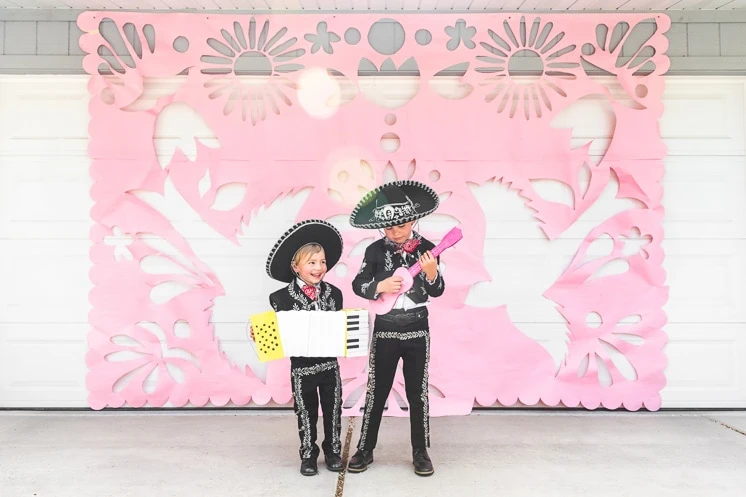
I was thinking about Cinco de Mayo and asked her how she might be spending it this year considering we can’t party like we used to. I had the idea to do an oversized papel picado garage door decoration and since her adorable kids are in marachi classes, they could play instruments as people drive by. Just add some music in the back 😉
Today, she’s explaining a bit more about what Cinco de Mayo is and how they celebrate it. After checking that out, scroll on to see some of our best Cinco de Mayo-themed crafts that we think will help you celebrate this holiday to its fullest!
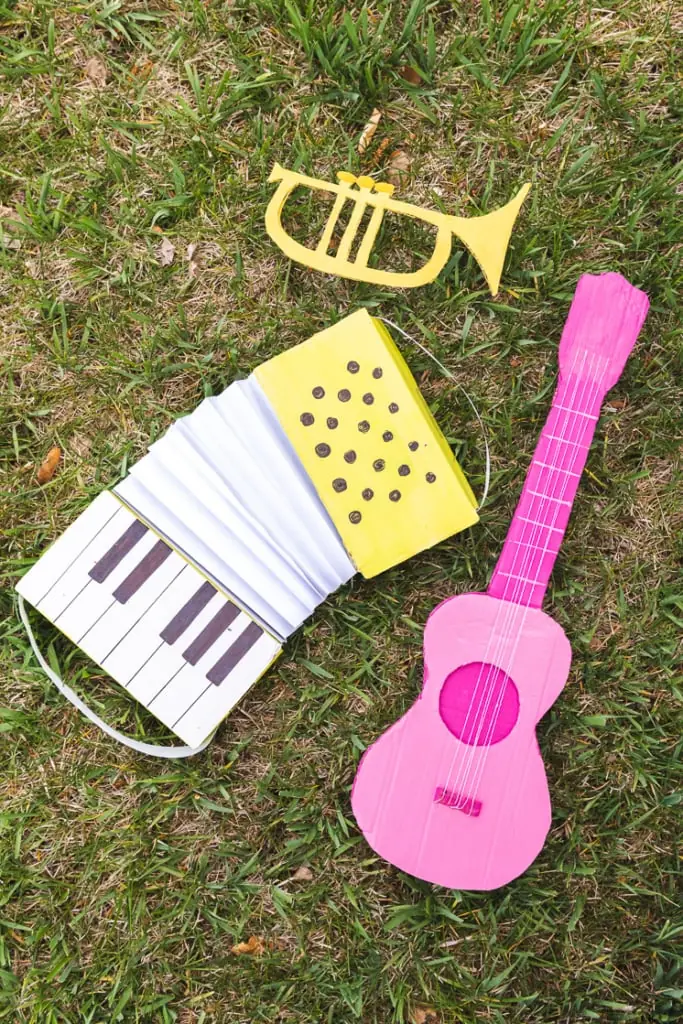
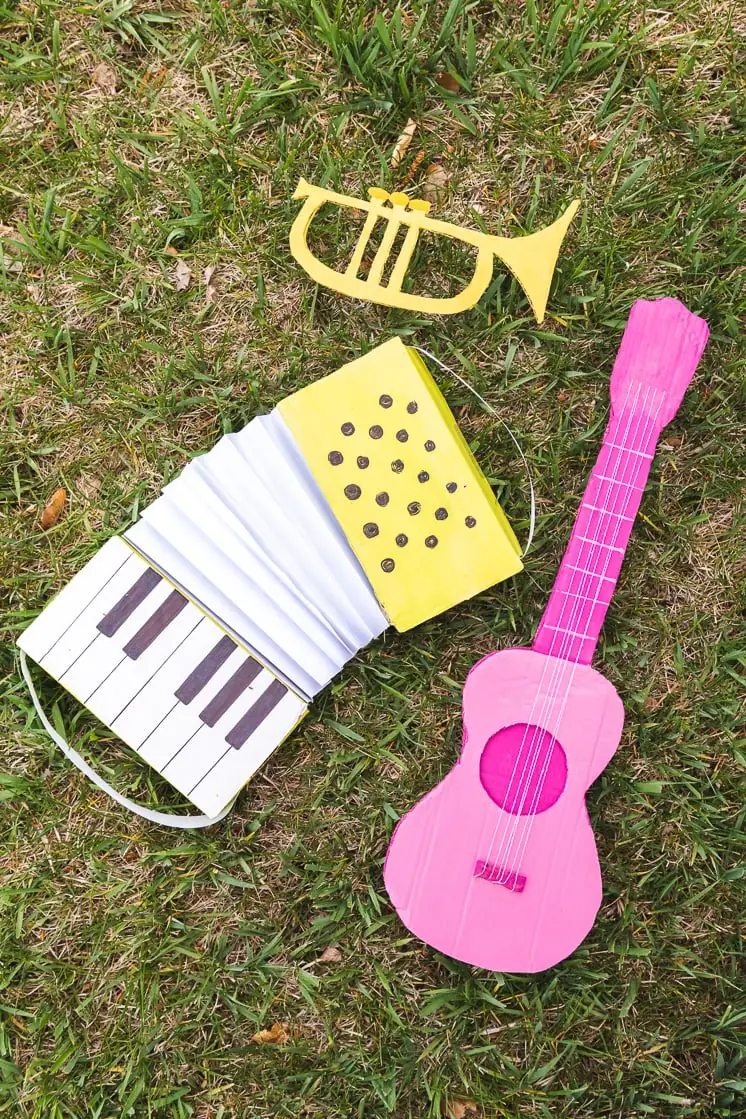
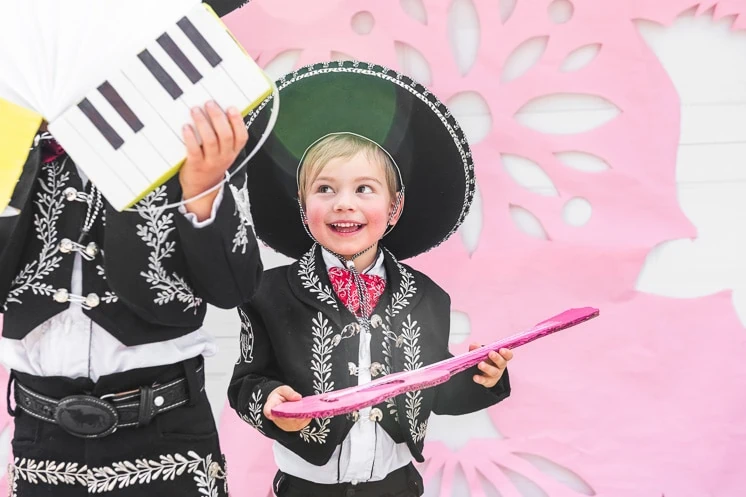
DIY Cardboard Mariachi Instruments
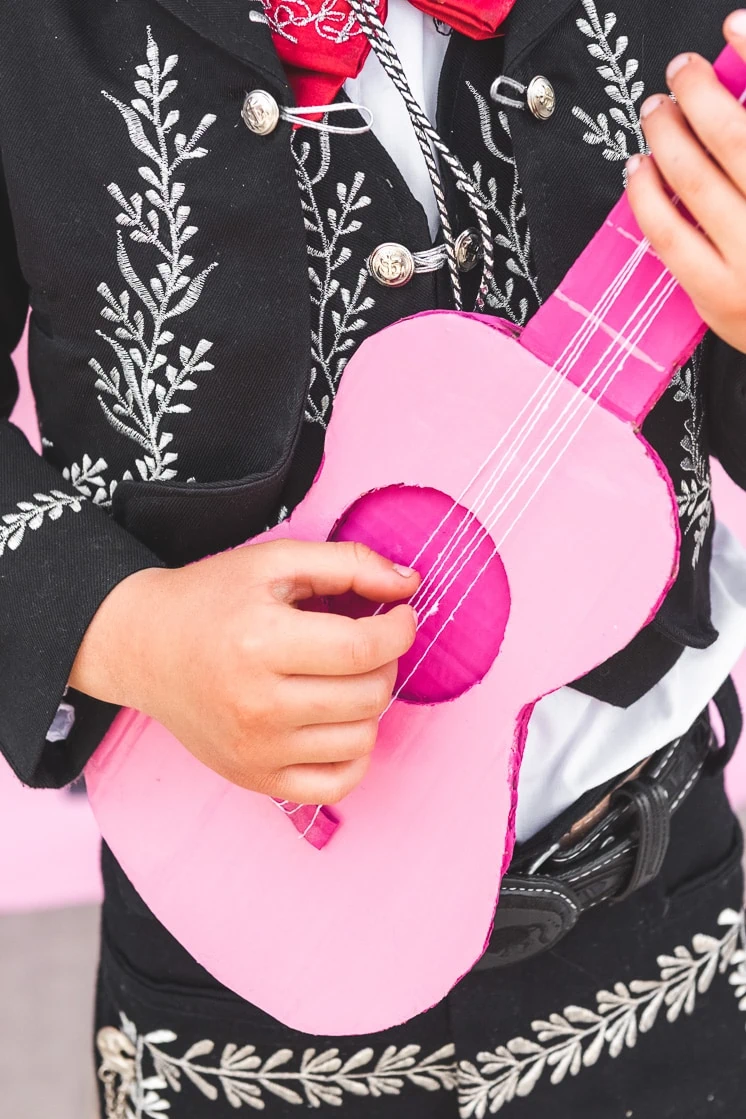
We made some instruments out of cardboard and painted them. A sweet yet simple touch!
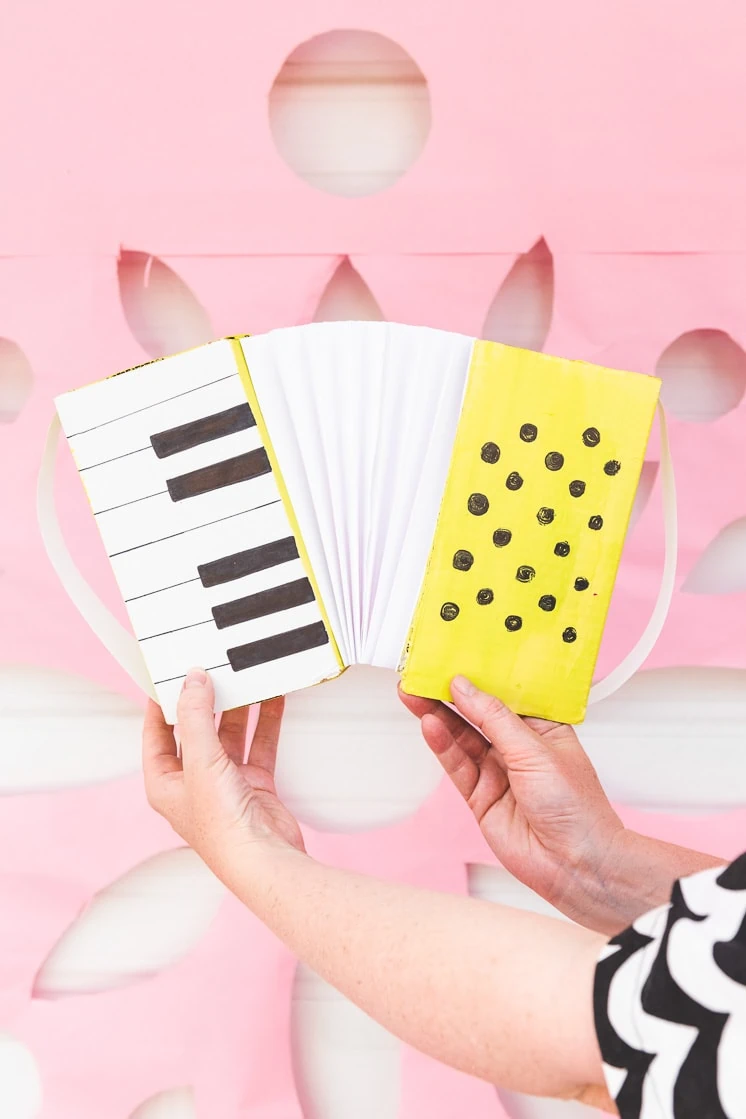
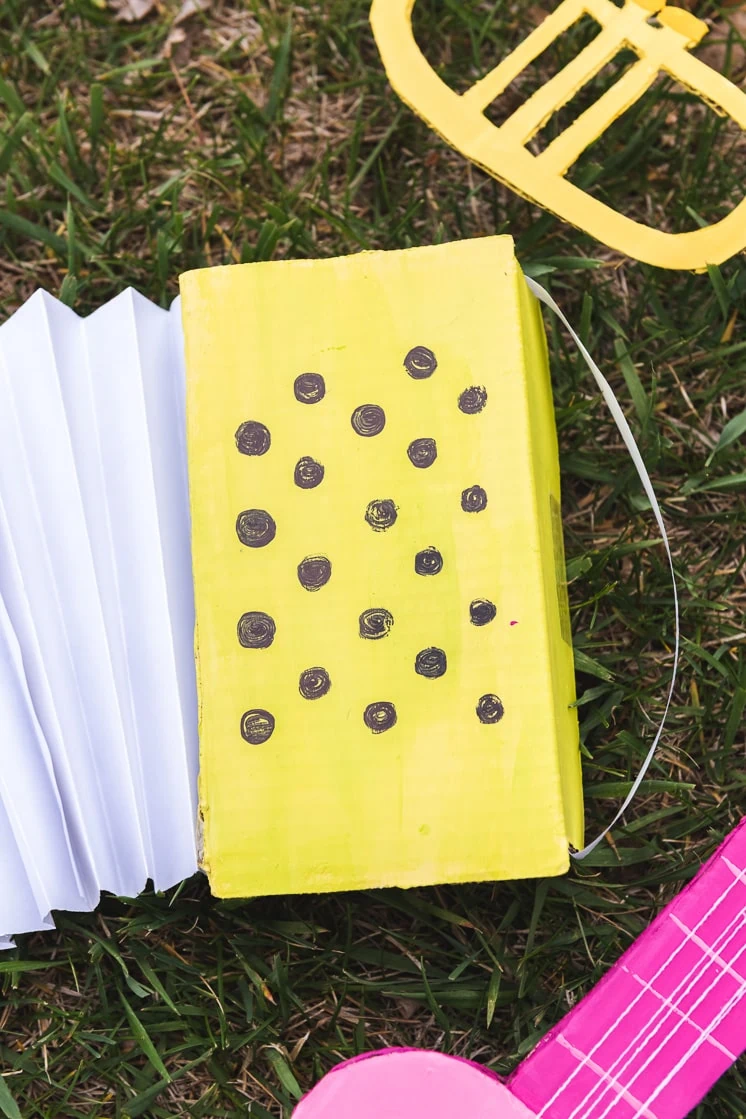
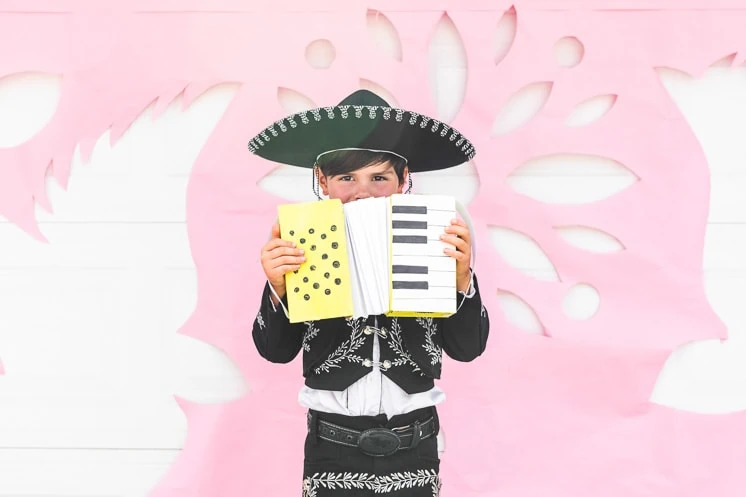
DIY Cardboard accordion
This is my favorite! I love how it turned out.
Materials:
- Two rectangle boxes about 4 or 5″ by 8 or 9″
- 3 pieces of white office paper
- House paint or acrylic
- paint brushes
- tape
Instructions:
- Paint your cardboard boxes in the color of your choice. Once it’s dry, add on the black details of the keyboard.
- Make an accordion fold in the office paper the tall way and glue the three pieces of paper together.
- Add on a handle by cutting a 1″ strip and taping it to the side of the box.
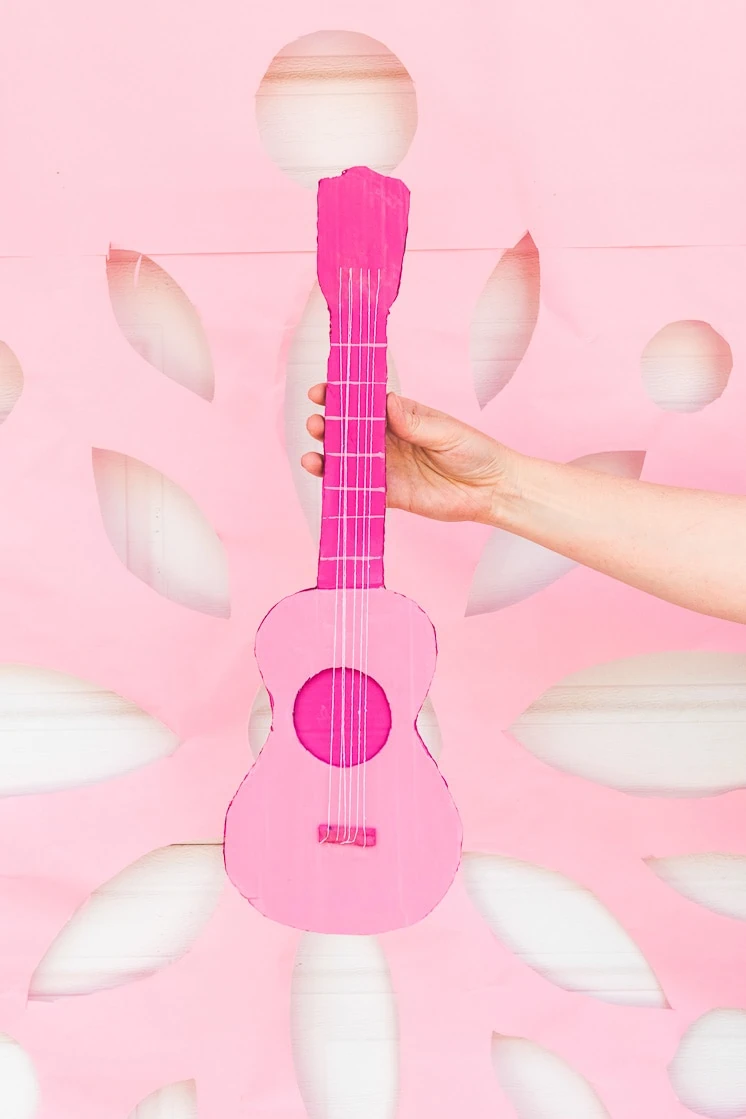
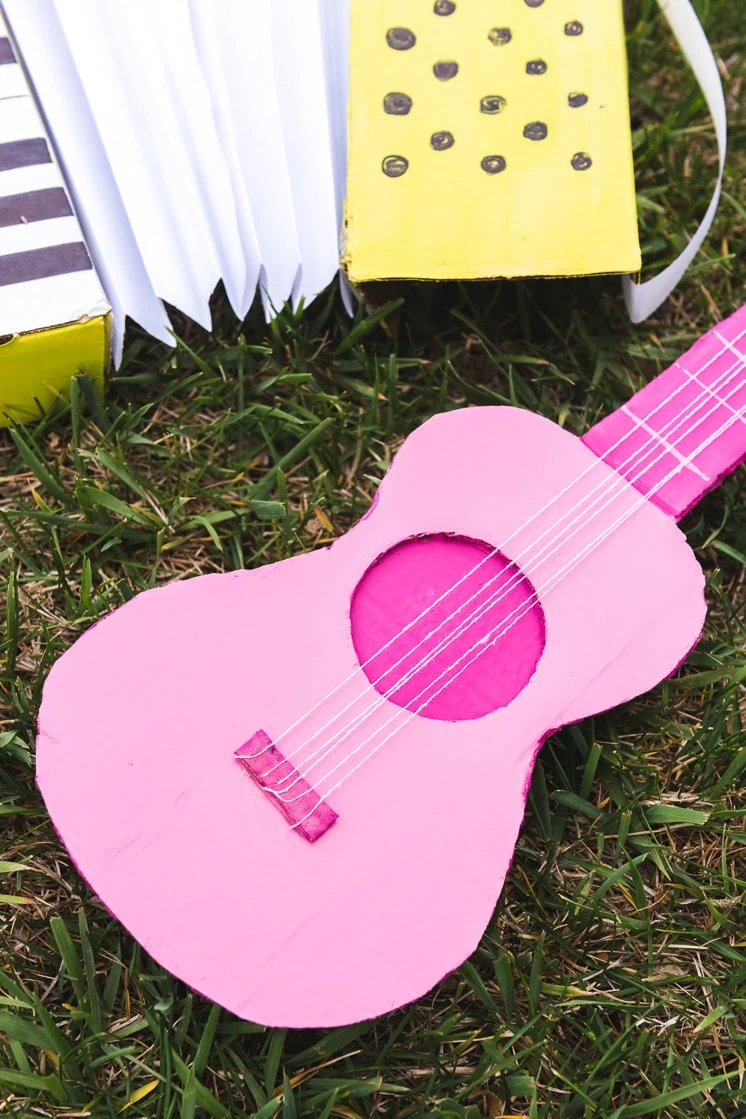
DIY Cardboard Guitar
Materials:
- cardboard
- embroidery floss or string
- scissors or craft knife
- glue gun
Instructions
- Cut out two layers of the guitar base, including the neck.
- Cut out a circle in one of them.
- Paint the two pieces and then glue and glue together.
- Add on a 2″ strip for the bridge (where the strings are held at the bottom)
- Add on the neck of the guitar
- Glue the strings onto the bridge and up onto the neck.
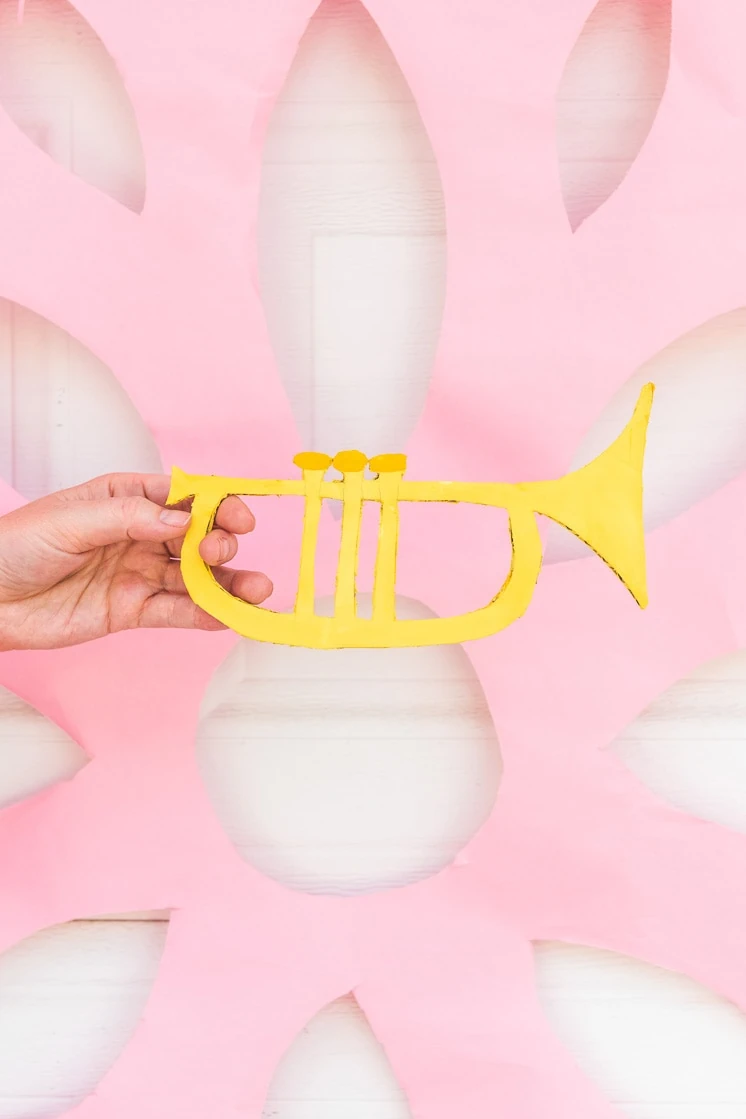
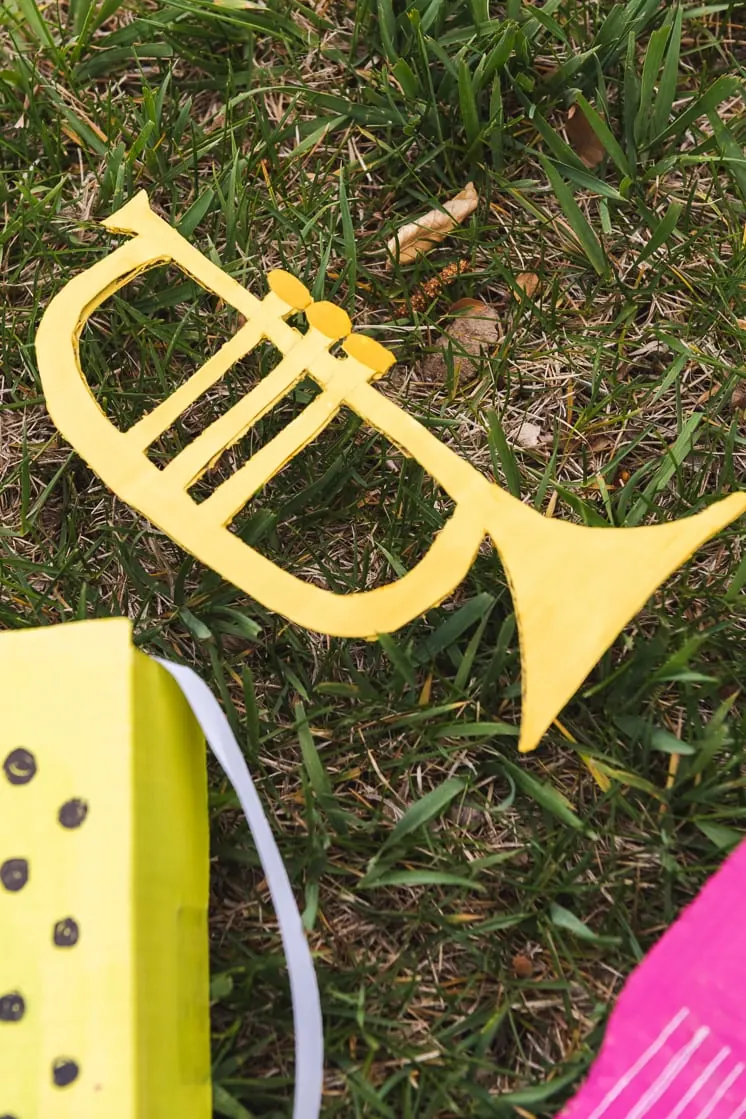
DIY Cardboard trumpet
Materials:
- Cardboard
- paint
Instructions:
- Draw a trumpet shape onto your cardboard.
- Cut it out with your scissors or craft knife.
- Paint the trumpet.
Voila!
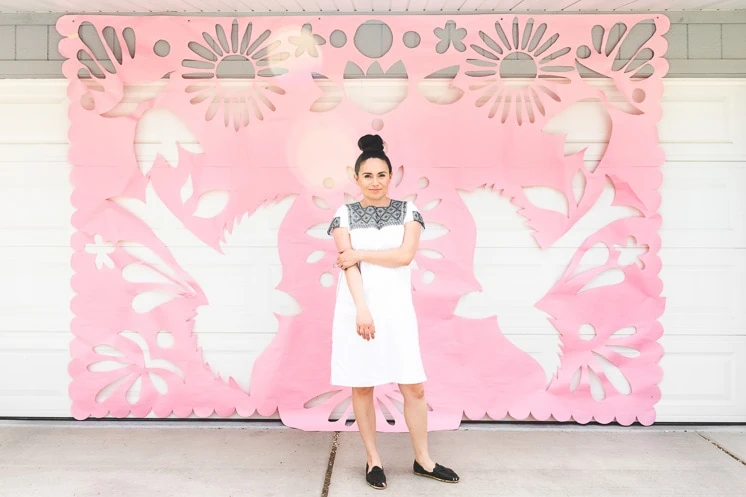
DIY oversized papel picado
Now, for the ginormous papel picado. This one is giant impact! And requires very little money, just a bit of time.
Materials:
- butcher paper
- craft knife
- scissors
- masking tape
- plates and cups for perfect circles
Instructions
- Measure out the door you’d like to attach your papel picado to. A lot of party supply places or office supply places have butcher paper by the foot and it’s about 3′ wide. We did ours 12′ and then lined up three pieces together and taped them on the back.
- Draw your design onto the paper. We used our own papel picado in our shop for reference. If you’re not confident with your drawing abilities, you can project the image onto the wall. Another trick is to divide up your image into a grid so you know where to apply the design.
- Once it’s all drawn out, start cutting it out! We used bowls and cups to create the scalloped edges and circles. But we also liked it to not be perfect cut so we allowed for the handmade touch.
- Apply it onto your garage door with some safe tape (like masking tape).


