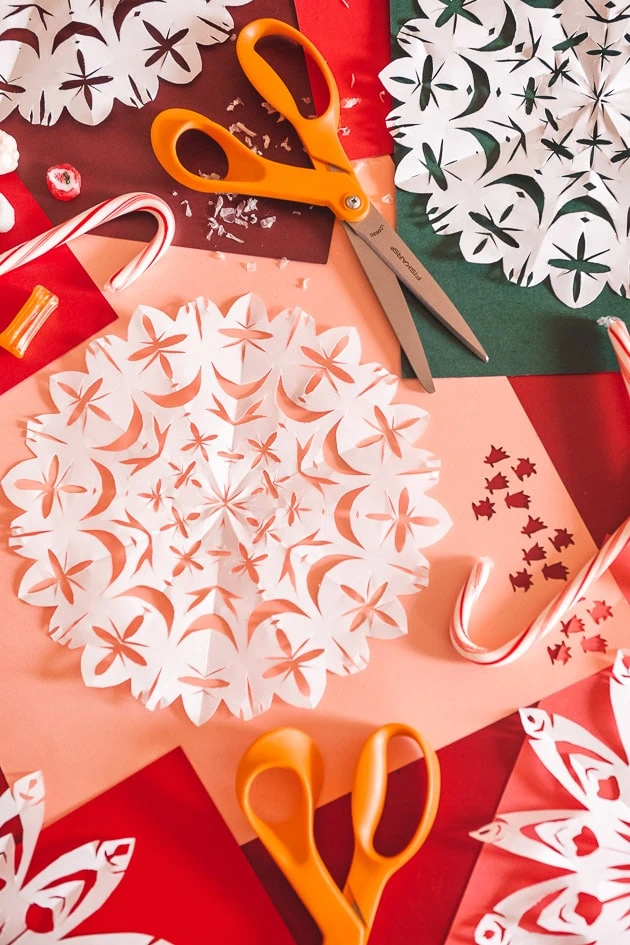
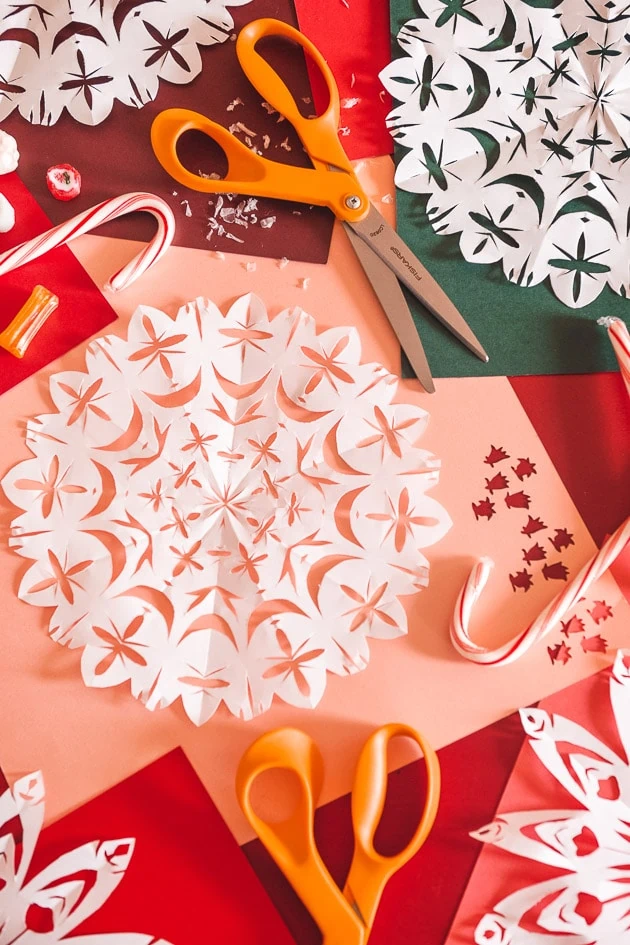
This season, we’re bringing you the perfect craft for a chilly afternoon! These paper snowflakes are a classic, not to mention delicate and beautiful. It’s the perfect way to freshen up your holiday decor and the best part is, the list of materials is short. Grab your Fiskars scissors and paper, let’s get making!
I have so many fond memories of holiday crafts during the winter season. There’s something so cozy about sipping hot chocolate and making things while gazing at the sparkling snow outside. Well, who says the snow needs to be on the ground in order to bring in the holiday cheer?
As you know, there’s nothing I love more than some holiday making and this is a good one to do with friends or little ones. You can hang them from the windows or lay them down as a table runner. There are a lot of different options!
Materials:
Paper snowflakes
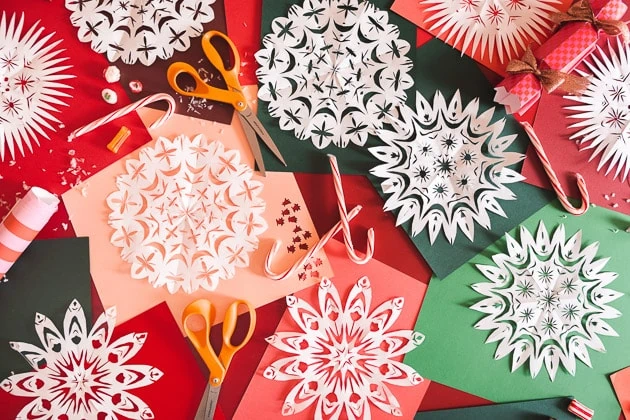
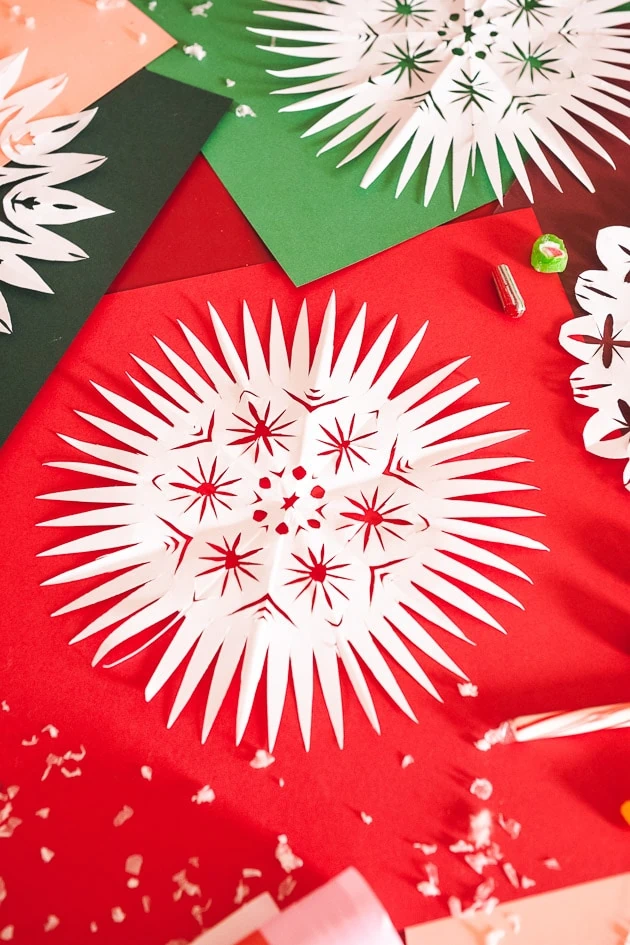
I know making paper snowflakes can be intimidating at times. I’ve definitely felt that creative block of not knowing where to start to make the perfect snowflake design. It’s tricky, so we’ve designed four beautiful and unique snowflake templates to help you get over that hurdle (you can find them here). Are you ready? Here’s how to make the perfect paper snowflake with your trusty Fiskars scissors.
Prepping the paper
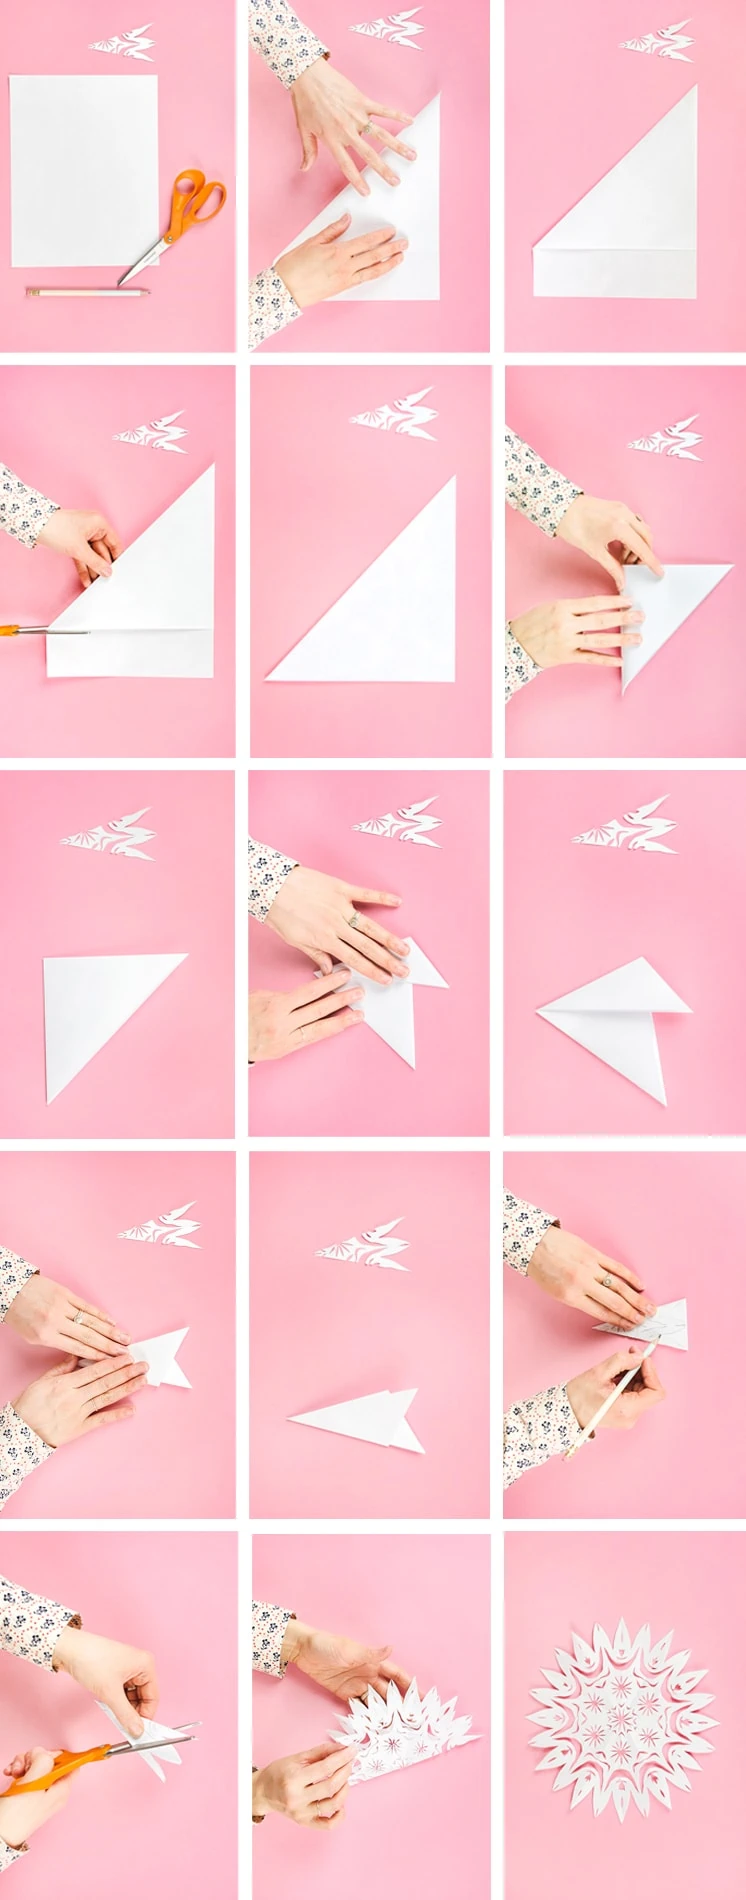
- First, fold the paper diagonally to make a triangle (when unfolded, your paper is now a perfect square). Then cut off the excess.
- Fold the paper diagonally again, making sure to line up the corners with precision. The more precise you are, the easier cutting the snowflakes will be!
- Now fold your paper into thirds, using the bottom corner as a reference point. Tip: I like to fold the first side a bit smaller than an exact third because it allows the top to fold down evenly against the side.
- There will be two triangles at the top of your folded snowflake. Cut them off and you’re ready to go!
Tracing your snowflake template
Now you’re ready for your template.
- Print off your templates (found here). Using your Fiskars scissors, cut them out as precisely as possible. Using cardstock or something that’s a bit thicker can be helpful, since you’ll probably be using these templates to trace multiple snowflakes.
Note: I love Fiskars scissors because they’re smooth, sharp, and cut precisely. They’re also durable. I can say from experience that not all scissors are created equal, and Fiskars are definitely at the top of my list, especially when trying to cut through multiple layers of paper, as with these snowflakes.
2. Now, lay the cut-out template on the folded paper. Take your pencil (it’s much easier if it’s sharp) and trace the template as precisely as you can. Precision each step of the way helps to make the end product more symmetrical, so do your best.
Cutting out your snowflake
Once your template is traced, you’re ready to start cutting!
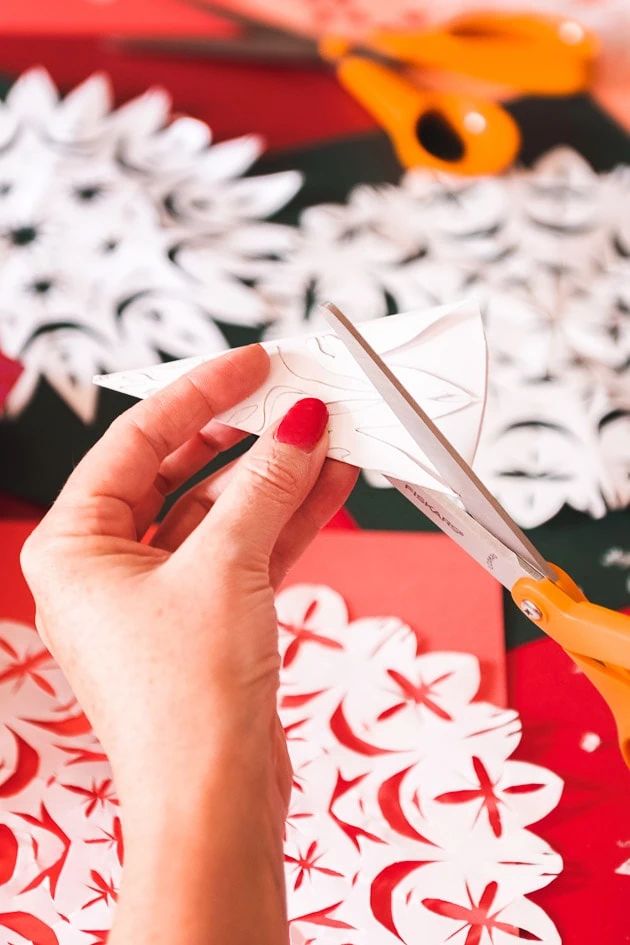
- Taking your Fiskars scissors, carefully cut out your snowflake along the tracing lines. Since there are multiple layers of paper, it can be easy to slip and cut too much, so take care.
- When you’re done cutting, you’re ready to unfold your snowflake.
- Unfold your snowflake. Careful here, the paper sometimes sticks together, so go slowly to avoid ripping your beautiful masterpiece.
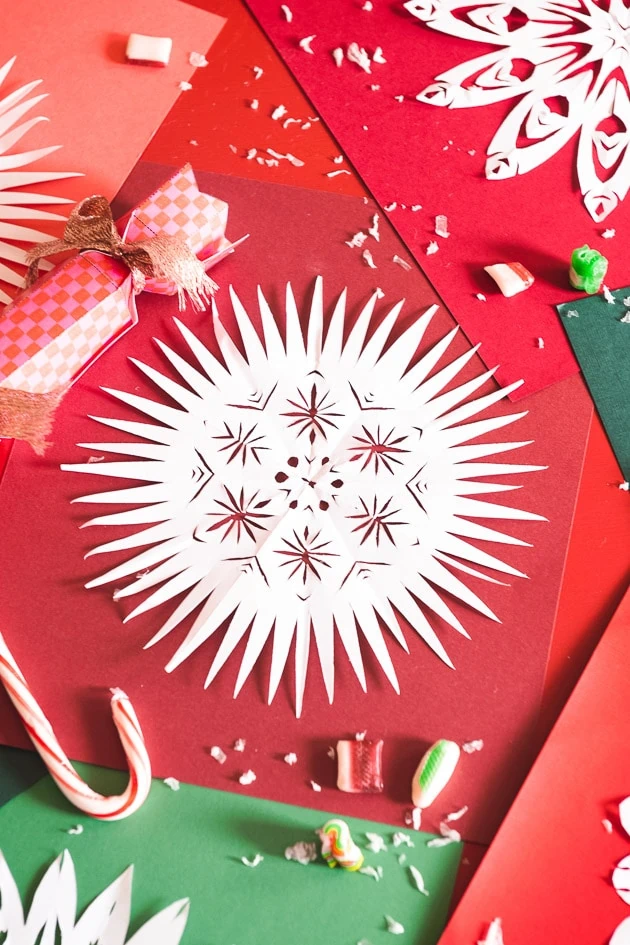
- Take a minute to step back and admire your handiwork!
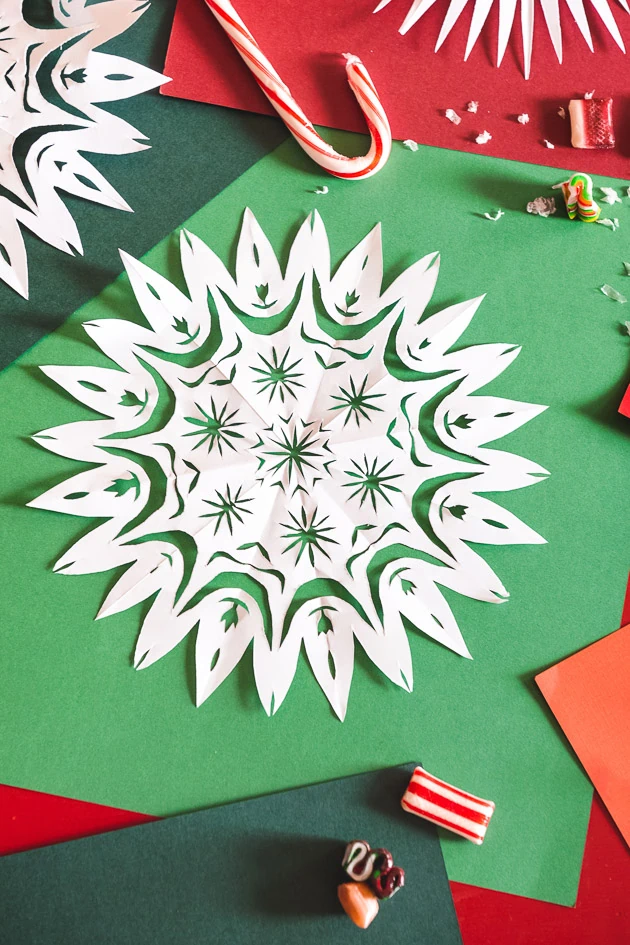
Oo la la!
String these paper snowflakes together and hang them in a window, mantlepiece, or simply tape them up and scatter them around the house for a little holiday cheer. They are so versatile and easy! It’s the perfect activity for friends or family anytime you’re wanting to stay inside and keep warm while also doing something festive.
More inspiration
Loved this tutorial? Here’s a list of simple DIY crafts you can make using the Original Orange-handled Fiskars scissors: Thanksgiving Tablescape printable, Retro ornaments printable, New Years crowns printable, and Nativity cookie box printable.
This post is sponsored by Fiskars. We love the brands who support us and allow us to continue to make beautiful content for you!




Comments