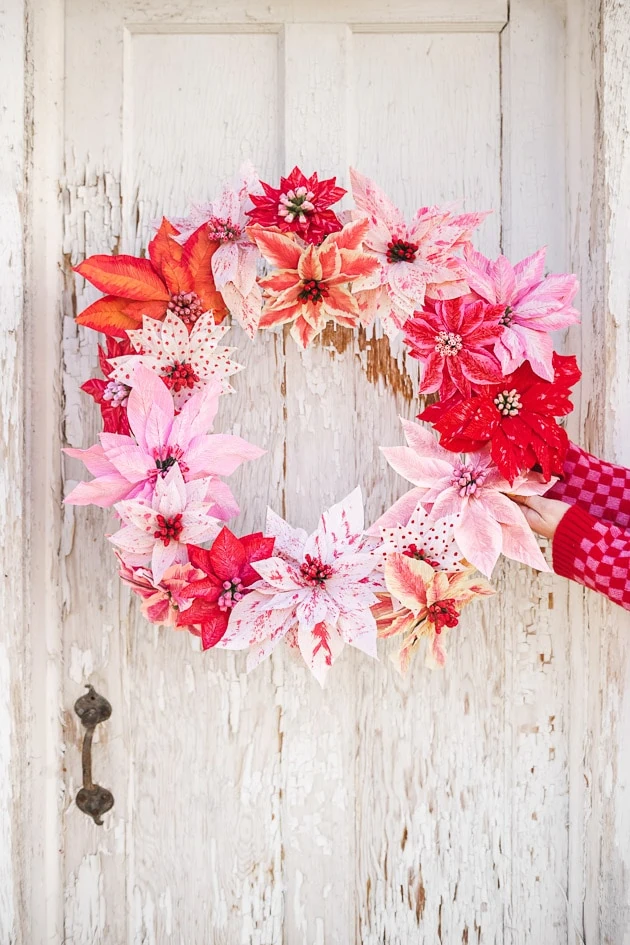
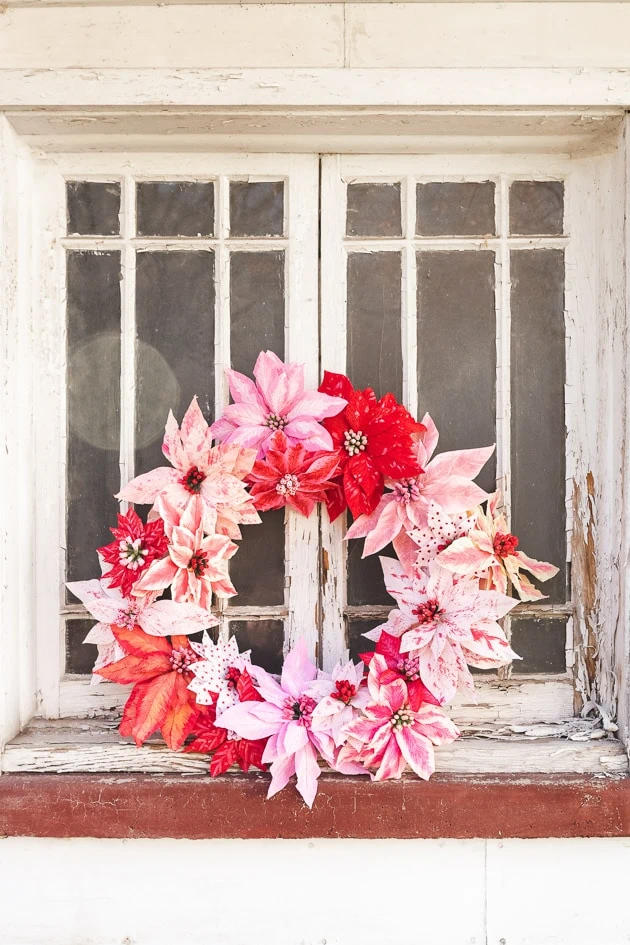
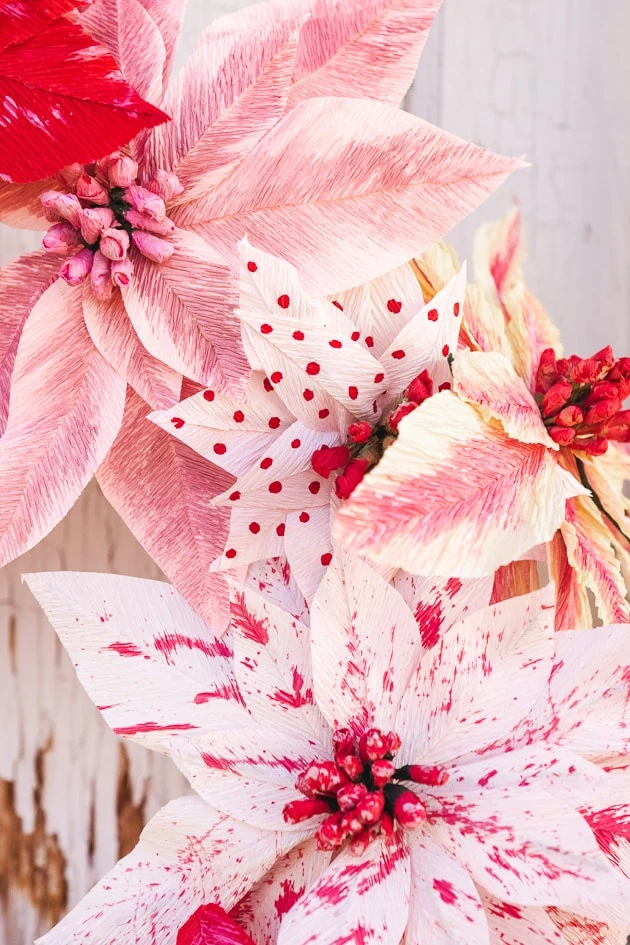
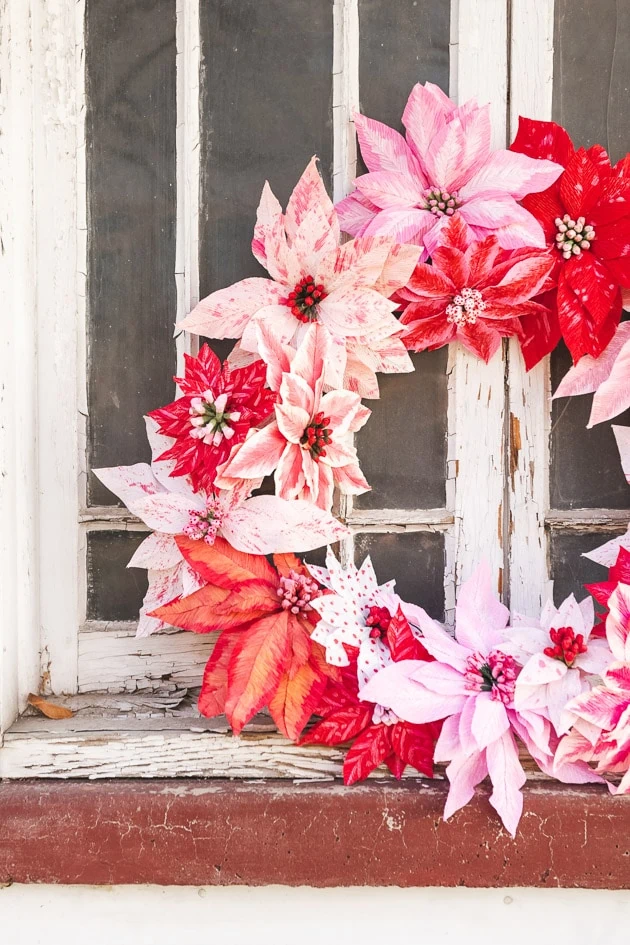
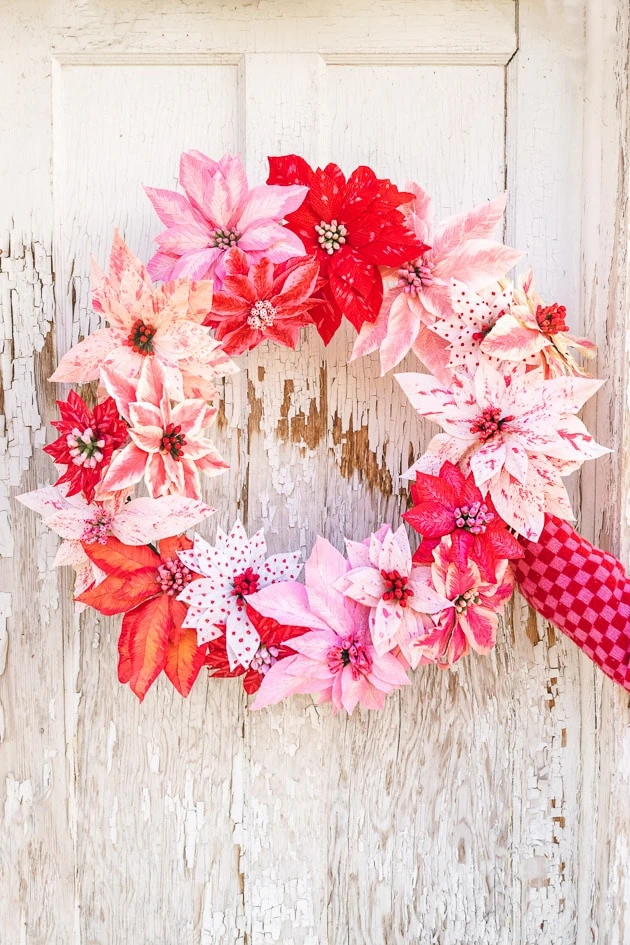
Deck the halls with flower wreaths! Honestly, though, you can never have too many wreaths, especially during the holiday season. But what could be better than a DIY paper poinsettia wreath?! Not much, in my opinion.
This paper poinsettia wreath is such a lovely, festive addition to the seasonal holiday decor and is bound to make your home feel extra cozy. I love that it’s unique and adds a pop of pink to all the reds and greens, too. We can’t wait to share it with you!
Materials:
Paper Poinsettia Wreath
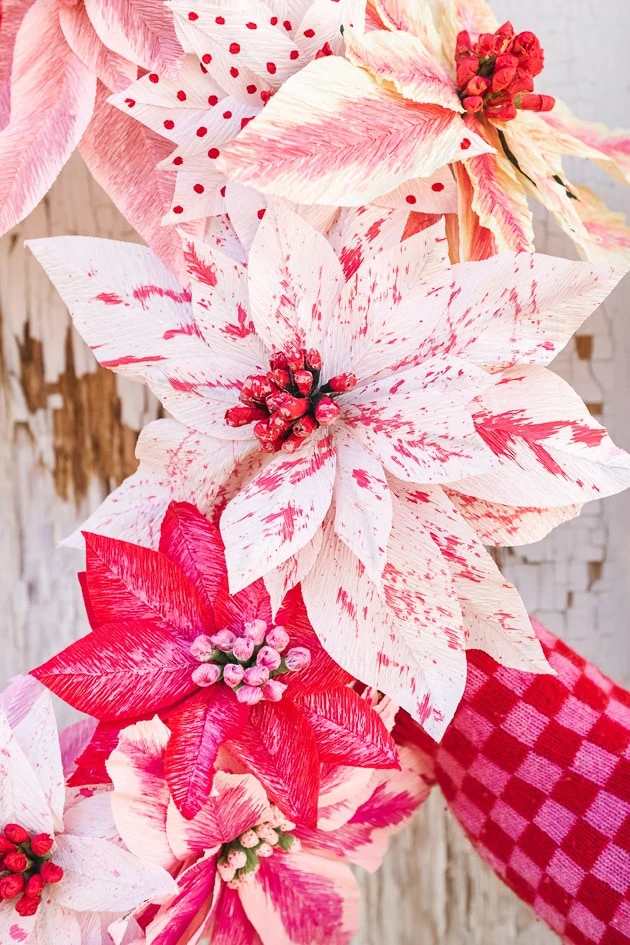
If you’ve been following our tutorials for a while, you might notice that the flowers on this poinsettia wreath look familiar. Right you are! We originally released a tutorial back in 2017, showing you how to make some paper poinsettia flowers, but then we got thinking: what if we turned those flowers into a wreath?! And the paper poinsettia wreath was born.
A winter floral wreath is a breath of fresh air from all the pine-centric wreaths, if you ask me. Don’t get me wrong, I love a good pine bough wreath, but I’m always looking for a way to sneak some flowers in. Can you blame me? The poinsettias are such a perfect way to make a wreath that feels seasonal and festive, but that’s fun, colorful, and whimsical at the same time.
Don’t Have a Wreath Form?
Don’t worry! If you’re looking for wreath form alternatives you can simply buy heavy gauge wire (see the link to it in the materials list above) and coil it into a few circles, securing with floral tape or something similar. This makes a DIY wreath form that’s sturdy enough to last in any size you like.
Paper Poinsettia Wreath Instructions
Here’s how to make your very own paper poinsettia wreath!
Prepping the flowers
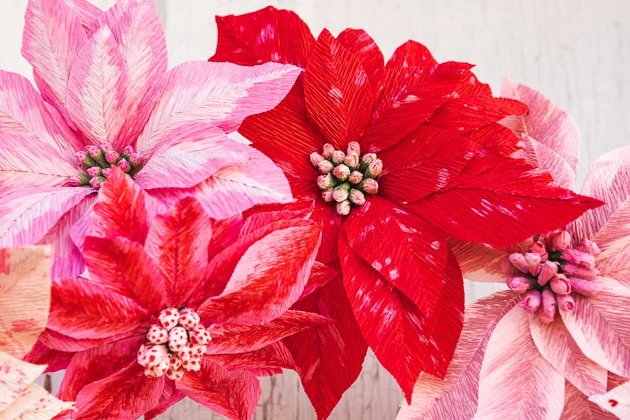
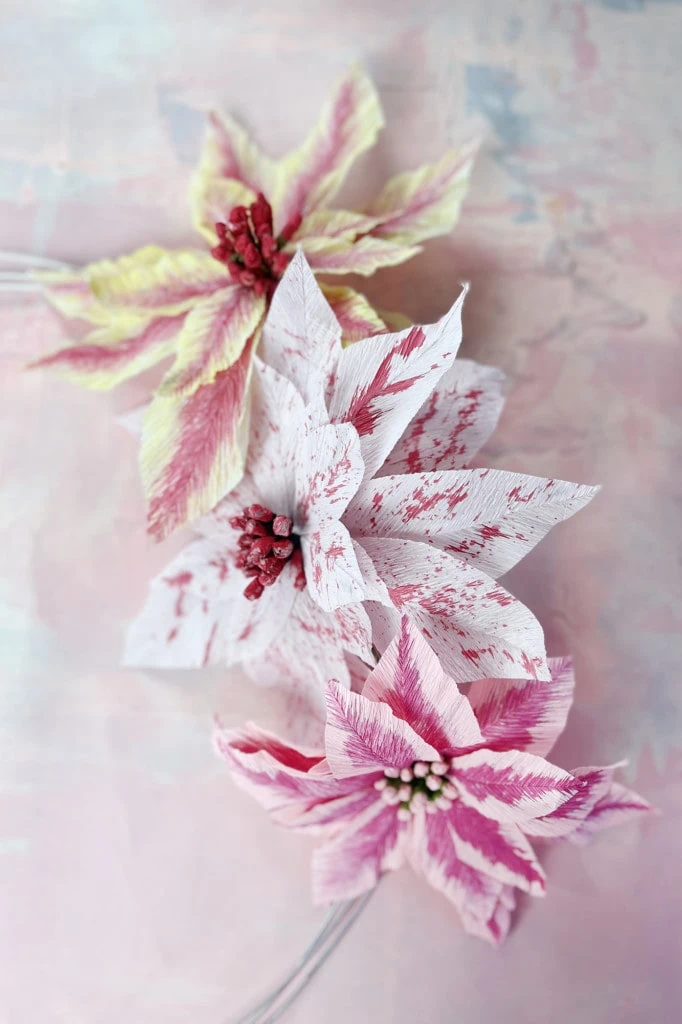
- Using our Paper Poinsettia Flowers tutorial, assemble your flowers. You will need roughly ten large flowers. Note: when we made our poinsettia wreath flowers, we left out the leaves that are included in the original tutorial.
- Next, make five or six smaller flowers, using the same steps above. The difference is that you’ll only use the two small petals in the template, not the two large ones.
Assembling the wreath
Once all your poinsettias are made, you’re ready to assemble your wreath!
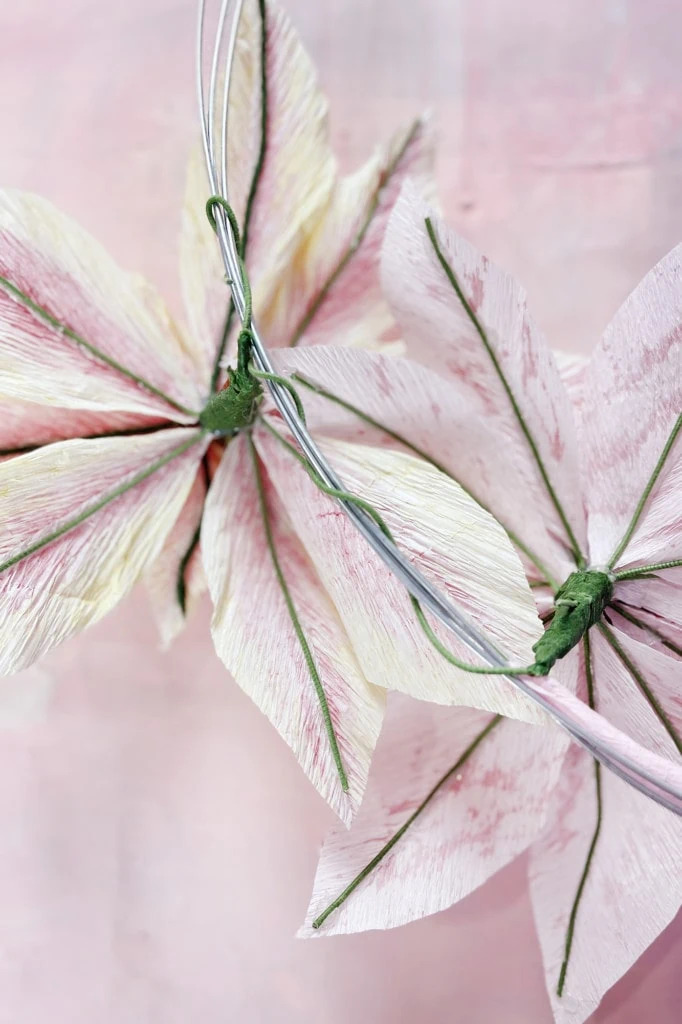
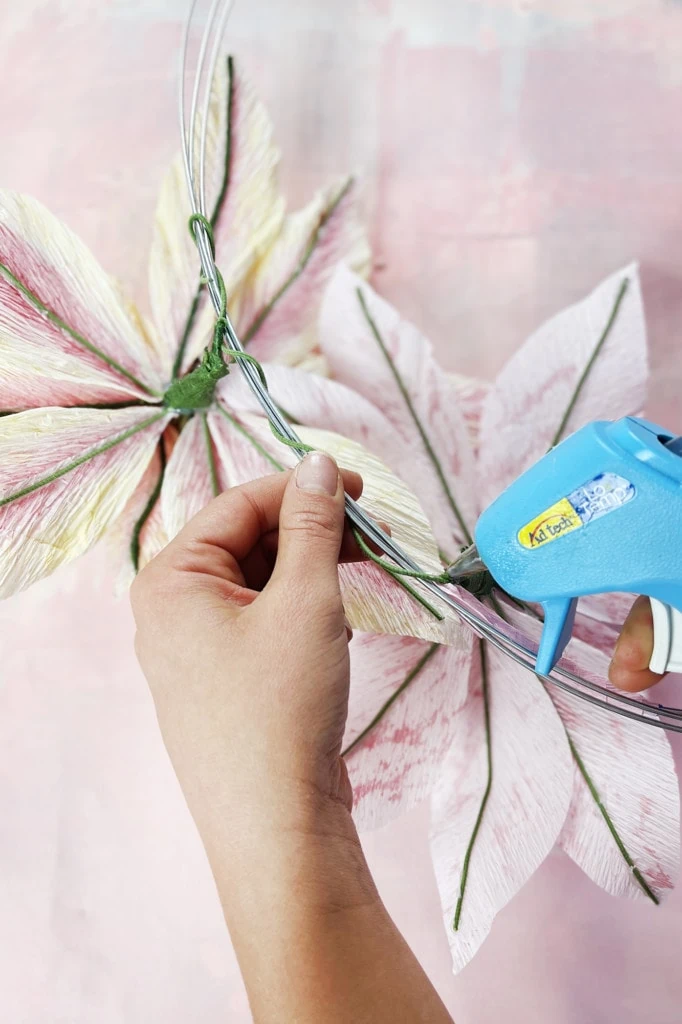
- Resting the stem of the poinsettia against the wreath form so the flower faces towards the front, wrap the extra wire stem around it. Then secure in place with some hot glue.
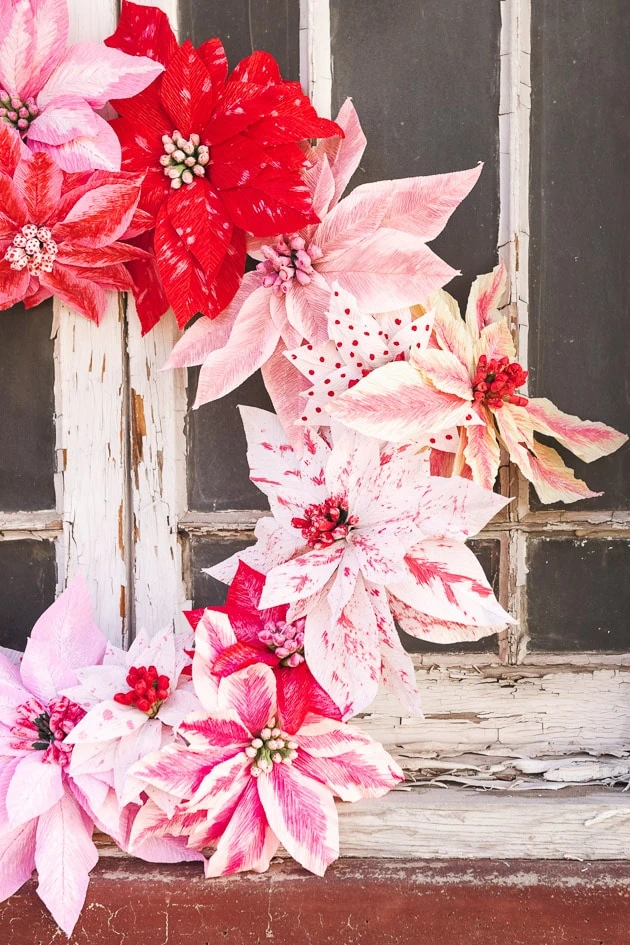
- Continue this process all the way around the wreath until it’s full. Alternate with the small and large poinsettias so you have some size variation. Depending on the size of your wreath form and how bushy you want your wreath, you may need more or less flowers than we used for ours.
You’re all done!
How to style your paper poinsettia wreath
This beautiful paper poinsettia wreath can be styled in so many ways! You can put it on your front door, but you can also hang it on any other door in your house. You can also hang it on your wall in the living room, kitchen, or any other room, really. Wreaths are really versatile, so if you don’t have very many indoor plants, this can be such a great addition, especially if you have a blank stretch of wall that needs a little love.
The best thing is you don’t have to water them and they’ll last a long time! If you’re like me and you’re constantly forgetting about your houseplants, paper flowers are the perfect solution. And if you’ve ever dealt with the needles dropping off of a pine bough wreath, you’ll love this paper poinsettia wreath.
We would love to see what you do with your paper poinsettia wreaths!
More inspiration
If you loved this tutorial on how to make a paper poinsettia wreath, you’ll probably love these other paper flower and seasonal decorations tutorials, too: DIY paper hollyhocks, paper pansies, poppies and peonies and posies, crepe paper Christmas tree topper, paper mushroom wreath, and pink paper blossom wreath.


