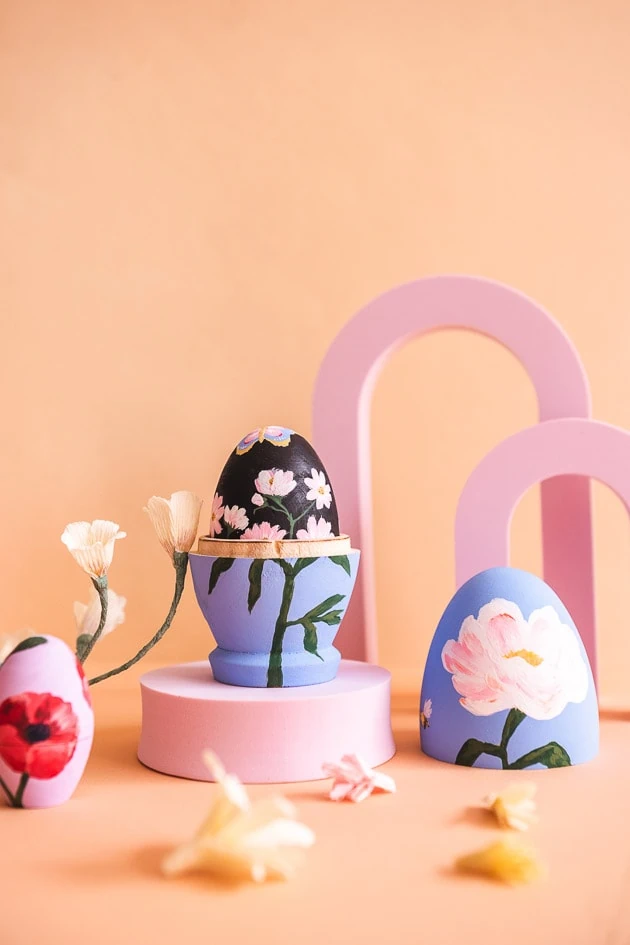
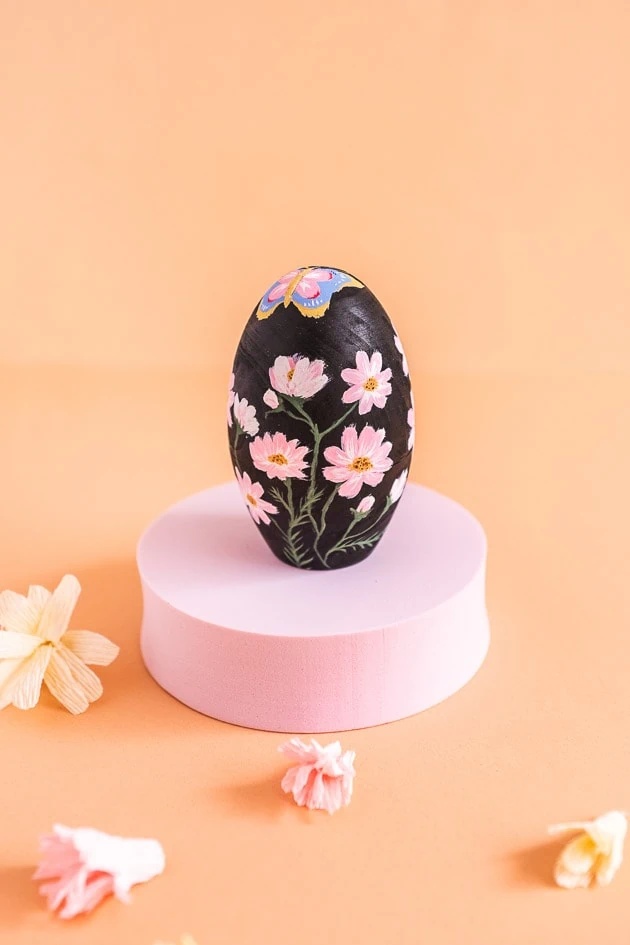
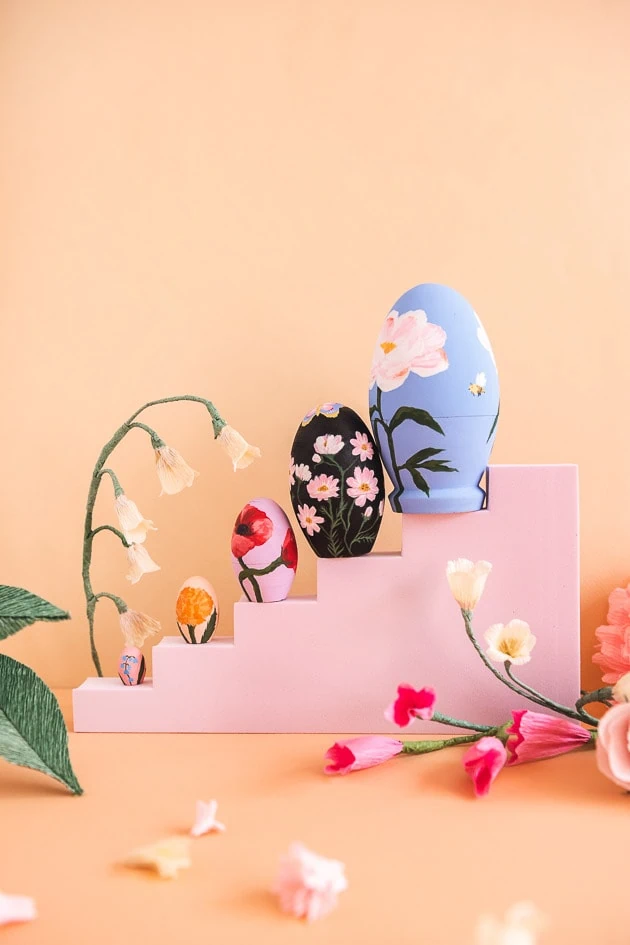
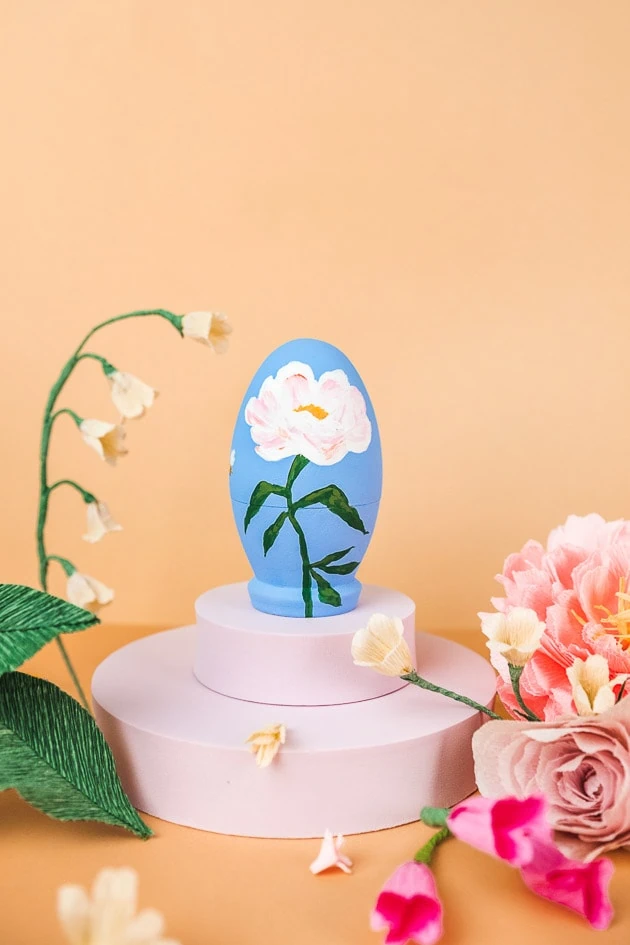
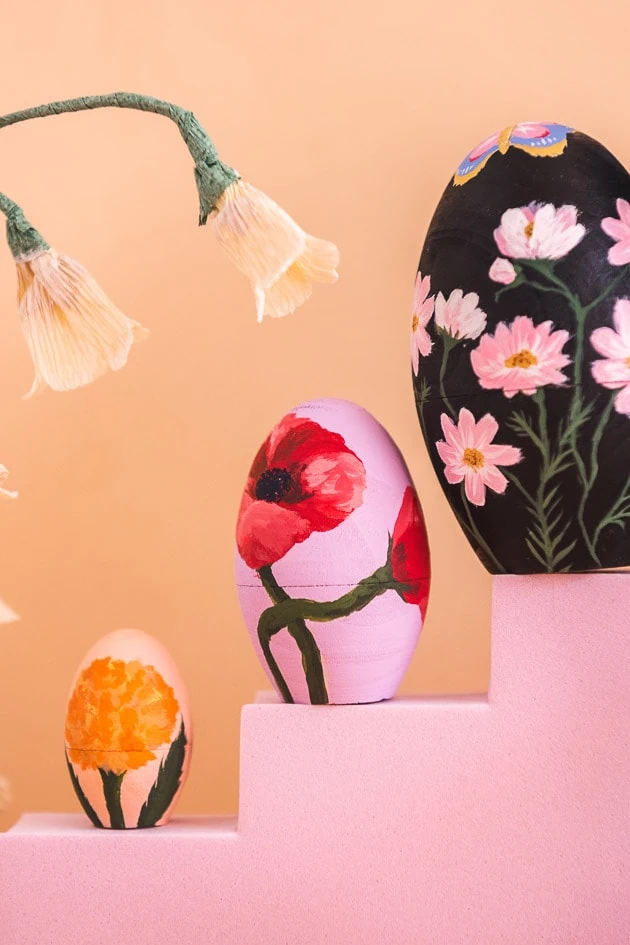
Easter is one of my favorite spring holidays. I mean it’s just a lovely time of year with all the flowers blooming and temperatures warming. But it’s also the perfect time for some spring crafts! If you haven’t noticed, we’re BIG on Easter crafts and it seems we’re not alone. Since we got the hint that you love Easter crafts just as much as we do, we have a fresh new Easter craft that’s the perfect combination of floral elegance and spring loveliness.
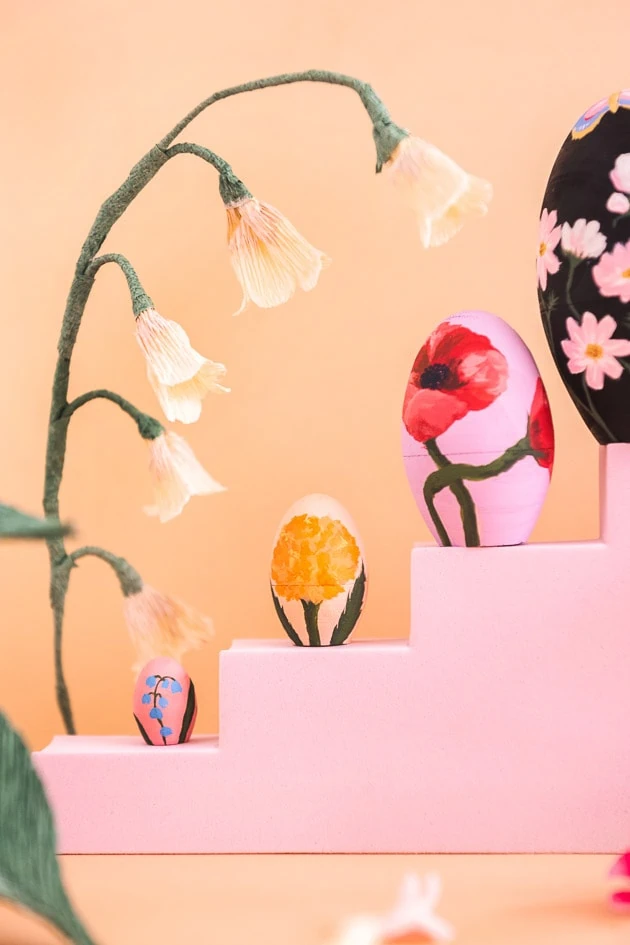
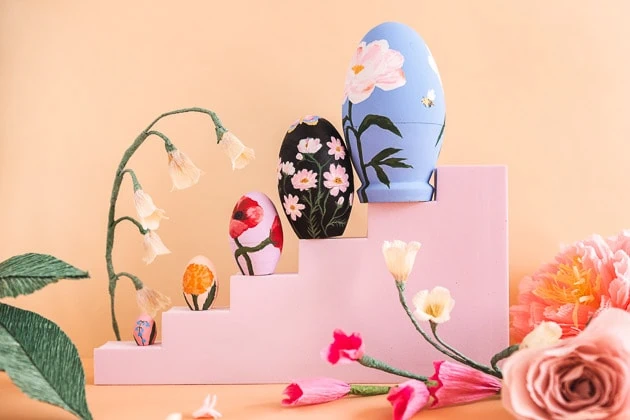
Remember our holiday nesting dolls? Well this year we’re coming at you with an Easter version that we’re pretty jazzed about. Introducing our nesting Easter eggs!
History of Nesting Dolls
Obviously, these nesting Easter eggs are inspired by the original nesting dolls. Though nesting dolls are popular for their connection to Russia, their origins actually date back all the way to ancient China! In our holiday nesting dolls post, we explain a bit more about their fascinating history. If you’d like to read even more about the history of nesting dolls, check out this post here!
We especially love the symbolism nesting dolls carry of creation and new life. After all, the The first Russian dolls were referred to as “Matroyshka,” which comes from the Latin root “mater,” or mother. Easter being a religious holiday centered around Christ and His resurrection, creation and new life feel like fitting connotations.
Our Nesting Easter Eggs
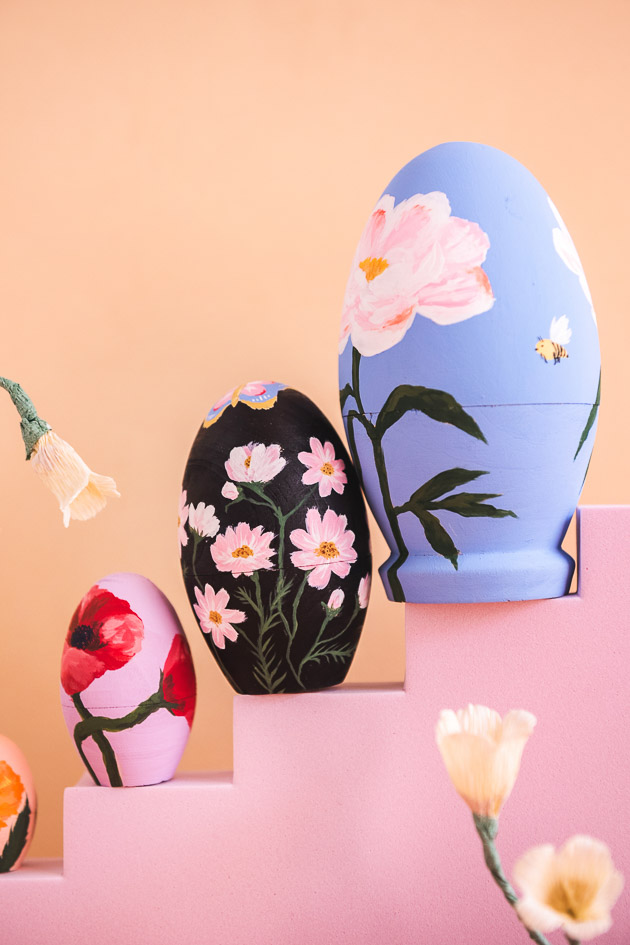
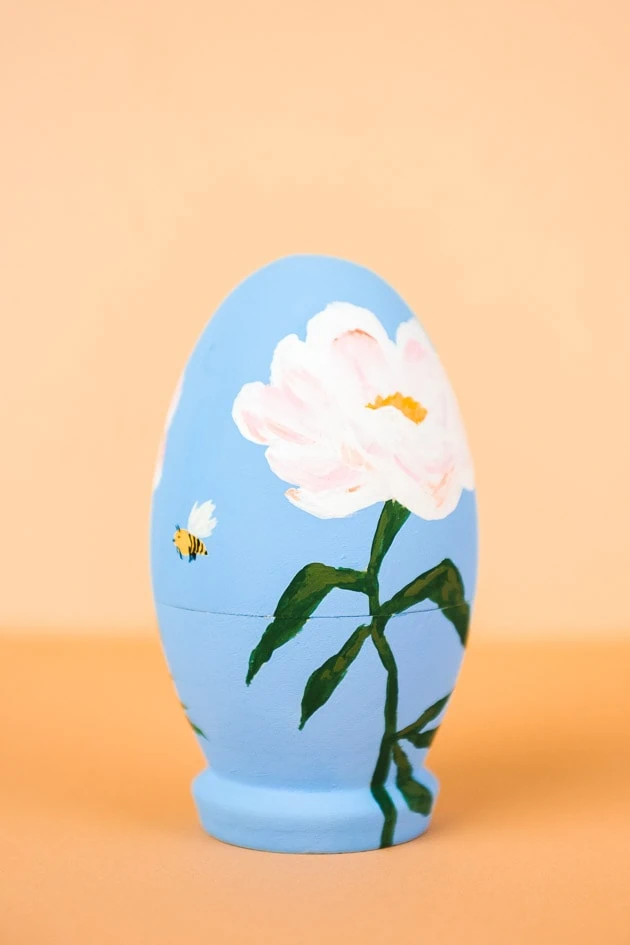
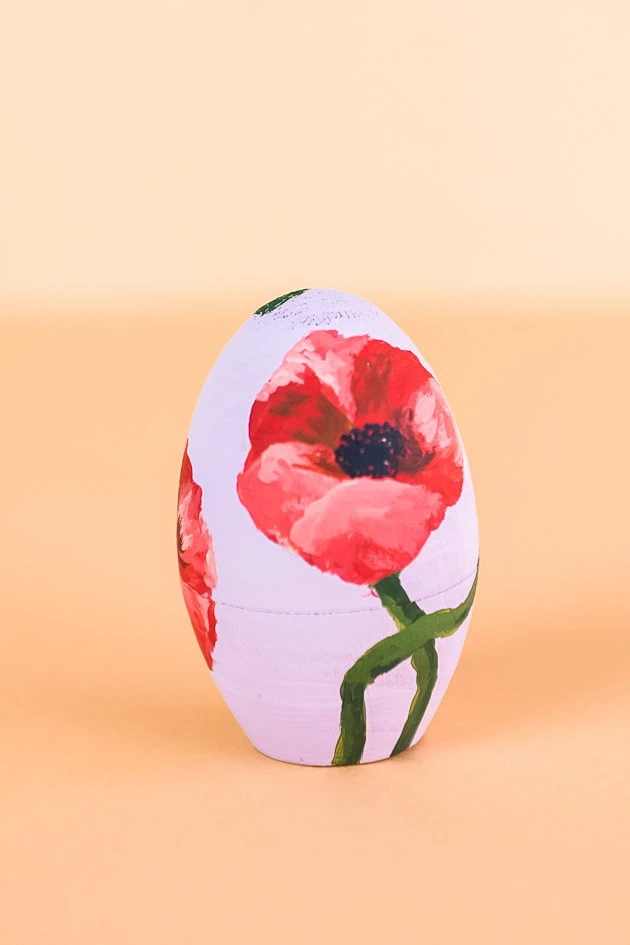
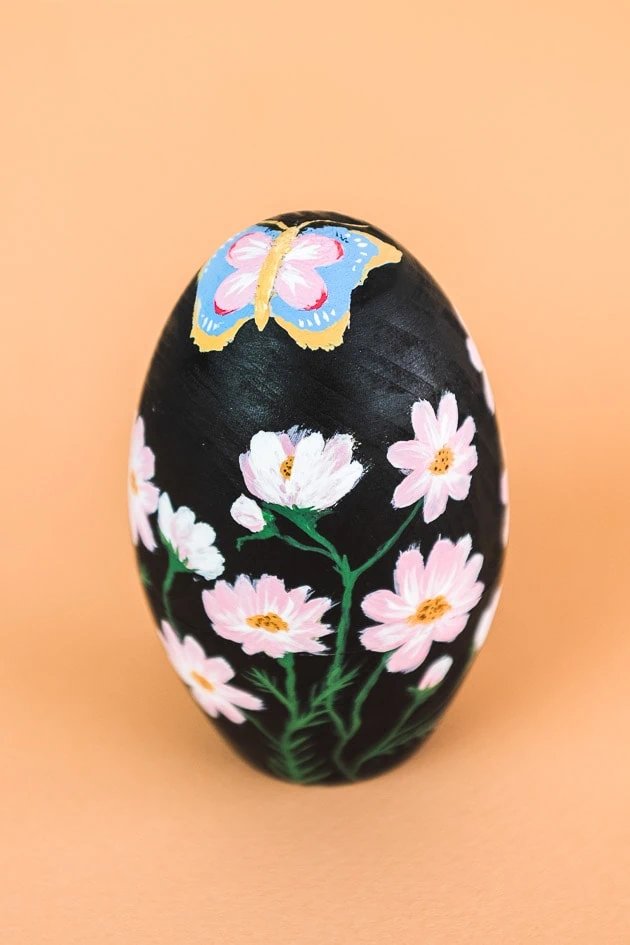
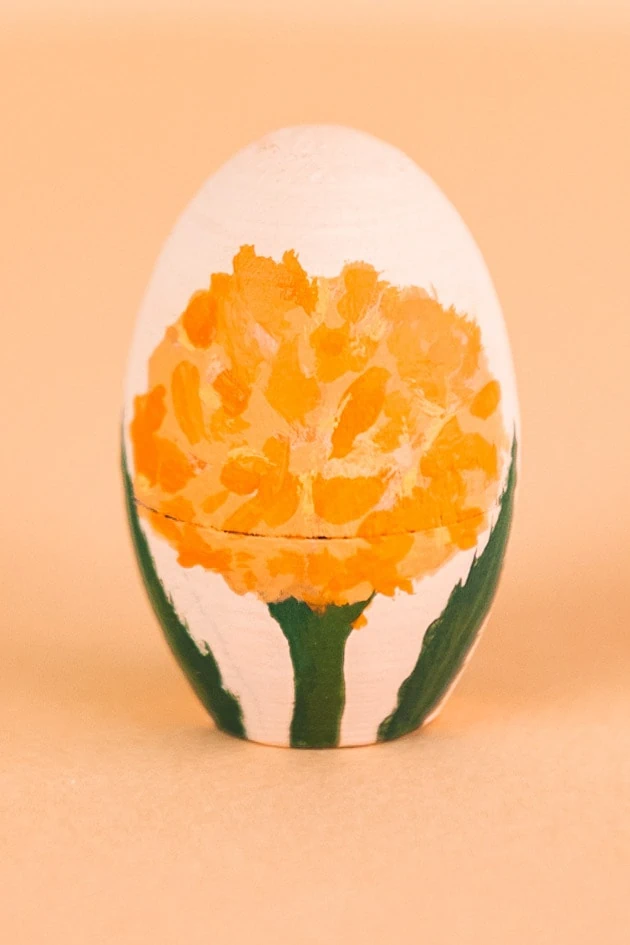
For our nesting Easter eggs, we went all in with a floral theme. Oh, and here’s the best part: this a major sneak peak announcement!! Consider it an “Easter egg” (ha!) for coming attractions, because the floral motifs on our nesting Easter eggs are based on our brand new Casetify collection! More details soon to come on the new collection. The timing is so perfect with our new Casetify collection, we just couldn’t pass up the opportunity to use those lovely new florals. We love that flowers, like nesting dolls, are also indicative of new life. A floral theme just made perfect sense!
All that said, here’s how to make a nesting Easter egg.
How to Make a Nesting Easter Egg
The wonderful thing about this tutorial is how simple it is! Just a few steps. If you want to paint your eggs with flowers but need some guidance, see our Learn to Draw: Flowers course.
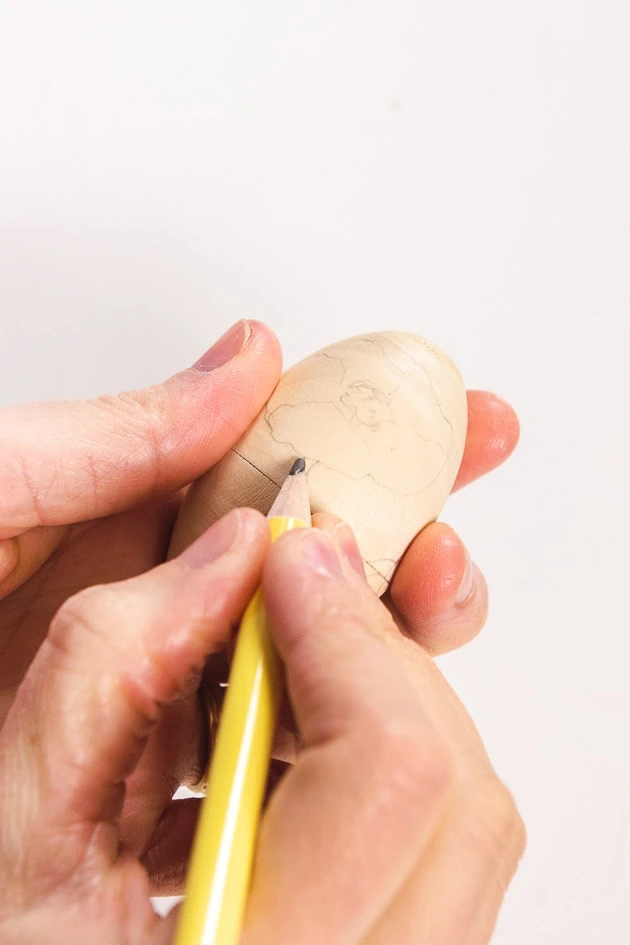
- First, lightly pencil in a floral design of your choosing. You can use our eggs as a reference if you’re stumped coming up with your own designs (It’s hard to pass up those lovely new Casetify designs, in my opinion!), or see our Learn to Draw: Flowers course. If you’d like, you can also paint the background color of each before penciling in your design. Use whatever technique is easiest for you!
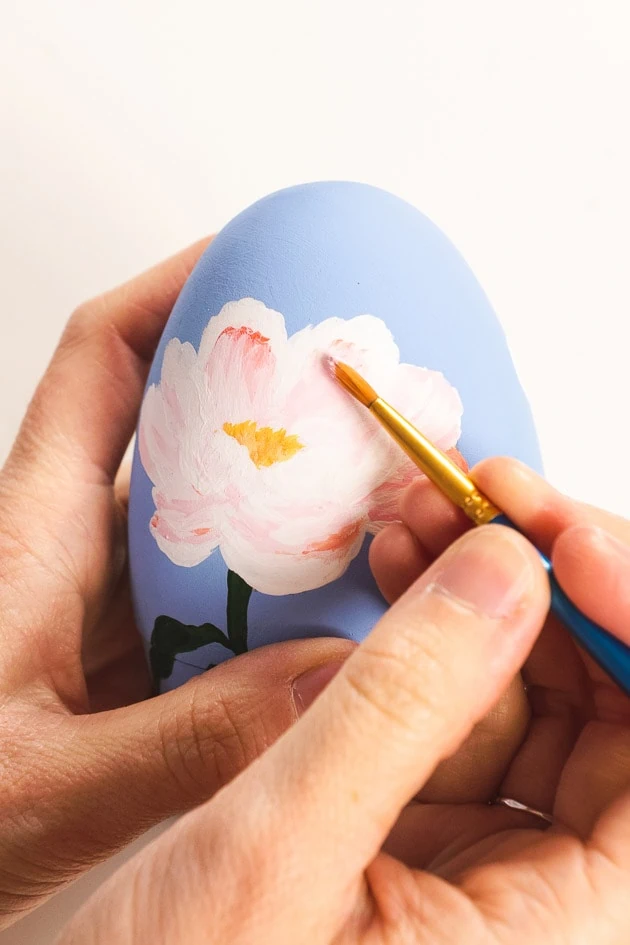
- Next, start painting in your design. I found it helpful to start with the larger blocks of color first, then move in to the smaller details and thin line work.
- Continue painting in the details until your design feels resolved.
- To keep the paint looking nice and shiny for years to come, finish up with a spray coat of mod podge.
See how easy? The nice thing about these nesting Easter eggs is that you can make them as simple or complex as you’d like. Just have fun with it!
More Inspiration
Loved this tutorial on nesting Easter eggs? Well we have LOTS more Easter content where that came from. These adorable Easter egg columns are another fun way to decorate easter eggs. Looking for more Easter egg variations? Try this honeycomb Easter egg tutorial, or learn how to decorate Easter eggs with dried flowers. Also check out this DIY pom pom egg tree or our popular Easter egg wreath. And don’t forget about our brand new Easter items: rope Easter basket, Easter basket choose your own adventure, and Palm Leaf Wreath. Also, here’s a link to all the Easter projects on our blog, and here’s one for our Easter shop.
Thank With Google
I also want to mention that I’m excited to be one of Google’s paid early testers for their Thank with Google pilot program! Thank with Google is an experimental feature that allows you to purchase a virtual sticker and directly show your support and appreciation for content on my website.
Our loyal community can now feel more connected and engaged because you have the ability to thank me directly and share a personal message when you send a paid sticker. You get to choose and select from a variety of different stickers that translate into direct revenue so we can have some added support as we continue to produce quality design and DIY content. I love that I can read through your messages and see what you love or appreciate about specific posts!
You can find the Thank with Google feature on my site as a button at the top and bottom of this and all blog posts. If you try it out, let me know what you think! I am so grateful for those of you who have been following along for a long time and those who are brand new– thank you for all the support!


