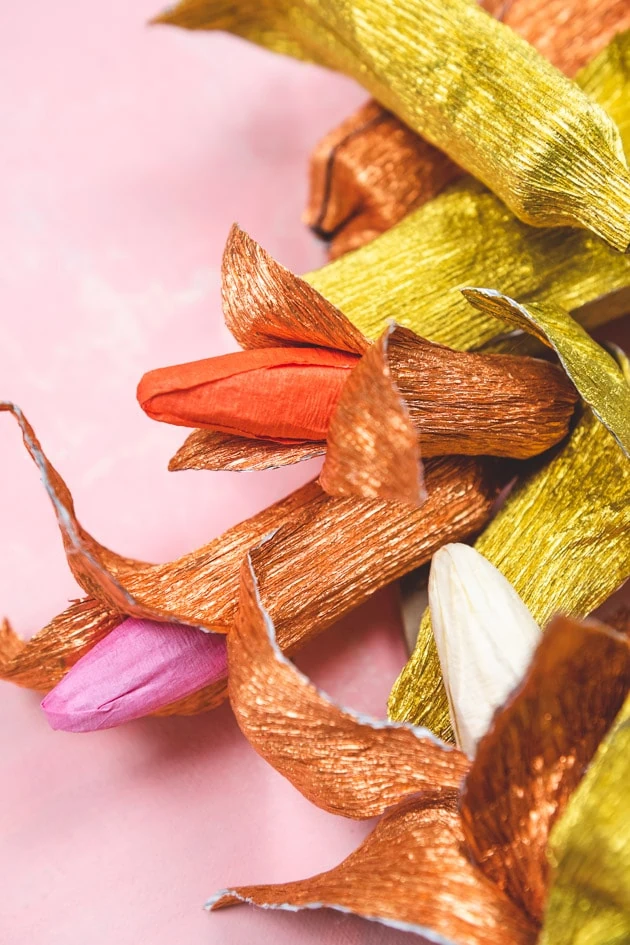
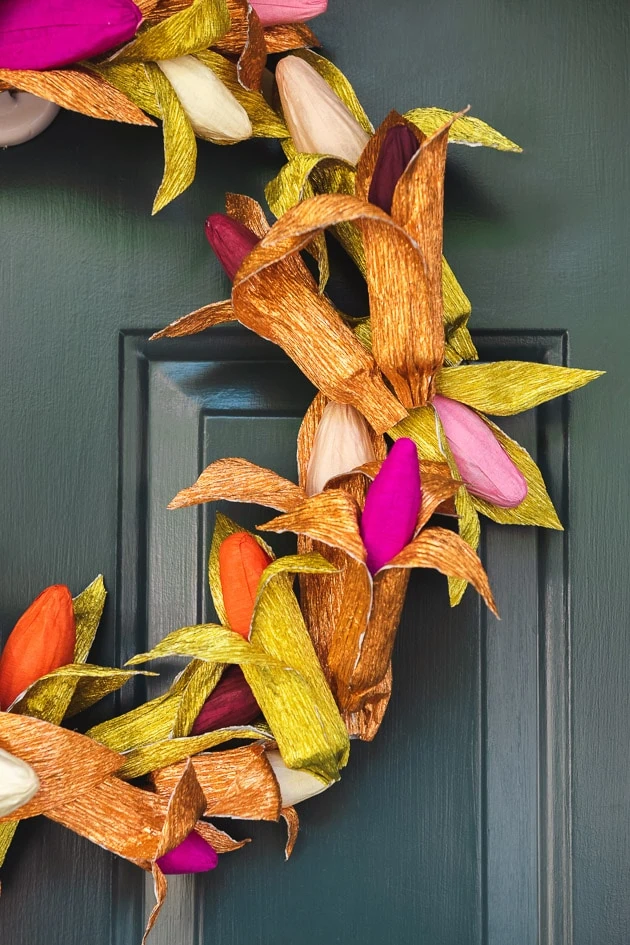
Well, it’s officially September and fall is in the air! Fall is such a cozy time, with the pleasantly crisp weather, sweaters and other cold weather fashion, and anticipation of holidays to come. Oh, and did I mention the decorations?! Fall decorations are some of my favorites, starting with wreaths. It’s the perfect time to freshen up your living space, and we’re excited to be sharing a brand new wreath with you this fall. Introducing our DIY corn wreath!
Materials:
- Corn wreath template
- Metallic crepe paper
- Tropical crepe paper
- English garden crepe paper
- Cardboard (we used old shipping boxes we had lying around the studio, but you can also use empty toilet paper or paper towel rolls)
- Tape (gaff tape works wonderfully well)
- Hot glue gun/glue
- Scissors
- Wreath form or wire to make your own
Crepe Paper Corn
I’ve always loved fall corn wreaths. They’re such a classic decoration, and so lovely. Well, naturally, we couldn’t help it but try out a new crepe paper take on a classic corn wreath! Based on our popular Easter egg wreath, we replaced easter eggs and greenery with colorful corn and husks. Then we revamped the color palette to your classic corn colorway and gave the husks a metallic glint with some gold and copper crepe paper.
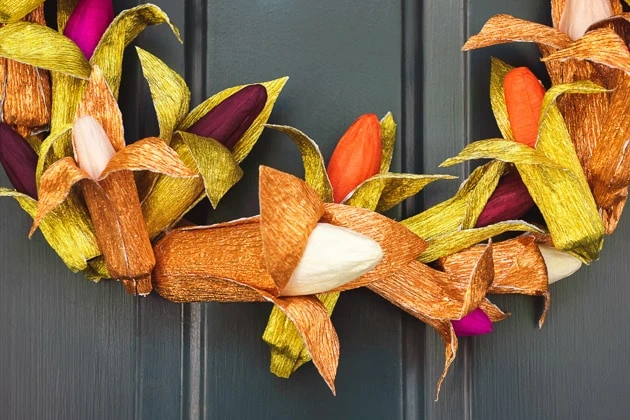
Here’s all you need to make your very own DIY corn wreath:
How to Make a DIY Corn Wreath
Making your own DIY corn wreath is surprisingly simple. Here’s what to do:
Prepping Your Cardboard
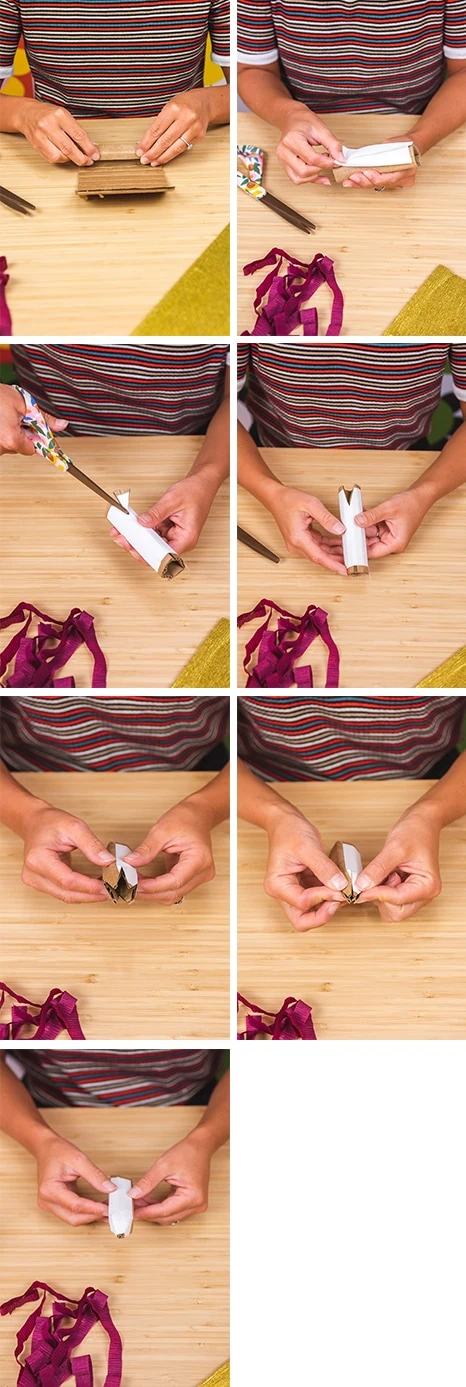
- Start by prepping your cardboard. Using the corn template found here, cut out as much corn as you want for the size of your wreath form. Our wreath form was 16” in diameter, and we used roughly 30 corn cobs of varying sizes.
- Now, tape each of your cardboard pieces into a cylindrical roll with a cone-shaped top.
Prepping Your Crepe Paper
Now it’s time to cut out the crepe paper for your corn cobs and husks.
- To prep for wrapping the cobs, cut long, thin strips about ¾” to 1” wide of each color of crepe paper (except the metallic, save that for the husks). Cut your strips against the grain.
- For the husks, use the template found here to cut out three husks per cob, using the metallic crepe paper. Make sure to cut the husks parallel to the grain to mimic the striations on real corn husks.
- Since the metallic crepe paper is one-sided, you’ll need to glue two pieces together so the back side doesn’t show.
- Now, once the husks are double-sided, shape the husks by gently pulling them out, width wise. Curve and shape them with your hands so they look like real corn husks.
Assembling Your DIY Corn Wreath
Now you can start assembling your corn!
- First, wrap each corn lengthwise, from end to end, with the crepe paper. Use a variety of colors and make sure the ends are at the bottom (the side without the cone). Secure with hot glue.
- Now, add the corn husks by shaping them to the body of the corn cob. Secure with hot glue.
- Once all the cobs are covered, you’re ready to add the corn to the wreath form! For this, simply arrange the corn on the wreath form until it’s as full as you’d like. We alternated colors of husks and corn for an allover effect of color.
- Done!
Styling your DIY Corn Wreath
As always, there are many ways to style a wreath. Of course you can hang it on your door as a classic fall wreath, but don’t feel limited! There are plenty of doors inside that you could hang a wreath on, as well as walls that could use a little extra love. You can even get creative and use the corn as a centerpiece come Thanksgiving, or a garland.
We would love to see what you do with your corn wreaths! Let us know in the comments!
More Inspiration
Looking for more fall crafts? Right this way. Here’s another lovely fall wreath made with baby’s breath! Also try this color blocked thread wreath or this lovely lemon wreath. And don’t miss this fall porch reveal!


