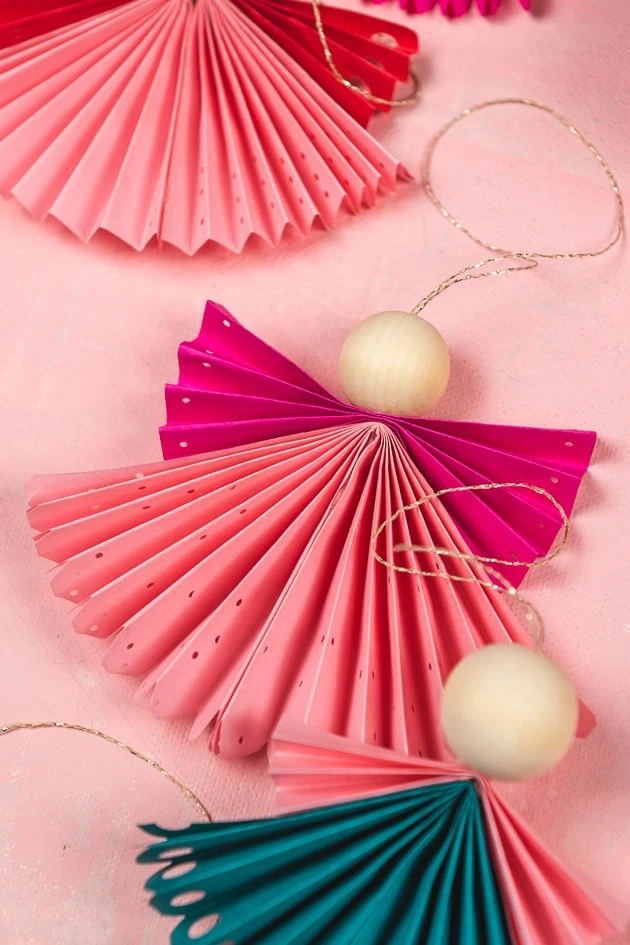
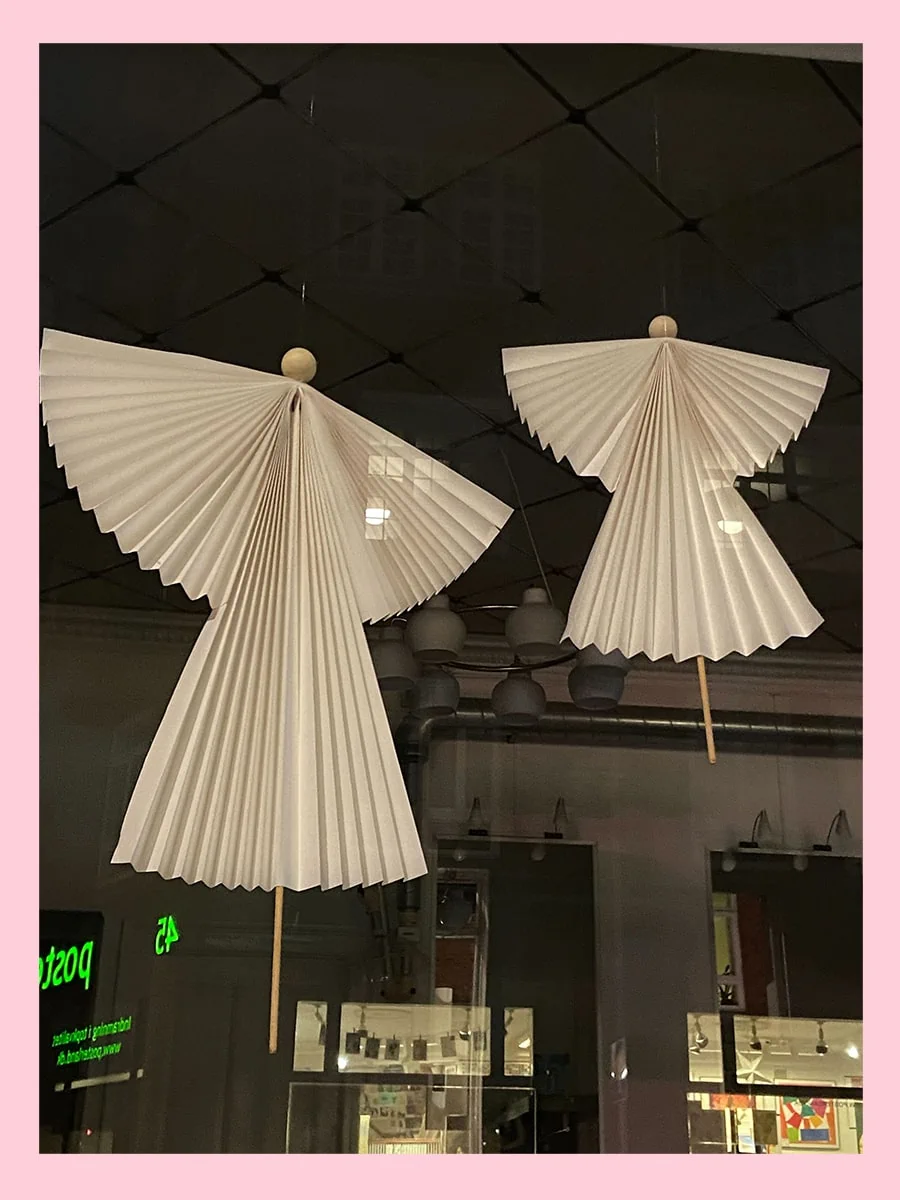
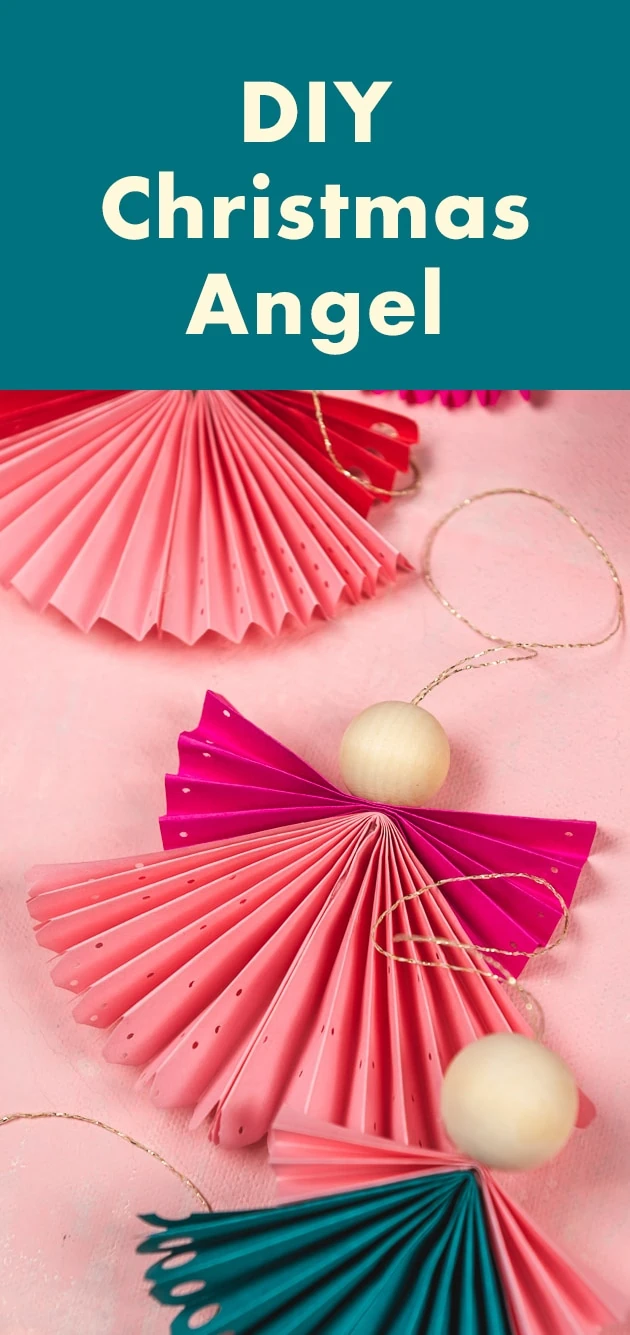
Last year we spent Christmas in Denmark with Paul’s family. It was amidst impending lockdowns so we spent a lot of time outside walking. I spotted some beautiful paper Christmas angels on a walk one night in someone’s window and took a picture (below) to remember it for this year. I made them smaller to use as ornaments or a gift topper. See below how to make this DIY Christmas angel!
Materials:
DIY Christmas angel
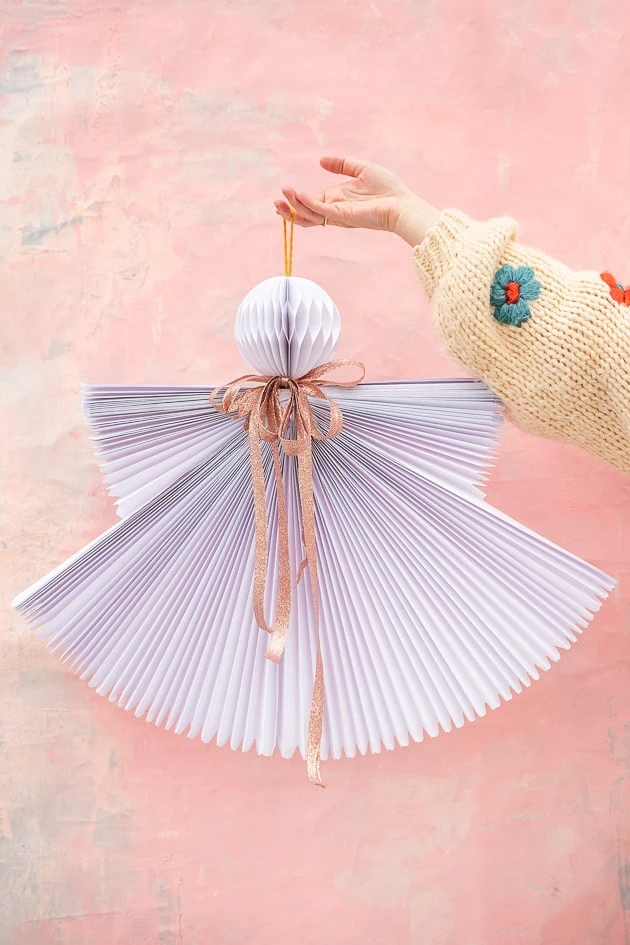
Here’s the picture of the oversized DIY Christmas paper angels. I LOVE the ginormous size and even tried it out myself, but I’m showing you how to make a pint size version today.
These DIY paper angels are a common Scandinavian tradition and they make them so beautifully, usually in white. BUT, this is Lars, and we had to put them into colorblock colors! I LOVE the colorblock, what do you think?
DIY Christmas angel
See the materials list above and here’s how to make one!
Prepping your paper for the DIY Christmas angel
- Cut your paper into two different sized rectangles, one 5×6 in. for the angel skirt, and one 3 ½x3 in. for the angel wings.
- Start with your bigger piece of paper and begin folding on the longer edge like an accordion. Folds can be about ¼ of an inch or 1 centimeter wide.
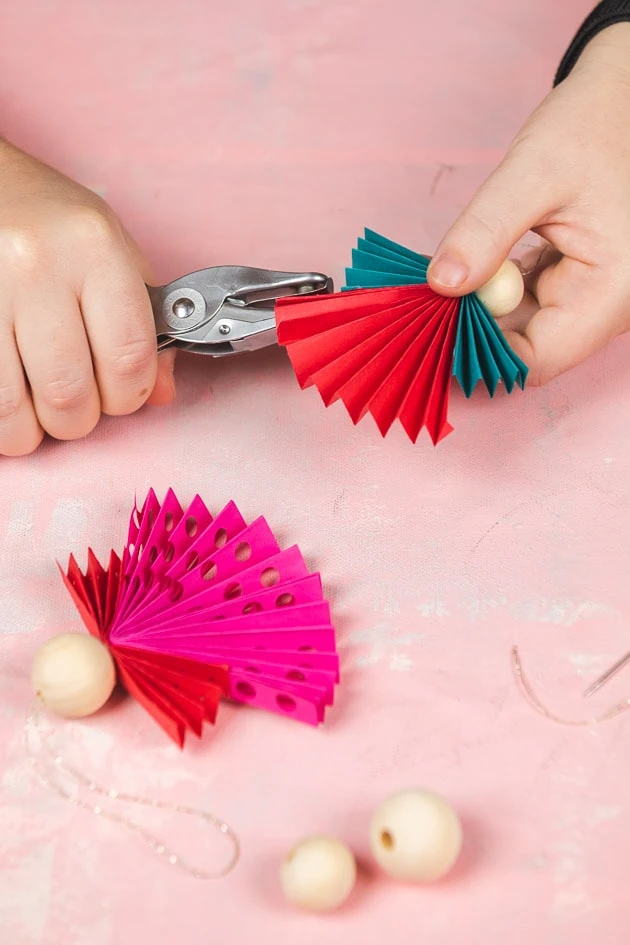
- Take the folded paper and fold it in half to find the middle, punch a small hole in the middle.
- Take the smaller rectangle and fold just how you did the larger paper, on the longer edge, to make the wings. Fold in half and make a hole in the middle.
Stringing the angel all together
- Take your string and cut it to about 10 inches.
- Fold the string in half and tie loose ends of the string together in a knot that is bigger than the hole in the middle of your papers.
- Thread the looped end of the string through the bottom of the larger folded paper, then the bottom of the smaller folded paper, and then grab your large bead for the head and thread that on as well.
- Trim the excess thread.
Gluing the Christmas angel all into place
- With your hot glue gun, put glue on just one side of the folded paper, bring it together with the other side to connect them, and hold while glue dries.
- Now you can glue the wings to the skirt! Put a strip of glue on the under edge of the wings and press to the top of the skirt.
- Put a blob of glue around the hole on the top of the wings and glue the head in place.
- Now you can unfold it all and see your angel!
View this post on Instagram
Decorate the Christmas angel
Decorate however you like by punching holes in the skirt and wings to create a lace effect. You can also cut the corners to make them rounded, giving a scalloped look. Enjoy!
DIY Oversized paper angel
I LOVED the original oversized versions so much that I tried that out as well.
And you’ll never guess what we made it from…you ready???
Here’s how to make the oversized paper angel
Those temporary shades that you can find at the hardware store. We lived in these blinds until recently and I had a few hanging around so we went to town with them. They come like 6 for $20 already on Amazon perfectly folded so all you have to do is assemble. Quick and easy!
Here’s the how to for the big paper angel
- Cut one of the shades to be 21 inches. This will be your angel’s wings.
- Punch a hole through the center of both shades. (You will need to punch holes in sections at a time)
- Thread yarn through the holes to connect the skirt and the wings to make a loop at the top. Make sure that the sticky strip is face down for both of them. Tie the yarn into a knot at the bottom so it doesn’t come through.
- Now you can take off the plastic strip that covers the sticky strip. Fold the bottom down to connect with the other side, making the skirt full.
- Now you can stick the wings to the skirt using the sticky strip on the bottom of the wings.
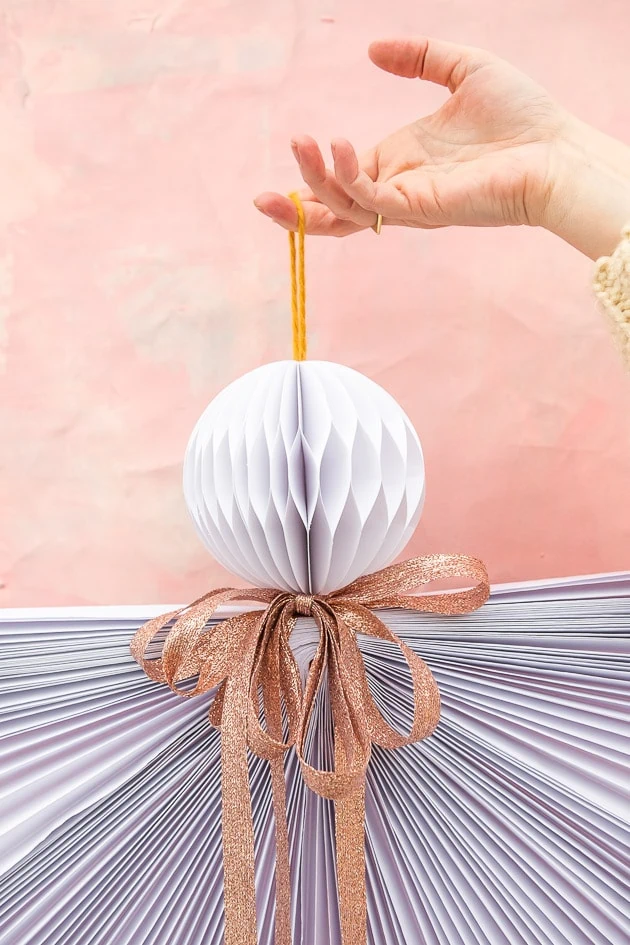
- Make the head using the honeycomb tutorial (we didn’t use doilies here but I think they’d be super pretty!)
- Attach it to the top, around the yarn!
- You can cut the edges for a more rounded scalloped look!
- Add a ribbon for a sweet finishing touch (we got our ribbon from Studio Carta)
Would love to see if you make it. Tag us with #LarsMakes if you do!









Comments