As you may have heard because we can’t stop talking about it, we partnered with Lime Ricki on a collection of swimsuits–it was a dream. The prints were inspired by my Scandinavian roots.
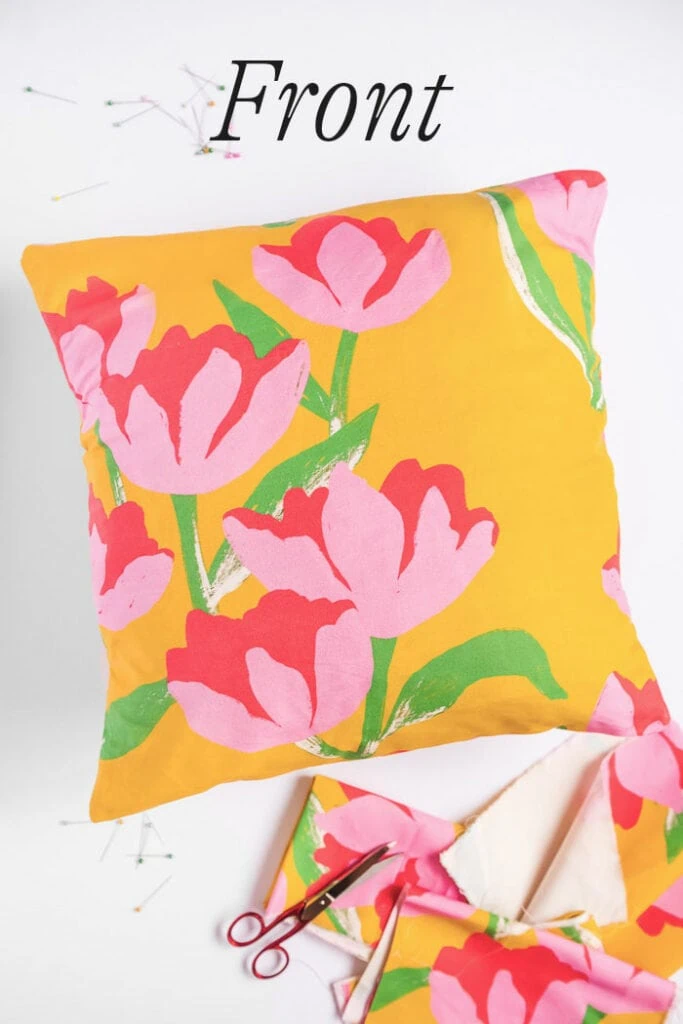
For the launch party at the Lime Ricki store in Provo, we incorporated the same prints used for the swimwear in as many places as I could, so we made two throw pillow covers using our “Claus” pattern with fabric ordered from Spoonflower (yes, the fabric is available as a collection over in our shop!). I was amazed at how much this simple detail made such an impact on the space and really tied everything together. Maybe there is a place in your home that needs a little sprucing up with a fun throw pillow! Use these instructions for an envelope pillow to make your own!
Materials:
How to make an envelope pillow case
This envelope pillow case tutorial is one of the easiest ways to make a pillow case because you don’t need to do a zipper or buttons or anything fancy really. It’s SO SO easy! We decided to take this approach because of 1) time and 2) we were covering pillows that Lime Ricki already had and didn’t want to sew it completely close. Now they can take them off when they want to!
View this post on Instagram
Spoonflower sent us some of the fabric from our new patterns on our shop. I chose the cypress cotton canvas substrate because the pillows are meant for a commercial space and will get a lot of wear and tear, but if it’s for your home, you can choose like a poplin or something–just dpened on what you’re going for! They use these throw pillows on the chairs for the dressing rooms.
This is a great way to add in color and pattern without too much commitment!
Material needed:
- Fabric
- Scissors
- Sewing Machine
- Thread
- Sewing pins
Cut your fabric:
- For this pillow case you will need 3 pieces of cut fabric, one for the front, and two for the back that will overlap!
- First cut out your front panel. This piece will be the size of your pillow so if you have a square pillow that is 18 inches on each side you will cut out a square that is 18 inches on each side! You may want to have some extra fabric on the sides for seam allowance but our pillows were very soft and squishy so we made it the same size to fill it up!
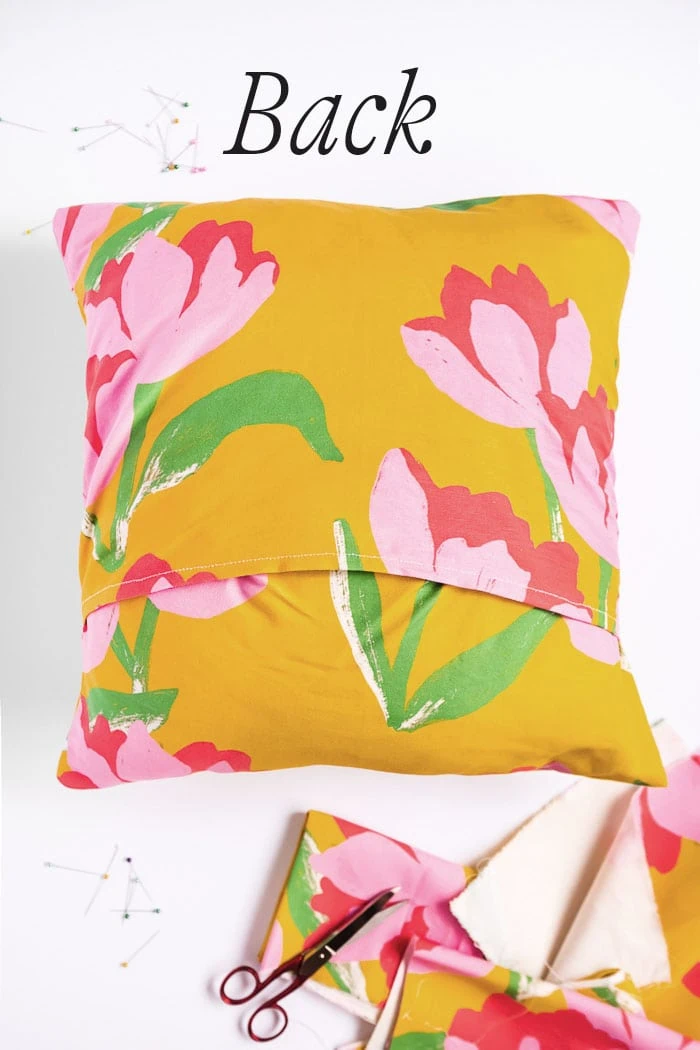
- For the back panels you will cut them the same width of your front panel, but half the length, plus 5 inches.
For example:
- Front panel (1): 18 inches wide 18 inches tall
- Back panels (2): 18 inches wide 14 inches tall
Now to put them together:
- Start by sewing a seam on the bottom of the top back panel and the top of the bottom back panel.
- Fold your edge about ½ and inch and then fold it again and pin.
- Sew!
- Now, with your two back panels having an edge sewn you can place it all together and pin!
- Place the front panel with the right side up in front of you, making sure it’s facing the way you want it to.
- Now place the back bottom panel right side down on top of the front panel lining up the bottom edge
- Place the back top panel on top of your front panel and other back panel, right side down, and line it up at the top. It should overlap with the bottom back panel
- Pin all around the edges and sew each edge!
- When it’s finished, you can do a zig zag stitch going off the edge of the fabric to make sure it doesn’t fray, but I did not because it’s all tucked into itself and I’m not too worried about fraying.
- Cut off the excess fabric on the corners without cutting into the stitching, this will make the corners of your pillowcase nice and pointy.
- Turn inside out and fill with your pillow!
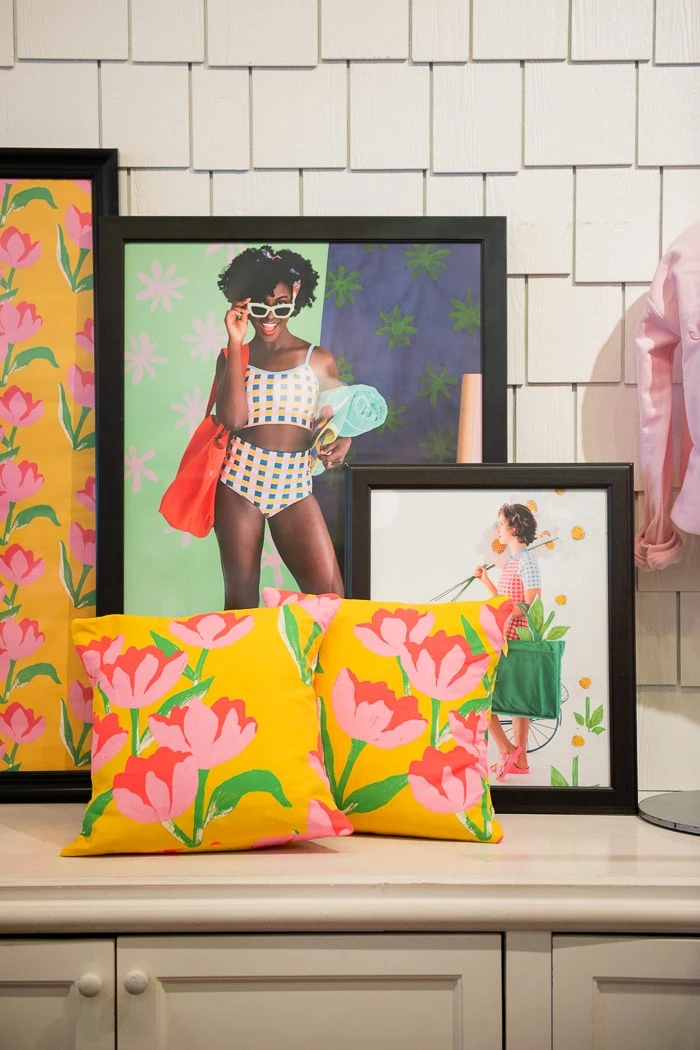
Look how cute they are in the Lime Ricki store!
Now you can spice up any space with any fabric, you can welcome in spring with a fun floral! Share your work with us! Tag us with #LarsMakes or #LarsSews so we can see what you’ve made! We love to share our favorites on our Instagram stories!





Comments