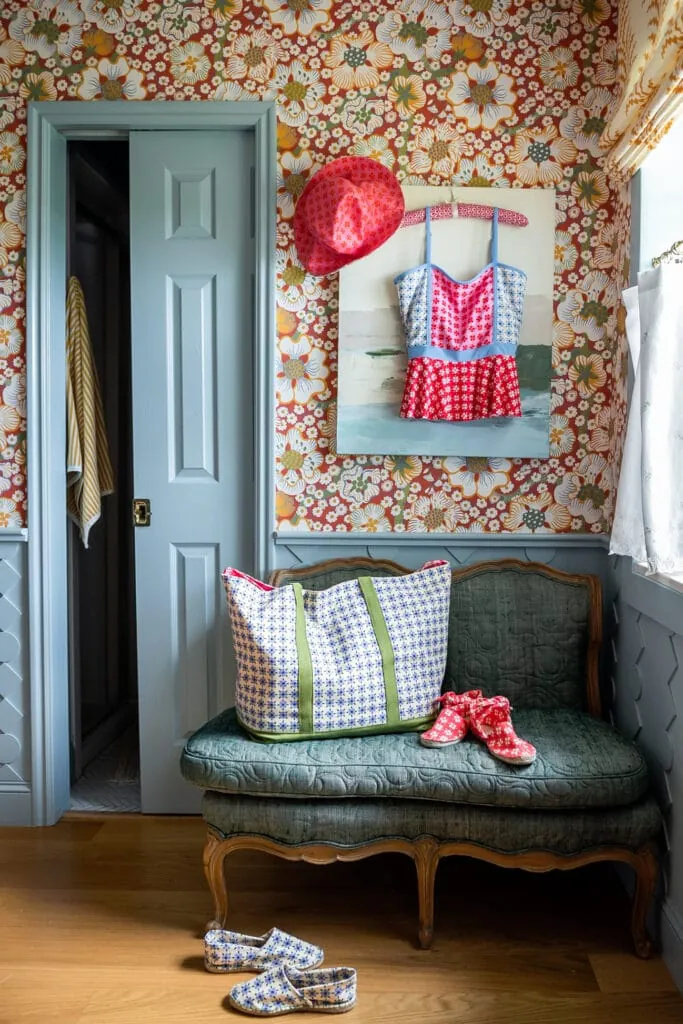
Did you know you can make your own espadrilles?! My mind was blown when I made this discovery. It’s like finding Narnia–think of all the amazing shoes you can make with just a quarter of a yard! Is your jaw to the floor too?! All you have to do is get the soles (and of course I’ll tell you where below), download our pattern(s), find a cool fabric fabric, and start. We also did a beach bag and bucket hat to go with them. We a twist on the traditional silhouette and created an ankle tie espadrille pattern–because life is always better with a bow.
What are espadrilles?
Nothing completes a summer get-up quite like a pair of espadrilles. These quintessential summer sandals are perfect for a walk on the beach, an afternoon picnic, and wherever else your summer frolicking may take you. Their comfiness and casual-chic vibe have made them a popular shoe in Spain for nearly 4,000 years and we can totally see why (I mean if something ain’t broke, why fix it?). Made from an indigenous Spanish grass called esparto, the iconic espadrille soles are both functional and comfortable, while the canvas tops of the shoe make it breathable.
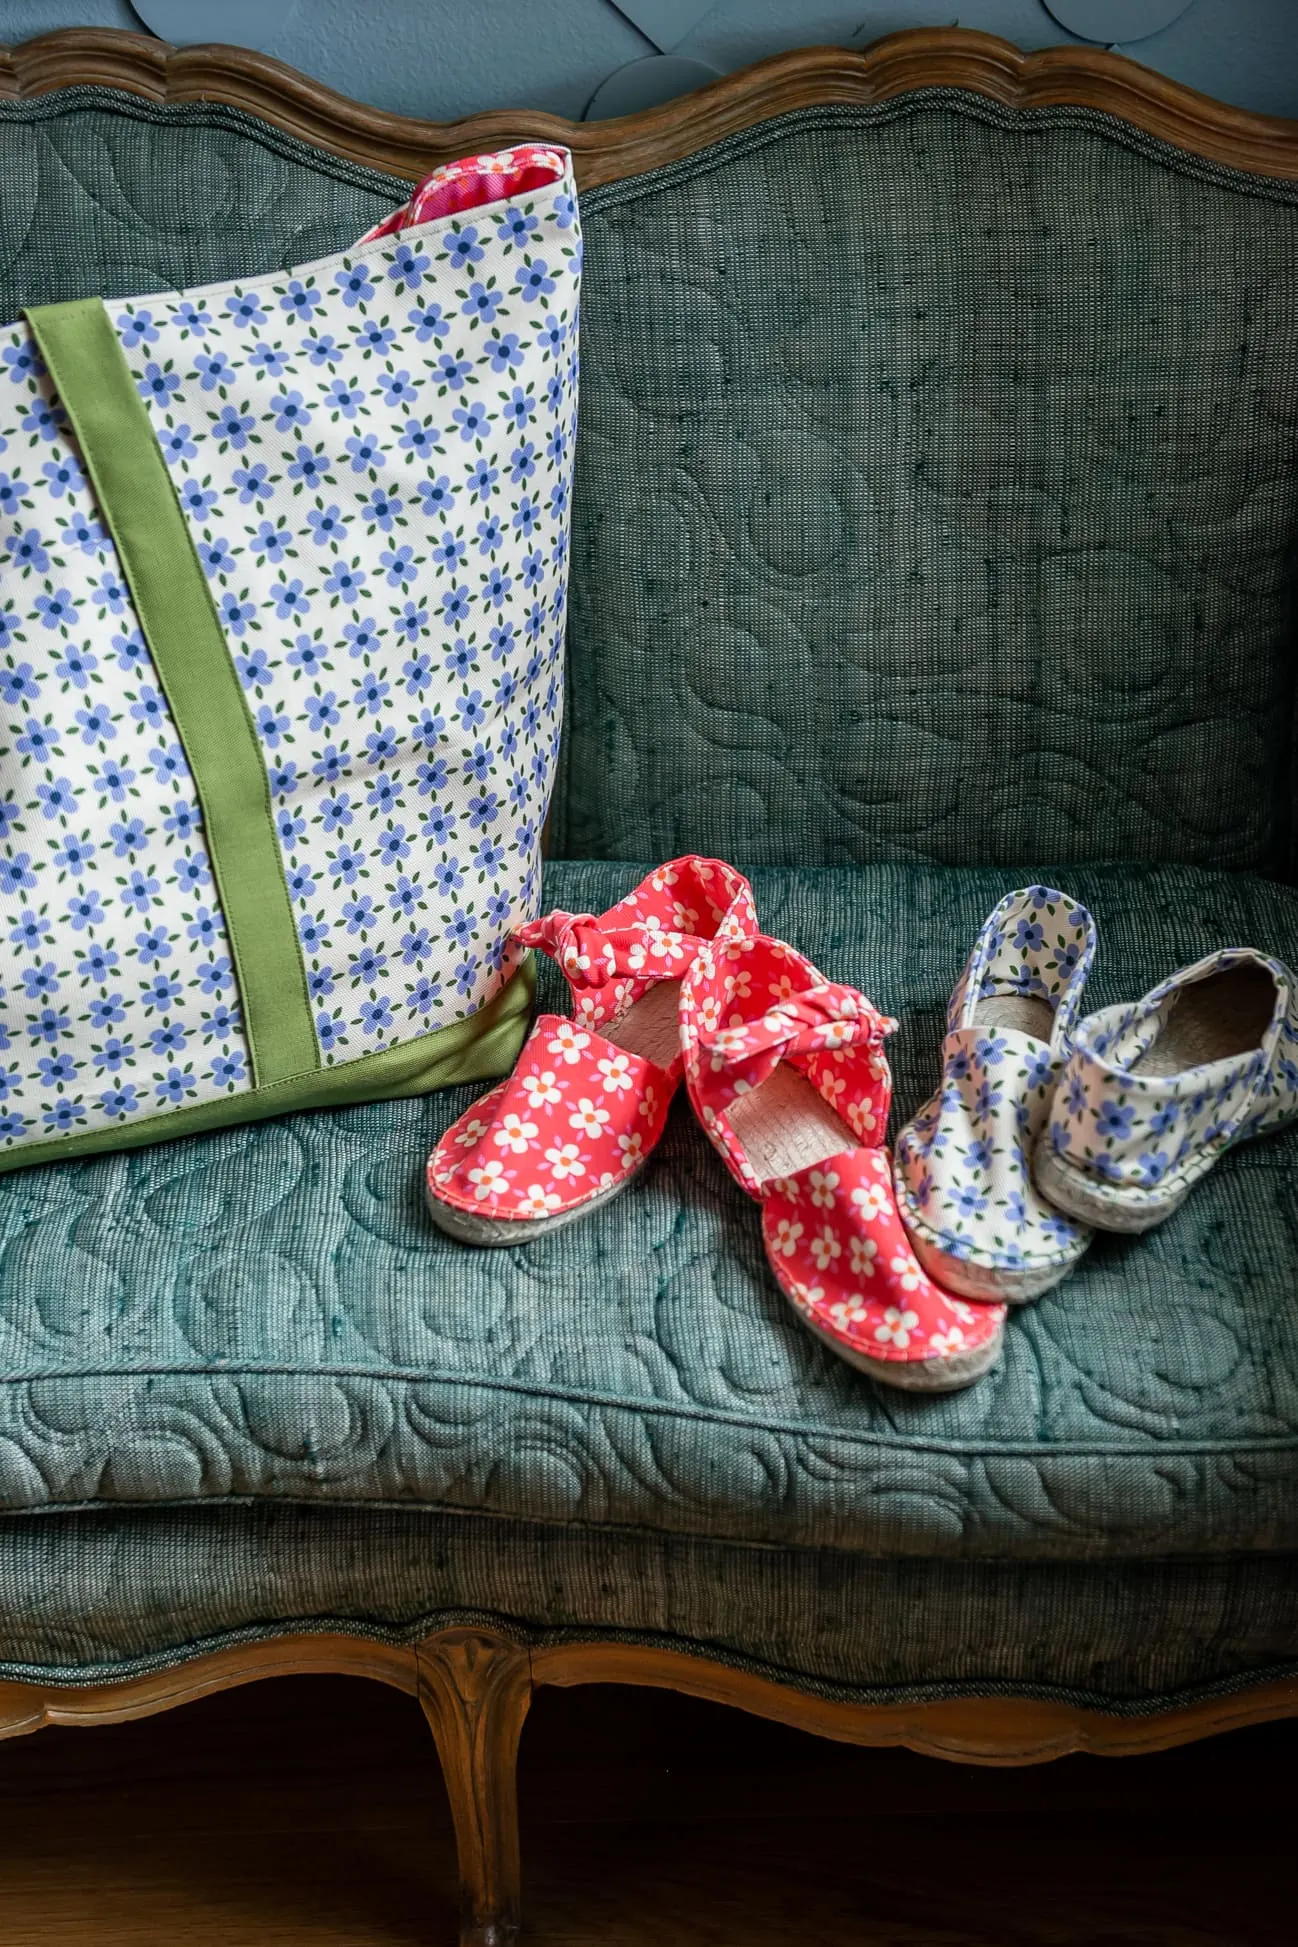
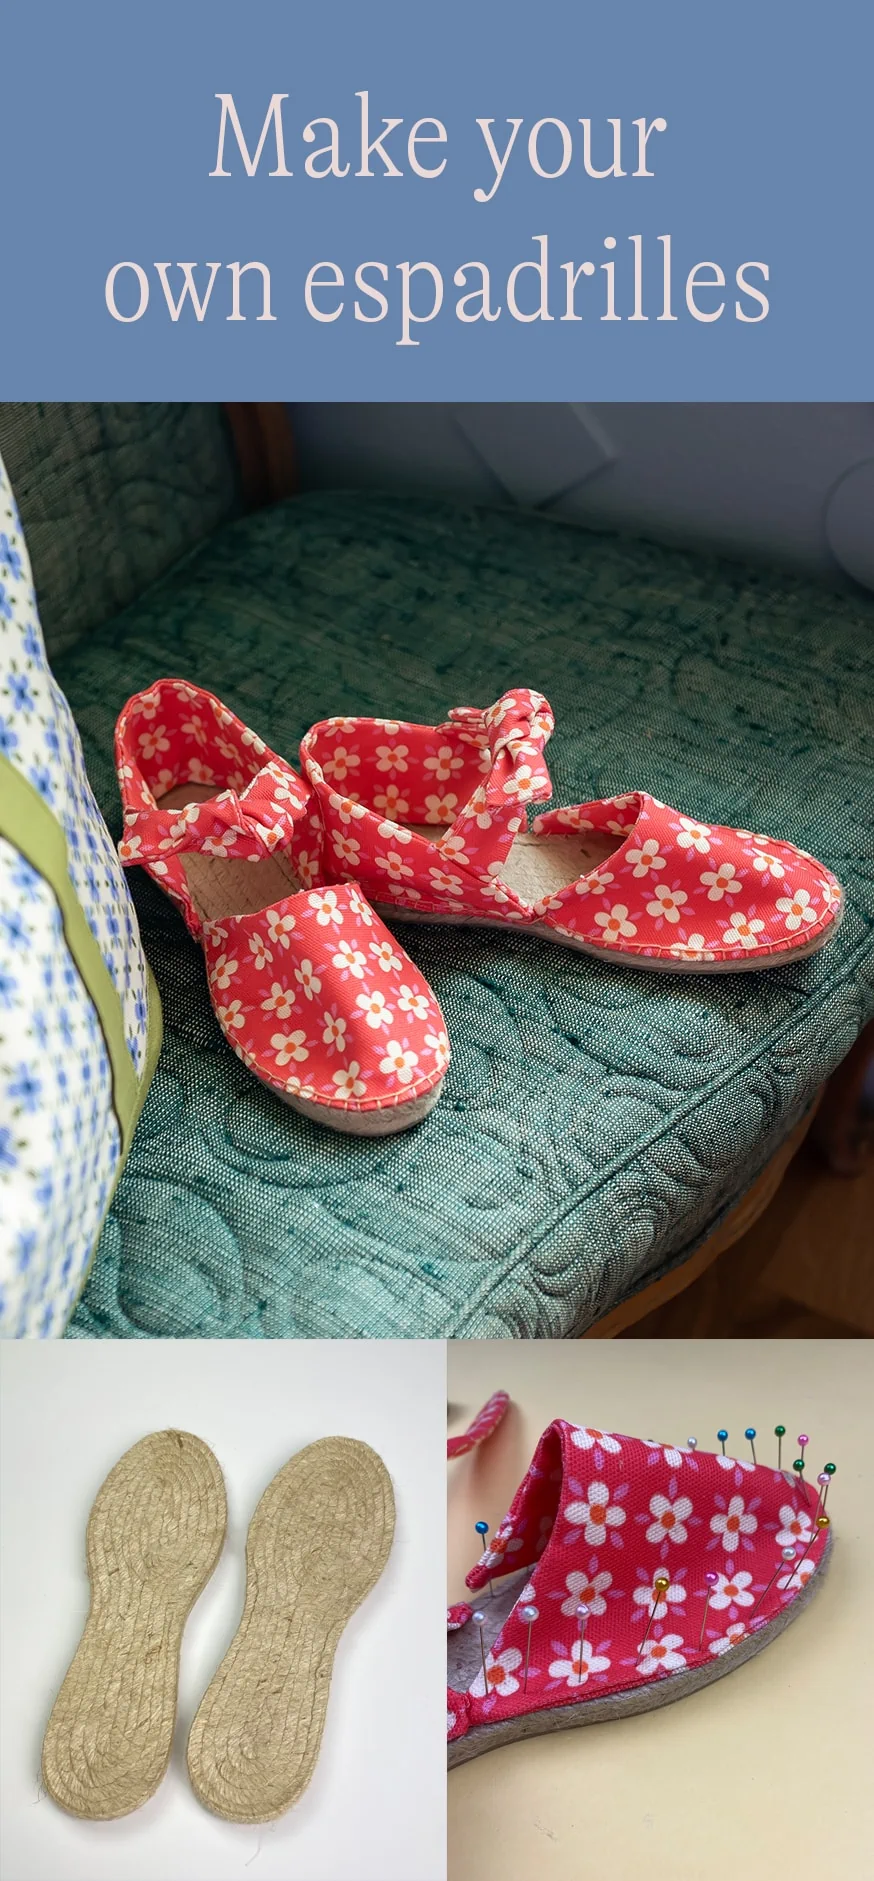
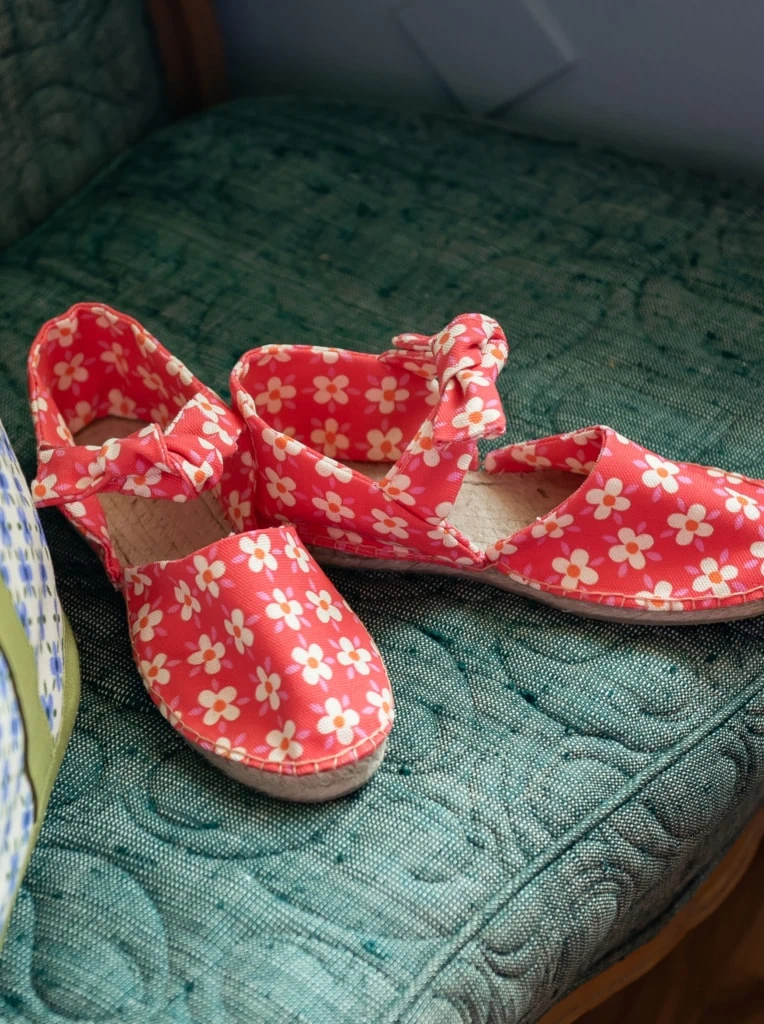
You will soon understand why the people of Spain have loved these shoes for literally thousands of years. DIY espadrilles are also a fun and easy way to incorporate your favorite fabrics into your summer wardrobe! We made our own ankle tie pattern because we love a good bow moment. Pick your favorite and let’s get sewin’!
How to make a pair of espadrilles
Difficulty:
beginnerTime:
2 hoursMaterials
- A pair of espadrille soles (We recommend sizing up one European size from what you normally wear (Ex., If you are normally a US size 8 = Euro size 38 — You would order a Euro size 39)
- 2 fat quarters of linen cotton canvas fabric for your shoe design
- One skein of embroidery floss
- Embroidery needle
- thimble
- Sewing machine
- iron and ironing board
- Scissors/rotary cutter + cutting board
- Pins
- Pattern
Instructions
- Print out the pattern pieces.
-
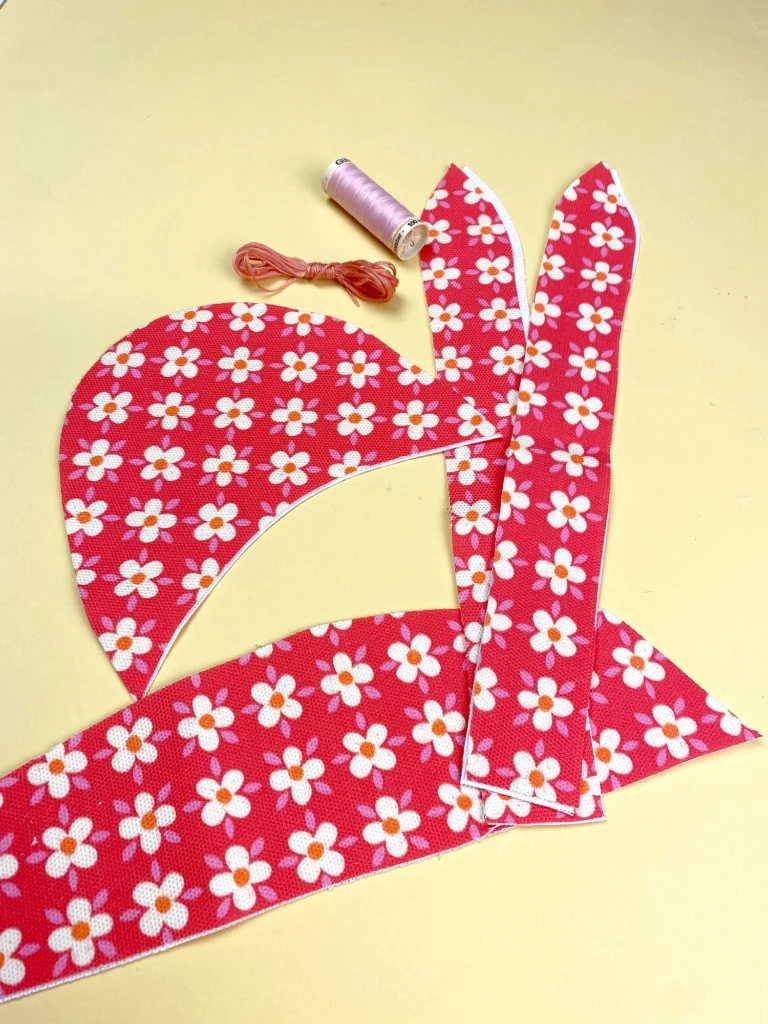
Cut out FOUR pattern pieces of the top of the foot piece and the heel piece. (2 pieces for each shoe). Cut out EIGHT ankle bow pieces. If you are contrasting the outer fabric and inner fabric for the shoe, cut 2 pieces of outer fabric and 2 pieces of inner fabric for each pattern piece.
If you are using the same fabric for the outer and inner parts of the shoe, cut with the fabric folded to make the process faster. (Cutting 2 pieces in one slice)
-
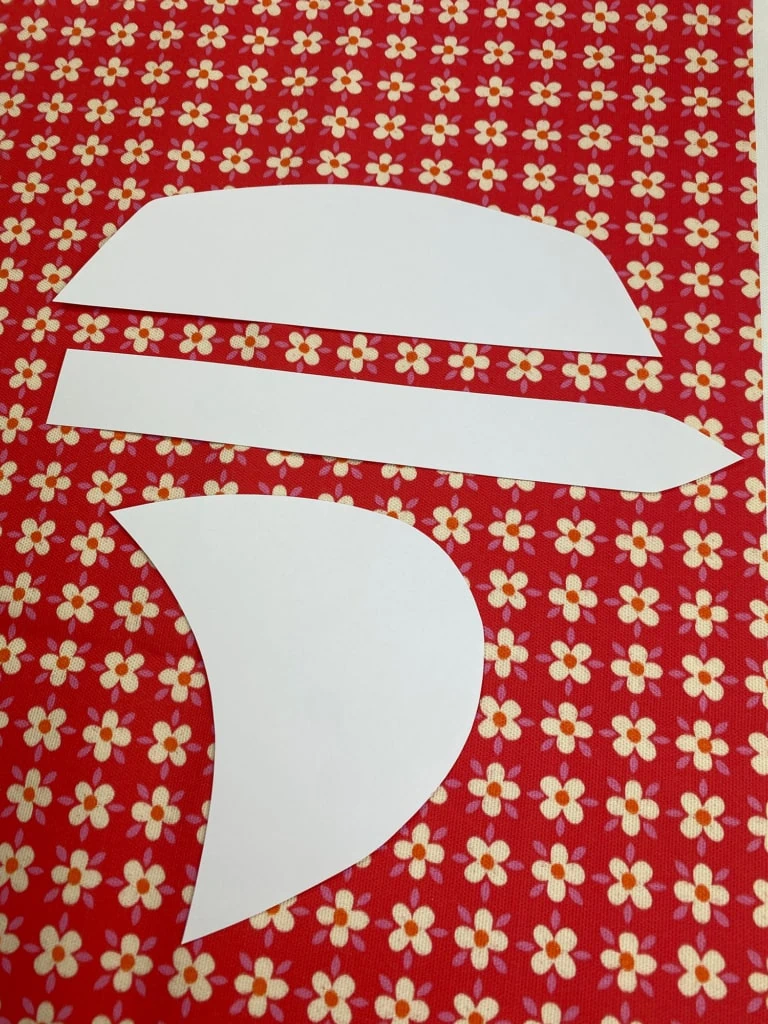
Place pattern pieces on top of your fabric of choice, pin the pattern to the fabric and cut the pieces out. Tip: For cutting double pieces, make sure your fabric is folded in half when you place the pattern piece on it, so when you cut it out, you cut out 2 pieces.
-
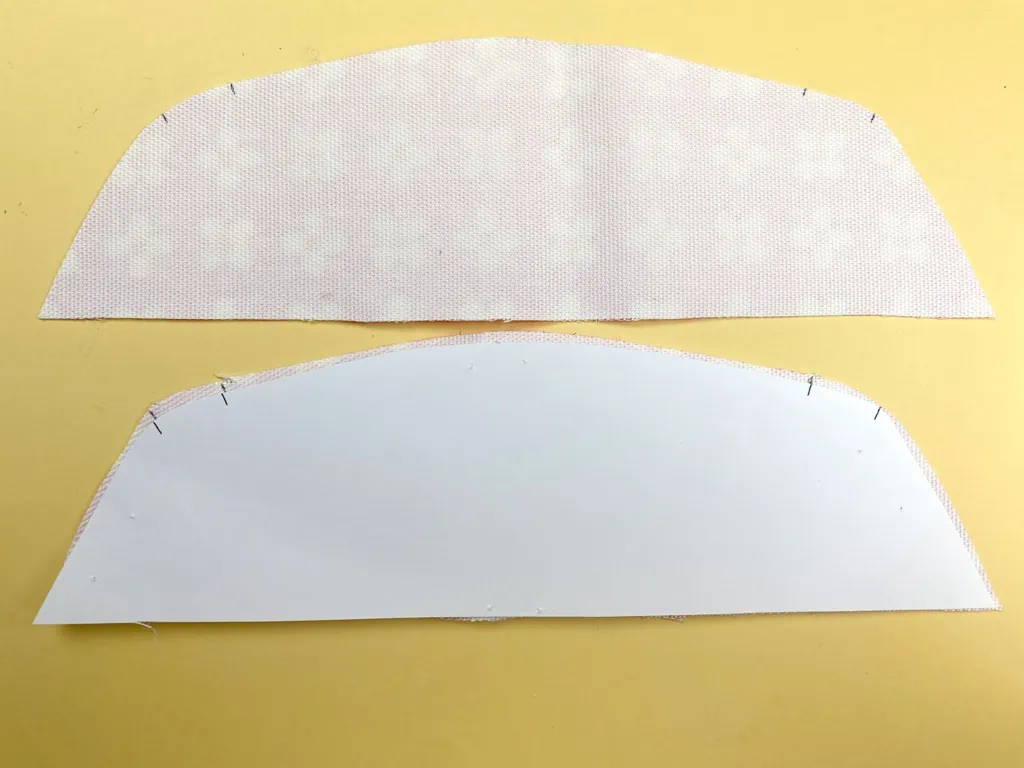
TOP OF FOOT PIECE: Line up the outer and inner top of foot pieces of both shoes, right sides together (pattern side facing each other.). Starting at notch A, sew a ⅜ seam around the sides until you get to notch B. Clip the fabric from the corners and turn the piece right side out. To make sure the corners are nice and pointy, you may have to push a pencil or scissors into the fabric to push out the fabric. Press the entire piece, making sure your seams are nice and flat. Tuck the ⅜ opening hole inside and press. Pin it, and sew it shut.
-
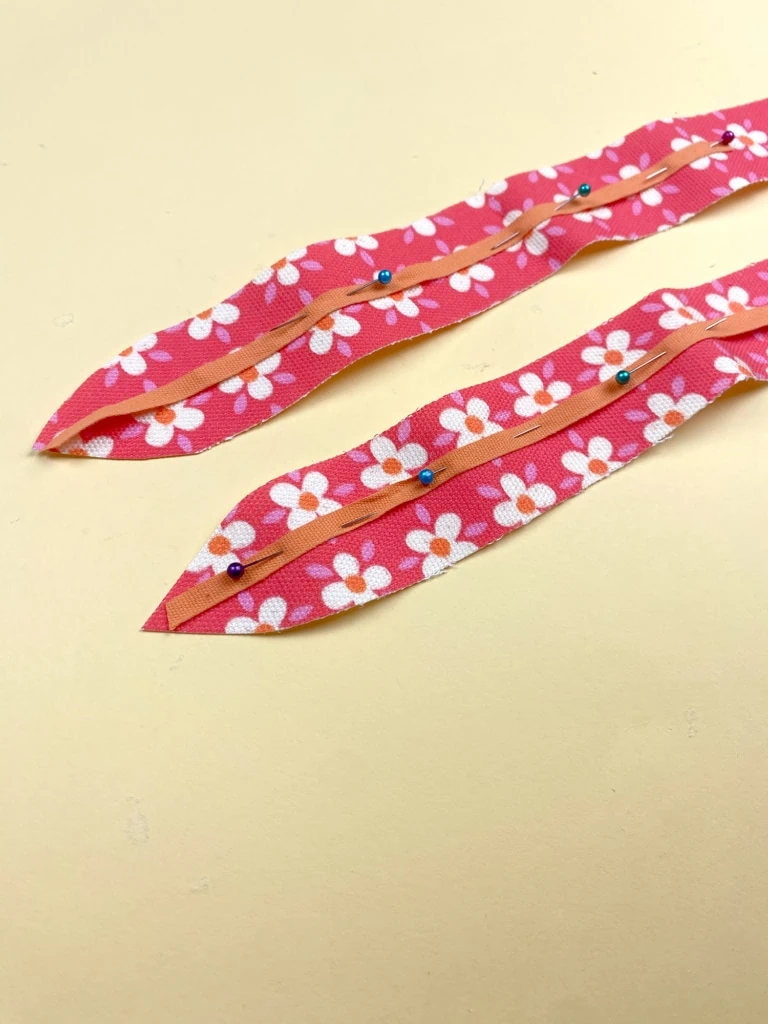
BOW TIES: Line up the outer and inner bow tie pieces of both shoes, right sides together (pattern side facing each other.). This one will be slightly more tedious, but you can do it! Starting at notch A, sew a ⅜ seam around the sides until you get to notch B. Clip the fabric from the corners and turn the piece right side out. Tip: insert a piece of ribbon inside your two bow pieces, and sew it to the top point of the bow. When you are turning this piece right side out, use the ribbon to pull the point out. This is a skinny piece of fabric and sometimes it is hard getting your fingers in there, so this makes it slightly easier. To make sure the corners are nice and pointy, you may have to push a pencil or scissors into the fabric to push out the fabric. Press the entire piece, making sure your seams are nice and flat. Tuck the ⅜ opening hole inside and press. Pin it, and sew it shut. Do this with all 4 of the bows.
-
BACK OF FOOT: Line up the outer and inner back of foot pieces of both shoes, right sides together (pattern side facing each other.). Insert 2 bow tie pieces to the corner edges of the heel piece, where the notches indicate. Making sure you sew over the bows, start at notch A and sew a ⅜ seam around the sides until you get to notch B. (The entire bottom of the heel will be open because of the bow’s sticking out) This secures the bows to the heel piece. Clip the fabric from the corners and turn the piece right side out. To make sure the corners are nice and pointy, you may have to push a pencil or scissors into the fabric to push out the fabric. Press the entire piece, making sure your seams are nice and flat. Tuck the ⅜ opening hole at the bottom inside and press. Pin it, and sew it shut.
-
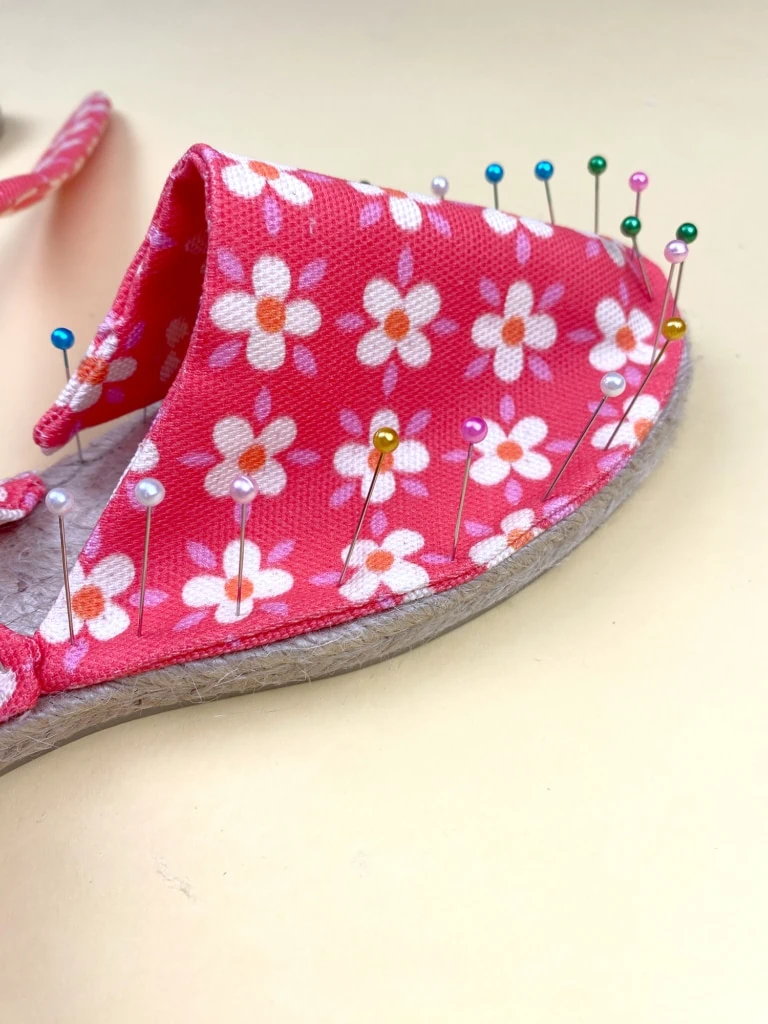
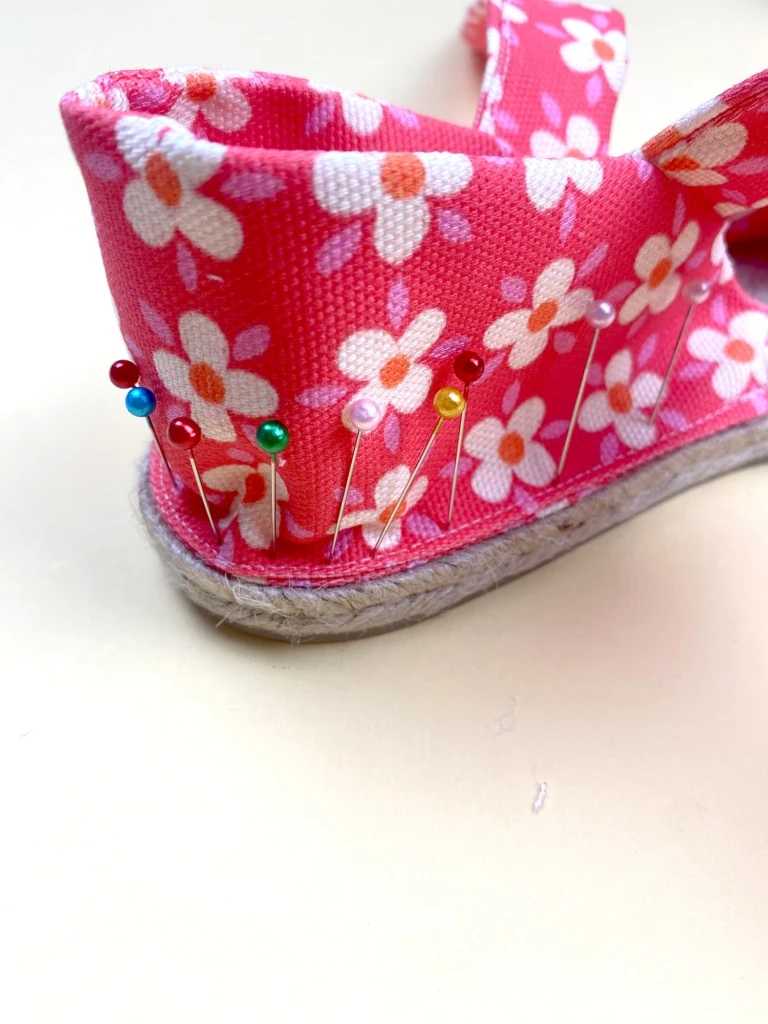
Next, we will pin these pieces to the soles! Line up the center of the heel pieces with the back center of the soles. Stick straight pins through the fabric layers into the espadrille sole. Use a lot of pins all around the perimeter of the shoe until you have the entire heel piece pinned down. The heel piece should end around the same point on both sides near the arch of the foot.
- Do the same with the top of the foot piece. At the front of the shoe, gather the fabric a little bit so your toes can have some room to move while walking. Pin generously again all around the perimeter of this piece. Both sides should again end roughly at the same point, barely touching the ends of the heel piece.
-
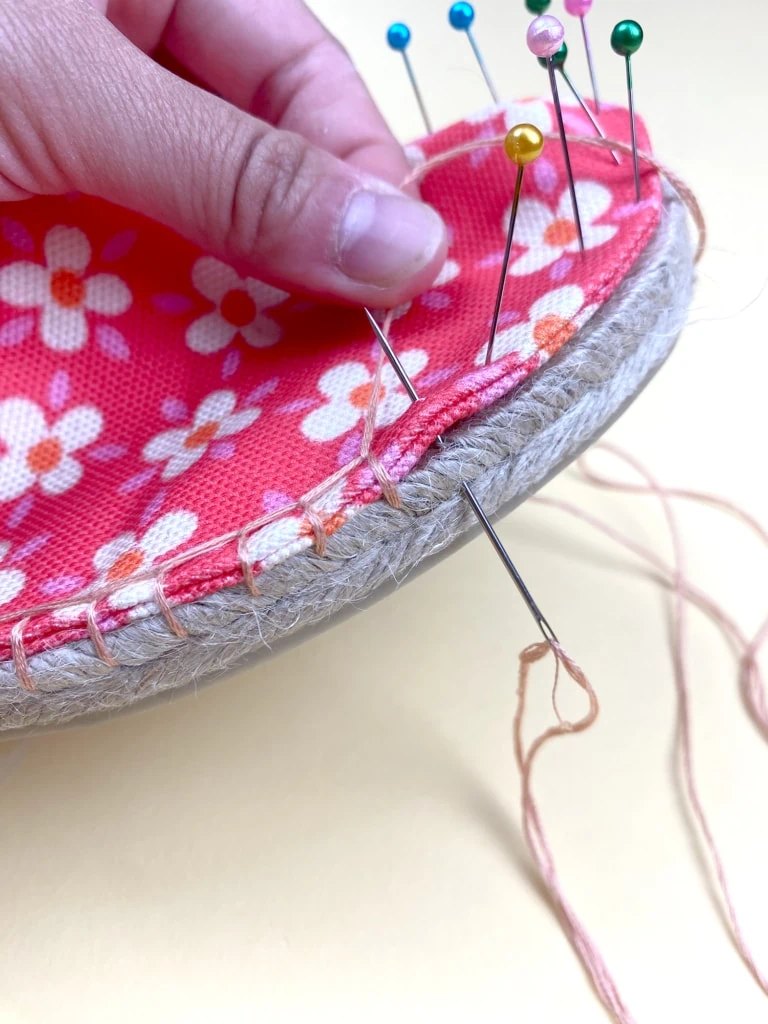
Starting at one side of the shoe where the top of the foot piece and back of the foot piece are slightly overlapping, begin hand stitching with a blanket stitch. Blanket stitch tutorial here — add a video link?? I had to look up how to do it so this would be helpful
Beginning the stitch you will first stick your needle through the fabric, then down onto the sole. And repeat the blanket stitch pattern.
The soles are soft enough for the needle to go through, but sometimes the thick layers of the fabric can make it hard to push through. You can use a thumb thimble for some leverage to push the needle through the fabric and sole so you avoid hurting your actual thumb.
Stitch around the entire perimeter of the shoe until finished. Finish the stitching by sewing closure knots on the inside of the fabric (so it is not showing on the exterior of the shoe) and snip!
Whether you’re lugging your kids and what feels like half of your earthly possessions (the floaties, the sunscreen, the diapers, the backup diapers, the swim toys, and occasionally your sanity) to the neighborhood pool every day or are headed to a fancy pants outdoor gala, these cute and comfy summer espadrilles will get you where you need to go in style!
We can’t wait to see what you create! And if you’re in the mood for more making, try out our DIY beach bag and DIY bucket hat! Tag us with #LarsMakes so we can all see!


Comments