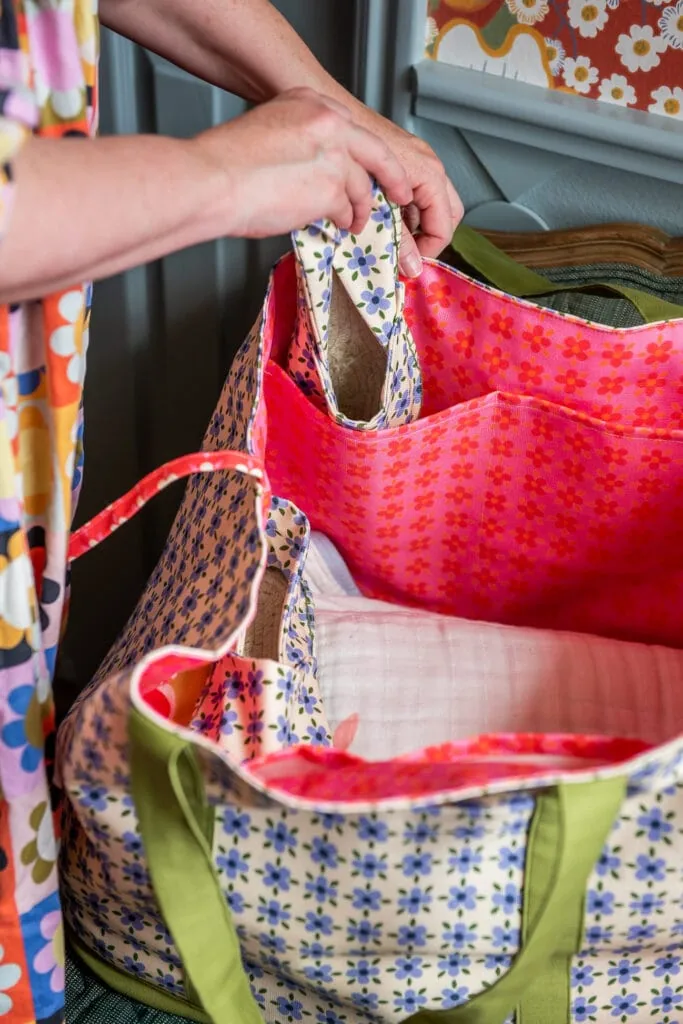
With our Lime Ricki swimsuit collection going just swimmingly, we wanted to make more things out of the fabrics we designed so we put them all on our Spoonflower shop. You can get the pattern in basically any type of fabric from jersey to linen to velvet. I was aching to make more accessories to go with the swimsuits so we turned them into some summer accessories like some DIY espadrilles and a bucket hat, but today we’re sharing a DIY beach bag and a pattern to go with it!
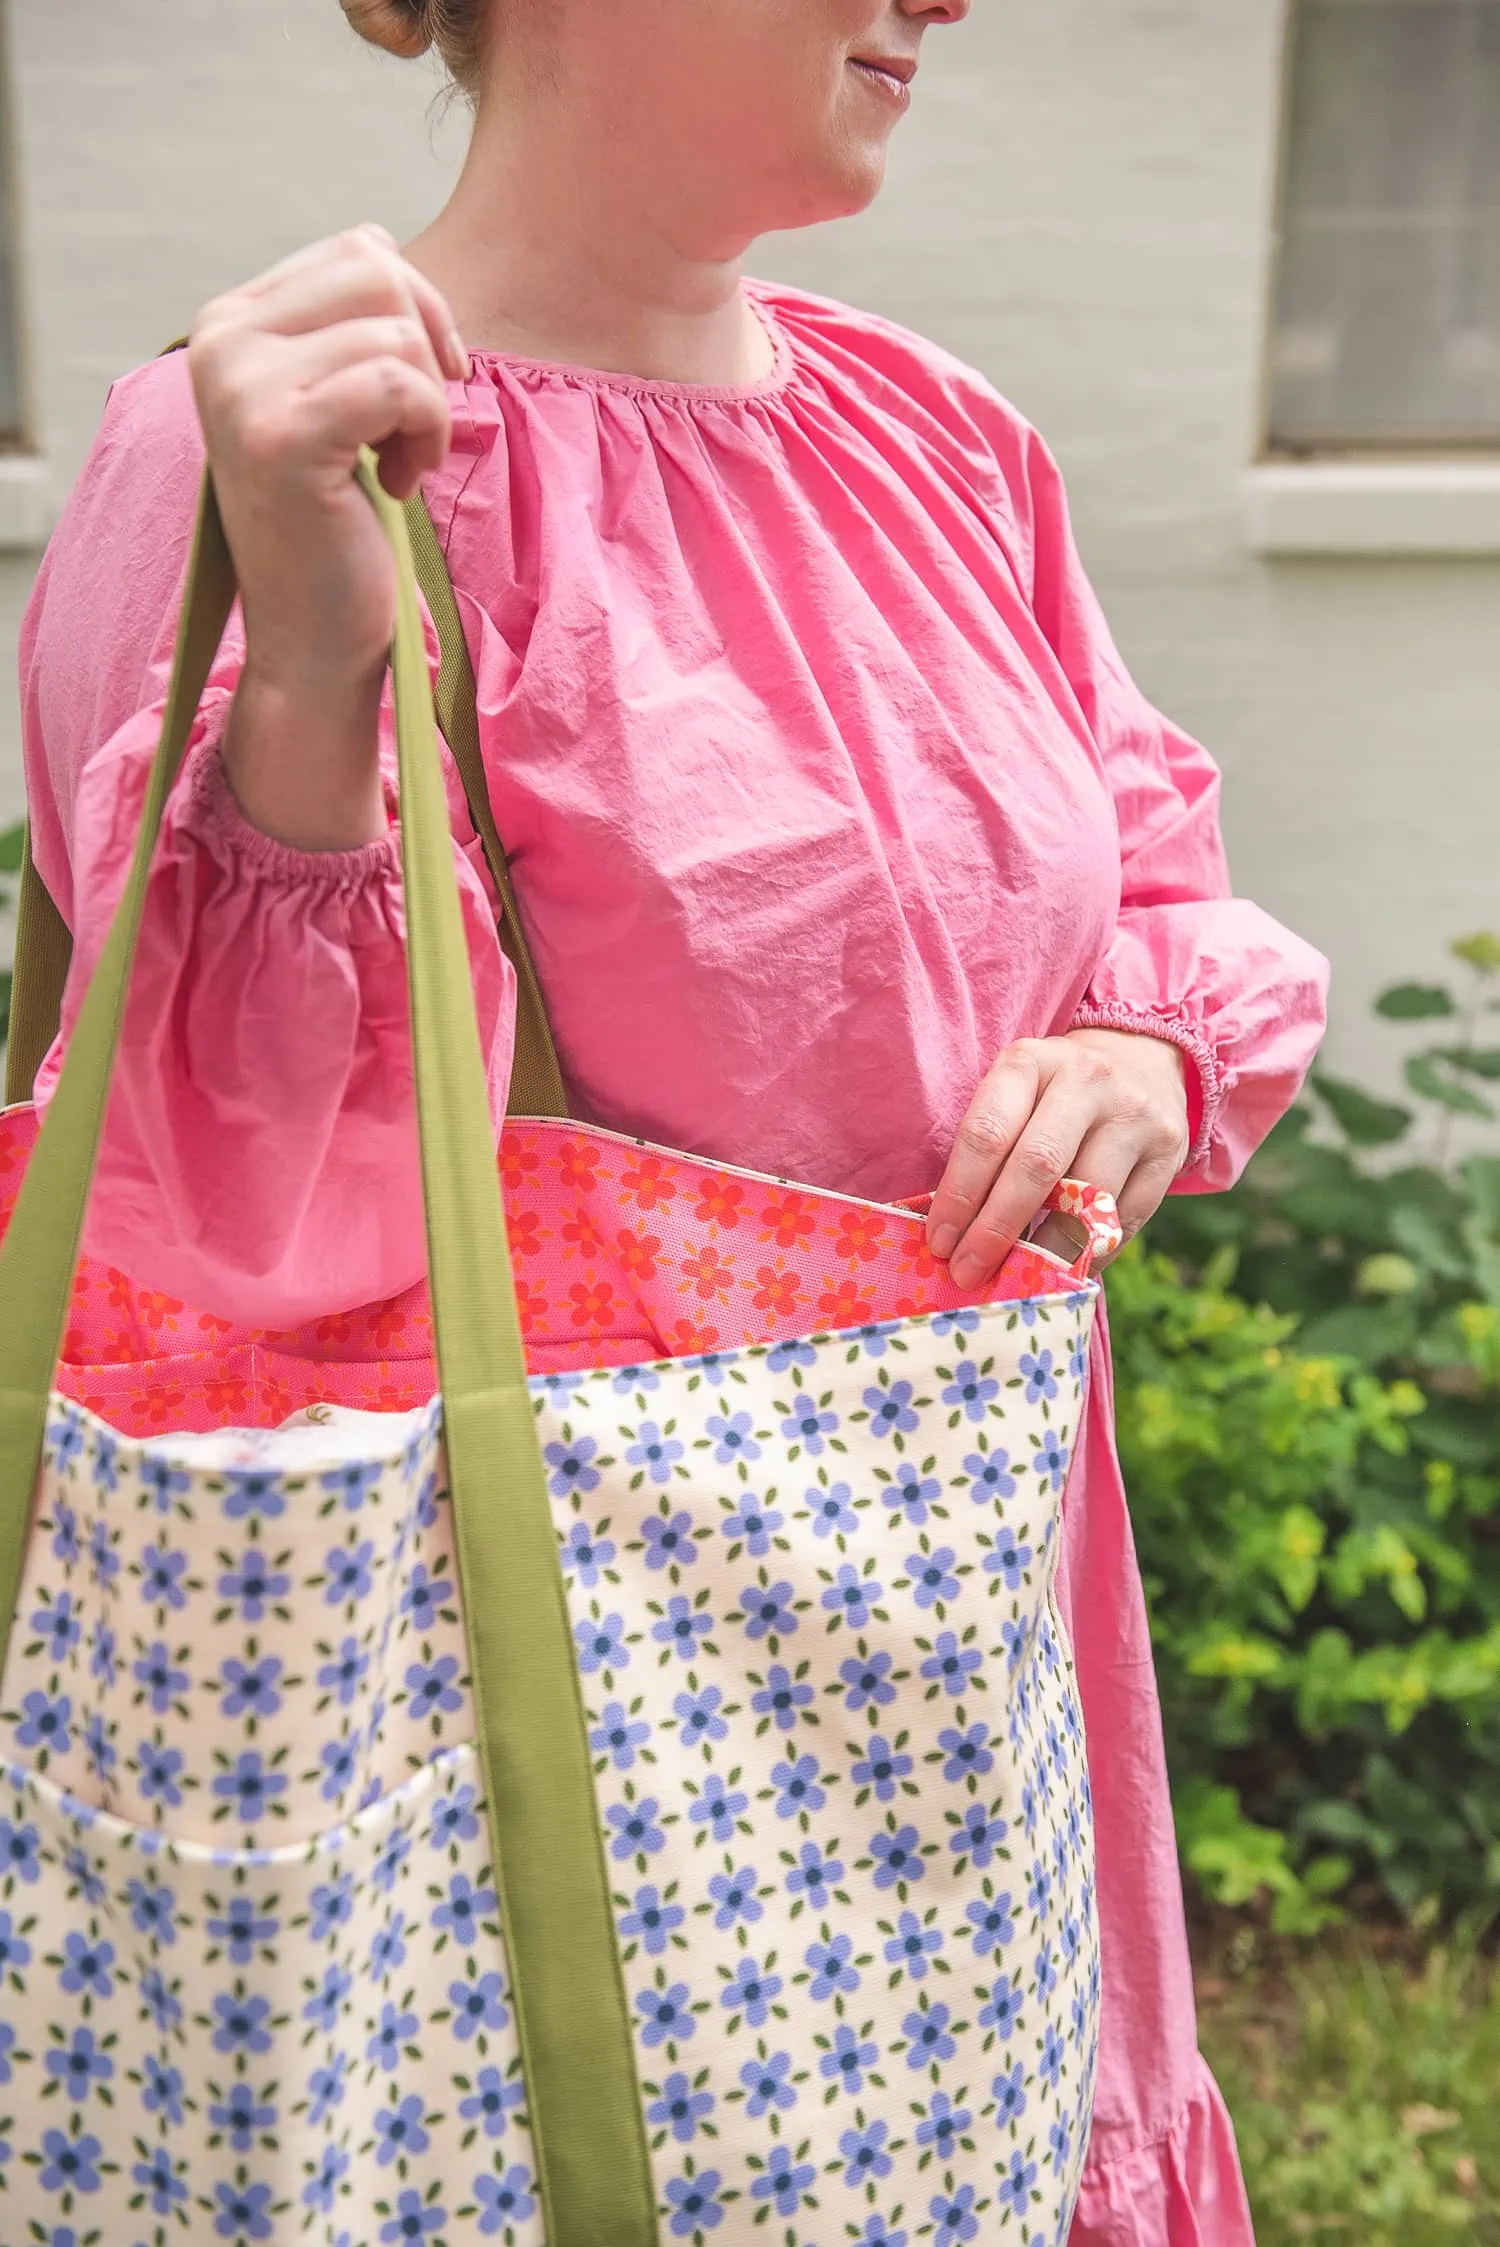
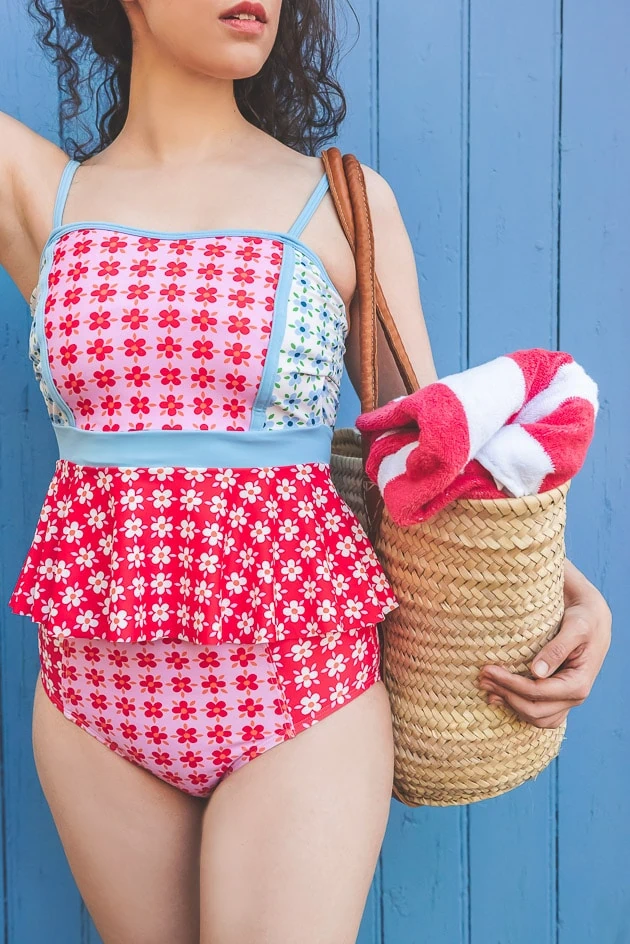
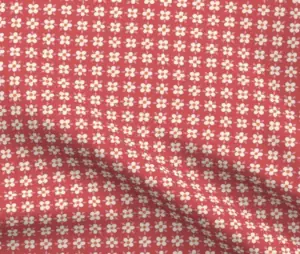
You know I love the idea of a color blocked everything so we used the white Margrethe fabric for the outside with a coordinating green solid for details, and then the pink Margrethe and red for the inside. I was basing the whole thing off of this peplum suit that I ADORE–it fits so well. The peplum obviously needed a matching bag for it and so we had to oblige. Let’s get making!
DIY beach bag
Difficulty:
IntermediateTime:
4 hoursMaterials
- Lars Beach Bag pattern
- 2 yards of canvas outer fabric
- 2 yards of canvas lining fabric
- 2 yards of canvas solid fabric (base and straps)
- Coordinating thread to match the solid fabric and the outer fabric
Instructions
Print out pattern
- Tape the paper pieces together by matching numbers together and cut out the actual pattern shapes.
- Cut out all of the fabric pattern pieces using your printed paper pattern!
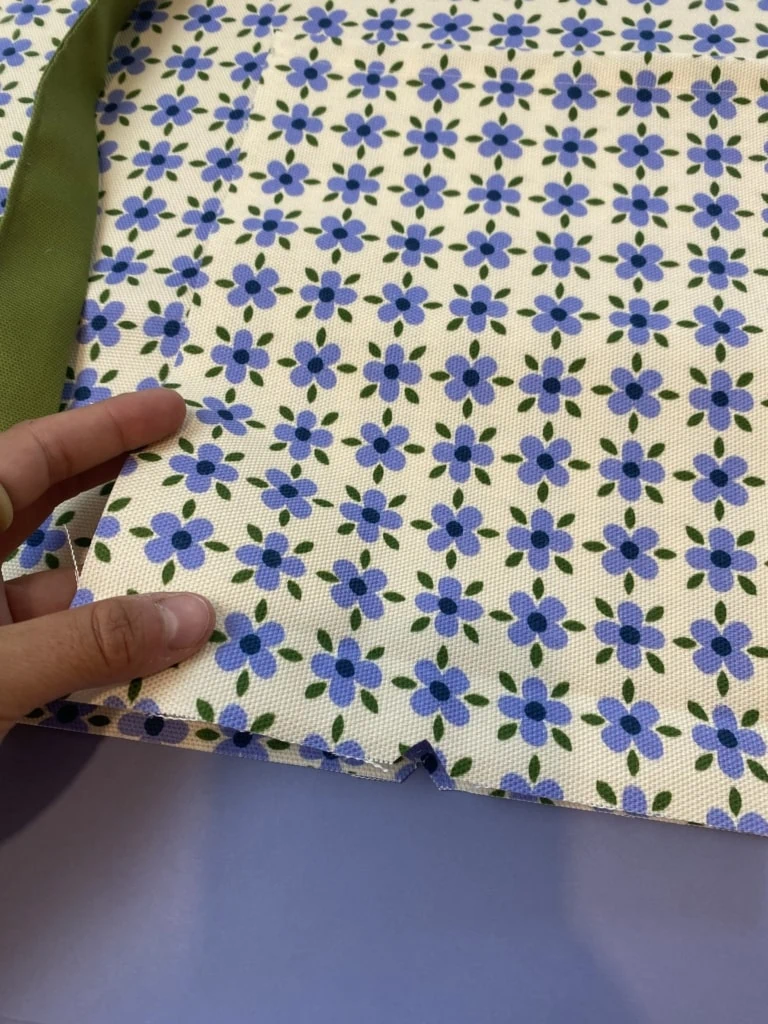
- Remember to clip the notches into the middle bottom of the outside & inside pockets, as well as the outer shell bag pieces.
PRESSING AND PINNING
- I find it much easier to press and pin EVERYTHING at the beginning while you are at your ironing board. This saves a lot of back and forth time!
-
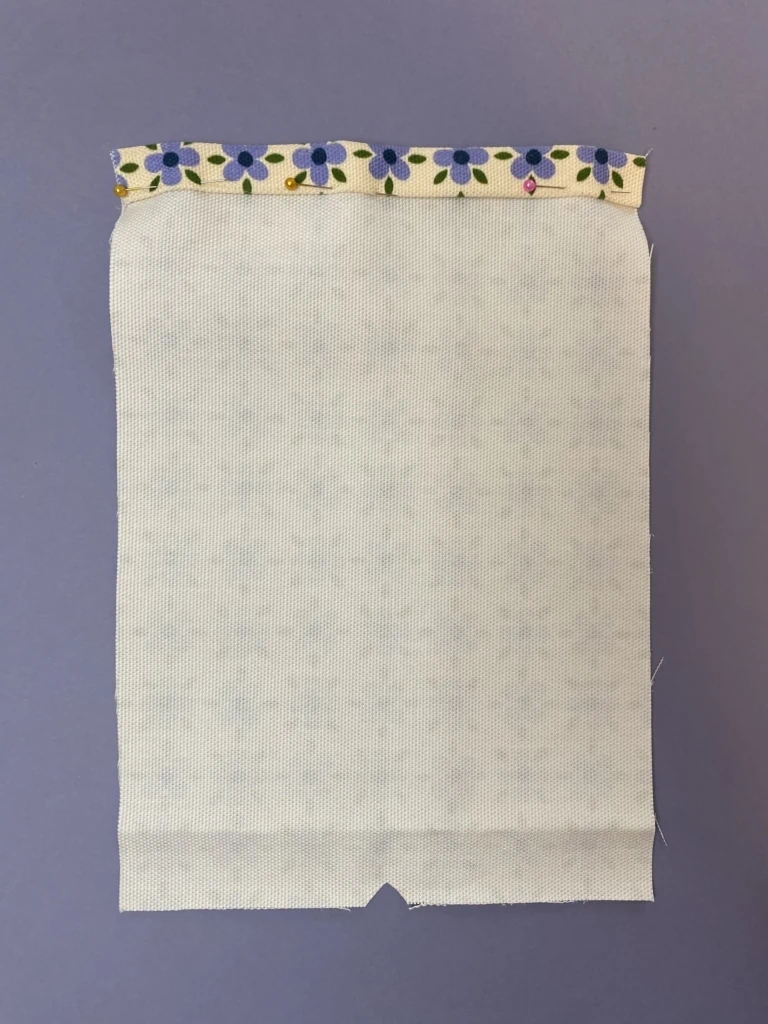
Take the two outside pocket pieces and with wrong side up, fold the top hem over two times using a 1cm/0.4” seam allowance. Press into place and pin shut!
-
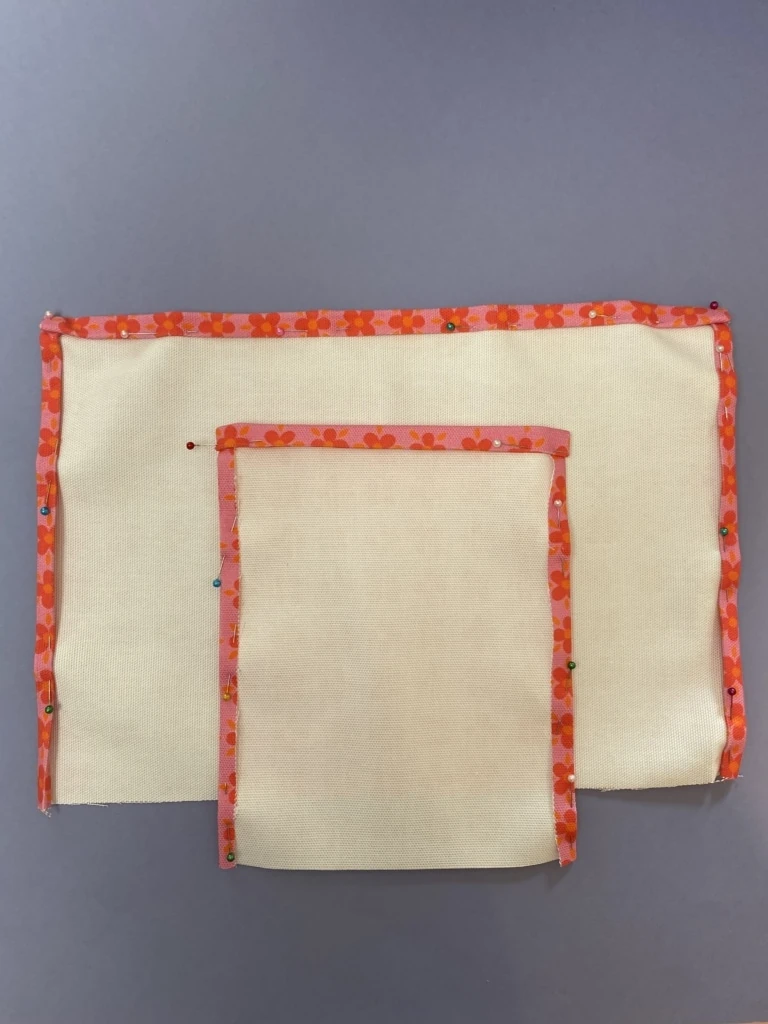
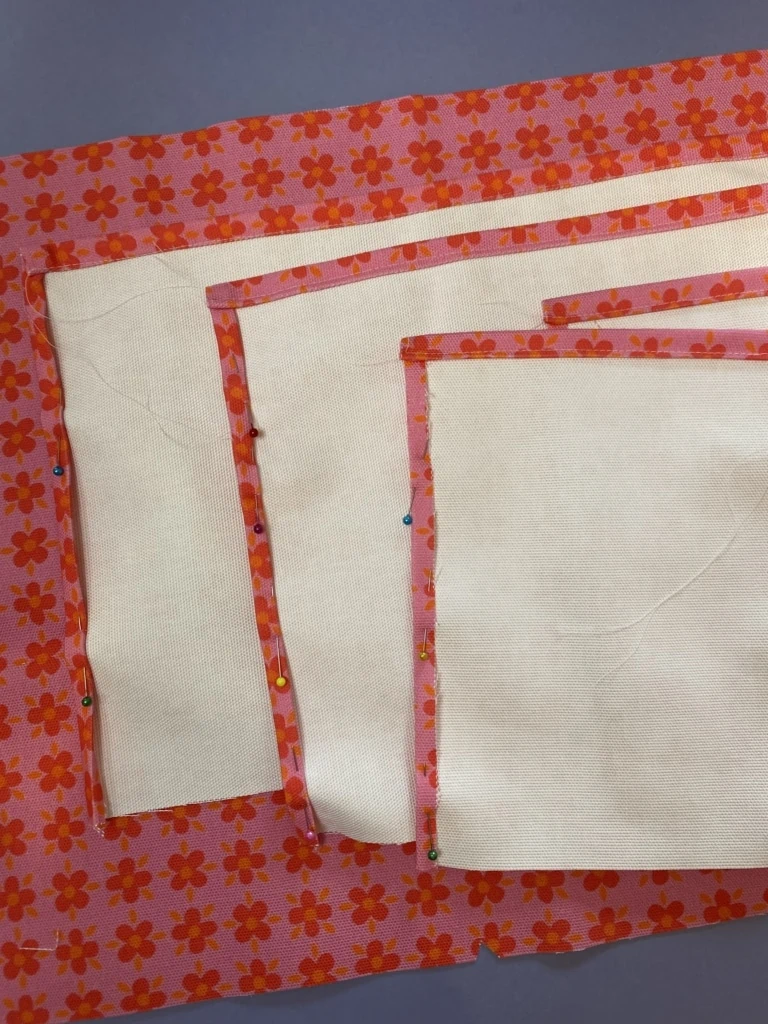
Take all of the inside pocket pieces and with wrong side up, fold the top hem over two times using a 1cm/0.4” seam allowance, press, and pin shut. YOU WILL DO THIS TO ALL SIDES OF THE INSIDE POCKETS. Fold all four sides of all pockets twice to create clean hems and pin.
- Take the two long handle pieces and fold in half lengthways and press.
- Open the handles back out and there will be a fold line down the middle of the fabric.
- Fold the two edges of the handles towards the fold line in the middle and press. Do this with both handles.
- Now fold and press the handles in half lengthways along the original middle fold line. Each handle should be about 3cm/1.2” wide.
- Pin along the length of the handle to prepare for stitching.
- Take the two tie pieces and do the same exact thing with those small strips as you did with the handles. Remember to pin down the folds.
HEMS
- Remember to coordinate thread color with the color of the fabric. With this bag, the only thread that will be visible will be the top stitching on the hem of the pockets, and the top stitching on the handles. You will want to sew with matching thread color to the color of the handles and pocket fabrics.
OUTER POCKETS
-
Stitch along the bottom of the hem fold using a 0.3cm/0.1” seam allowance. Snip excess thread and press. Repeat with the other pocket.
INNER POCKETS
-
Stitch along the bottom of the hem fold using a 0.3cm/0.1” seam allowance. Snip excess thread and press. Repeat with all other pockets, but do not sew the sides and bottom of the pockets quite yet. That will be sewn onto the inner shell lining at one time, so leave the pins in the sides and bottoms. Set aside.
HANDLES
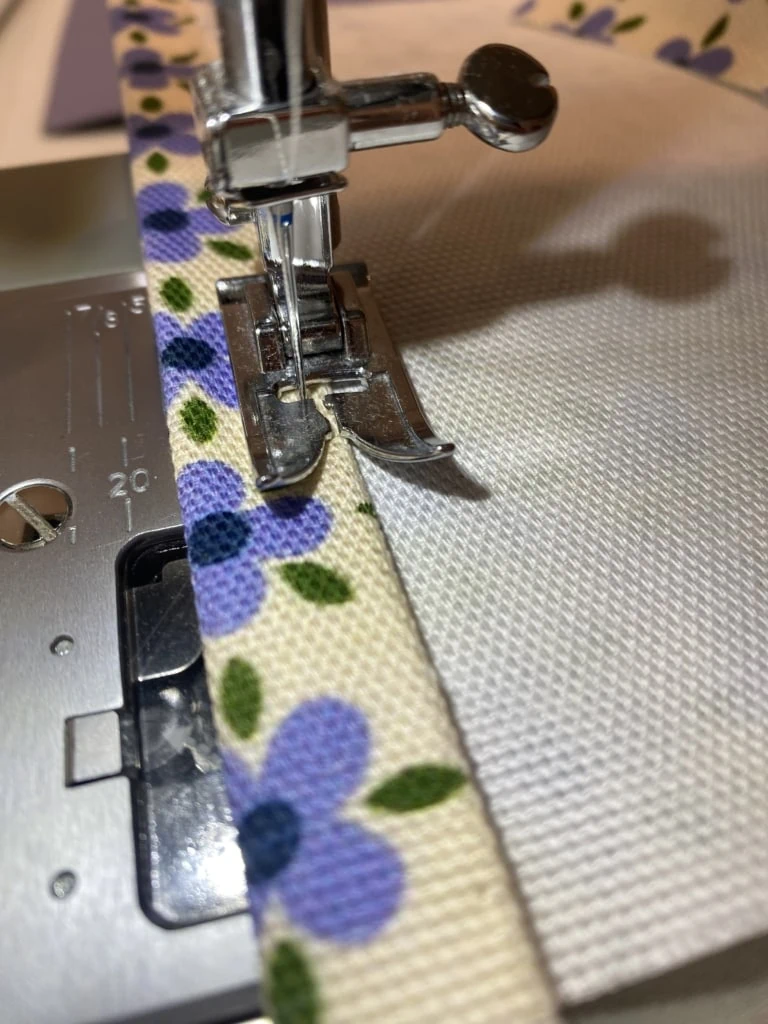
- Top stitch down each length of the handle using a 0.3cm/0.1” seam allowance. Snip excess thread and press! Repeat with the other handle.
ATTACHING HANDLES AND FRONT POCKETS
- Take out one outer shell bag piece and the outer pocket.
-
Place the pocket right side up on top of the outer shell fabric right side up. Line up the bottom edges and notches! The notches ensure that the pocket is sitting exactly in the middle of the bag body piece.
-
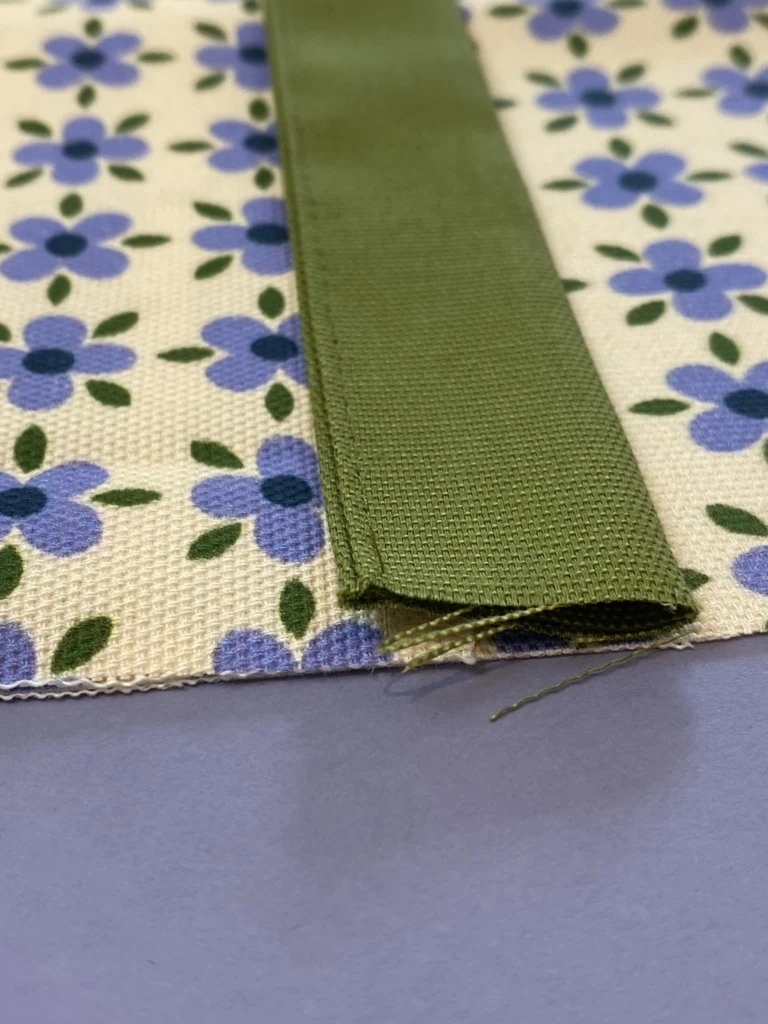
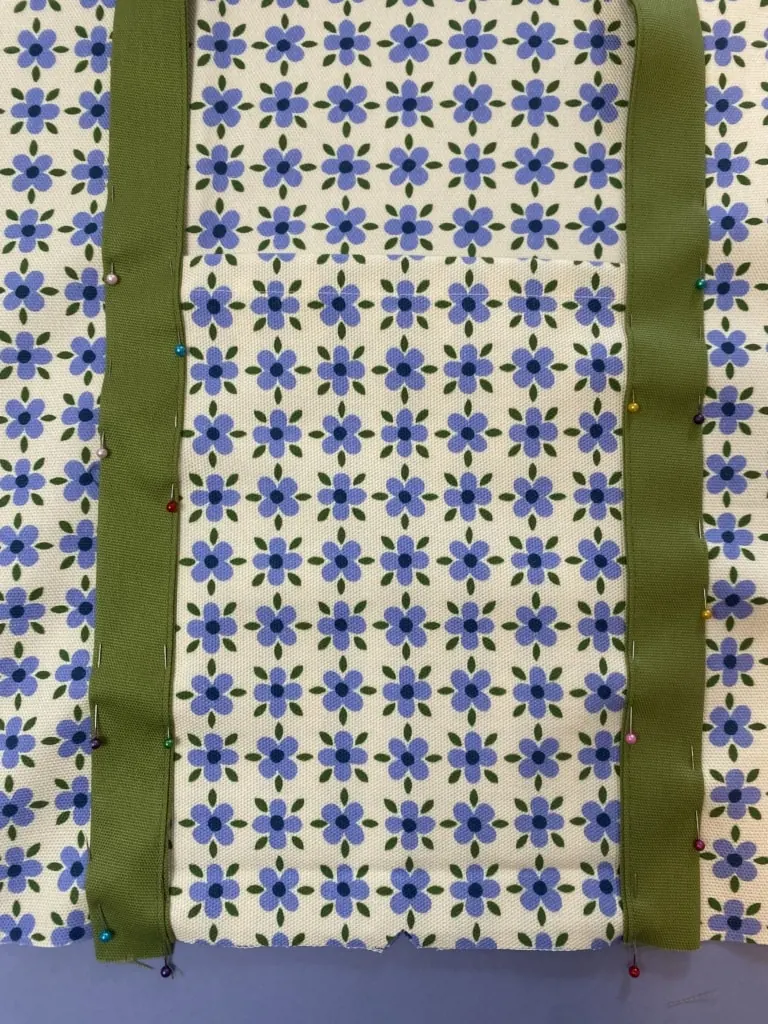
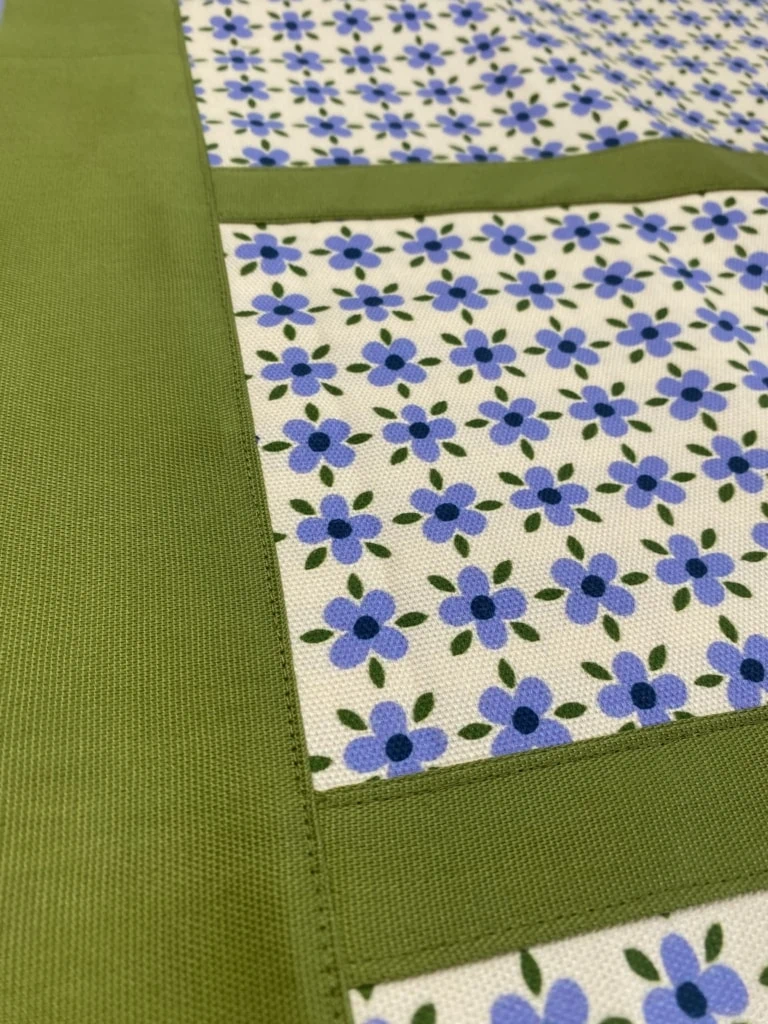
Take one handle and place it down the side of the edge of the pocket, overlapping the pocket slightly by 1cm/0.4”. Line up the raw edge of the handle with the bottom of the bag.
-
Place the other end of the handle down the other side of the pocket with a 1cm/0.4” overlap.
- Pin the handle into place!
-
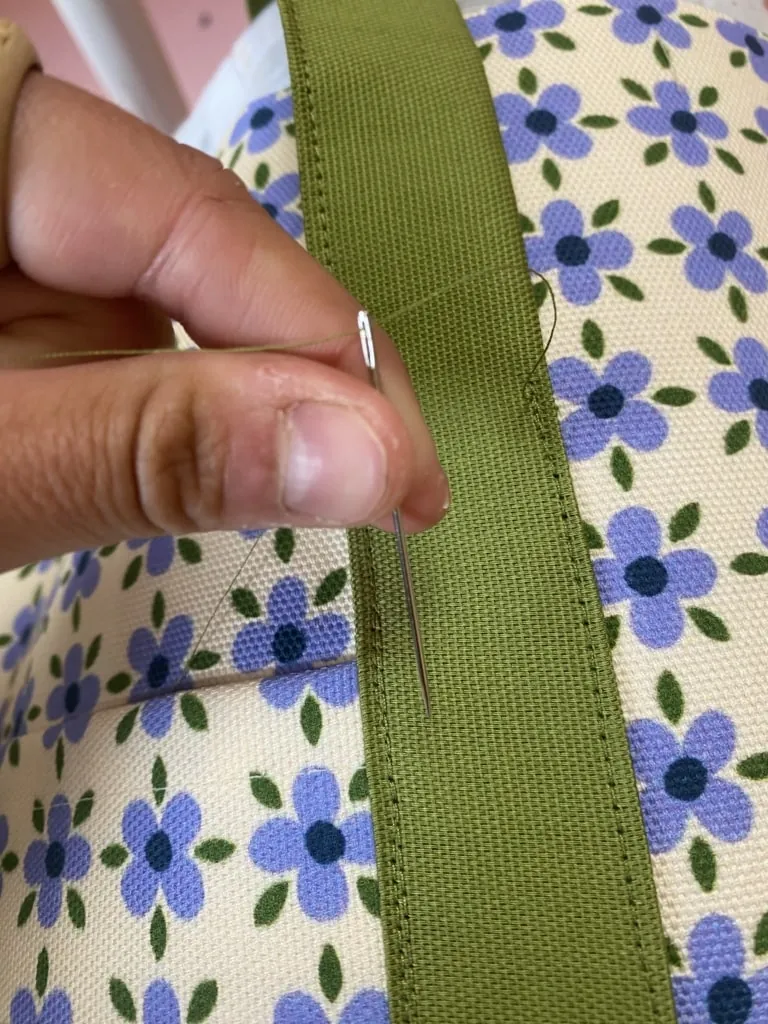
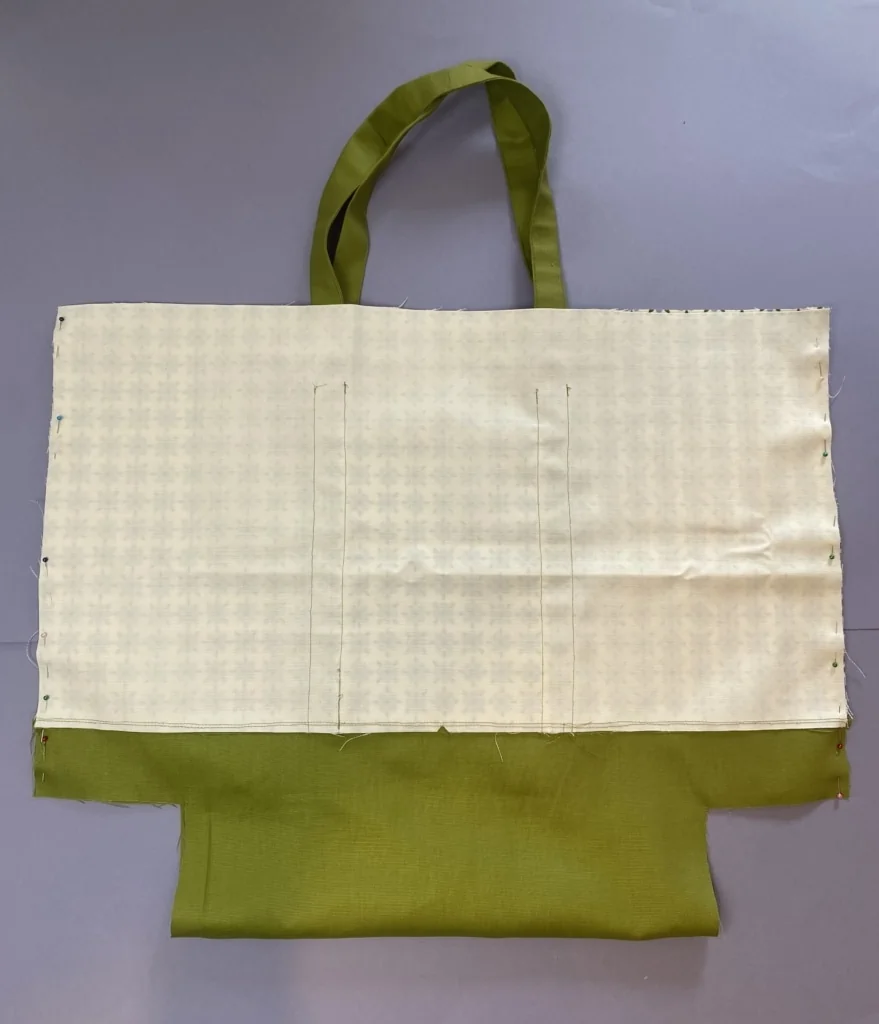
Stitch down both sides of both handles to attach the bag, pocket, and handle all together. GO SLOW to make sure that these stitches sit neatly on top of the top stitches sewn previously. Stitch from the bottom of the bag until about 1.5 inches away from the top. PRESS! To secure your stitching, thread your thread tails through a needle and push the needle through your fabric close to your stitching. Now both your thread tails are on the wrong side of the fabric and you can tie them together to create a knot. Trim the excess thread. Repeat this process for each line of topstitching to secure all your thread tails.
- Repeat this with the other side of the bag with the other handle!
SEWING THE BOTTOM BASE TO THE OUTER BODY
-
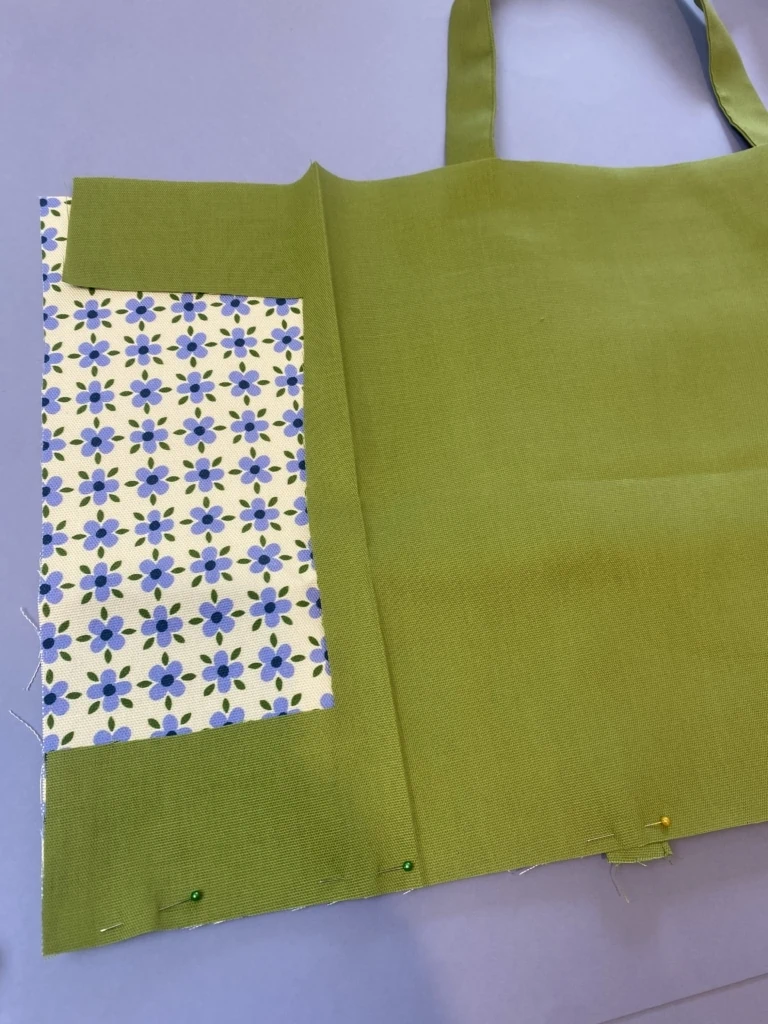
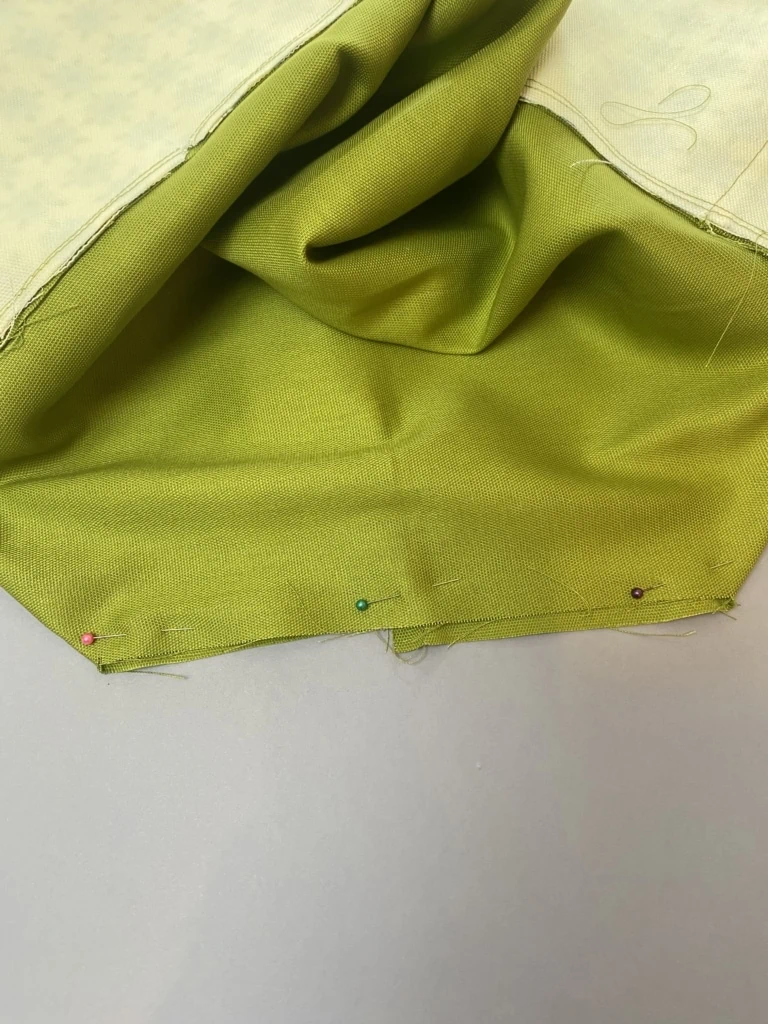
Take one body piece (the outer shell piece with the finished handle and pocket) right side up and place the bottom base piece right side down on top of the bag. Line up the bottom edges and pin into place.
-
Do this with the other body piece and the other edge of the bottom base piece. Line up the bottom edge of the body piece with the base and pin into place.
- Stitch both bottom edges of the bag to the base piece using a 1cm/0.4” seam allowance. Press the seam towards the base piece. Turn right side up and press well along the top seam. This is important because the next step you will be top stitching.
-
Top stitch along the base piece using a 0.3cm/0.1” seam allowance. Repeat on the other side.
-
Take the bag and fold it in half so the handles are touching and the right sides are together.
- Make sure that the bottom seams sit directly on top of eachother for a very neat finish.
- Pin each side of the bag into place.
- Stitch down each side of the bag using a 1cm/0.4” seam allowance. Press seams open.
-
On one side, start to pinch the corner of the side and the base together to create a gusset.
-
Line up the edges and sit the side seam open. Pin the edges together.
- Repeat with the other side.
- Stitch the bottom corners using a 1cm/0.4” seam allowance, repeat on the other side, and press.
- The outer body piece is finished! Set it aside.
INNER BODY PIECE
- Time to sew your inner pockets to the inner body pieces!
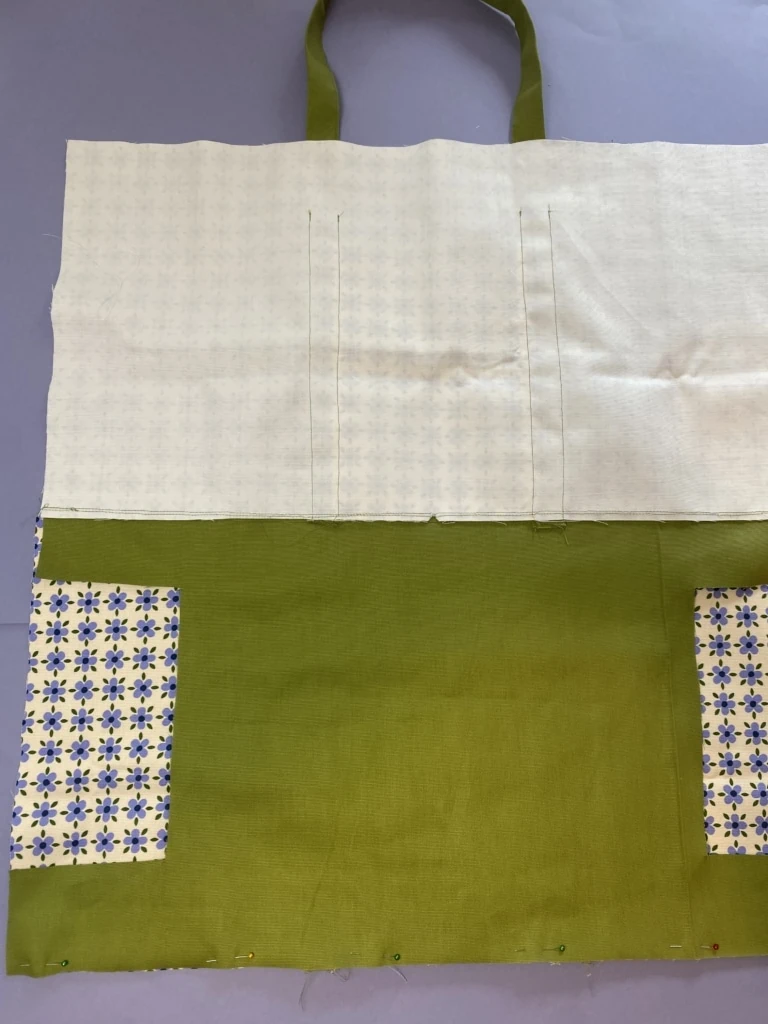
- Line up bottom notches of the body and the pocket so the pocket is sitting directly in the middle of the body piece (not sewn together yet). Sew around the sides and bottom, leaving the top open/unsewn. Repeat with the other pocket.
- To finish, sew a straight stitch through the middle of this giant pocket once it is attached to the body in order to create two pockets!
- Once the inner pockets are sewn to both body pieces, it is time to sew the inner bottom base. This process will be the exact same way as how you attached the outer bottom base to the side pieces.
- The inner body bag should look exactly like the outer body bag, just without the straps.
- Sew the two water bottle pockets on each side seam of the bag. Line up the middle of the pocket so the side seam of the bag is sitting directly in the middle. Sew along the sides and bottom, backstitching at the beginning and the end so the pocket stays extra secure to handle those water bottles!
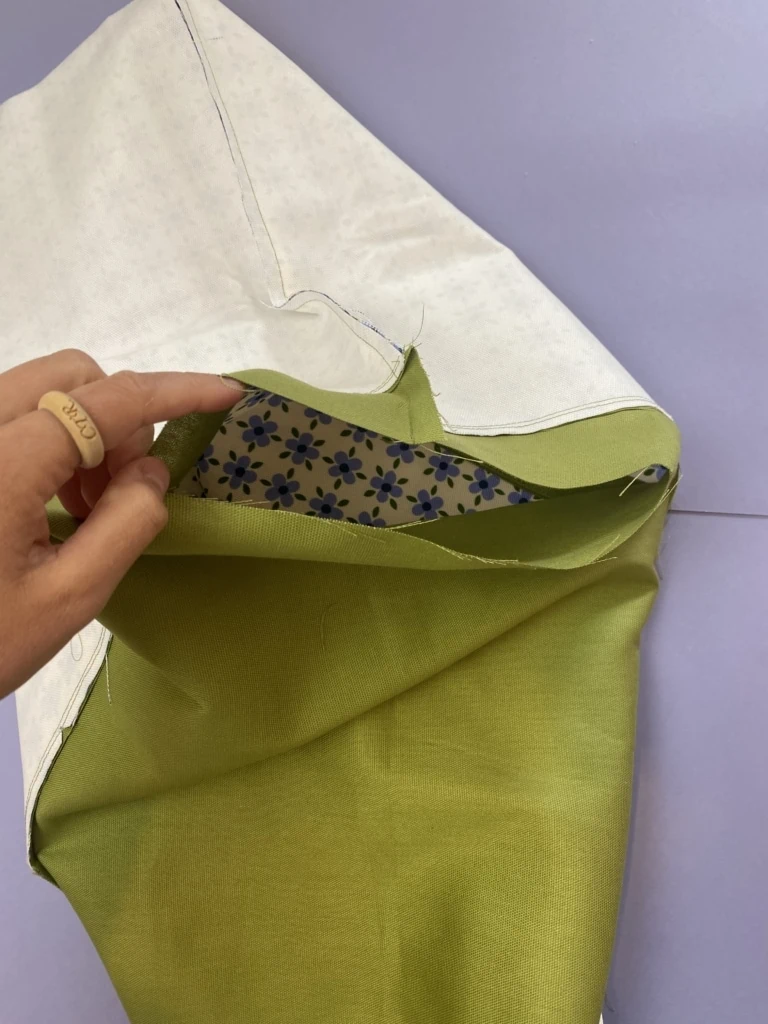
- Turn the outer bag piece (with the straps) inside out – pattern side facing inside the bag.
- Place the inner bag piece, right side out (pattern side facing outside the bag), INSIDE of the outer bag piece, so the colored pattern sides are facing each other.
- Pin the two pieces together around the perimeter of the top of the bags. Make sure the straps are tucked down so they don’t get sewn shut.
- Sew around using a 1cm/0.4” seam allowance.
- Once sewn, turn the bag right side out. Reach into the opening and pull the inner bag out, and voila! You have a beautiful beach bag! Almost done!
- Press this top seam so it is crisp, ready to be top stitched.
- Make sure your sewing machine has a coordinating thread color to match the outer body bag. This last step is top stitching the two bags together here at the top.
- Press and pin the hole opening closed.
- Top stitch around the entire perimeter of the top of the bag using a 0.3cm/0.1” seam allowance. Make sure the straps are UP (not flopped down) so they also are included in the top stitching. Clip excess threads.
- You are finished! You have successfully made your own beach bag!
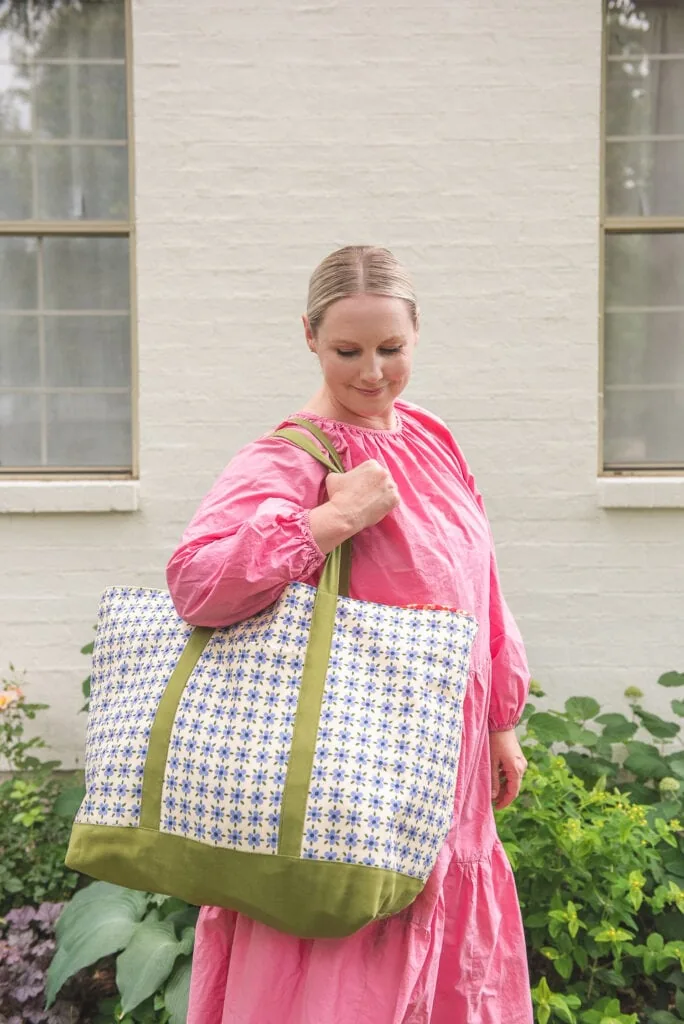
There you have it! The cutest beach bag in the entire world (if I do say so myself ;). Stay tuned for the cutest accessories to go with it in the coming week! I can’t wait to share them with you!
Shop the post!

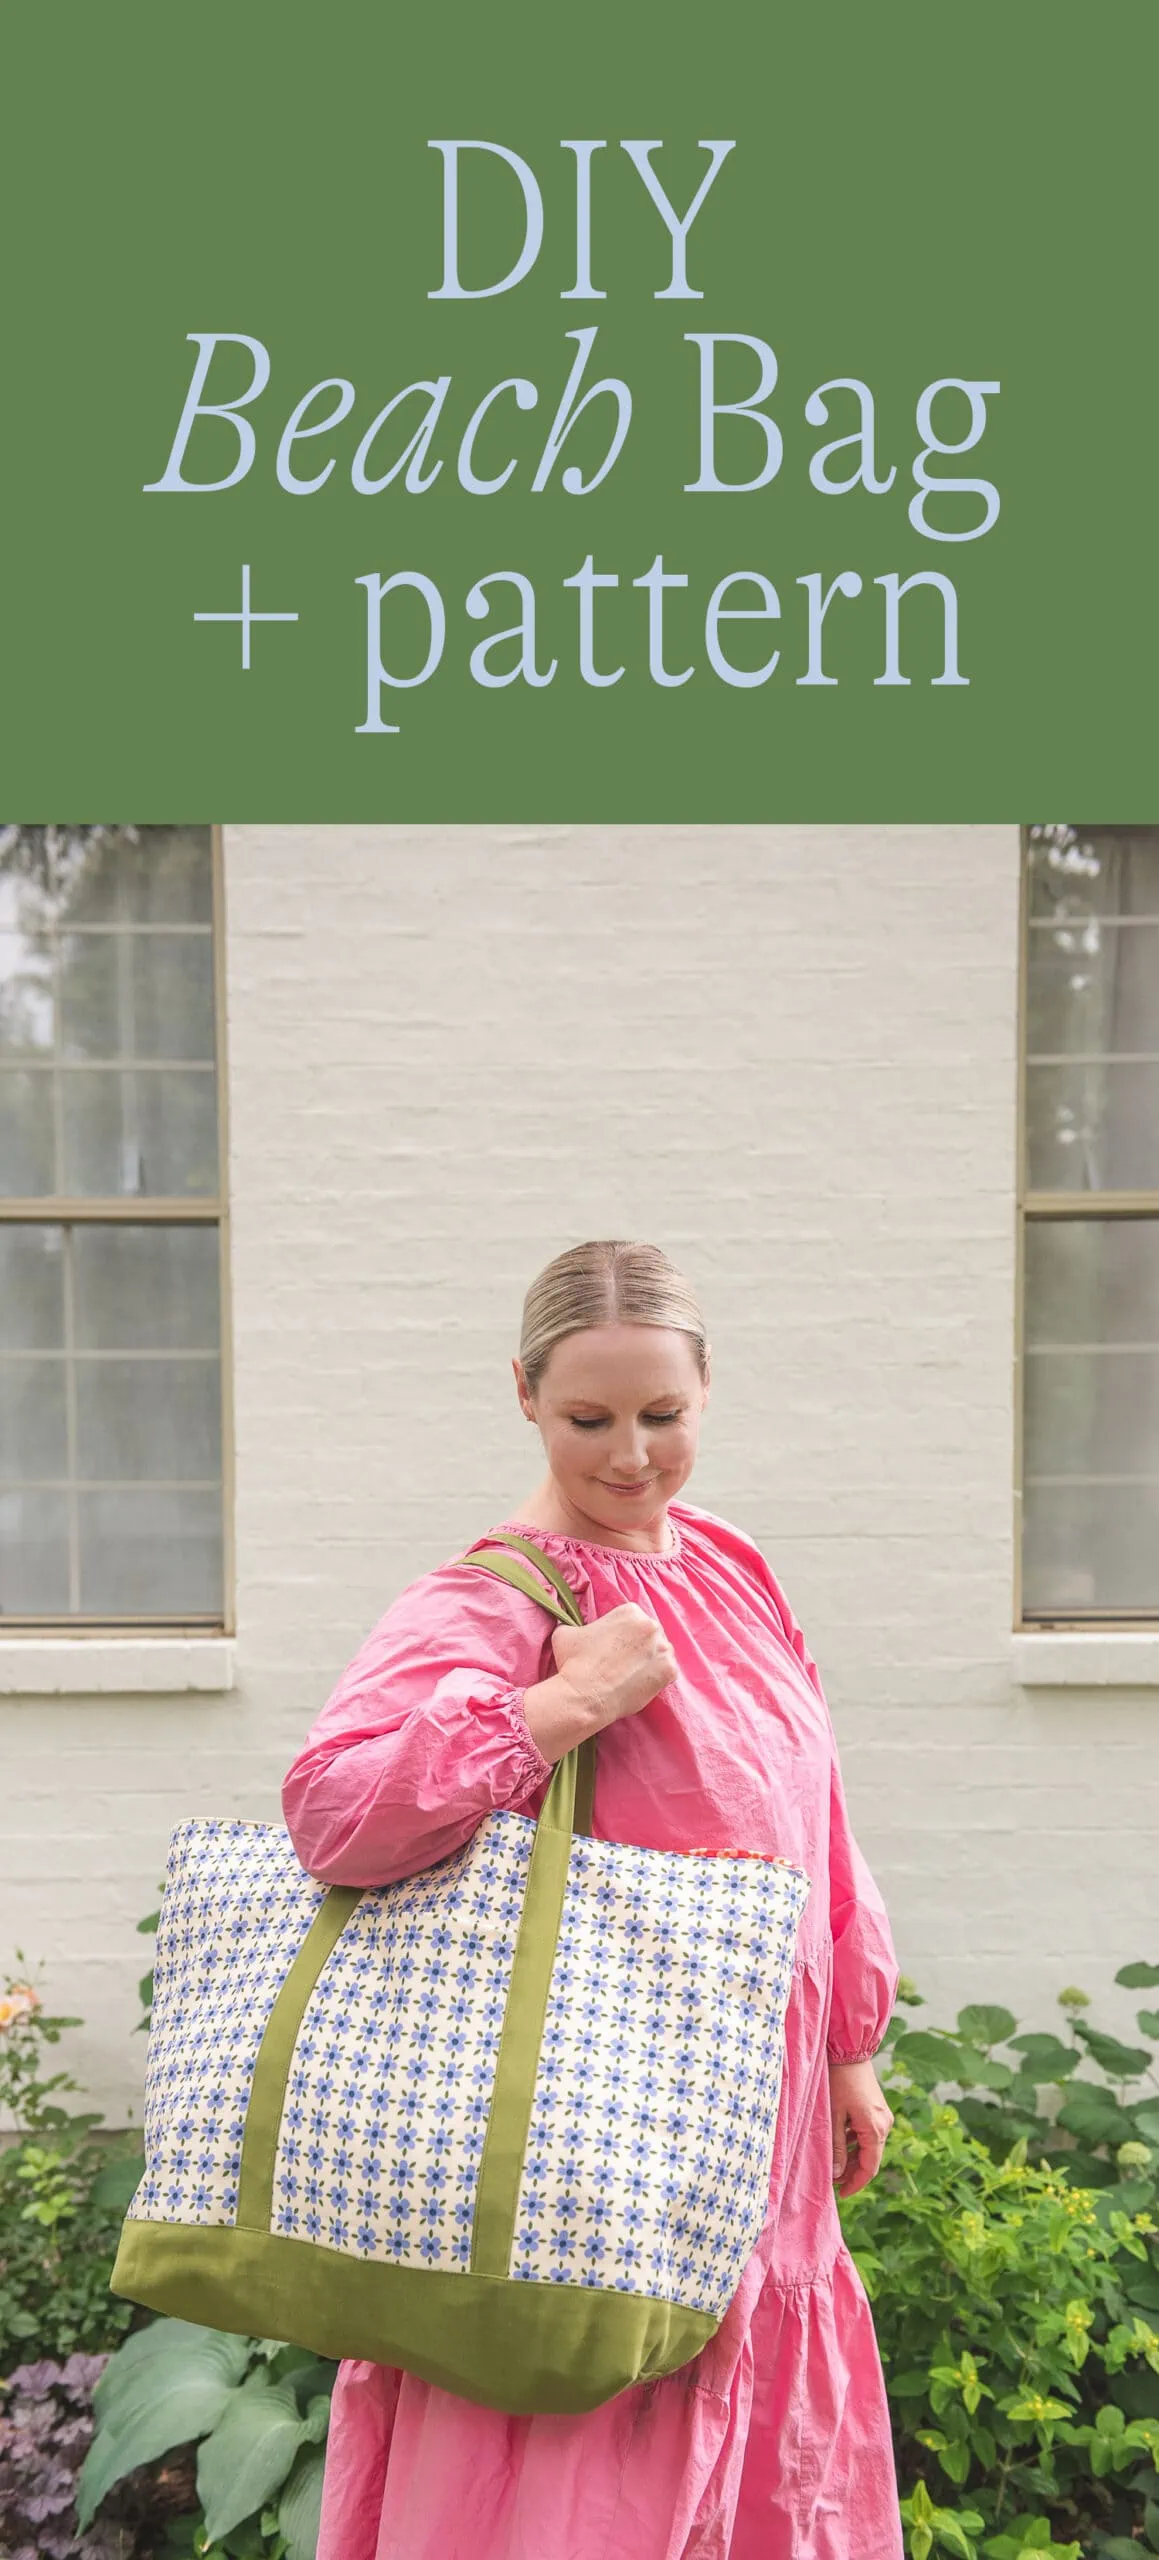
I can’t wait to see what you do with your beach bag. If you’re in the mood for more making, try out the DIY espadrilles and bucket hat. Show me everything while you’re at it with the hashtag #LarsMakes. You can see more patterns over in our shop!





Comments