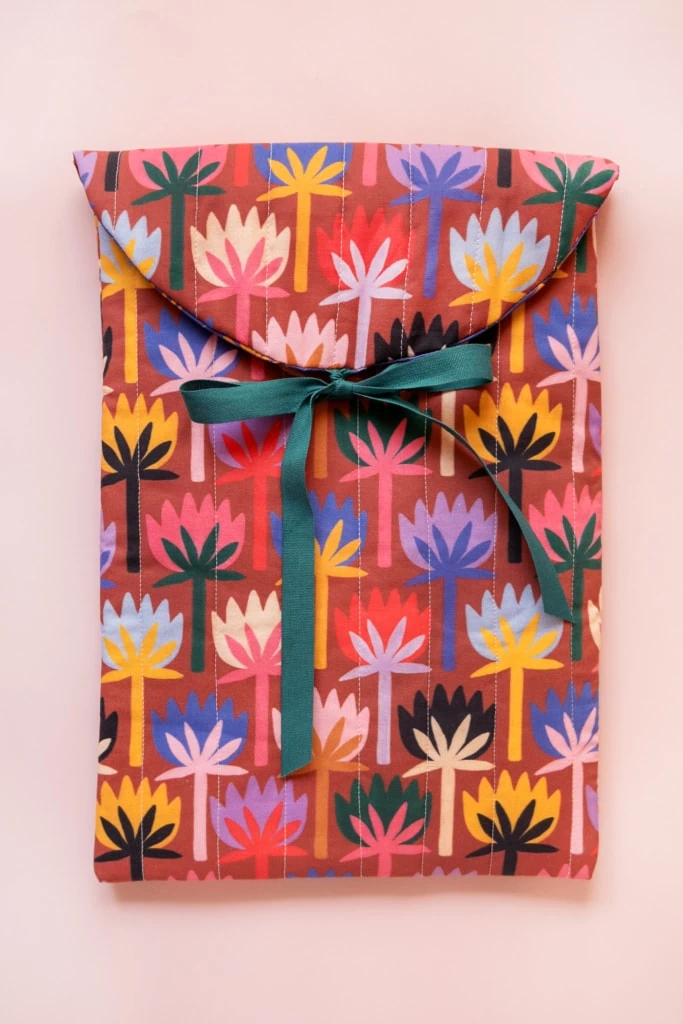
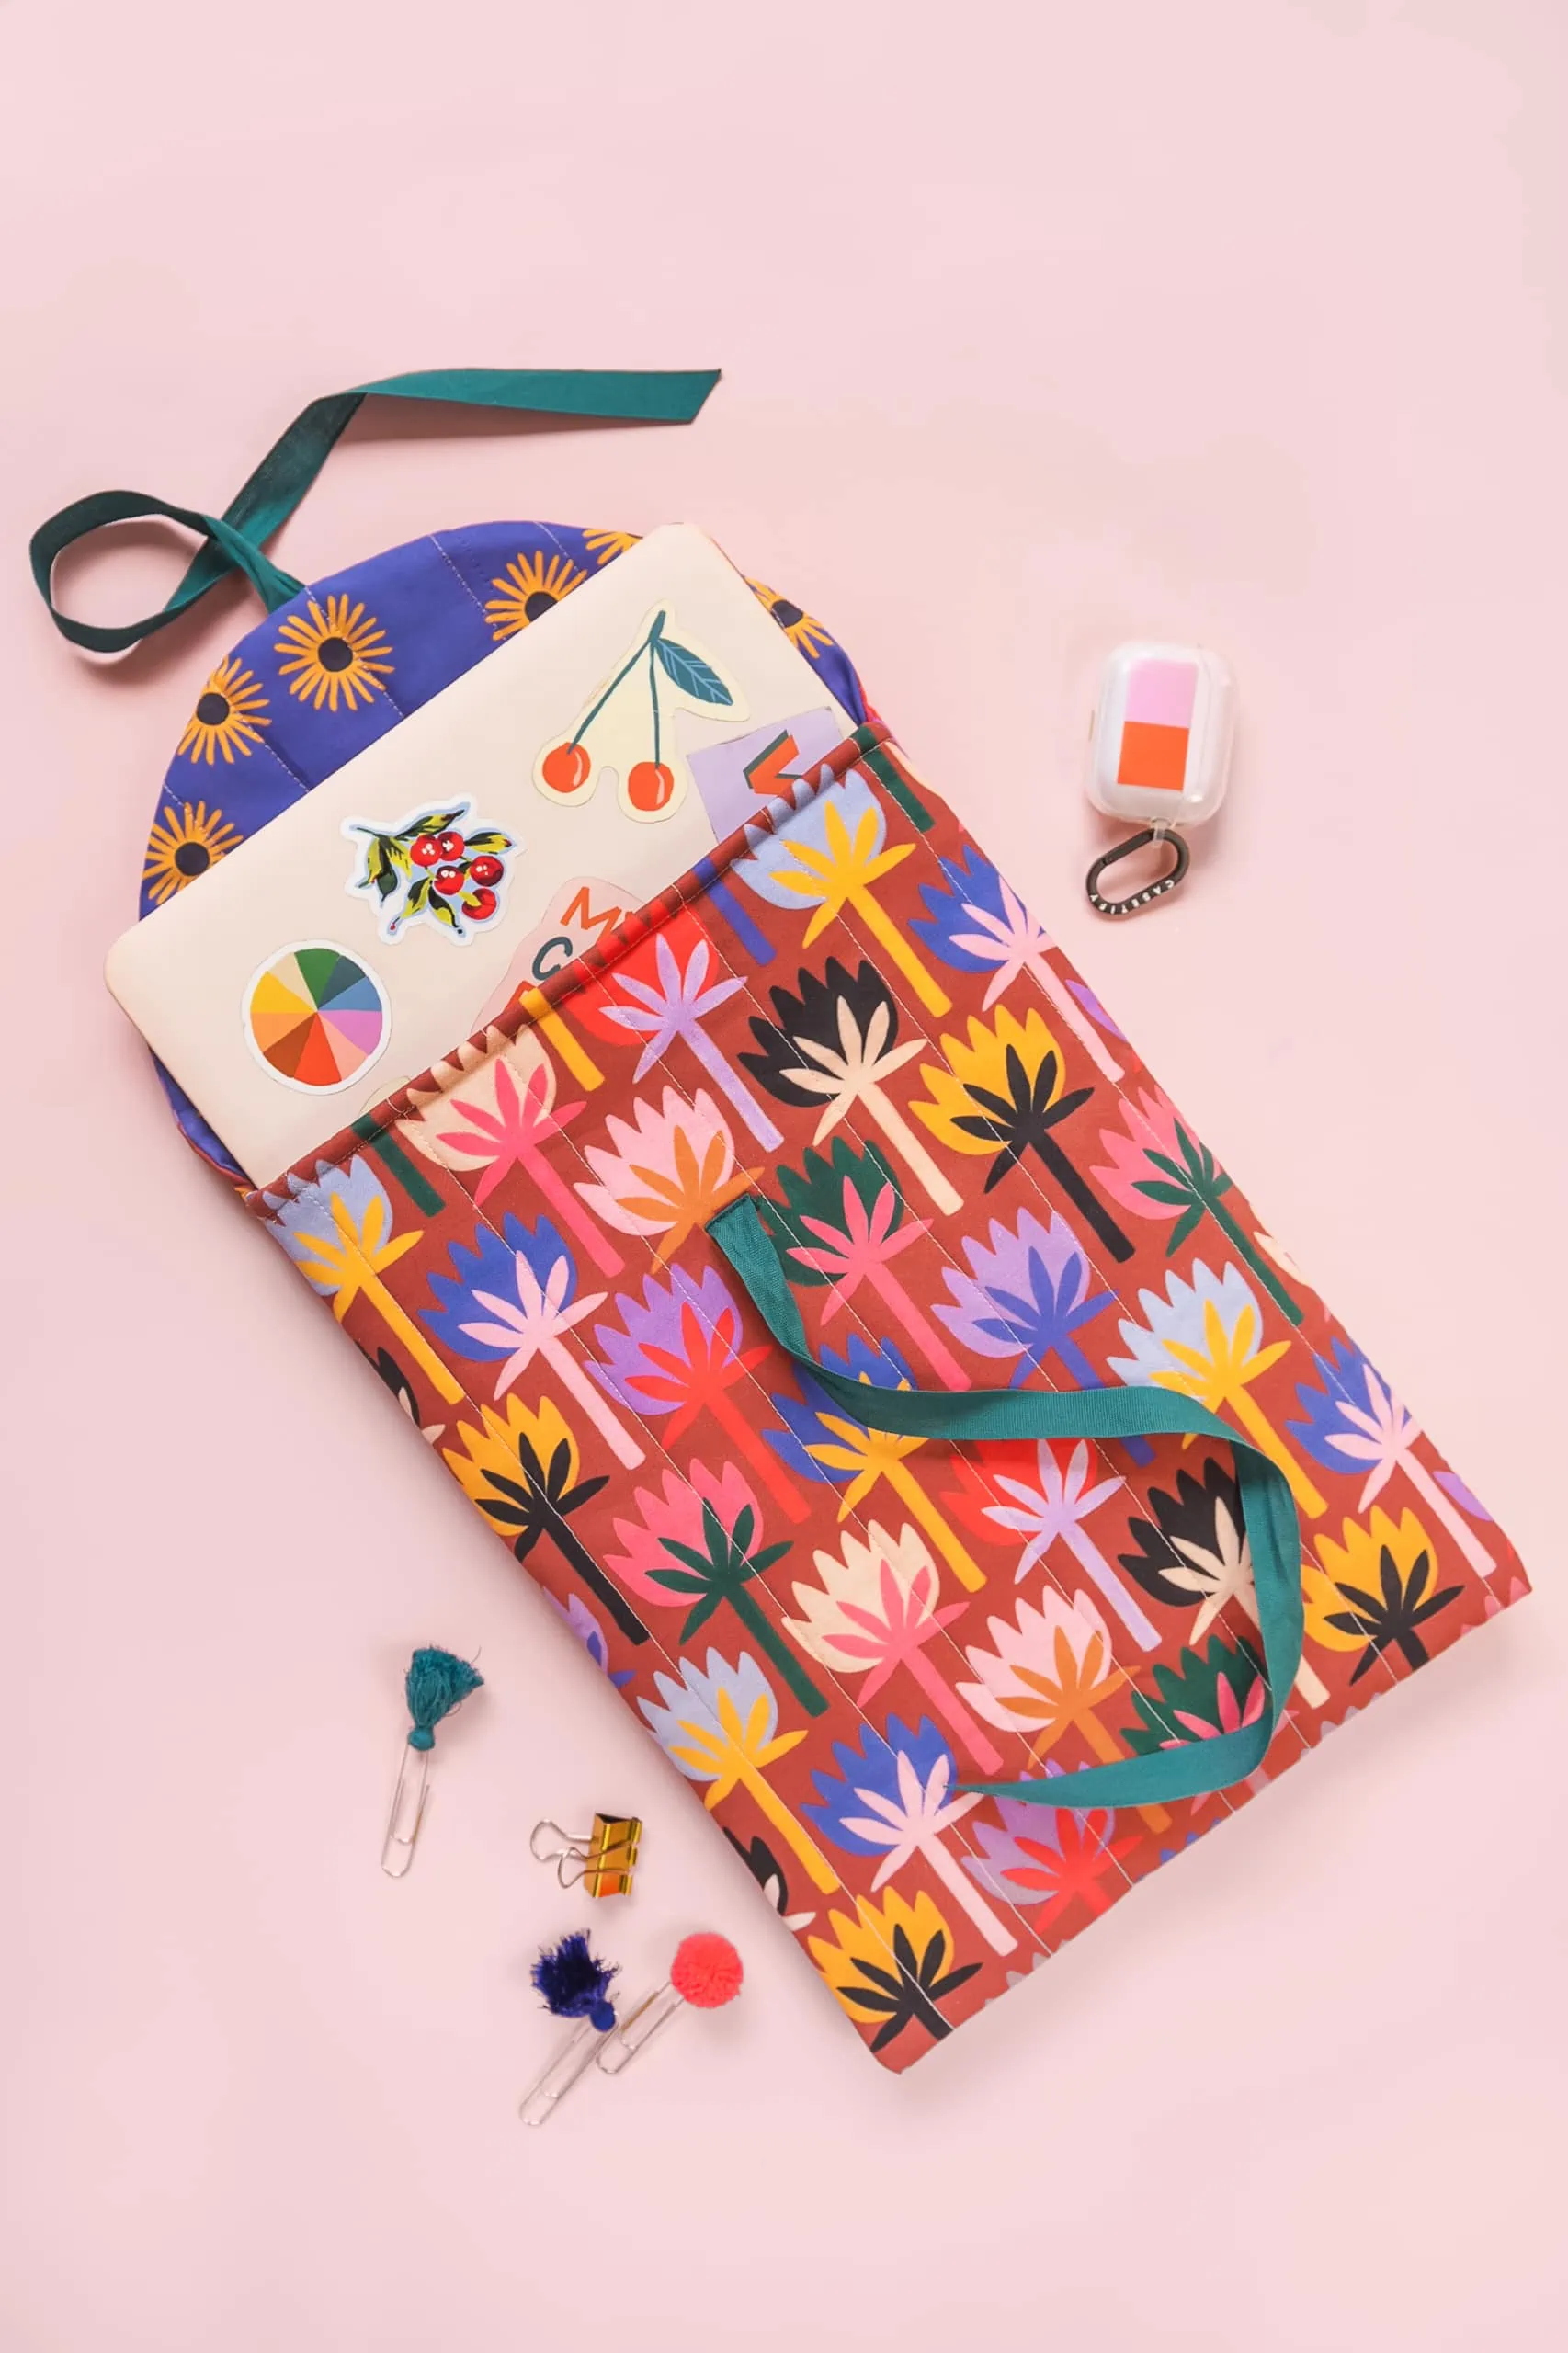
It’s Handmade Back to School week! We shared the adorable lunch bag (did you see it?! I mean, come on!) and today it’s a DIY laptop case. We have so many new fun fabrics in our shop and back to school projects are such a great way to show personality and pizzazz. As we all know, a lot of tech gadgets are either super sleek or super boring so making a colorful case is a great solution for combatting this.
Selecting the Perfect Fabric
Creating a fabric laptop case begins with selecting the perfect fabric. You can take one from your fabric library or if you’re looking for something new, check out our bold florals collection, where this Water Lilies print is from. Consider the color palette and patterns that resonate with your personal style. Whether you lean towards pastel dreams or vibrant bursts of energy, there’s a fabric that’s just right for you. Remember, the goal is to infuse your laptop case with your unique personality, so don’t be afraid to let your imagination run wild.
Shape of the Laptop Cover
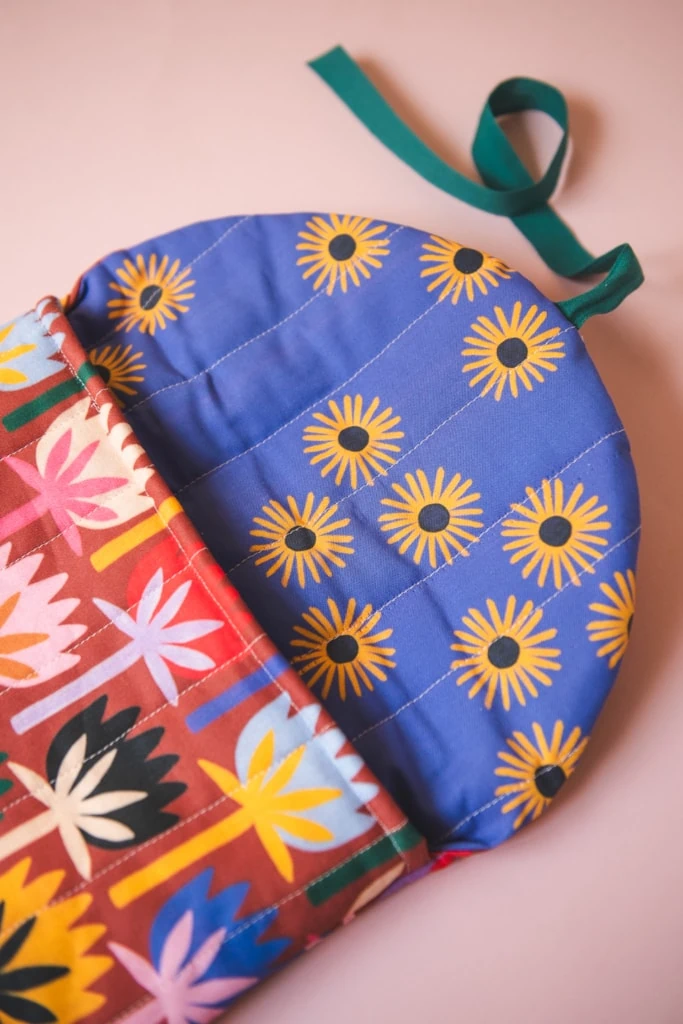
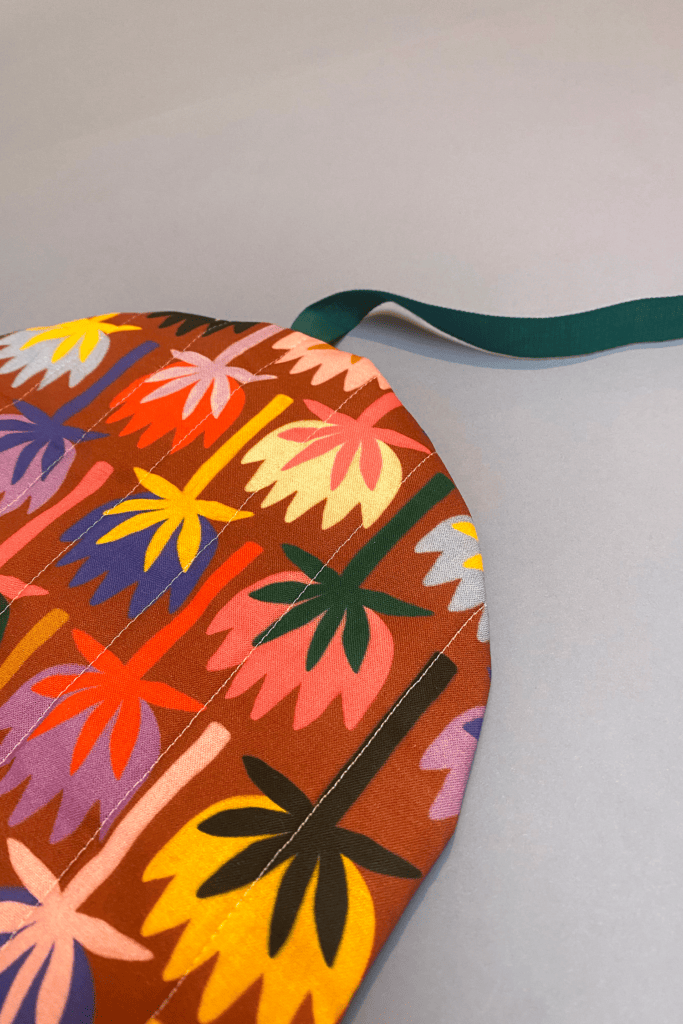
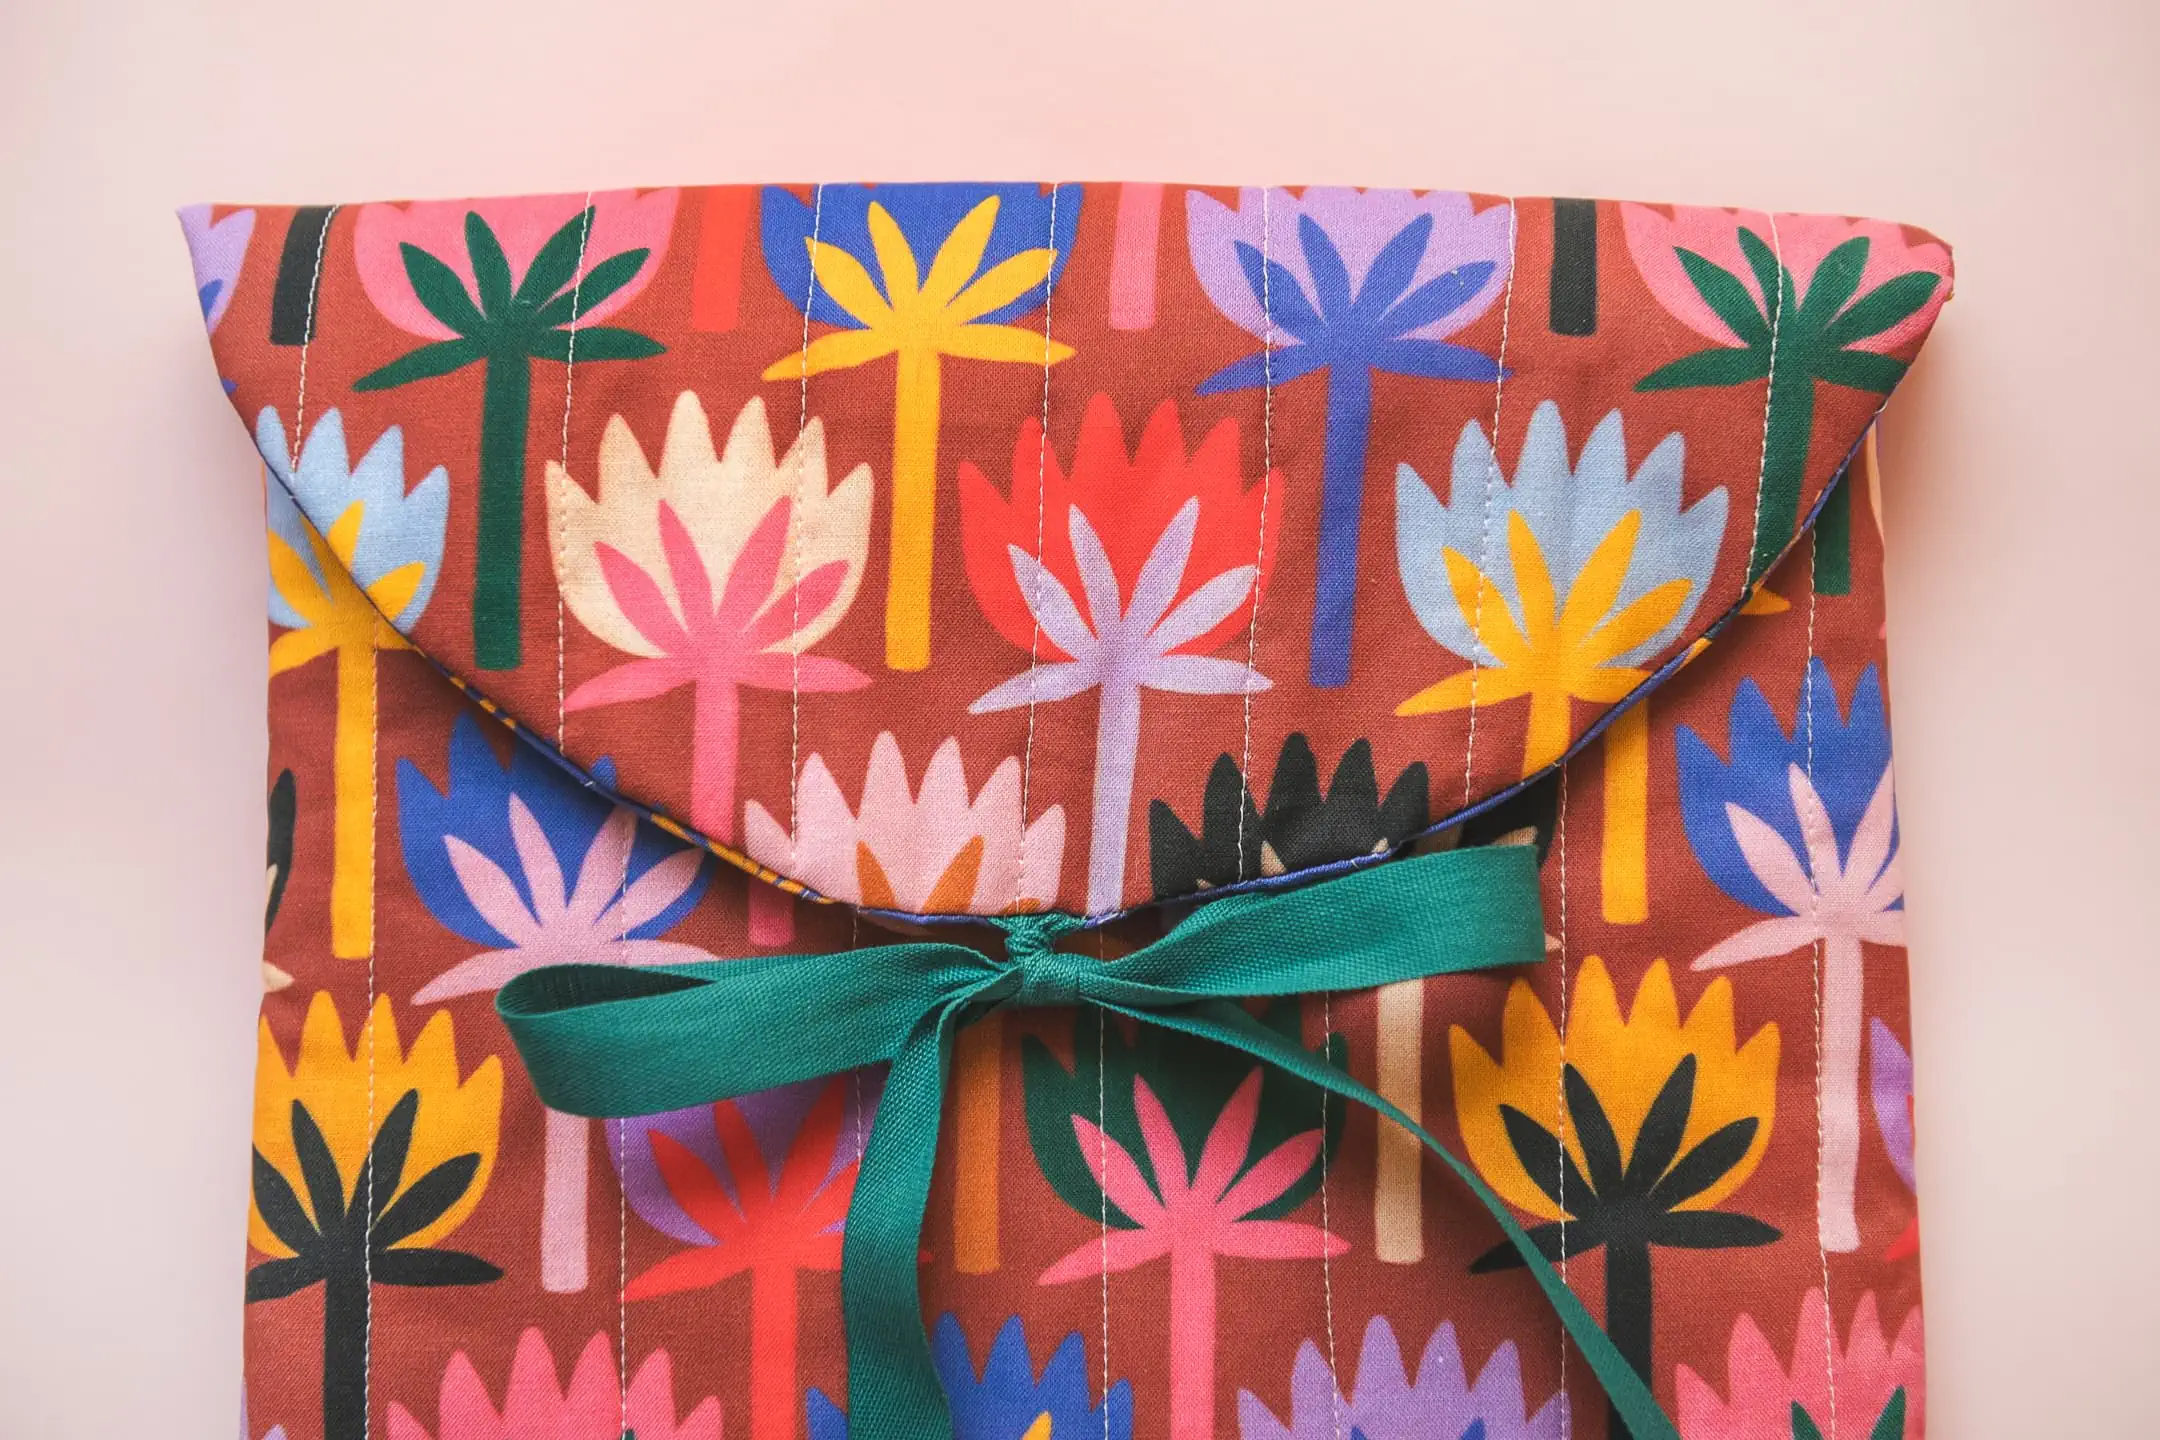
I love the quilted Baggu laptop sleeves with that rounded closure and used it to inspired ours. We mixed up a number of details of the pattern to make it easier to DIY and then thought what we really wanted to see in a laptop case. Our sewing intern, Casey, who is in college, mentioned that she doesn’t like to get to class and then have the velcro make a loud noise so we took that detail out and added in a ribbon because duh, a ribbon is also very cute.
Beyond the practicality of protecting your laptop, this DIY project offers a therapeutic escape from the digital world. The rhythmic hum of the sewing machine, the tactile experience of working with fabric, and the joy of seeing your creation come to life – all these elements combine to create a deeply satisfying crafting experience.
DIY laptop case
Difficulty:
intermediateTime:
2 hoursMaterials
Instructions
DIY laptop case
-
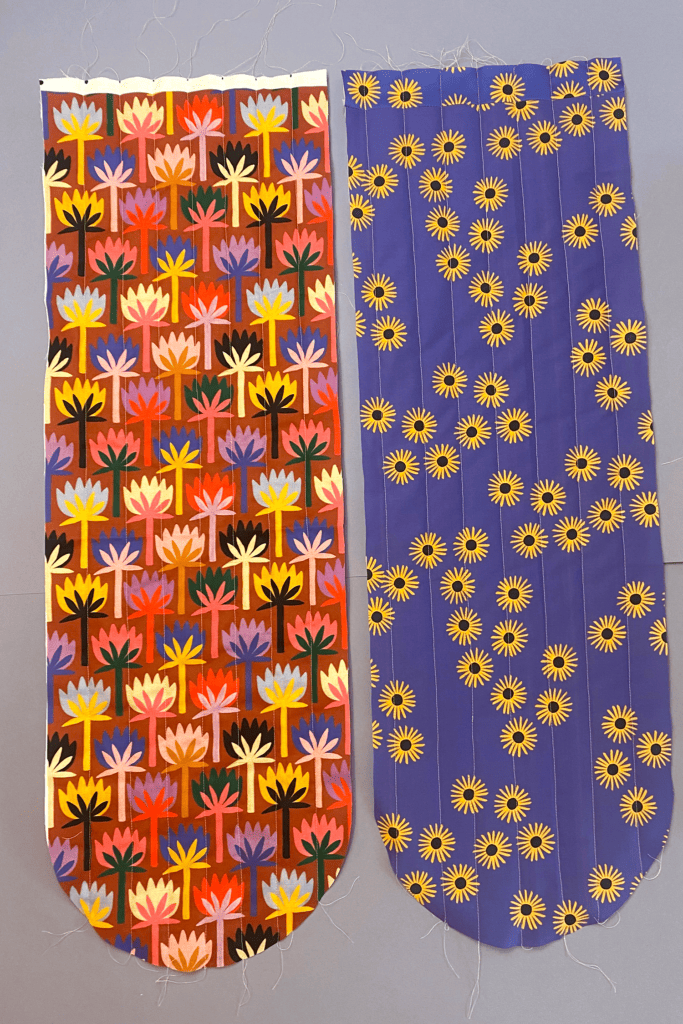
Print out the Lars Laptop Case Pattern and place on your two fabrics to cut out. This is a simple project, so you will only have 2 pieces! (The outer and lining)
-
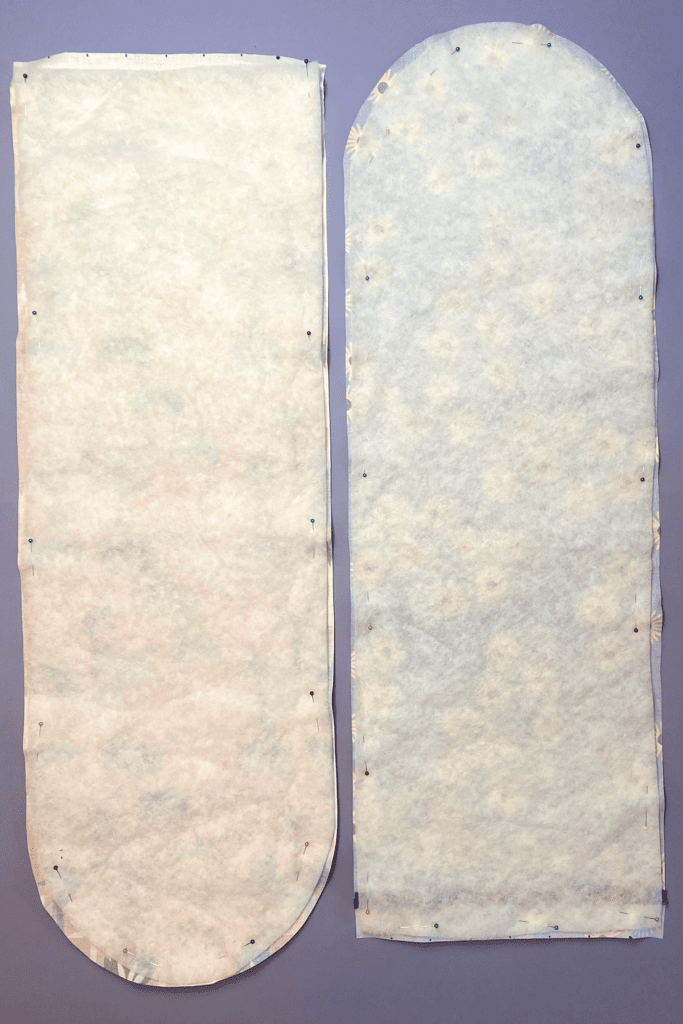
Cut out 2 pieces of quilt batting to be slightly smaller than the fabric pieces.
-
Pin each piece of batting to the outer and lining pieces. According to the pattern, either make marks with a pen or place pins at the top of the fabric where you will be sewing the batting to the fabric in strips to create a quilted look. To make sure that the lines stay straight, pick a point on your fabric to keep your eye on where your foot and needle will follow all the way down. If you are doing a solid color, tape a piece of paper to your presser foot that will be a line guide~~
-
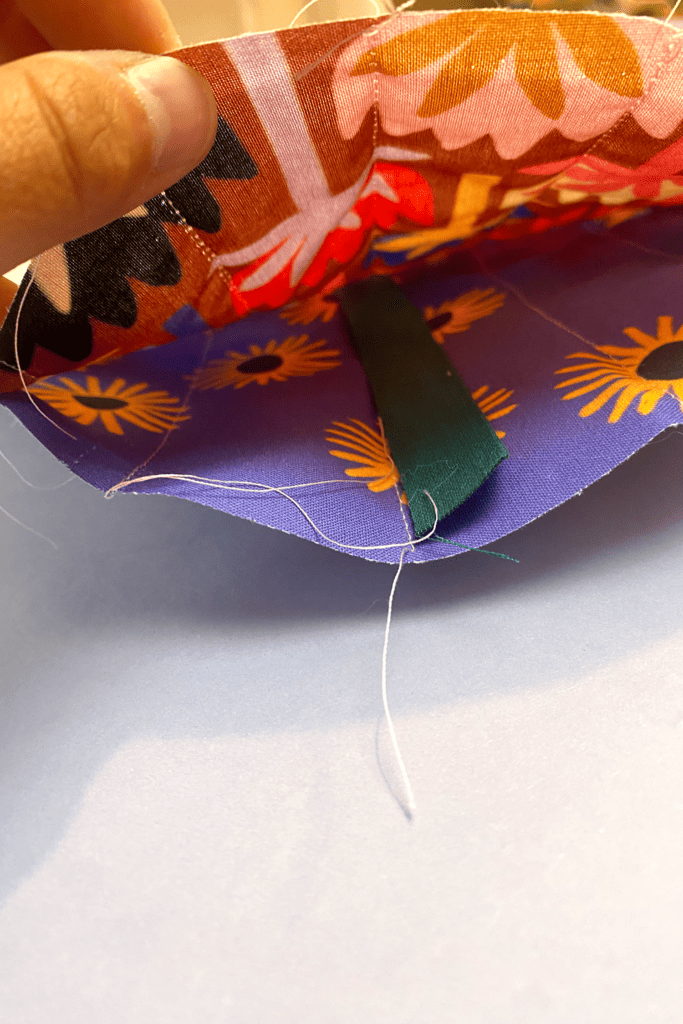
Once you are finished quilting both pieces of fabric, snip excess thread at both ends and place the two fabrics pattern sides together and pin. DON’T SEW YET because you need to insert the ribbon at the top of the curved flap. Place one piece of your ribbon at the top of the curved flap, keeping it at the seam line but IN BETWEEN the fabrics. So, when you are sewing, the ribbon will not be sticking out, it will be sandwiched in between the two pieces of fabric inside. Sew a ½ inch seam allowance all the way around, leaving a 6 inch opening at the bottom where you will turn it inside out.
-
Turn the case inside out!
-
Press the seams so everything is nice and flat. Top stitch the bottom hole shut. Fold over that bottom seam once and sew down to create a clean “hem”. This is so when the body is folded up halfway to create the case, it will look nice and finished.
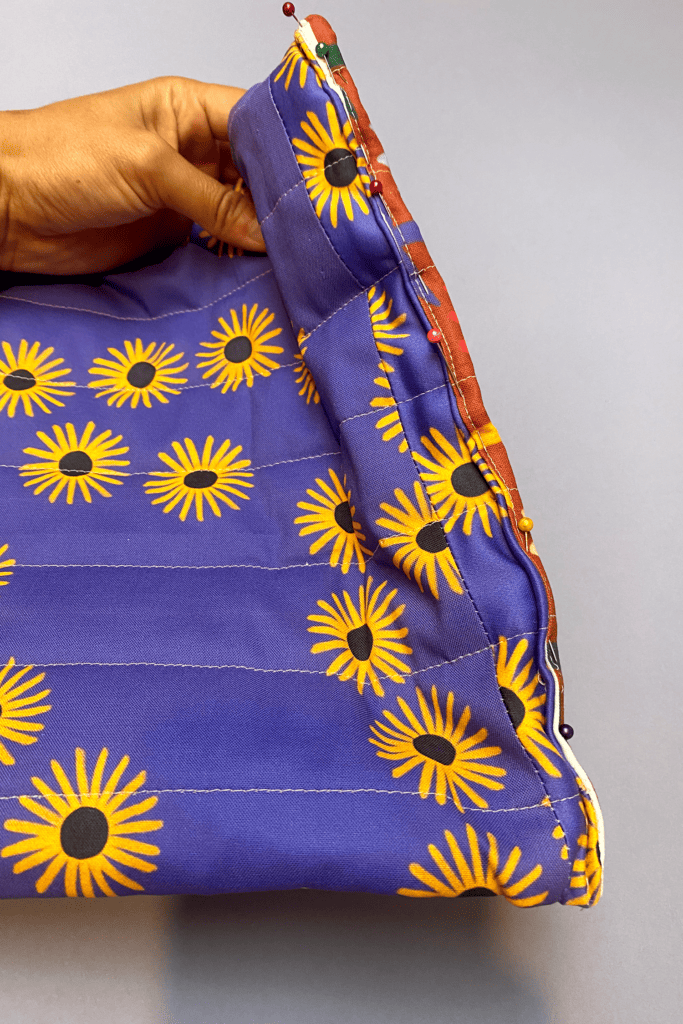
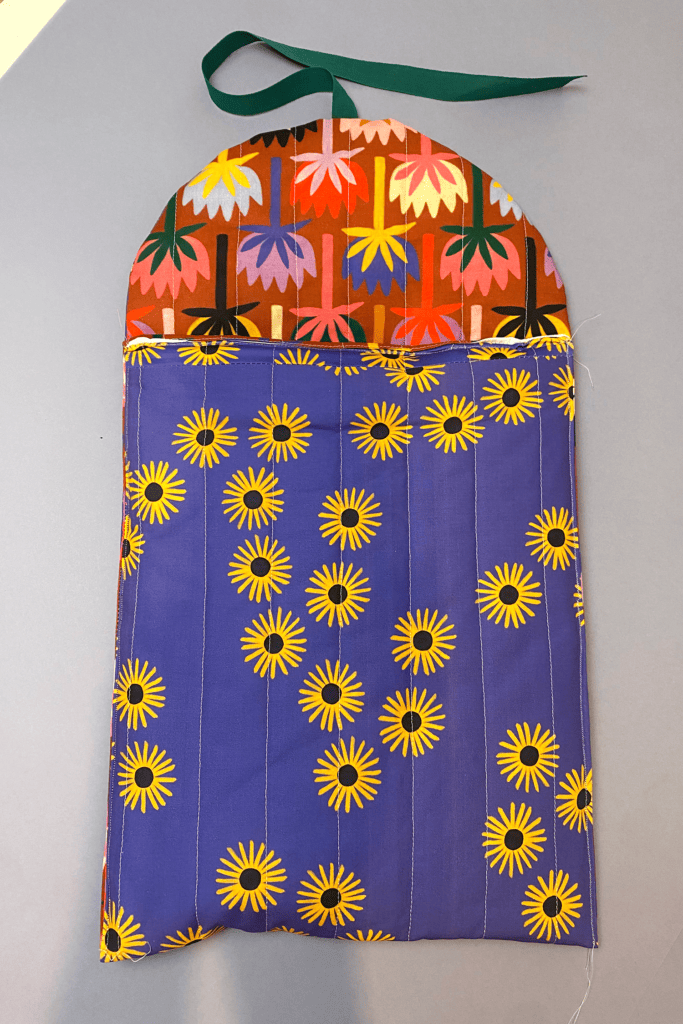
- Almost there! — Take the bottom of this fabric strip (the flat end) and fold it up so it lays right underneath where the curved flap begins. This is creating the place for the laptop to actually go in! Match the outer fabric to each other, pin, and sew a 1/4th inch seam allowance on both sides.
- Flip inside out and press!
-
Fold your top flap down to find where to place your bottom ribbon, pin the ribbon into place, and while using a matching thread, hand stitch the bottom ribbon to the top of the case. Sew back and forth twice to secure it well. Cut your ribbon ends at a diagonal!
-
Put your laptop inside, close it and tie it up with a cute bow, and you’re ready to go!
In a world filled with mass-produced items, there’s something truly special about creating a personalized laptop case that reflects your individuality. With fabrics from our shop, you can craft a case that bursts with colorful whimsy and charm. From selecting the perfect fabric to adding thoughtful details, every step of the process is an opportunity to infuse your creation with your unique style.
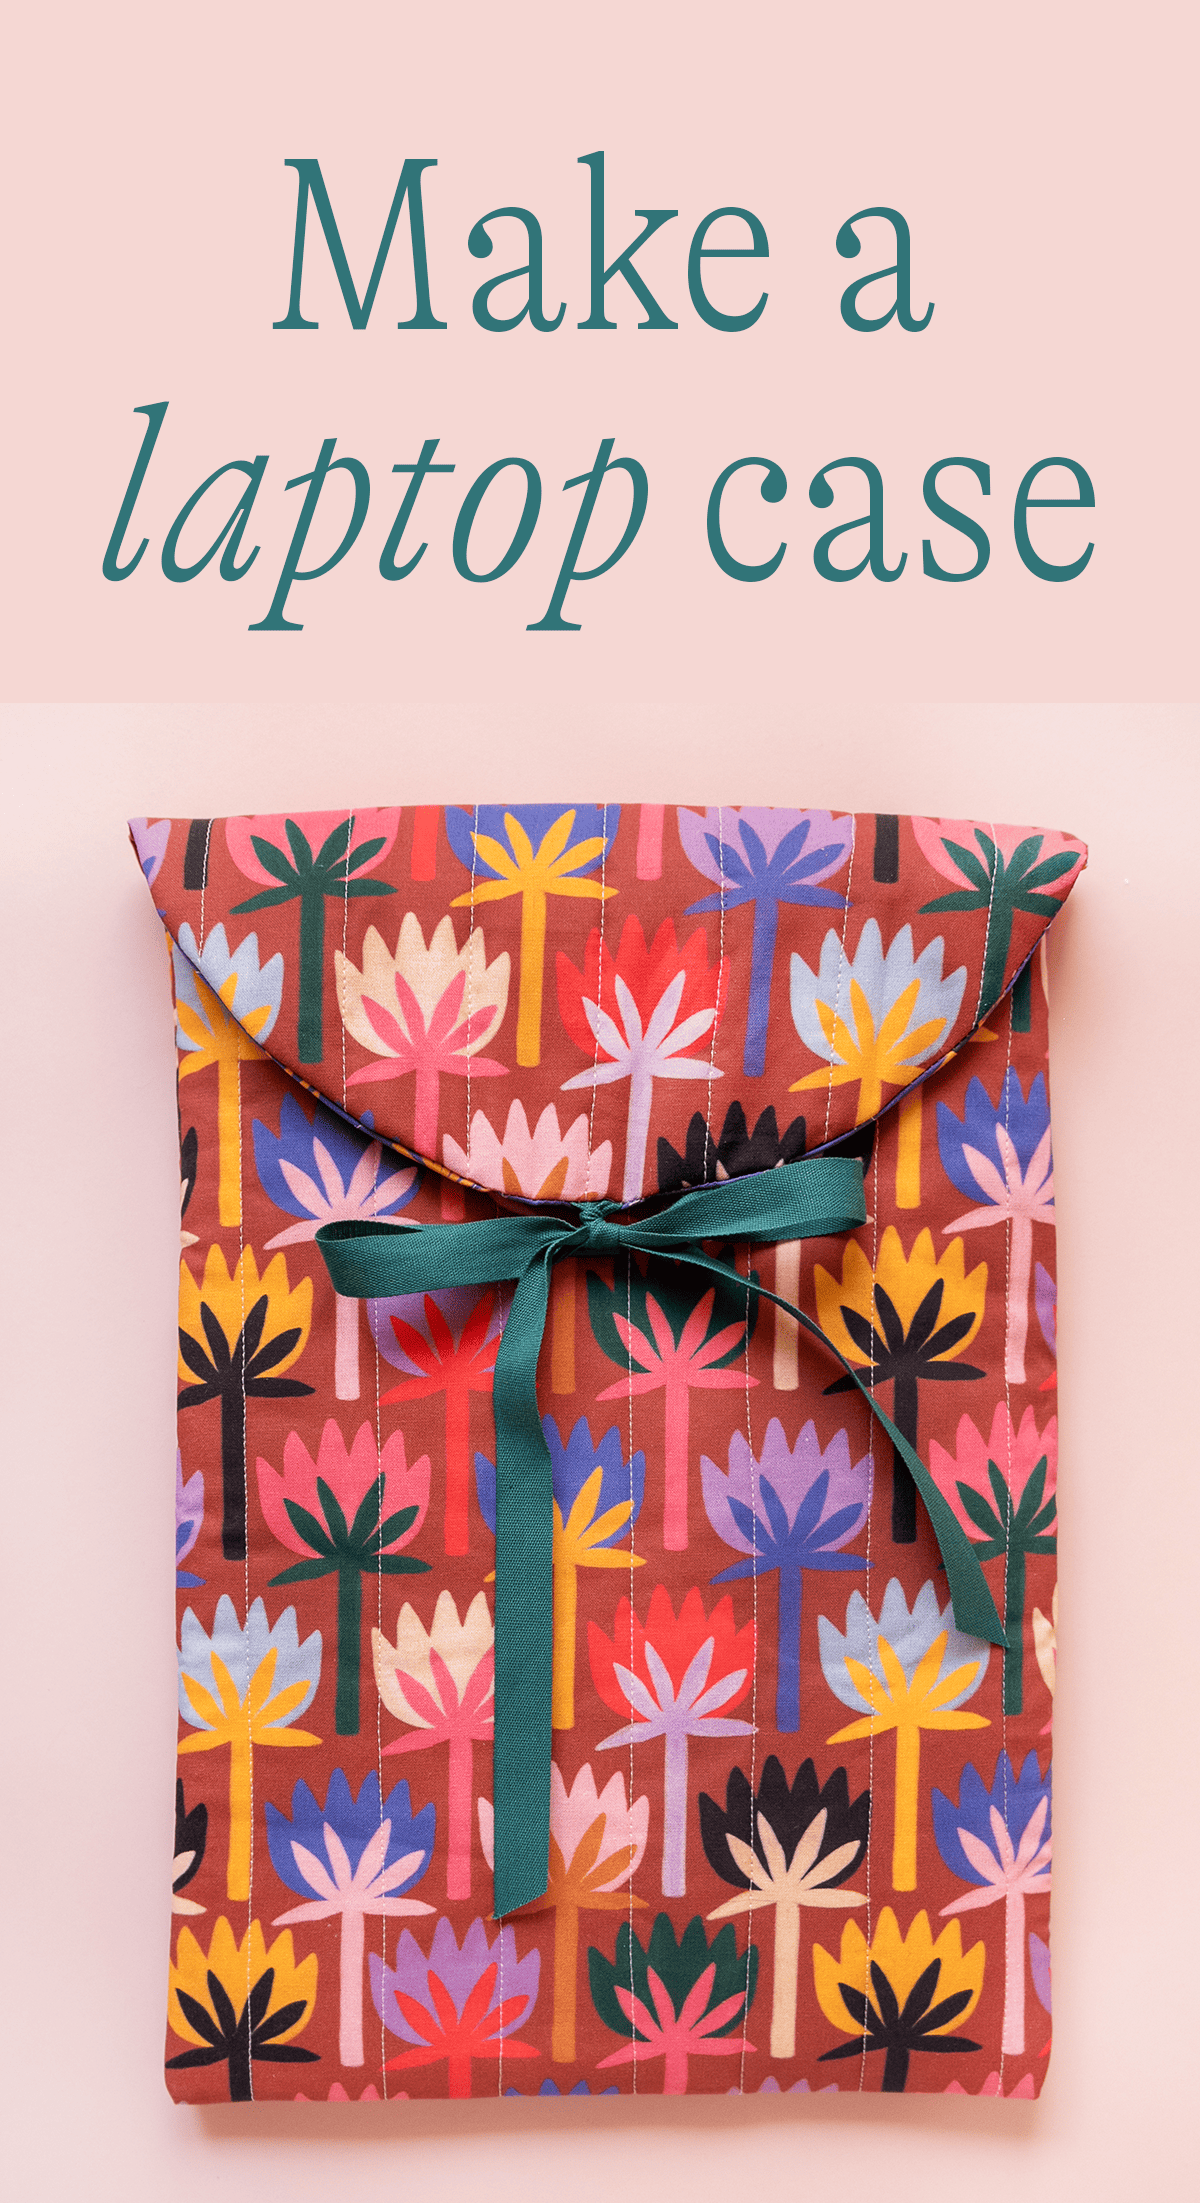
So, gather your materials, unleash your creativity, and embark on a journey of crafting joy. With a fabric laptop case lovingly made by your own hands, you’ll not only carry your laptop in style but also carry a piece of your creative spirit wherever you go. We can’t wait to see what you make with it! And when you do tag us with #LarsMakes so we can all see it!


