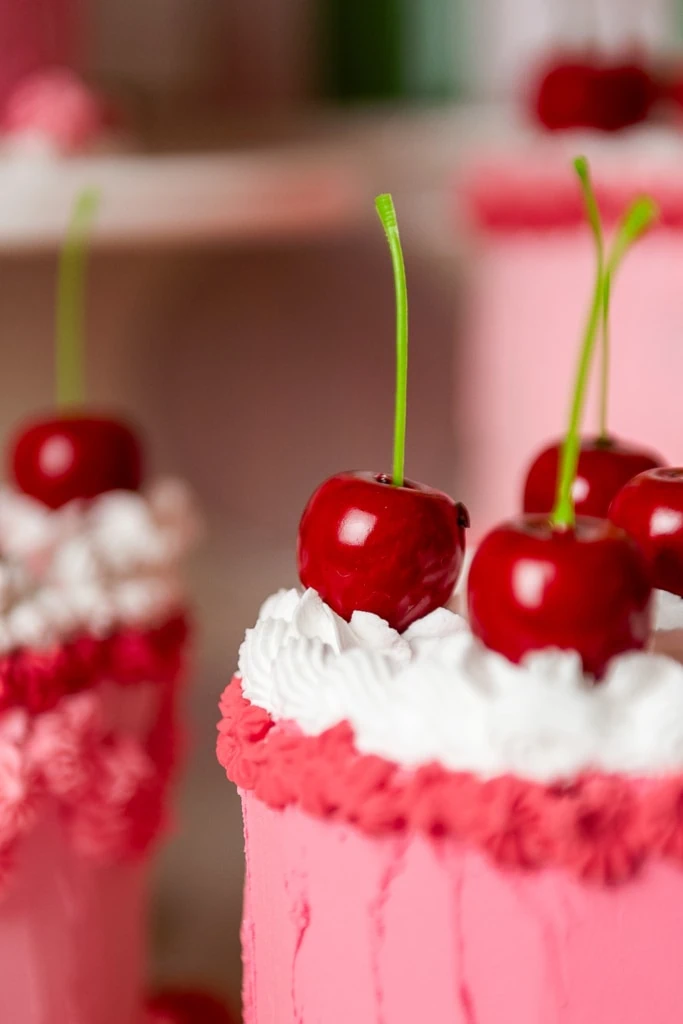
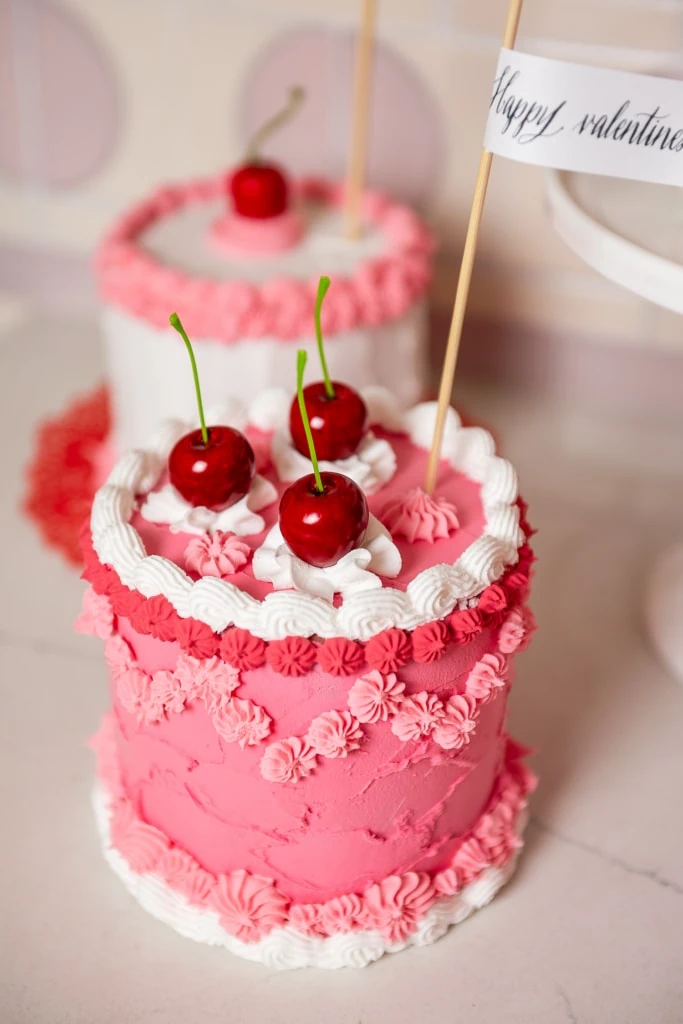
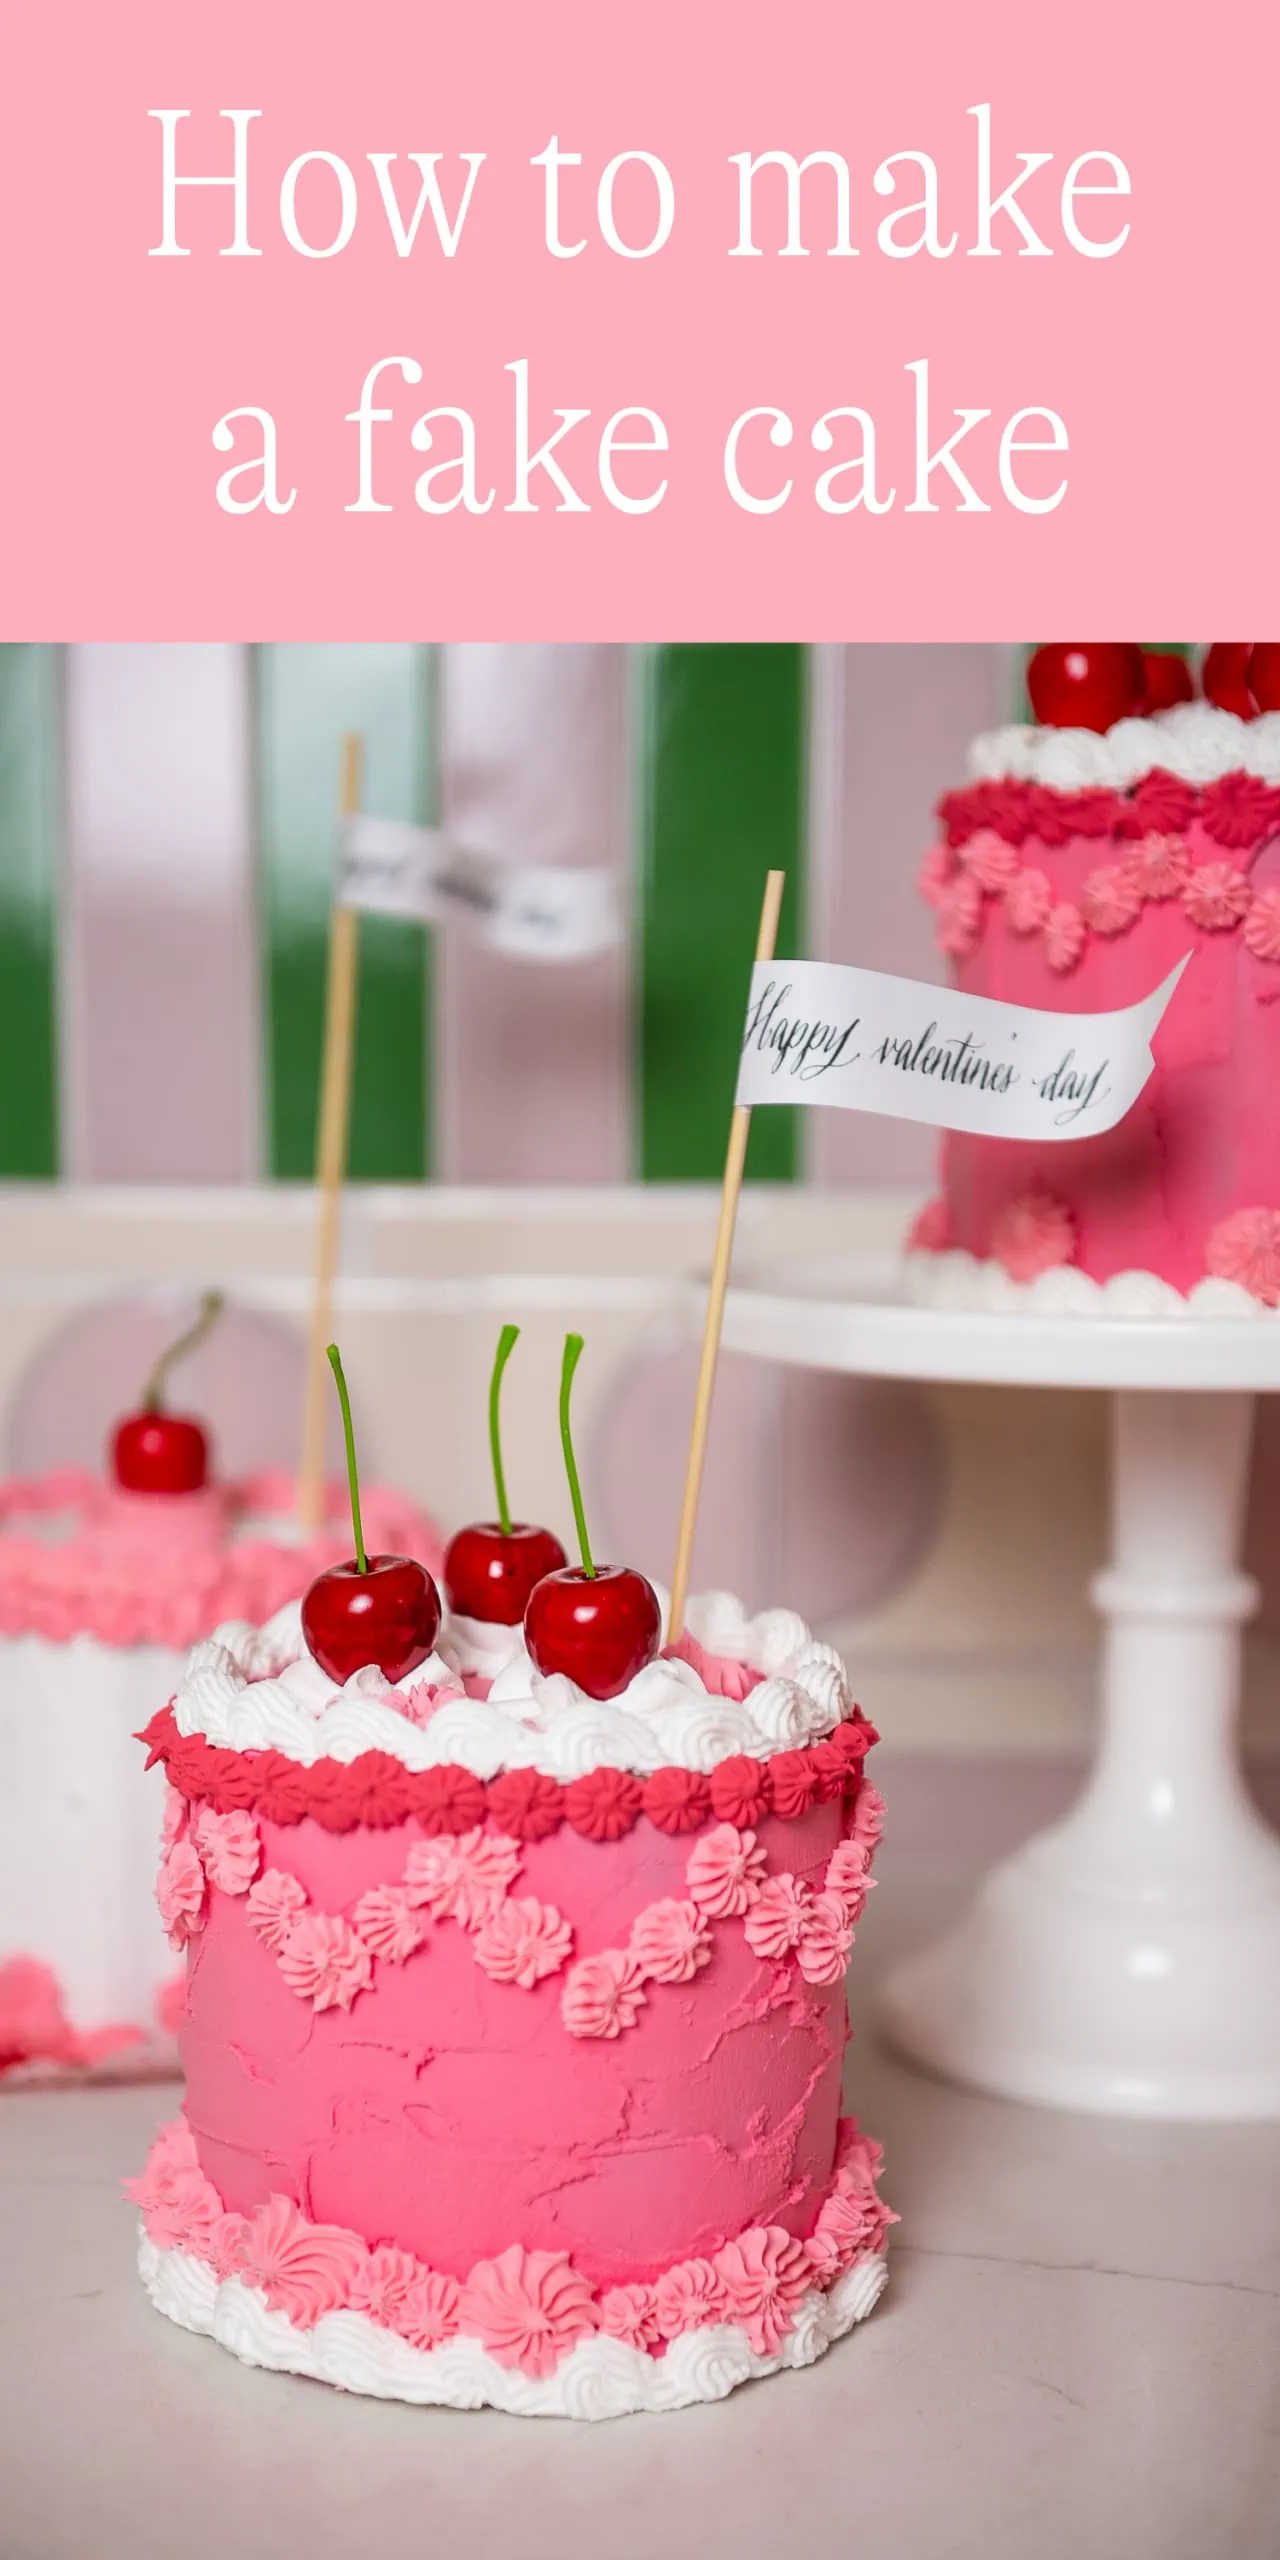
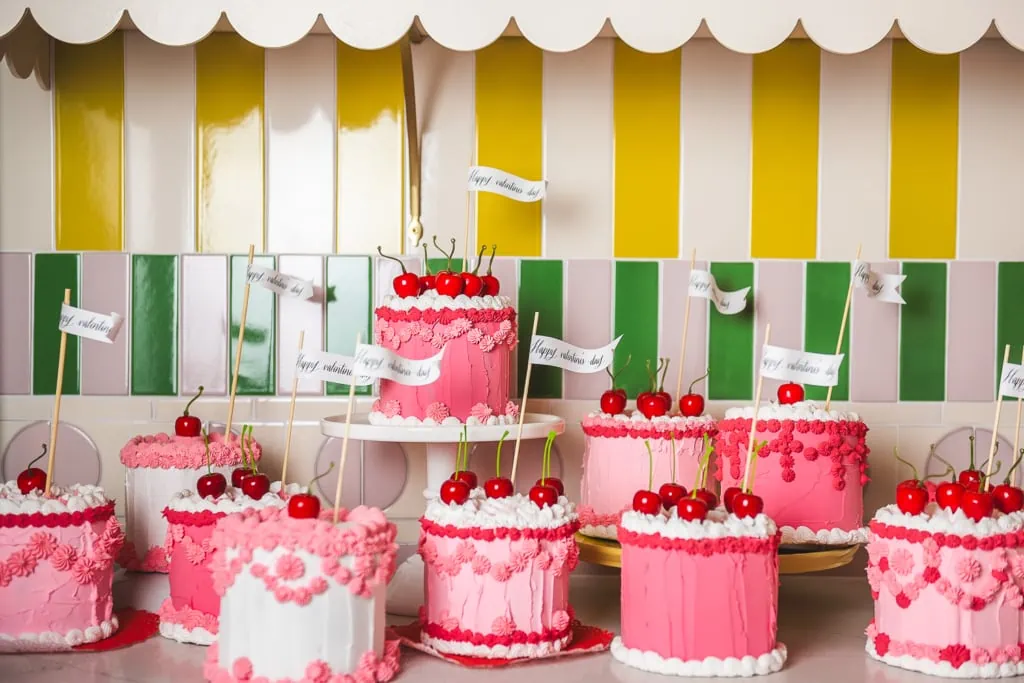
I recently took on a freelance job styling a photoshoot for a big company for Valentine’s Day. One of their requests was one of those adorable vintage cakes that you might have seen recently. I’ve been in love with the over-the-top decoration, intricate piping, and pastel colors of those 50s/60s cakes for ages. They’re just plain ole fun and whimsy! I decided to make my own fake cake for it since I didn’t know any cake decorators who could take it on. Then for a Valentine’s Day exchange I decided to make 20 mini fake cakes to hand out. You could say I’ve caught the baking bug. I had a few people on Instagram inquire about how to make them so I decided to make a tutorial on how to make a fake cake.
First, here’s the heart cake I made for the shoot.
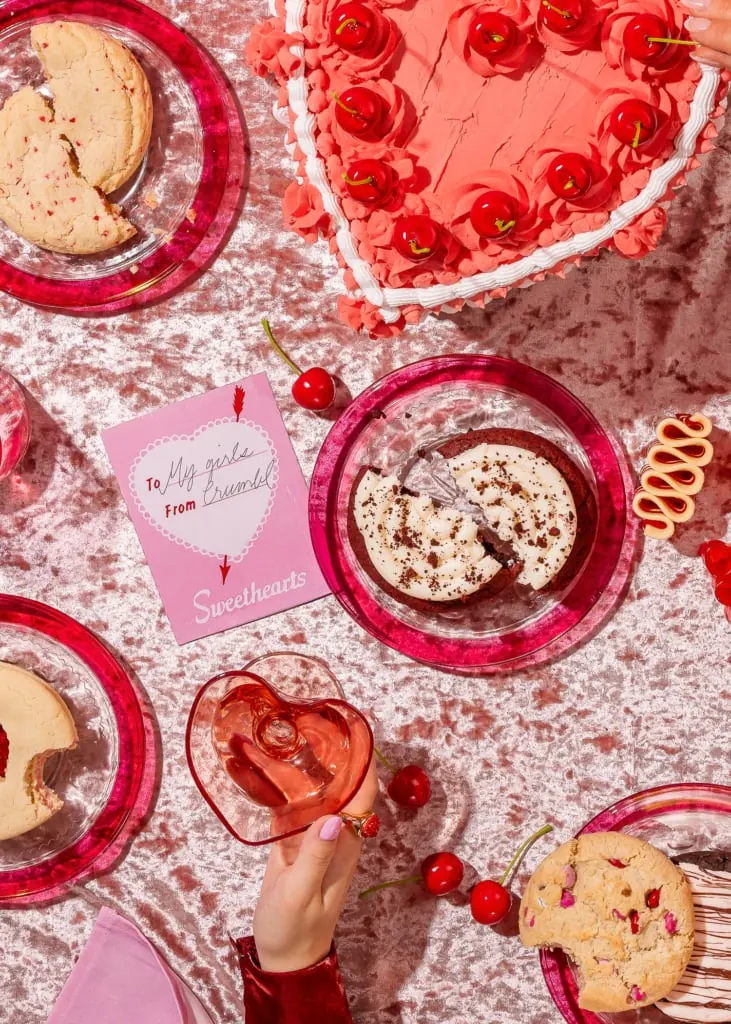
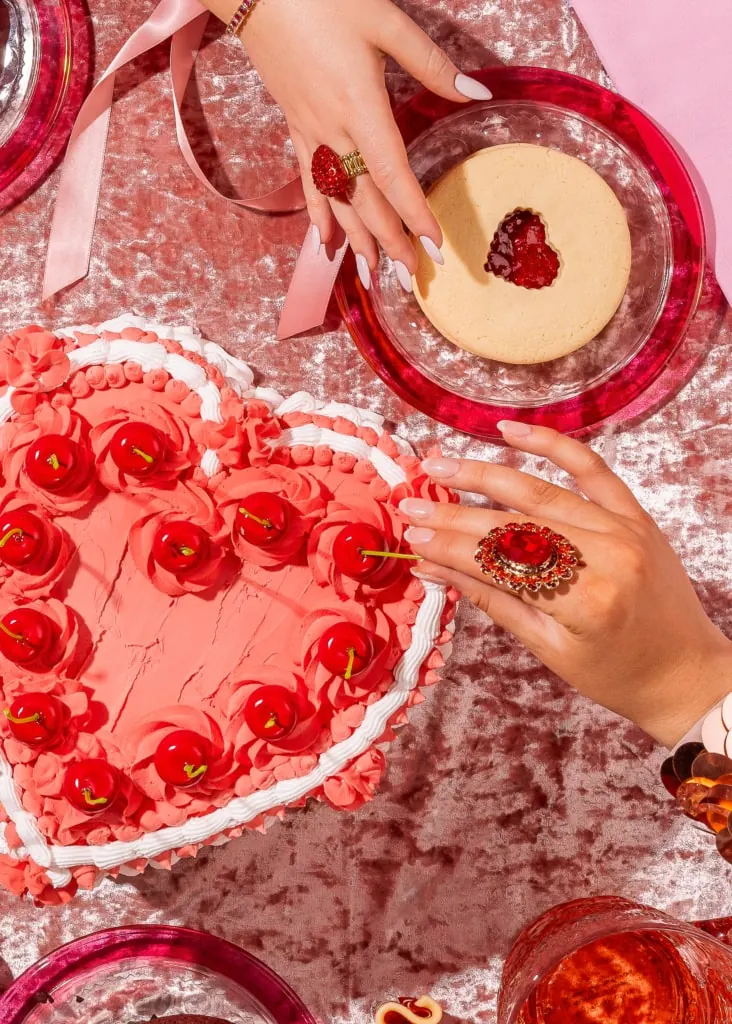
It was for Crumbl cookies so the hero was the cookies and I’m honestly so relieved you can’t see the sides too well because it was my first time ever piping a cake in my life and I had no idea what I was doing. I didn’t even look up any tutorials because I was in such a time crunch. I’ve since piped quite a few cakes and even though no bride or groom will be hiring me for their big day, I will say that I’ve picked up a few tricks that will help you make your own.
How to make a fake cake
Difficulty:
beginner to advanced depending on skillsTime:
2-3 days (includes drying time). Actual time could be an hour depending on size and skillMaterials
Instructions
Making your form
-
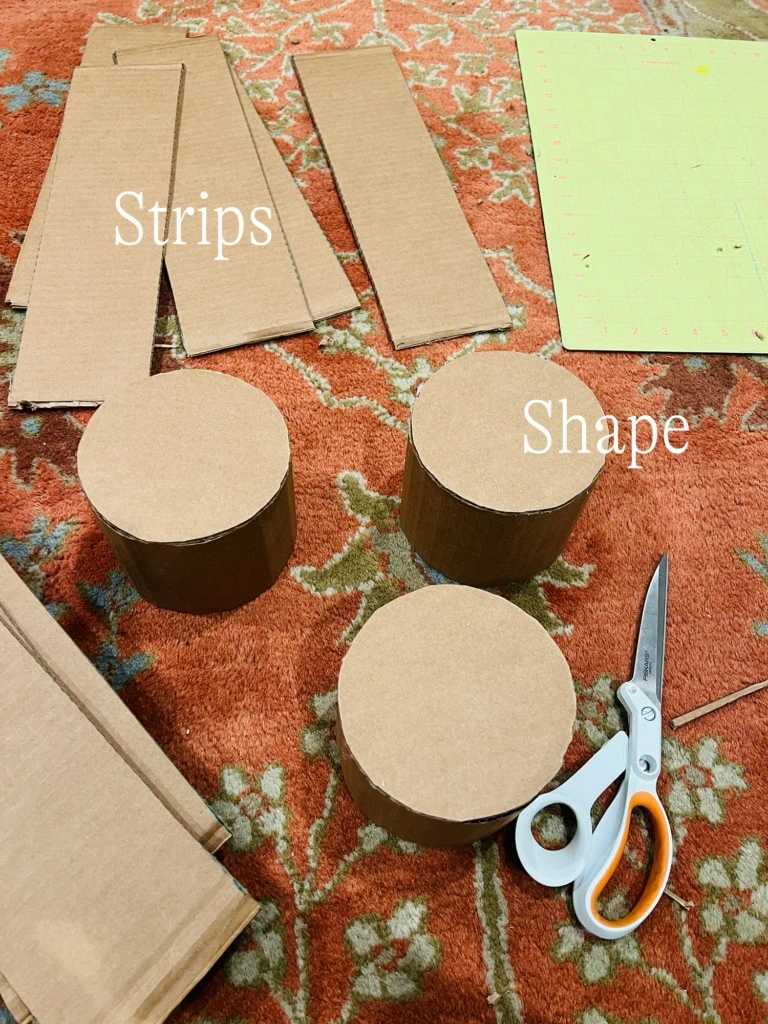
You can either choose to make a form out of cardboard, which is what I did, or you can buy it. I used old shipping boxes to make it like a pinata. I listed a link for where to get the forms in the materials above. If you choose cardboard, you will draw your shape, I chose a 4″ circle, cut it out and then choose how thick you want it by cutting rectangle strips in that size going AGAINST the grain of the cardboard (this is important).
-
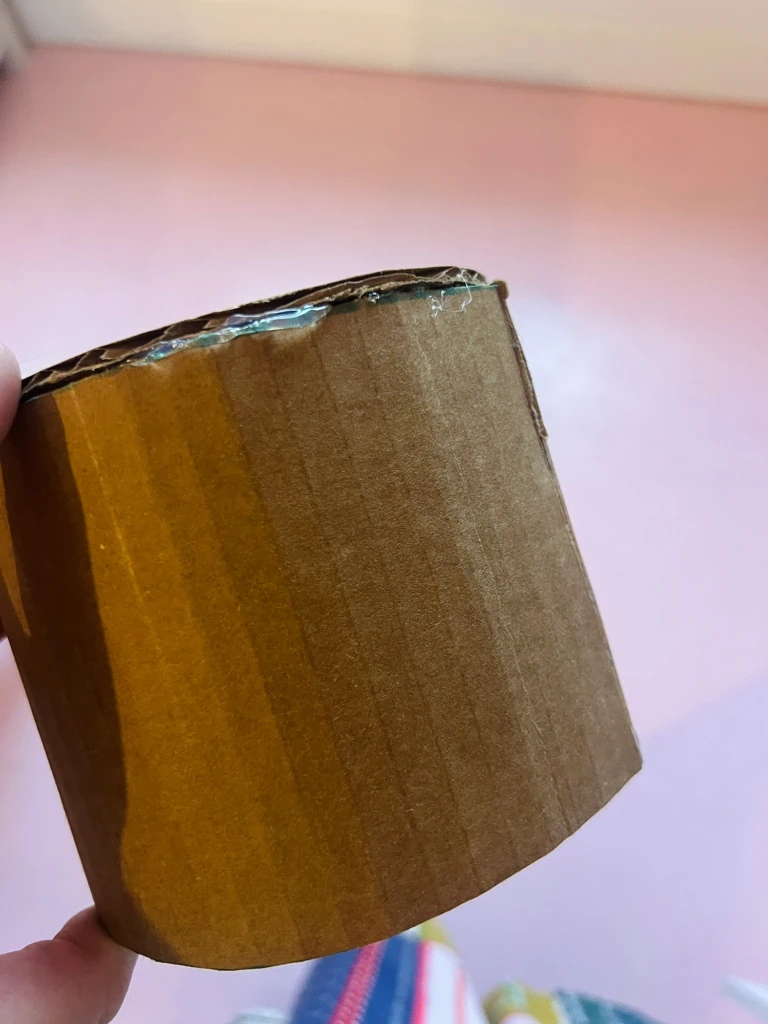
Once you’ve cut out your shapes, you will use your rectangle strips and bend each grain of the cardboard so that it has flexibility and can mold into the shape you want it.
How to mix colors
-
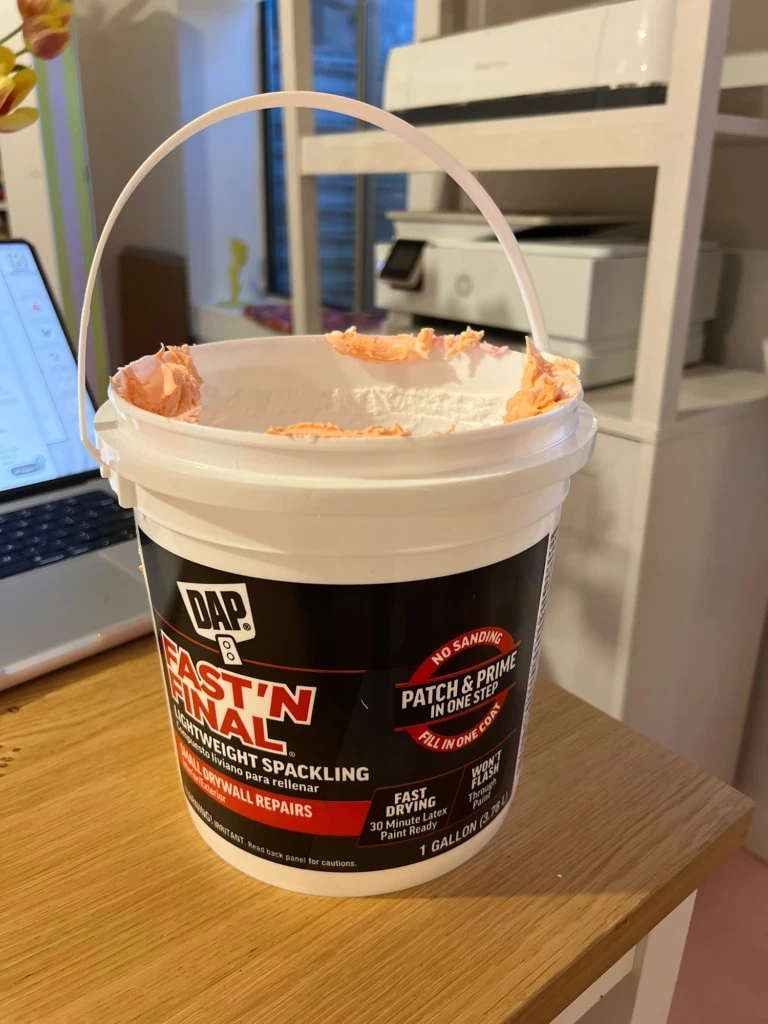
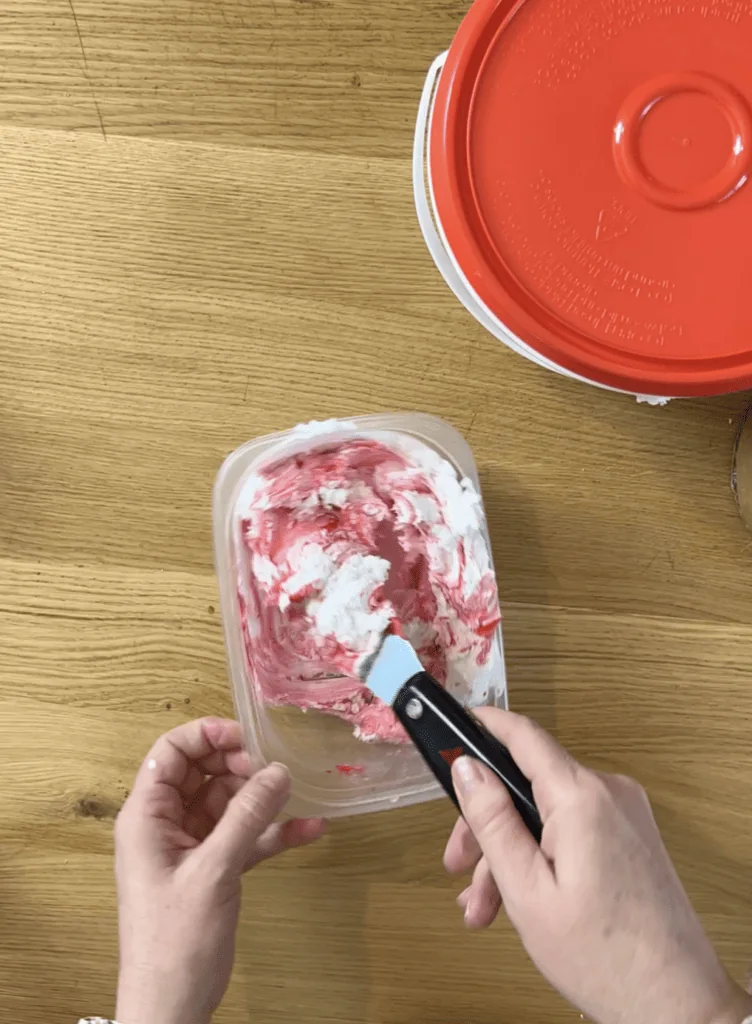
If you want everything to be white, you’re in luck! Just use the spackling straight out of the tub. If you want your cake to be colorful, you’ll need to mix colors with the spackling and acrylic paint. I use a plastic tub and add in the spackling. I quirt a bit of acrylic paint and mix it in. I start with less than I think (the less you have the more pastel it will be). If you want a really bold color, use a bold acrylic paint and add more paint in. It will take some experimenting to get the right color.
-
Warning: the more saturated the color, the runnier the spackling will be and the less defined the piping may be. To offset this, use a darker acrylic paint color.
Filling your bag
-
Use the instructions on your baking tips to add the tips into the bags. I like to fold the end of the bag around when I add in the spackling into the bag. I close it off with a rubber band to keep it tight.
Adding on the base frosting
-
Now we get to add on the frosting! If you want a white cake, you’re in luck! Just use the spackling straight out of the bucket. If you want to have a color, see above on how to add in colors under “How to mix colors”
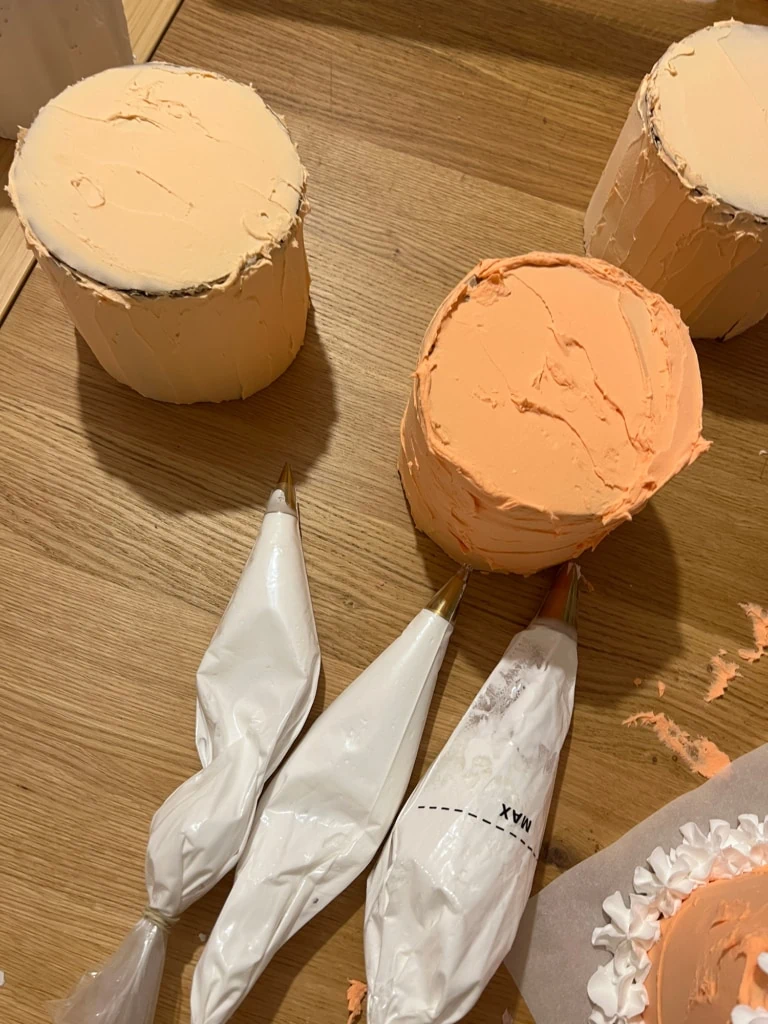
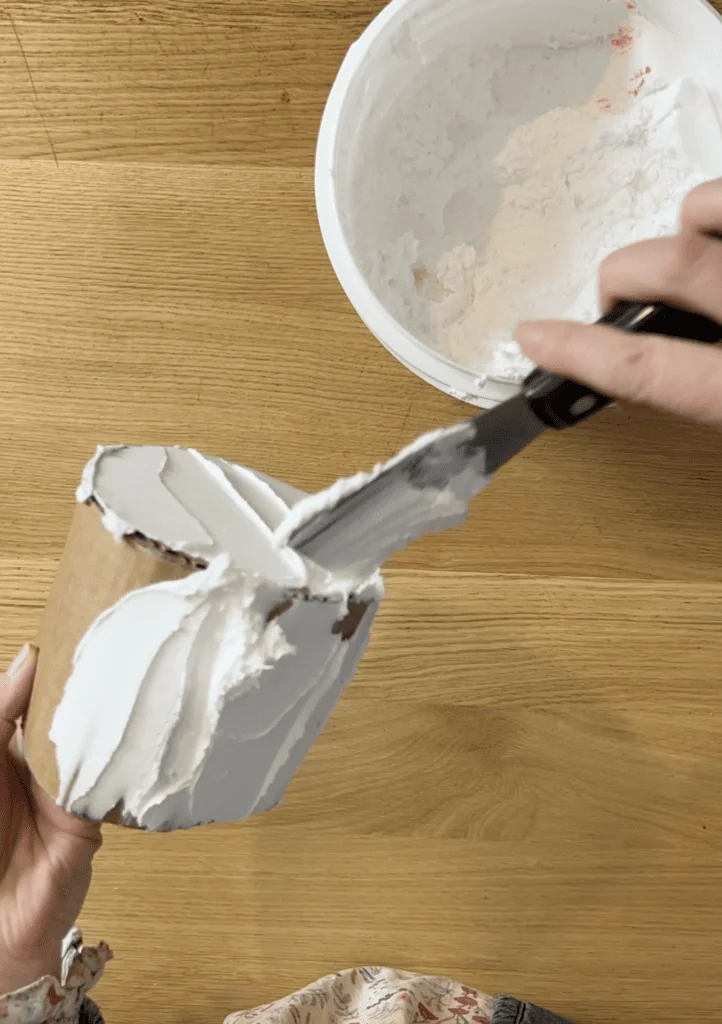
- With your putty knife, add the spackling onto the cake. You can make it vertical stripes or horizontal. I liked the the “frosting” not to be too perfectly smooth to make it look like actual frosting. Wait about 24 hours for the spackling to dry.
Piping your cake
- Now is the fun, therapeutic part! Take out your cake tips and get to work! I used the instructions on my cake tips to learn how to make the shapes.
-
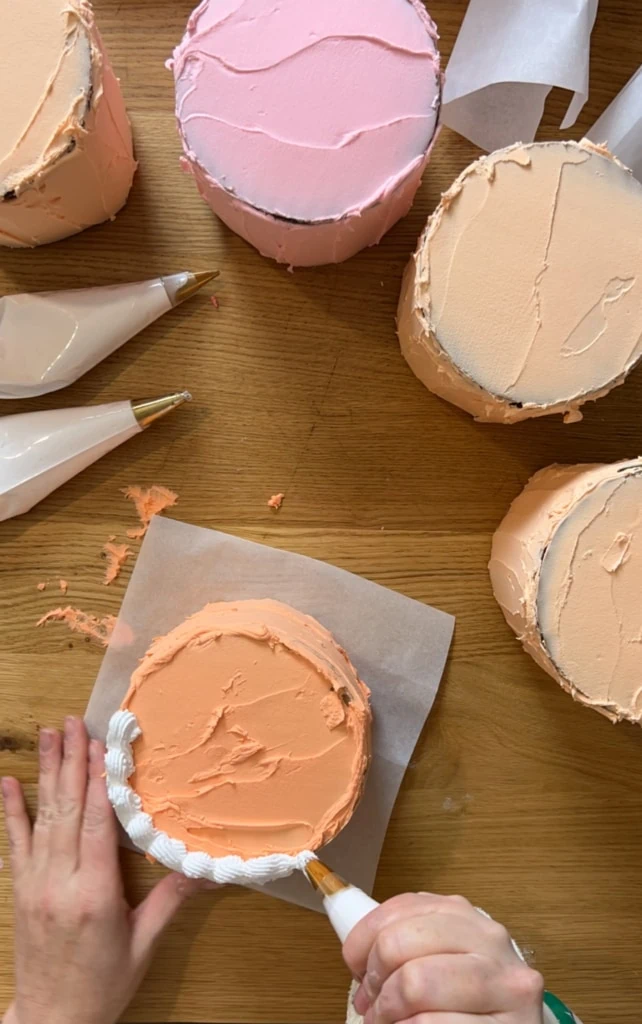
I found that where the top meets the sides didn’t always get a good base coat of frosting so I knew I wanted to hide it with some piping. I started by piping a shell design around the edge, then filling it in with stars, dots, rosettes and more.
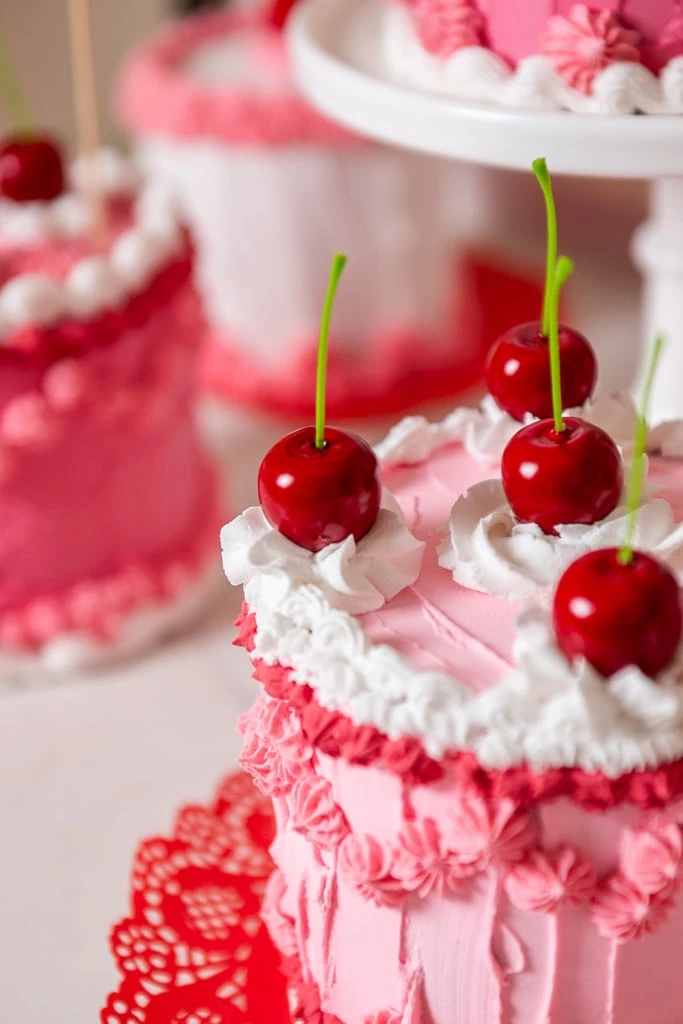
- As you’re planning your design, add in the cherries as you go so that they dry with the piping. If you don’t, that’s fine too, but at least make a spot in the piping for where they will eventually sit.
- Have fun piping your design. When you’re done, let it dry for 24 hours. It still might be a bit rubbery, but it should be strong enough to be transported.
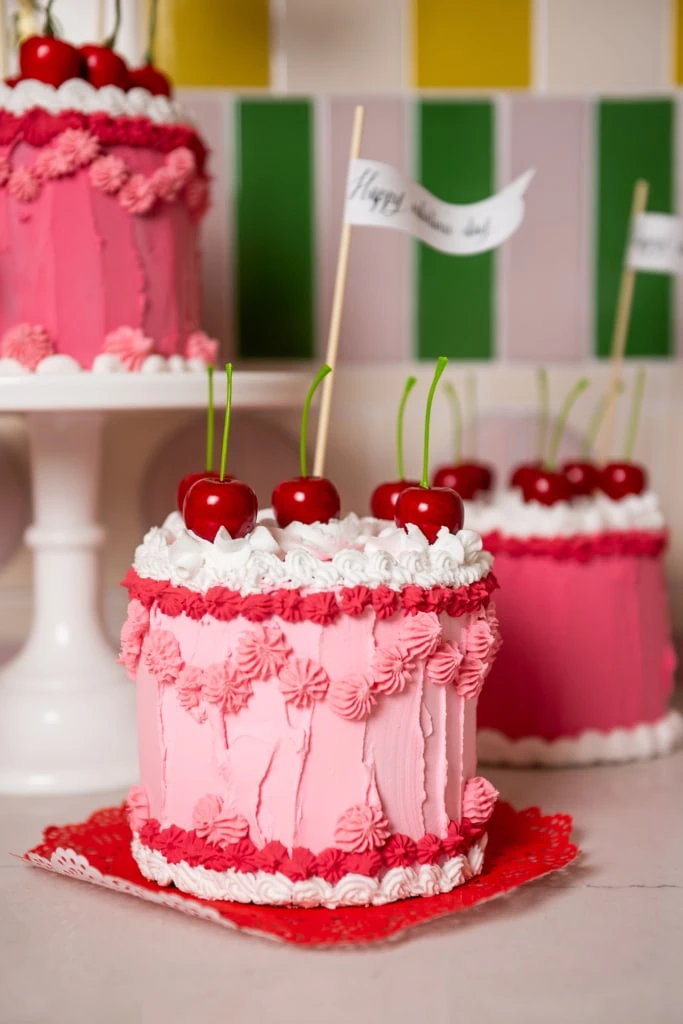
- Once it’s dry, I added on a piece of carstock onto the bottom of the cake and used elmer’s glue to attach it. I also add in a “happy valentine’s day” and since then a “happy birthday” flag onto a skewer and punched it into the cake. I love the height it adds to the cake!
How to pipe a shell
-
The size of the tip will depend on the size you’re going for. I used the star tip to create this. You start by releasing the frosting on the cake and then making a loop up around and releasing. Honestly, I read no instructions before I started so it took me a little while to figure it out but eventually I got there. Phew!
How to pipe a star
-
Use your star tip for this one. I think the star is one of the easiest ways to make it look impressive. You simple put your tip where you want it, squeeze and release keeping the bag and your hand right in the center.
How to pipe a dot
-
Use your round decorating tip for this one. Squeeze the bag in one small burst to create the dot. If the dot creates a point from releasing it, you can dip your finger in cornstarch to pat it down!
How to create swags
-
I really wanted to do some lined swags around the sides of the cake, but found that the spackling created a stop and go line, basically morse code, and I couldn’t ever get it to work well, so I ended up making them out of stars and loved how it turned out! If someone has some advice, I’m all ears!
How to pipe rosettes
-
I used a star tip for the rosettes. There’s lots of variations on the rosettes but the one I came to like the most I would start in the middle, create a circle and then end up back in the middle.
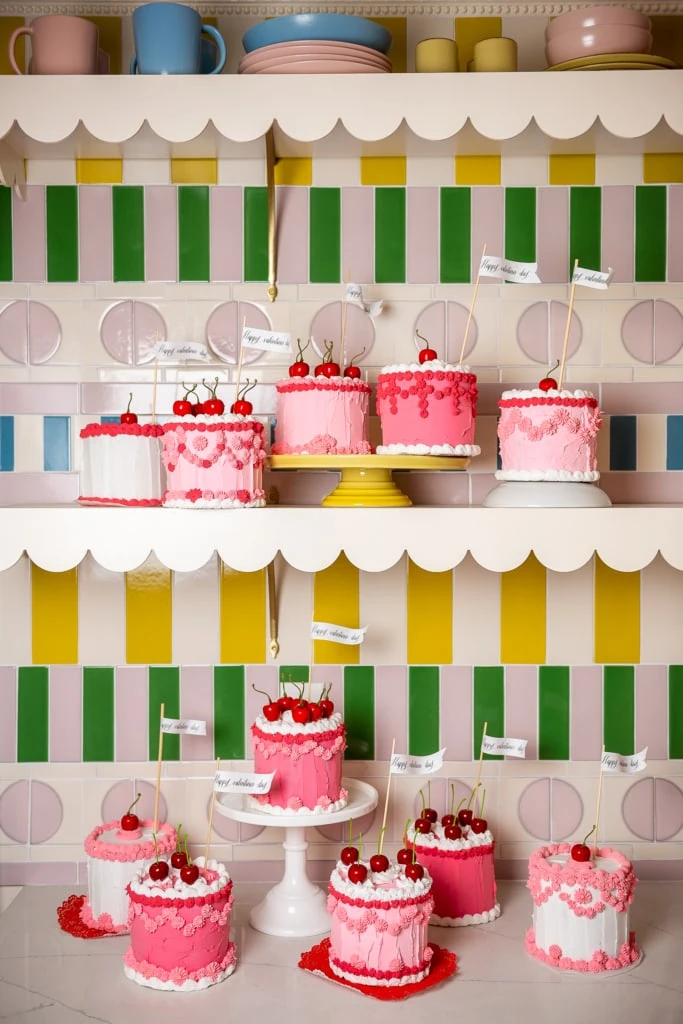
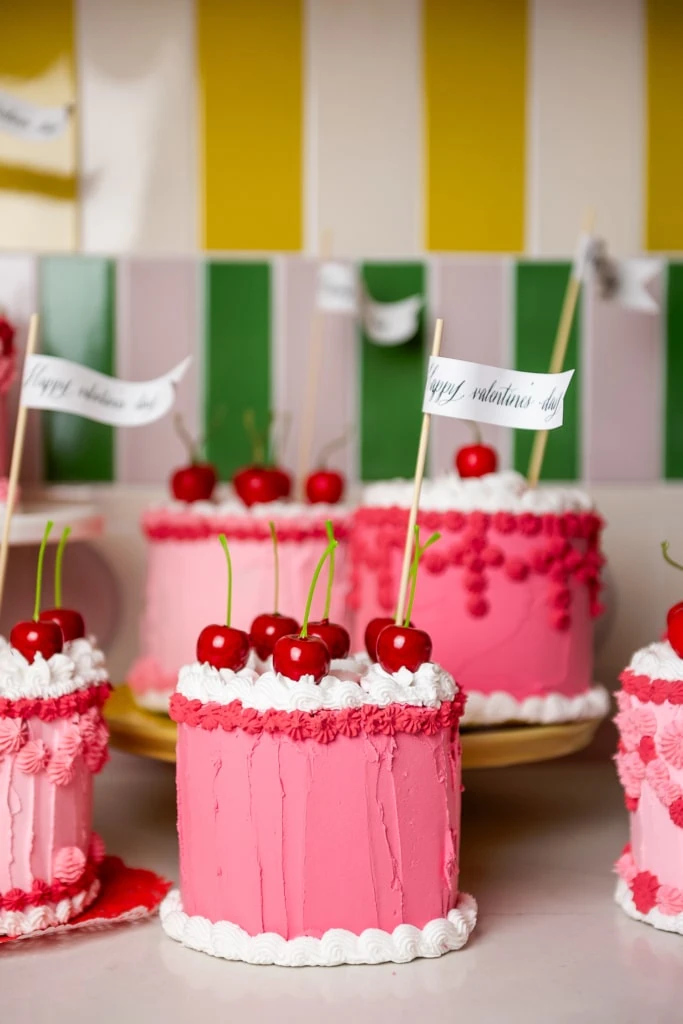
I had such a great time making my 20 cakes that I started wondering to myself if this is my new identity. Am I a fake cake person now? Ha! The answer is yes. Now I want to make them for every holiday and every birthday person. Stay tuned! Muhahahahha!


