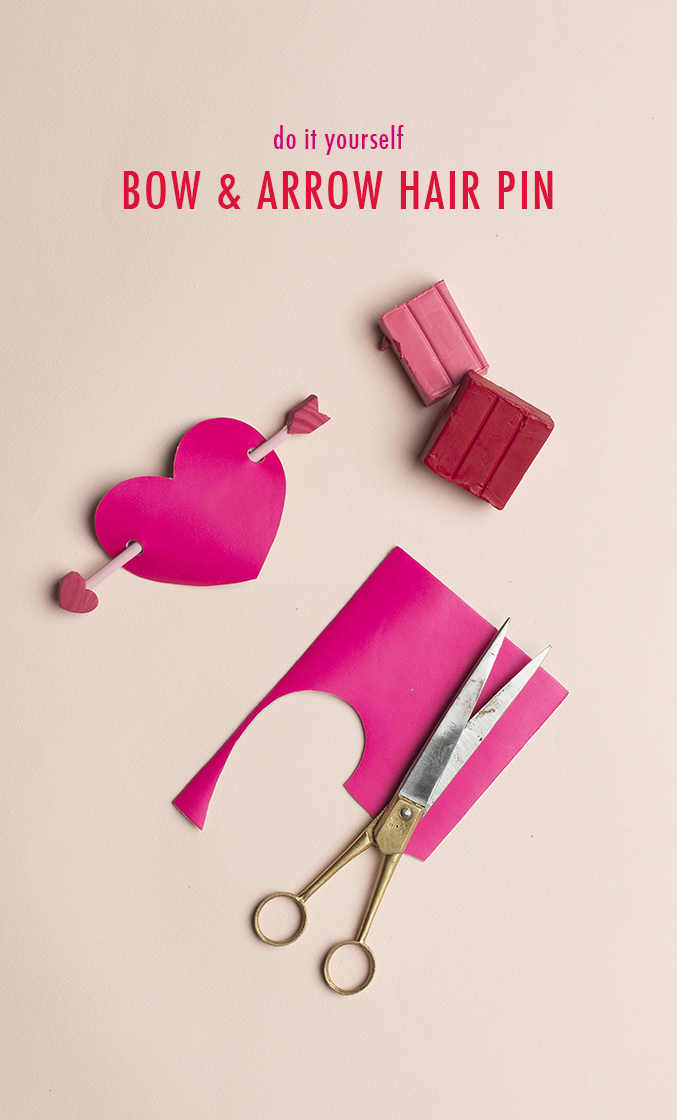
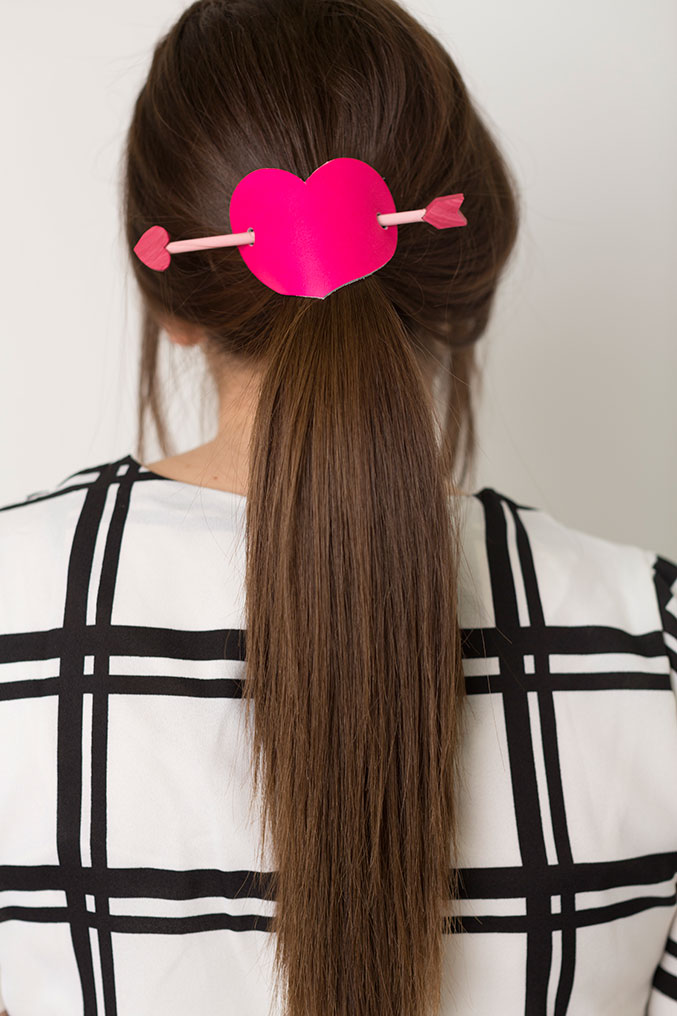
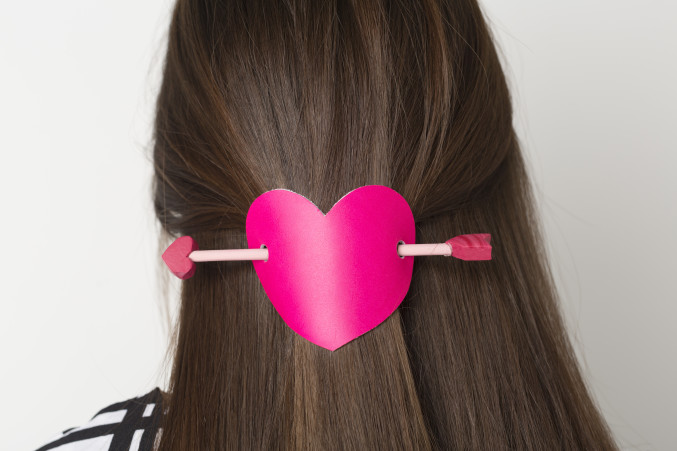
I’m one of those holiday-obsessed types who likes to dress up in head to toe matching outfits. You know, all green for St. Patrick’s Day, orange and black for Halloween. I realize not everyone is so maybe you just need a dash of pink for Valentine’s Day? Just maybe? This heart and arrow hair pin is a very cute way to get into the spirit without going overboard. OR dress it up with oodles of pink and red and totally kill it! And, it’s so easy to make! Check out the full tutorial below.
photography by Trisha Zemp | Crafting by Ashley Isenhour | Styling by Brittany Jepsen
DIY Heart and arrow hair pin by Ashley Isenhour
Materials: template (download here) red polymer clay, pink polymer clay, wooden dowel, x-acto knife, needle, red leather (you want this to be thick enough to hold its shape. We bought ours from here), pen, template, scissors, rolling pin, pink paint, paint brush, parchment paper or silicone mat to protect your work surface, leather drive punch, mallet or hammer, e6000 adhesive, baking sheet, oven
Step 1: Cut out template for leather heart. Trace heart onto wrong side of leather (make sure to also mark where holes will be punched). Cut out heart with scissors.
Step 2: Choose a leather drive punch that has a larger diameter than your dowel (see Fig. 1). Place leather heart on a hard work surface (I recommend outside on the sidewalk). Center the punch over the hole marks you made with your template. Give the end of the punch a firm whack with your hammer or mallet. Watch this short video if you’re having a hard time visualizing how the punch works.
Step 3: Cut a 5 inch piece off of your dowel. Use an x-acto knife to sharpen one end of the dowel to a point (see Fig. 2) and cut a triangular notch in the other end (Fig. 3). Paint the dowel pink.
Step 4: Condition both colors of polymer clay (this video shows you how to do it). I found sticking the clay between two sheets of parchment paper and rolling it with a rolling pin to work well.
Step 5: Marble the pink and red polymer clay together. I used this tutorial, but instead of putting it through a pasta roller I put the clay between two sheets of parchment paper and rolled it out with a rolling pin. You’ll want to leave the clay pretty thick- almost twice the thickness of the diameter of your dowel.
Step 6: Cut out the small heart and “feather end” from the template (see shapes in Fig. 4). Lay the template pieces on the marbled polymer clay and cut around the pieces using an x-acto knife. You may want to practice on extra clay first until you’re confident in getting a smooth cut.
Step 7: Lay your clay pieces on a baking sheet and bake according to the directions on the clay packaging.
Step 8: While the heart piece is still slightly warm, carefully use an x-acto knife (I found a needle to be helpful too) to carve out a hole for the pointy end of your dowel to fit in (Fig. 5). You want the diameter to be just slightly bigger than your hole so that it’s a snug fit. Ball up a tiny piece of unbaked polymer clay and stuff it in the bottom of the hole. After you put the stick in place in your hair you can then cap off the pointy end by sticking it into the heart piece and the little piece of unbaked clay should (hopefully) help keep it on. I know this whole step is a little tricky, so if you’re not having luck with it just use the pointy end of your stick as is. I promise it’s still cute 🙂
Step 9: Use e6000 glue to adhere the “feather end” to the notched end of the dowel (Fig. 6).


