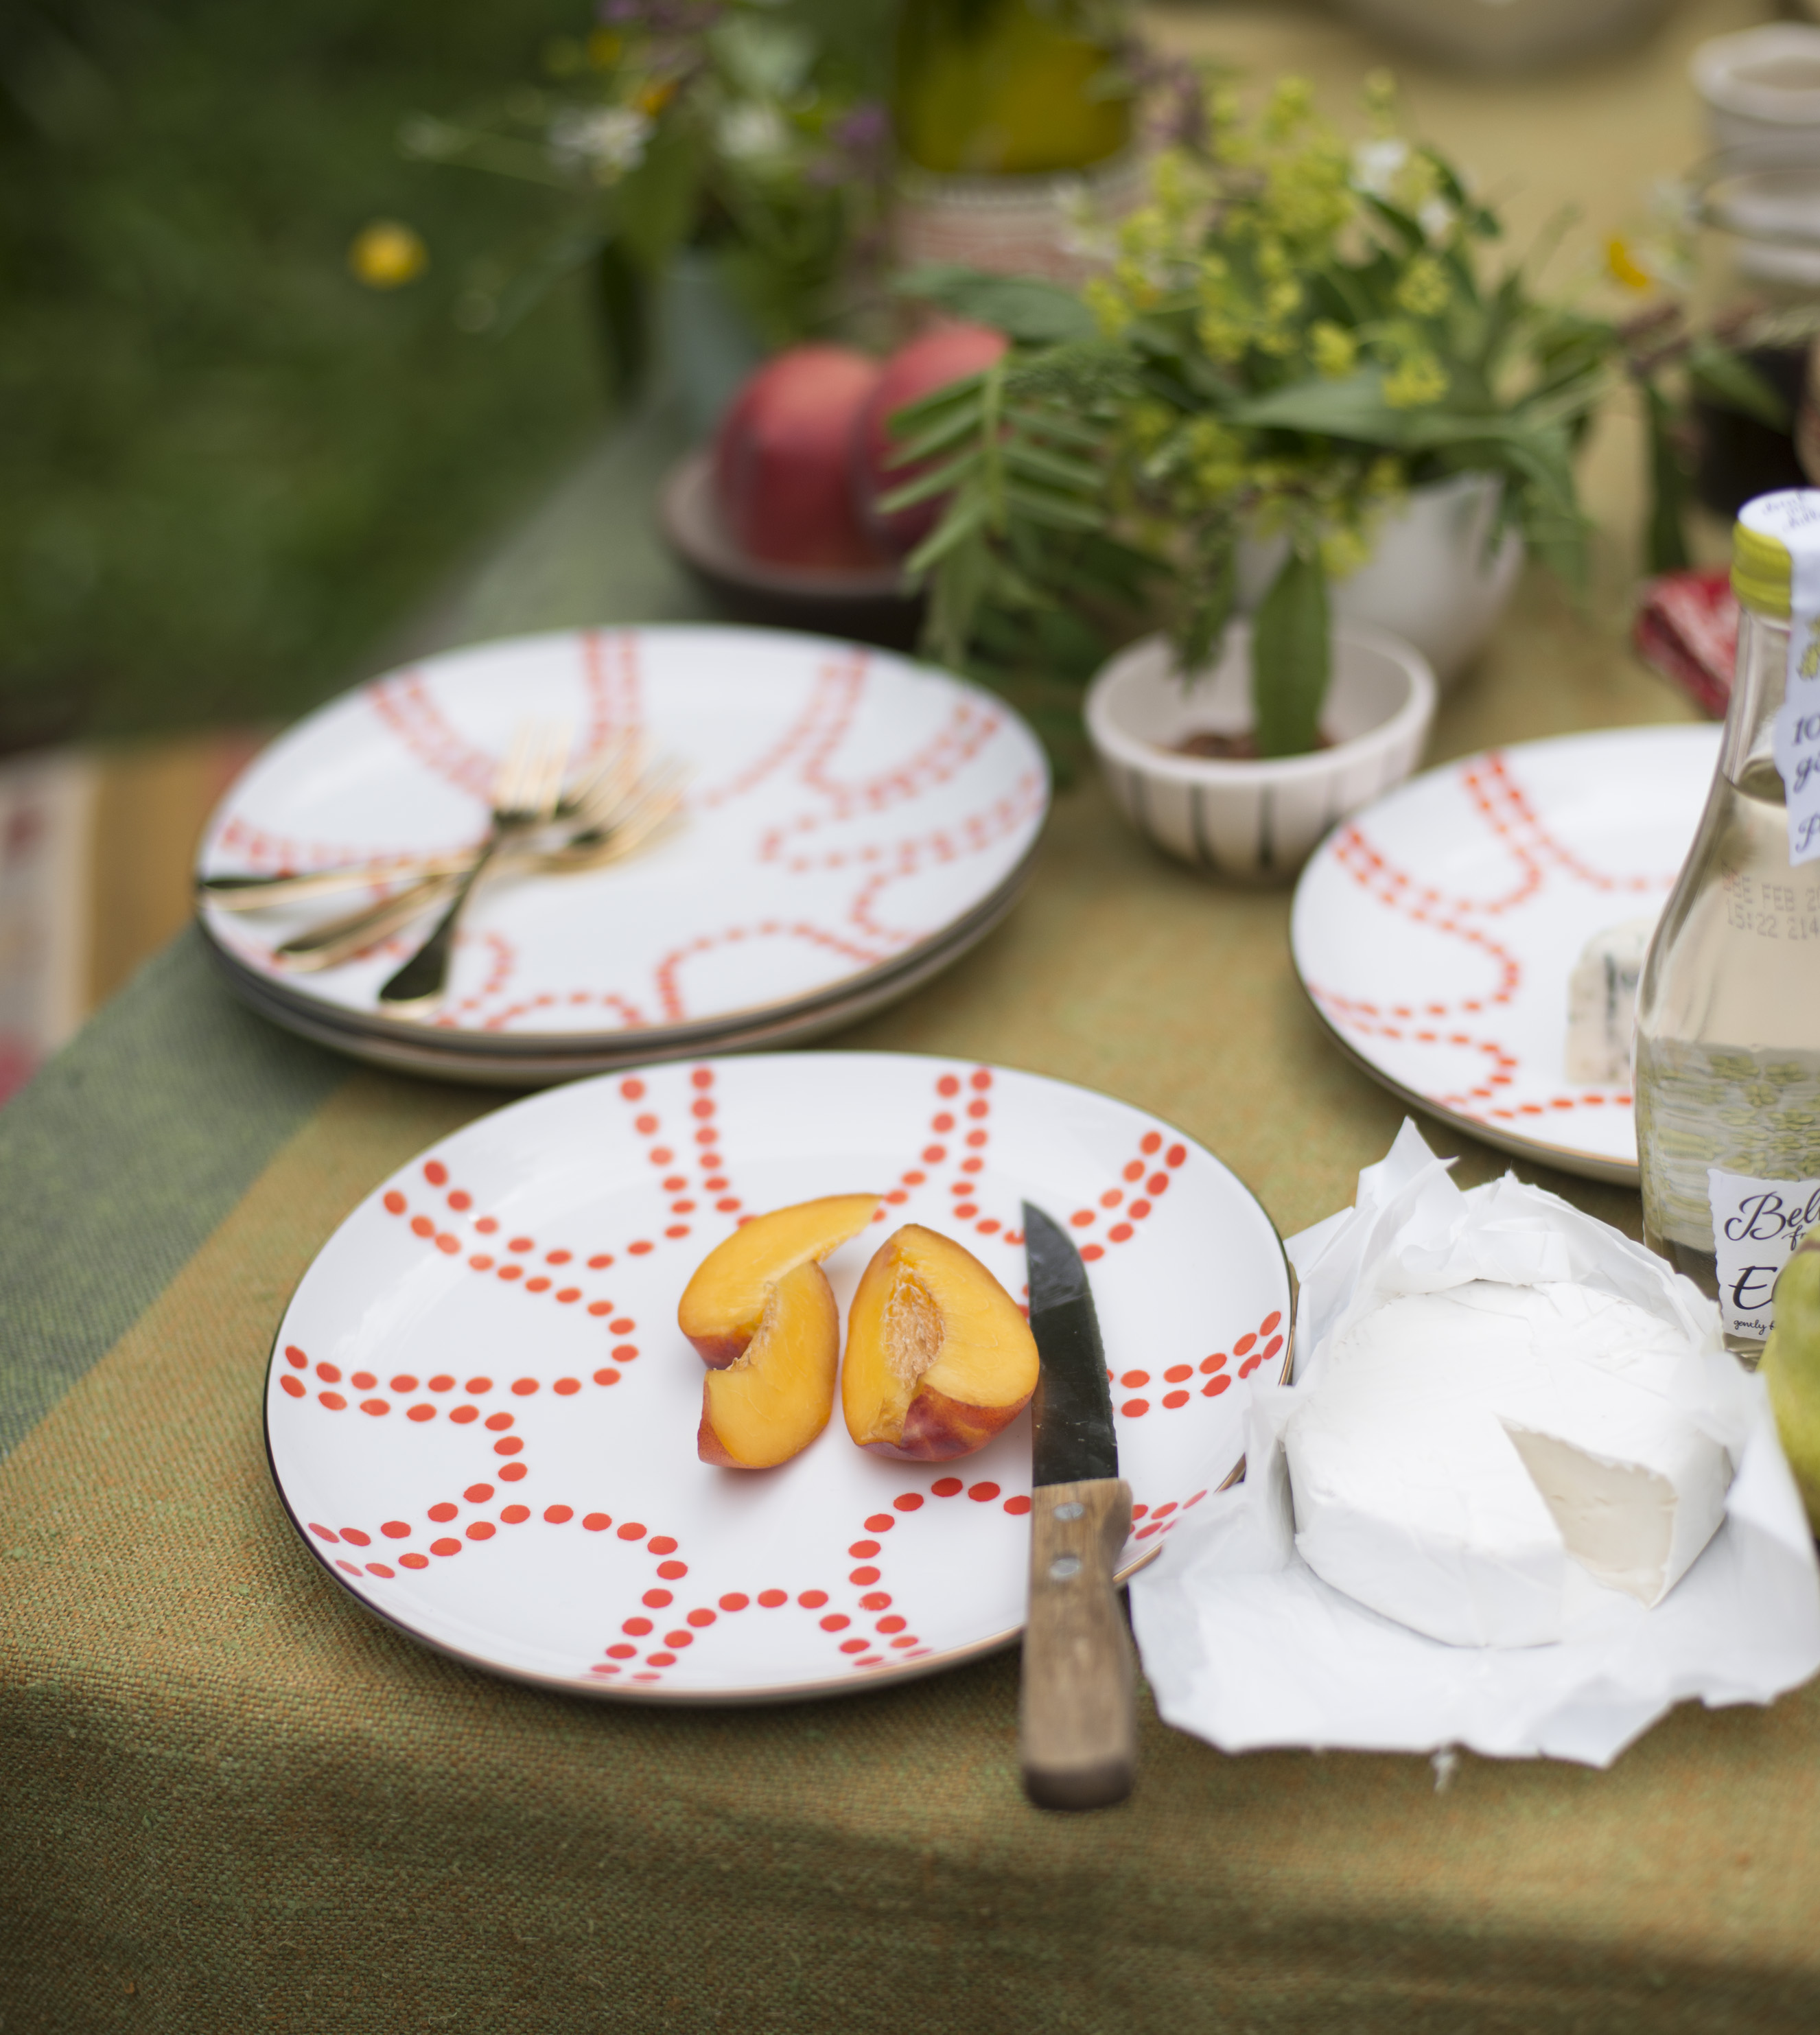
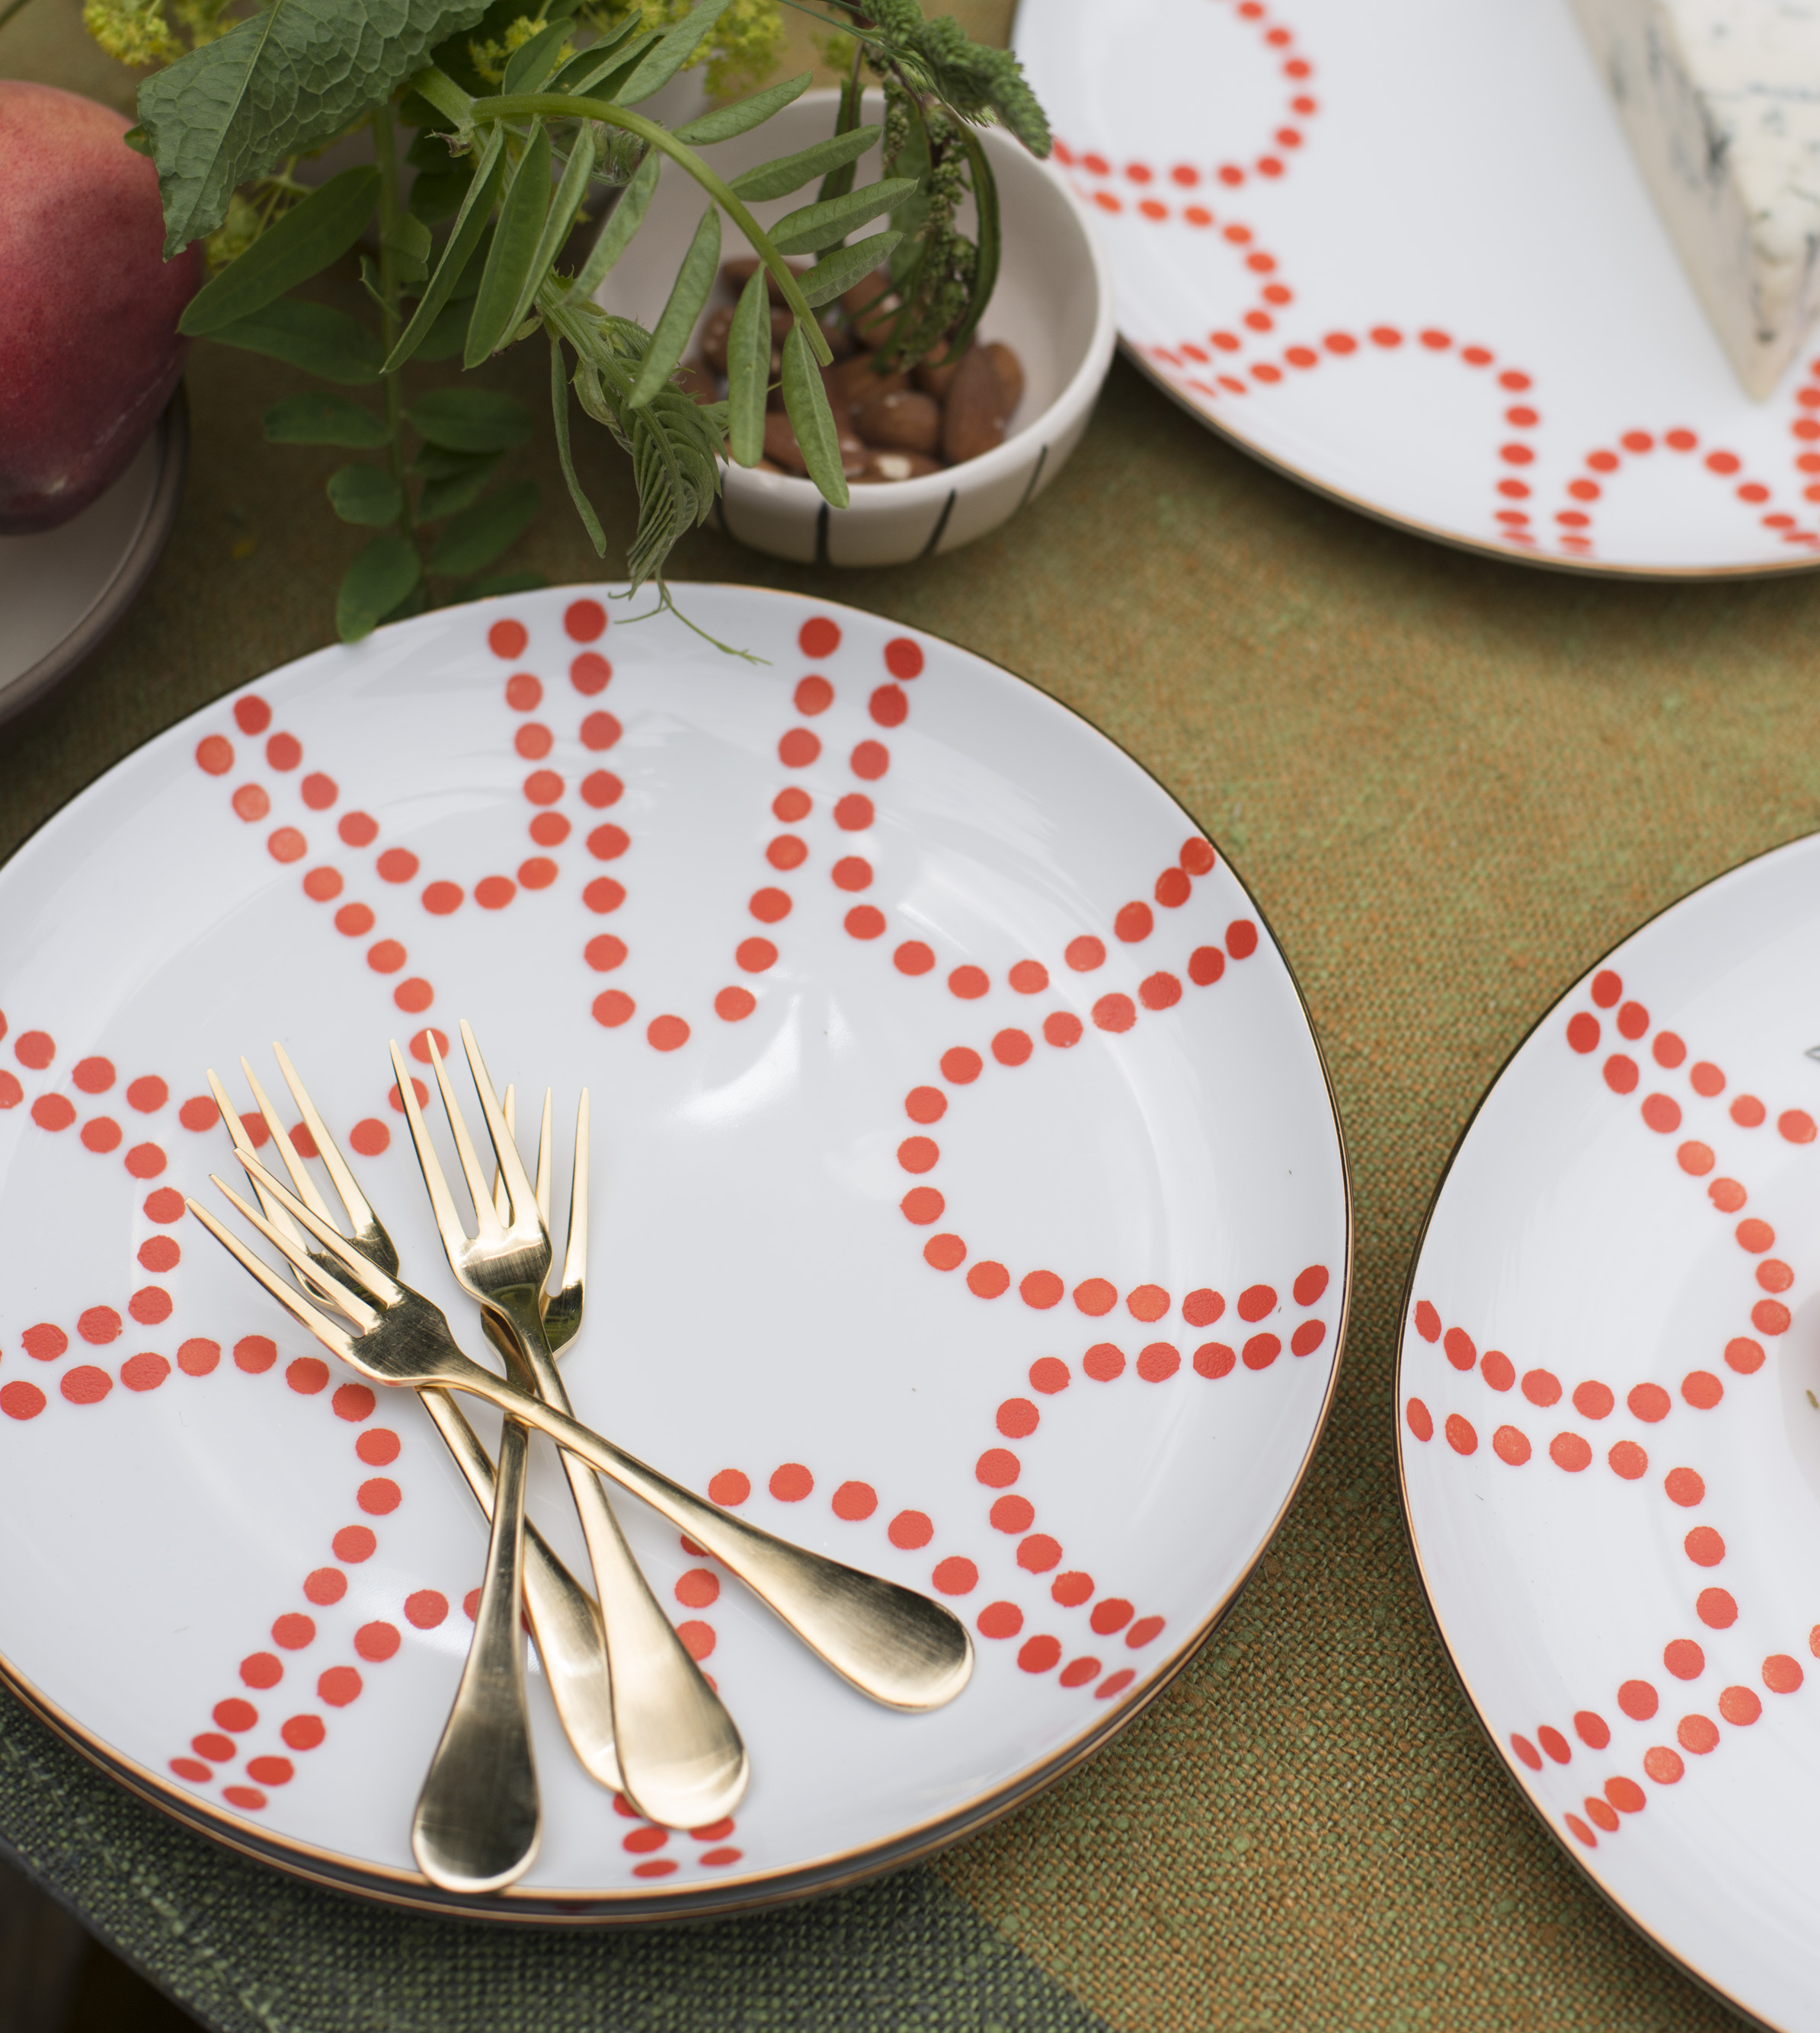
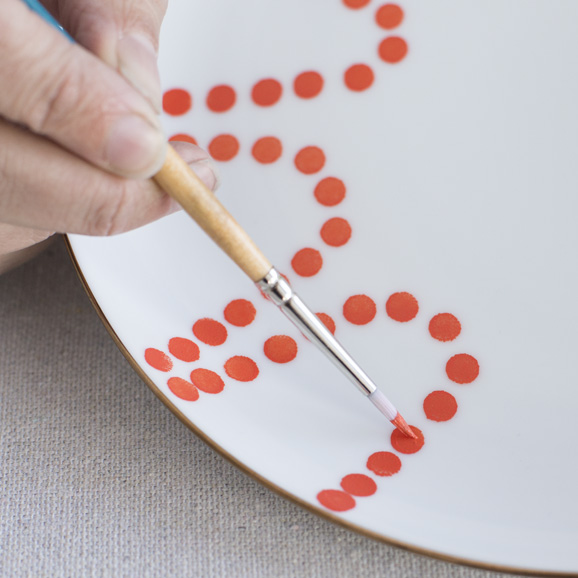
It’s always a treat when I get to see artists whom I admire put their heart and soul into publishing a beautiful book. Such is the case with artist, textile designer, teacher, and shop owner, Anna Joyce who is coming out with a book, Stamp Stencil Paint: Making Extraordinary Projects by Hand with STC, on September 8th. I got my advanced copy of the book and it’s a beautiful and filled with simple yet clever patterns and techniques on a variety of surfaces with gorgeous styling by one of my favorite stylists, Chelsea Fuss of Frolic! and photos by Lisa Warninger. As a maker, it’s rare that I spend time creating work that is not my own, but her book has me inspired to make several of her projects for my home. And today we are honored to have a tutorial from her book: DIY coral dots dessert plates.
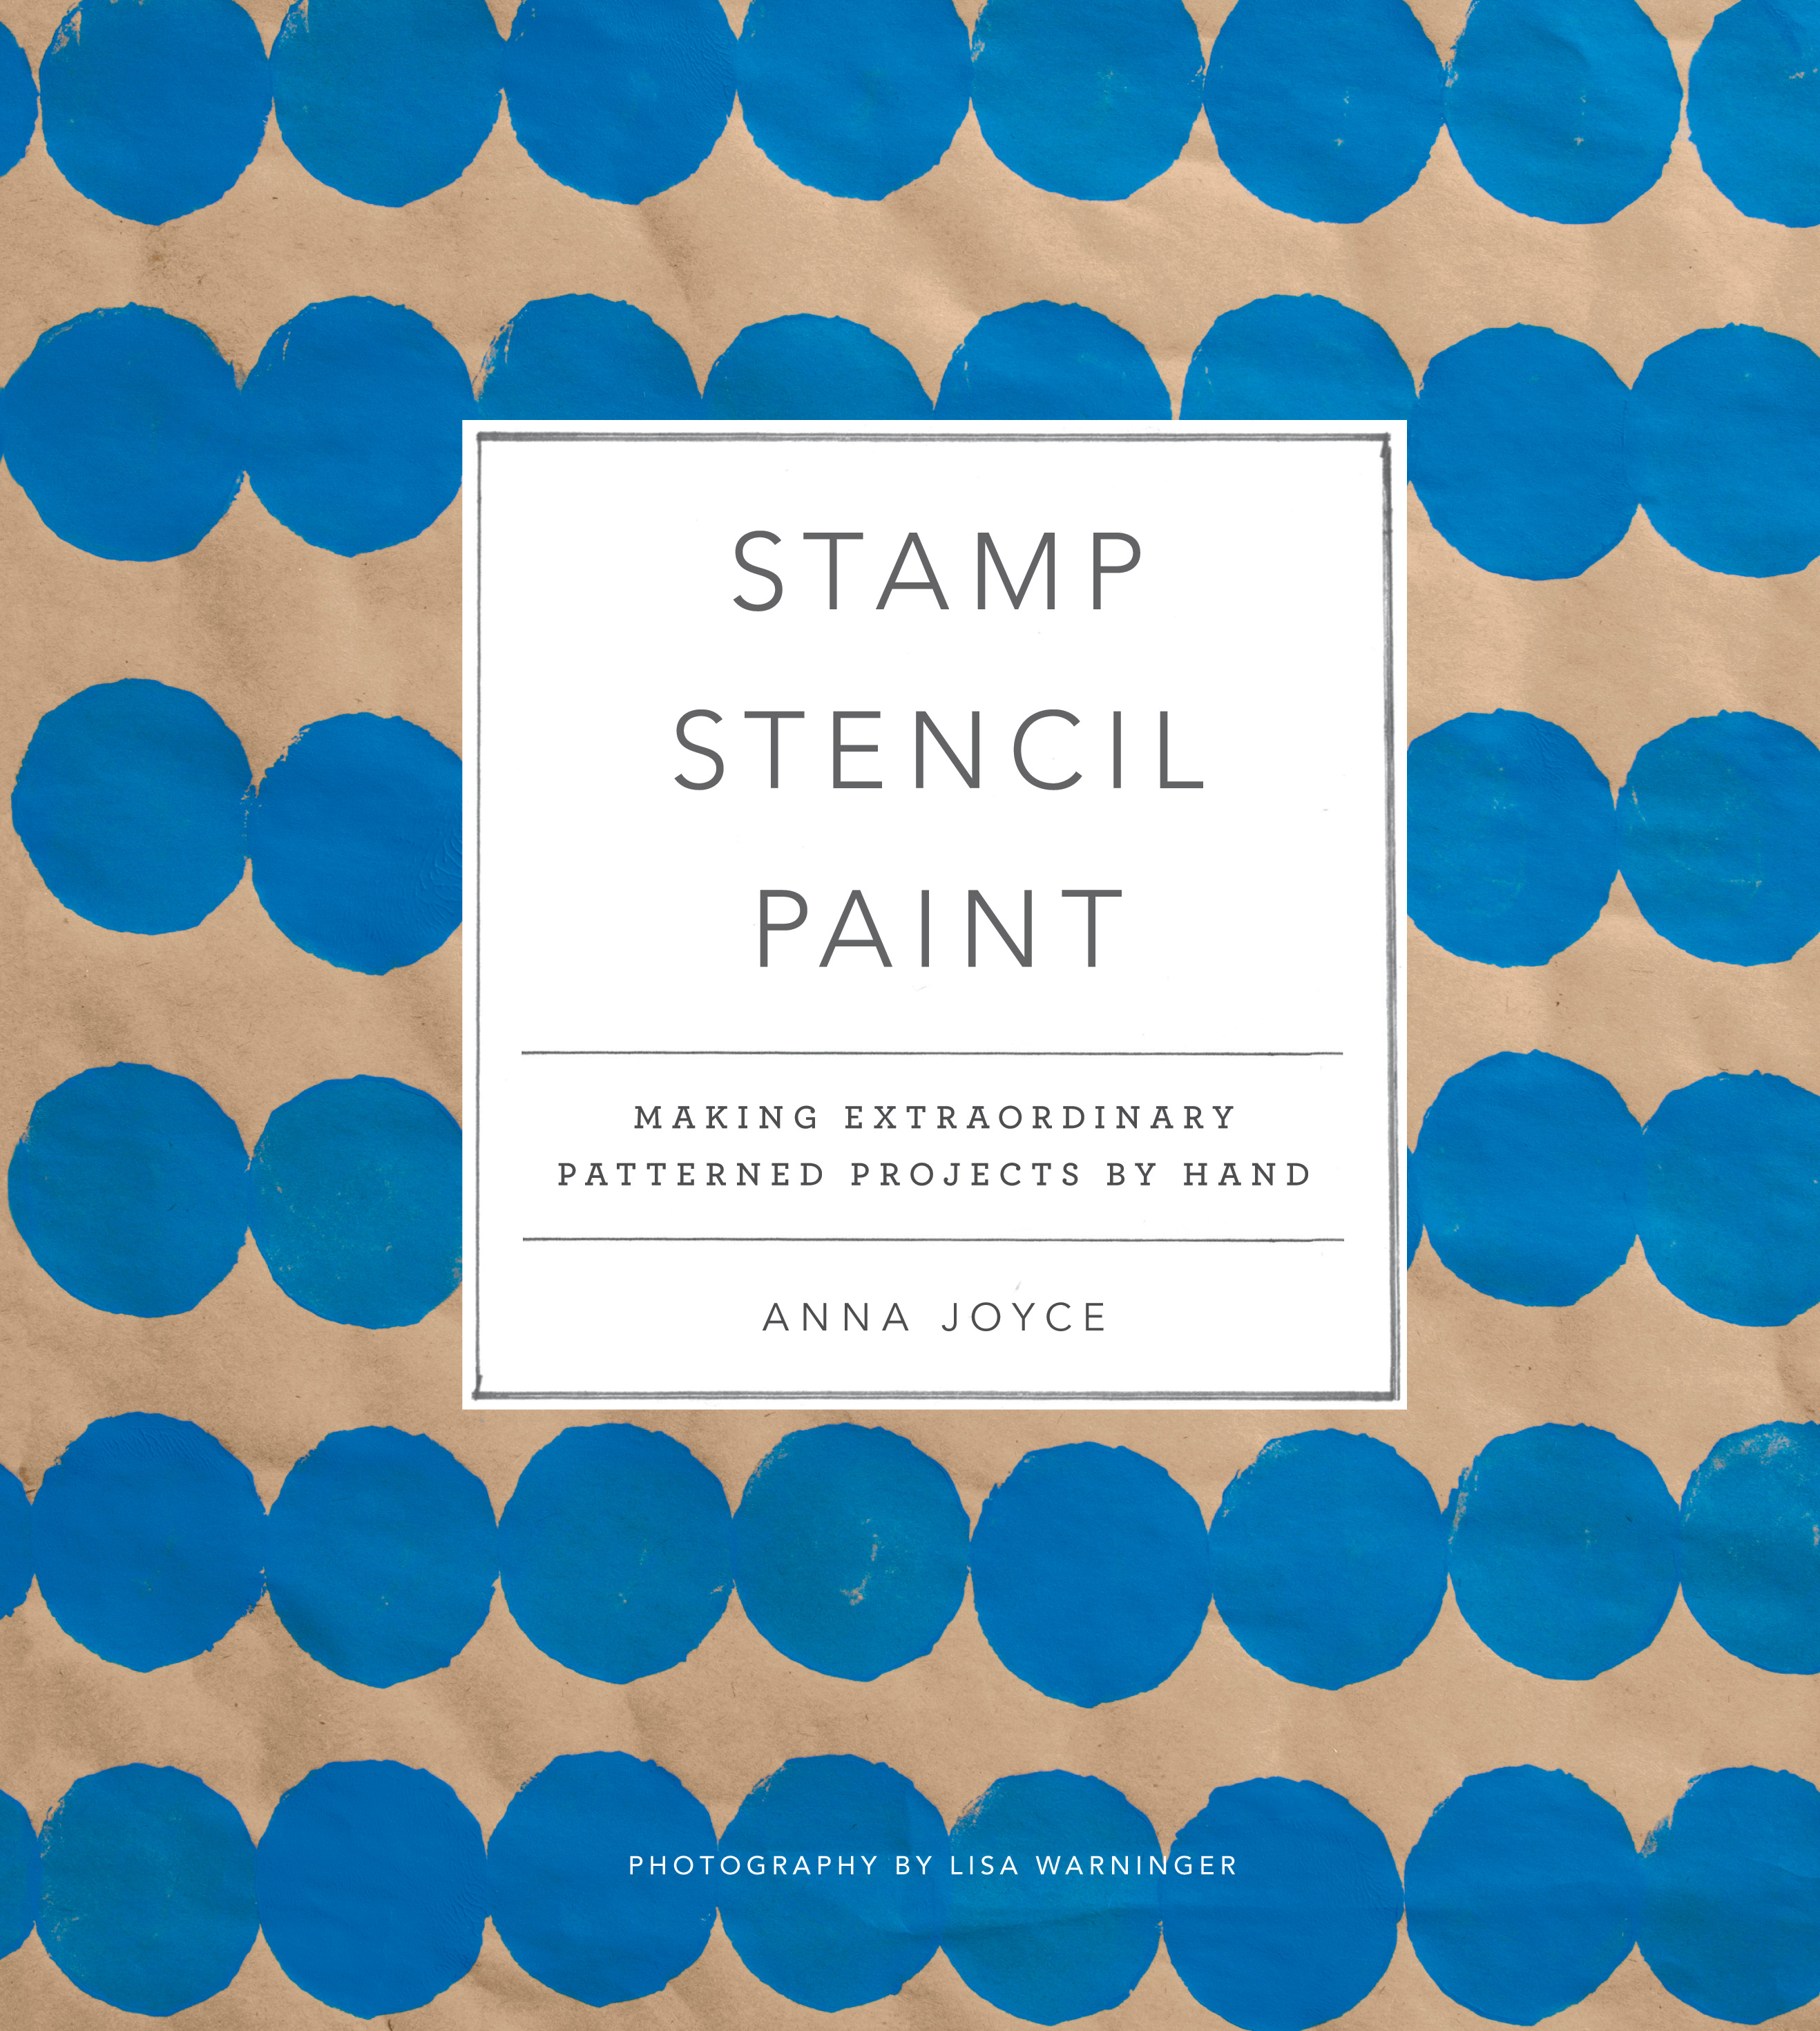
Stamp Stencil Paint: Making Extraordinary Patterned Pieces by Hand by Anna Joyce. Pre-order the book here.
Check out the full tutorial below!
Materials:
- 4 white dessert plates, approximately 8.5 (21.6cm) in diameter
- Ceramic or all-surface acrylic paint in the color of your choice (she used Martha Stewart Multi-Surface Satin Acrylic Paint in Geranium
- 1/4″ (6cm) foam dauber
- Ceramic plate for test painting
- 1/4″ (6cm) or smaller fine-tipped paintbrush
- Acrylic artist palette
- Rubbing alchohol
- cotton balls
- cotton swabs
Prepare to Paint:
- Wash your plates in hot, soapy water and dry completely. Take a cotton ball soaked in rubbing alcohol and wipe down the entire surface of each plate to remove any remaining dirt or oil.
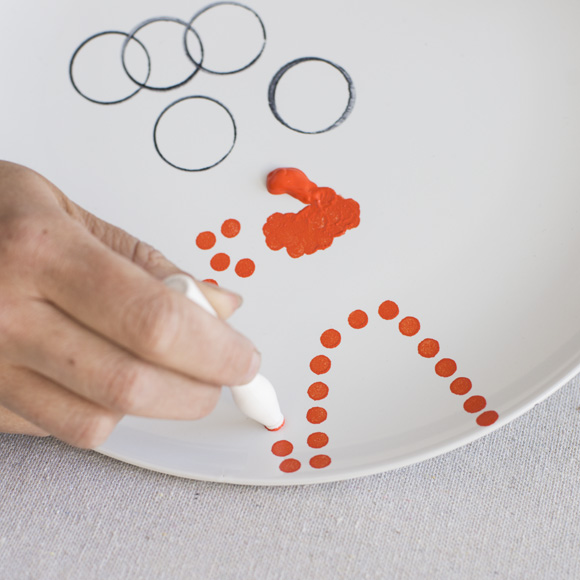
- Squeeze out a bit of ink about the size of a quarter onto the artist palette and pick up a small amount of paint with the tip of your foam dauber. Gently tap the end of the dauber on your test plate to evenly distribute the paint.
- Pick up more paint as needed and begin testing the pattern on the plate. Come down onto the surface of the plate flat with the dauber sponge and press gently, lifting straight up when you are done. The dauber should leave an opaque circle of paint. If it’s too light add a bit more paint, but if the paint is pooling around the edges dab away some of the paint and try again until the results of the dauber prints are consistent.
Add the pattern and finish:
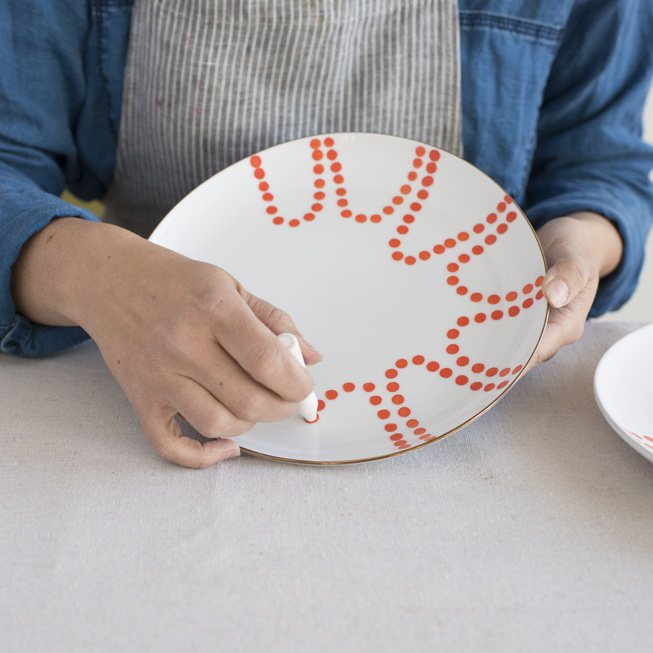
- Fill your dauber with paint and blot as in step 2. Starting at the rim of one of the plates, begin painting dots in a U-shape around the edge of the plate. Use the sponge tip of the dauber to come down flat on the surface of the plate as you practiced in step 3, painting polka-dot scallops around the edge of the plate. Aim for about 10 scallops on an 8.5″ plate, each approximately 1.5-2″ wide and 2″ tall. Refill the dauber with paint, blot, and repeat to continue adding pattern. Embrace the irregularity!
- After you have finished with one plate, set it aside to dry and continue adding the polka-dot scallops to the rest of your dishes. If there are dots that you are not happy with, use a moist cotton swab to remove them while the paint is wet. Allow the paint to dry and then continue the pattern.
- If needed, use the fine-tipped paintbrush to fill in any blank areas or holes in the design.
- Follow the manufacturer’s instructions to heat-set or cure the paint. To preserve the decoration, always wash the plates by hand and avoid abrasive scrubbers.


