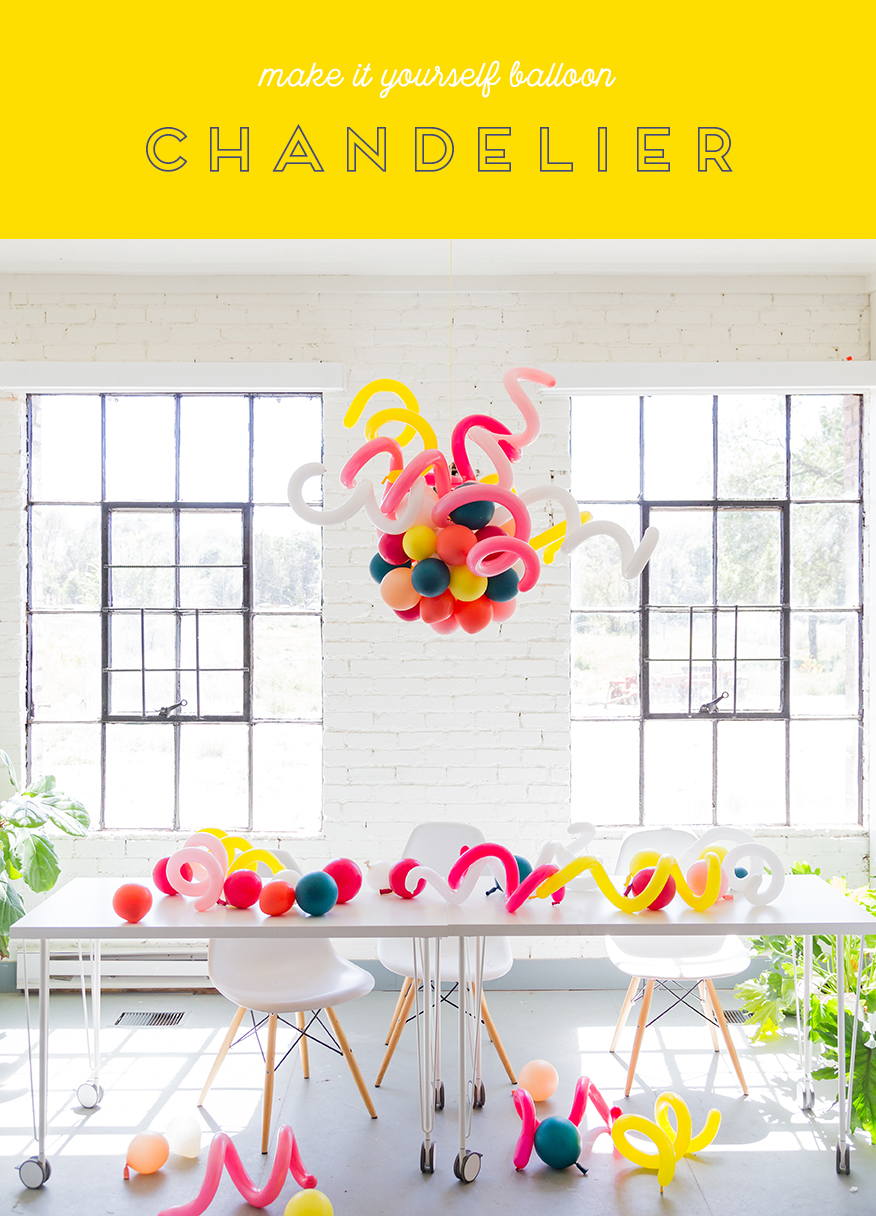
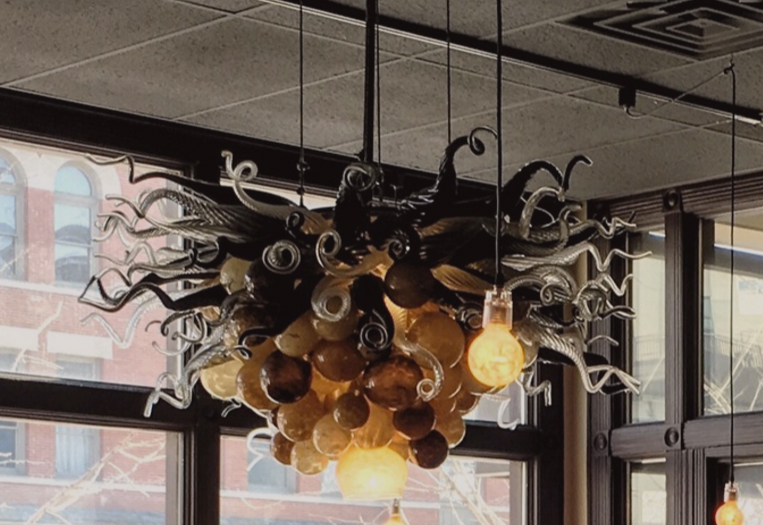
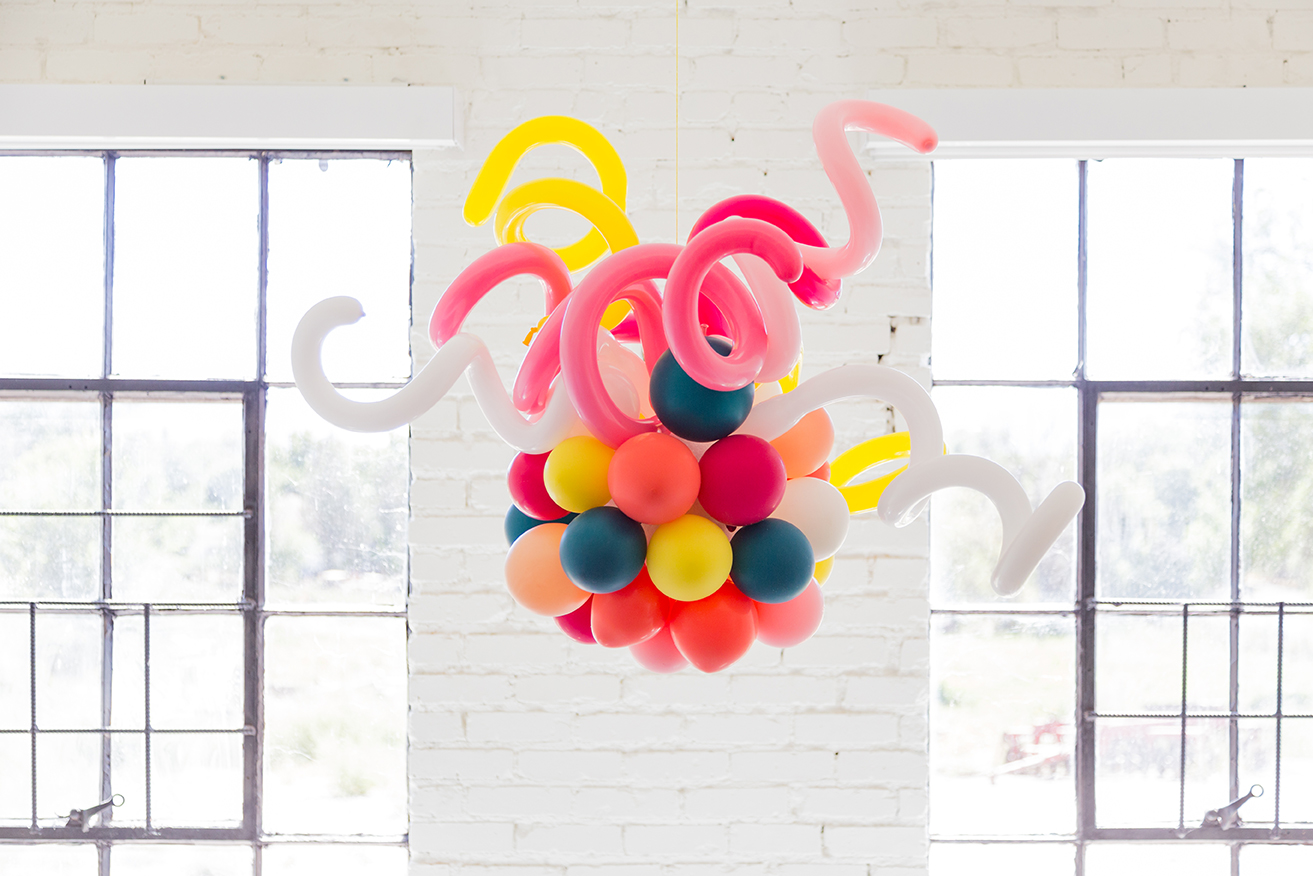
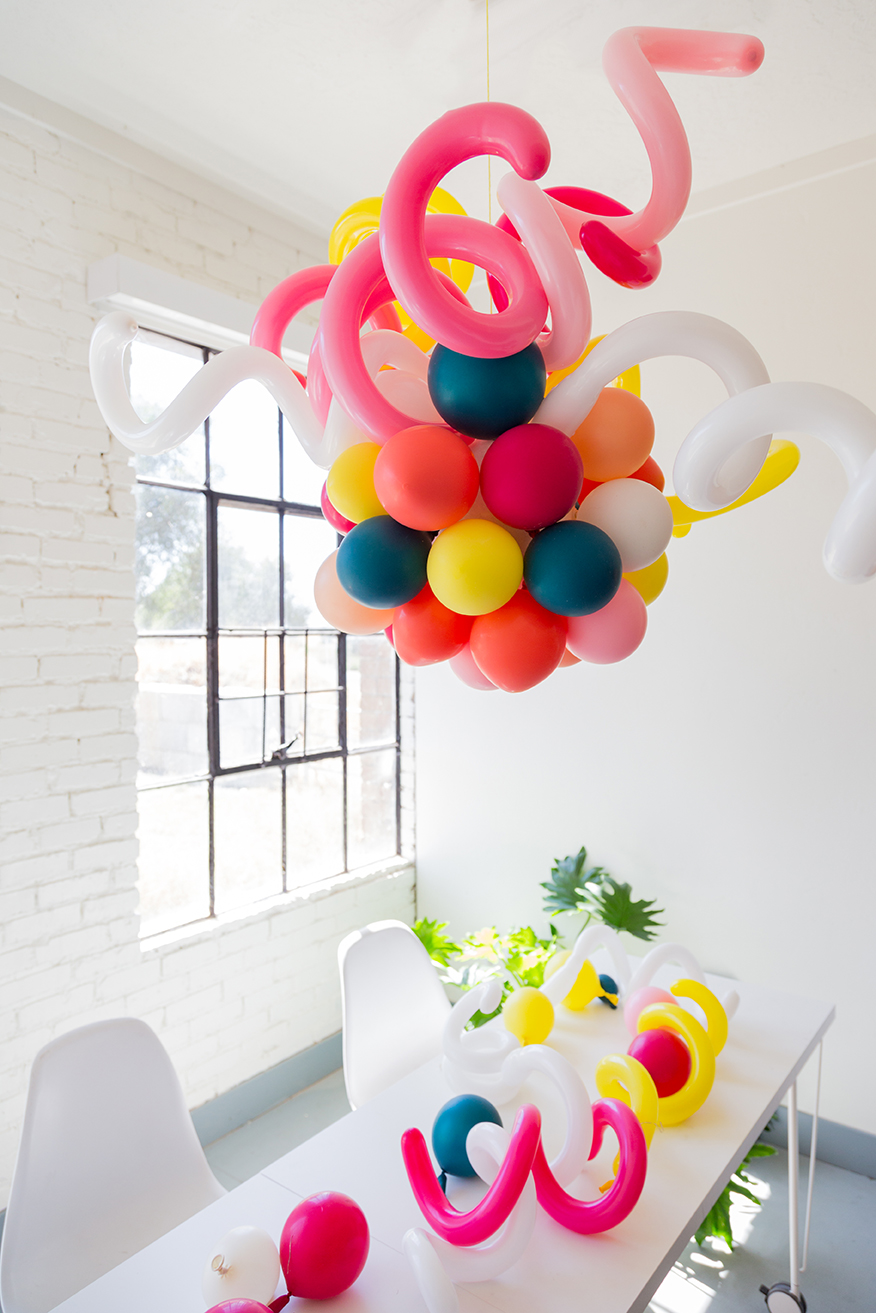
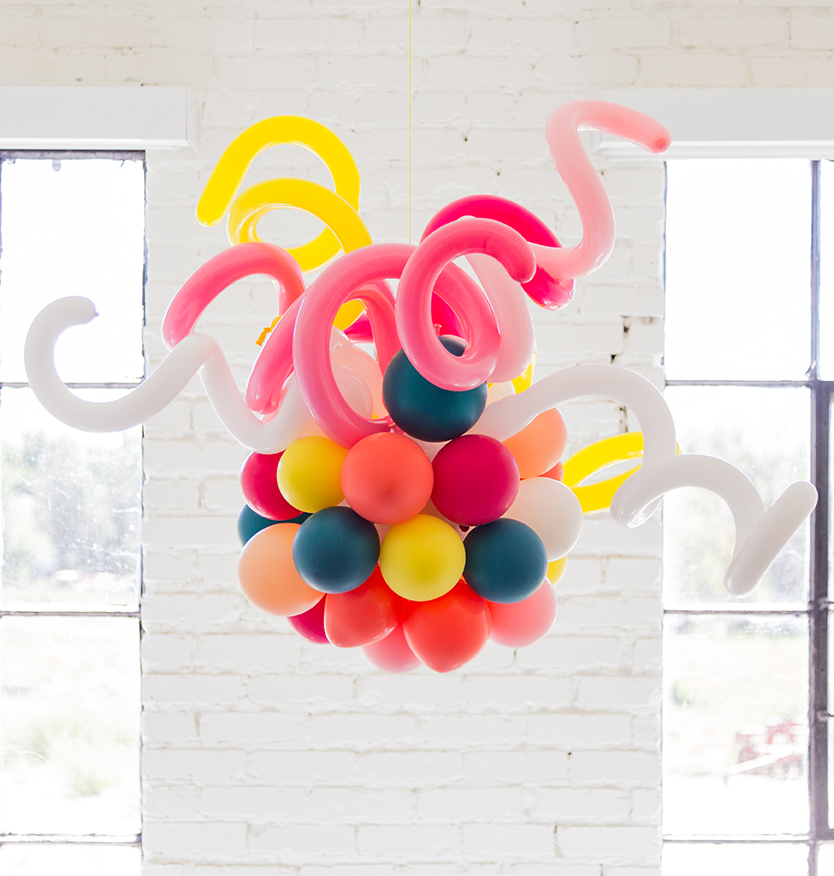
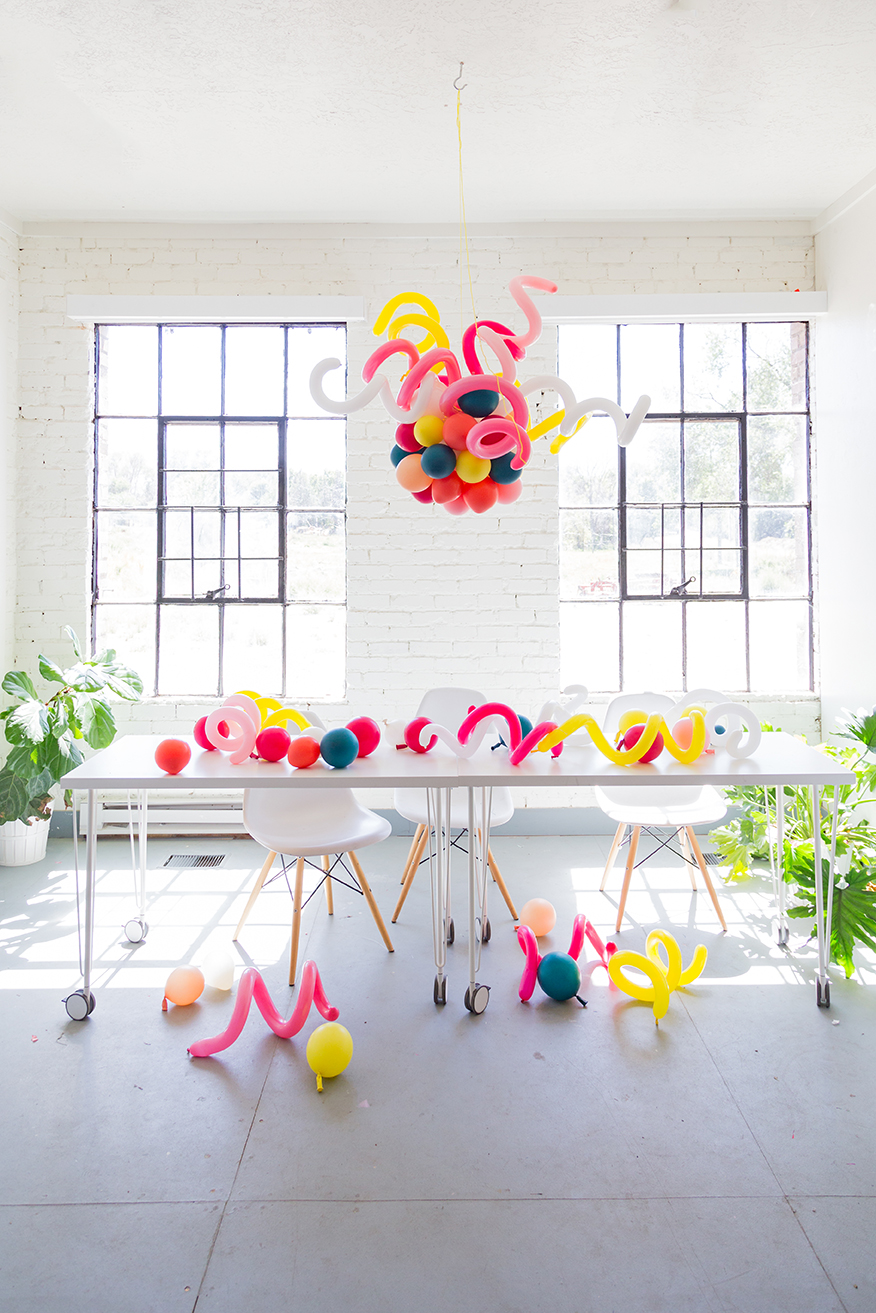
When I first spotted this glass chandelier (below) at a local restaurant a few years ago I immediately thought it would be so cool done as a DIY balloon chandelier. And I love how it turned out! Balloons can be anything! It would be great for a party or event and it was surprisingly much easier than I anticipated.
Here’s the original:
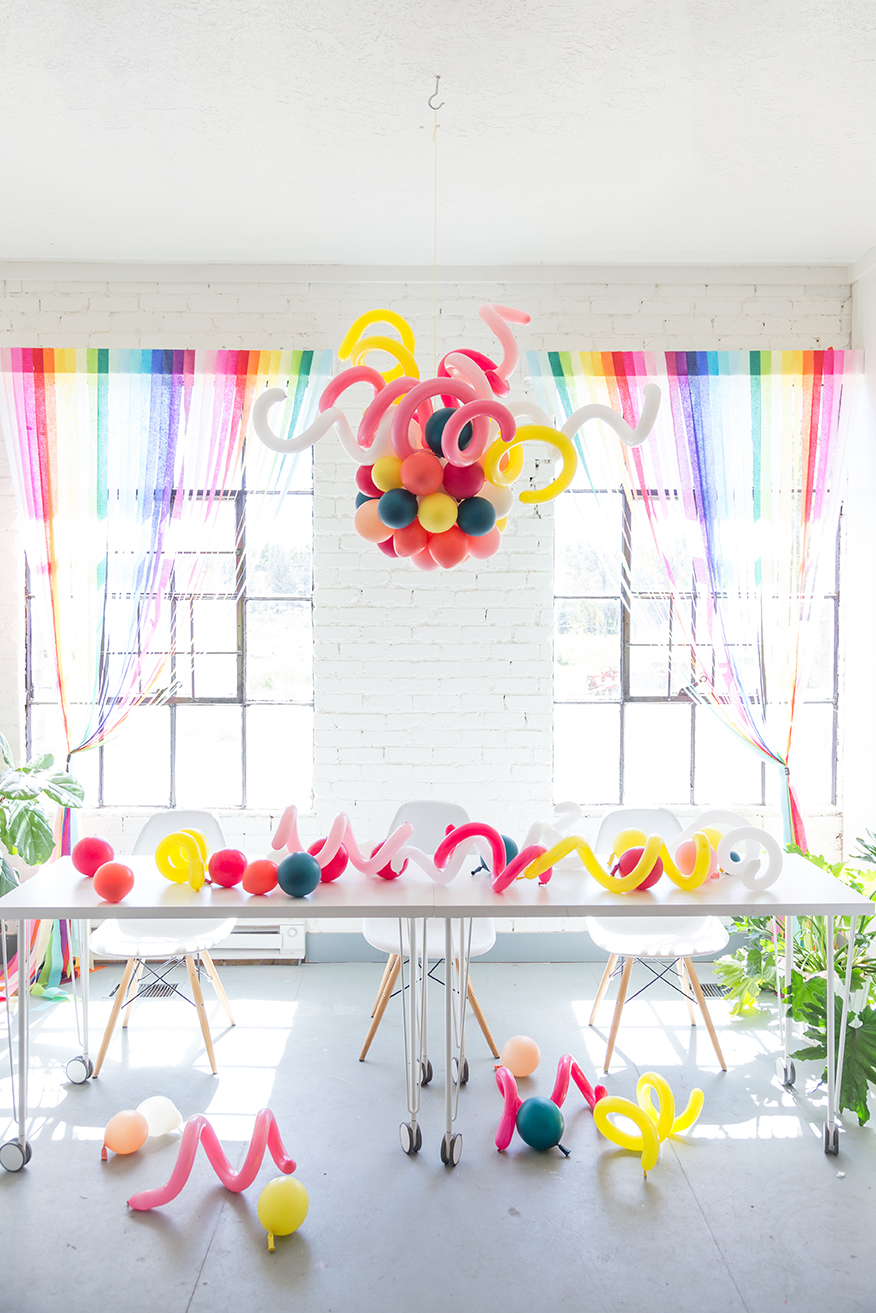
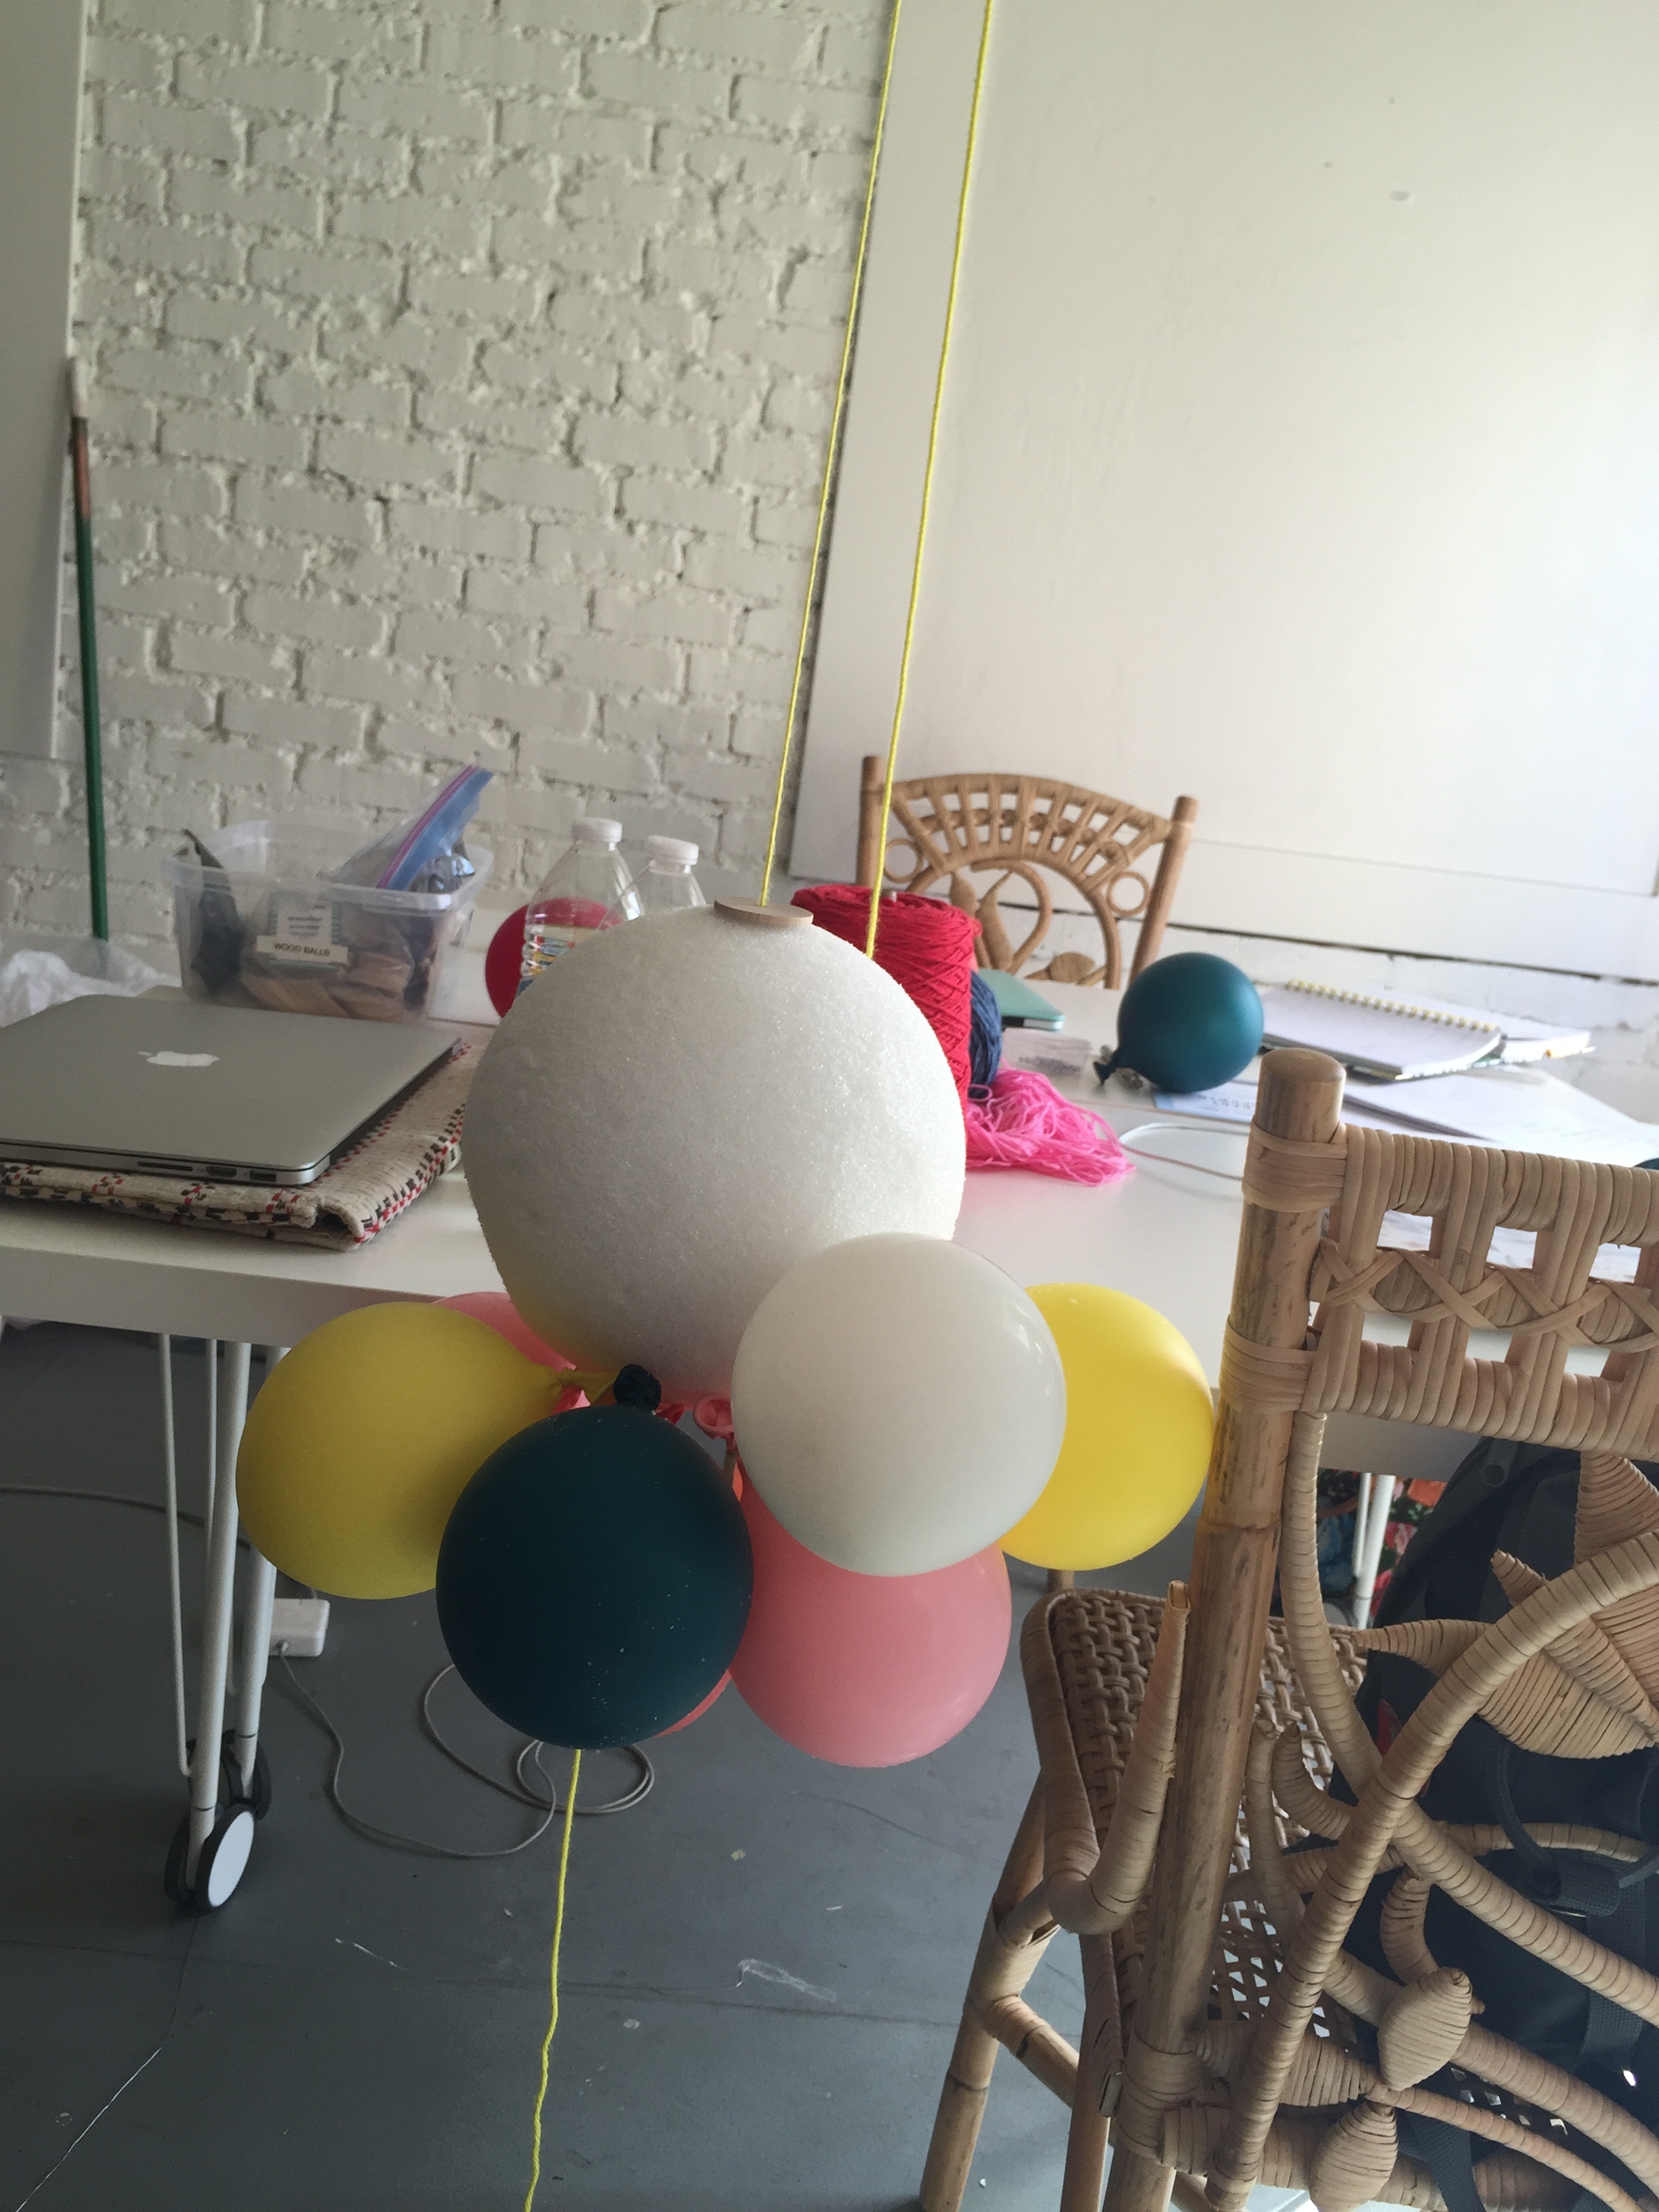
And here’s our version:
Materials:
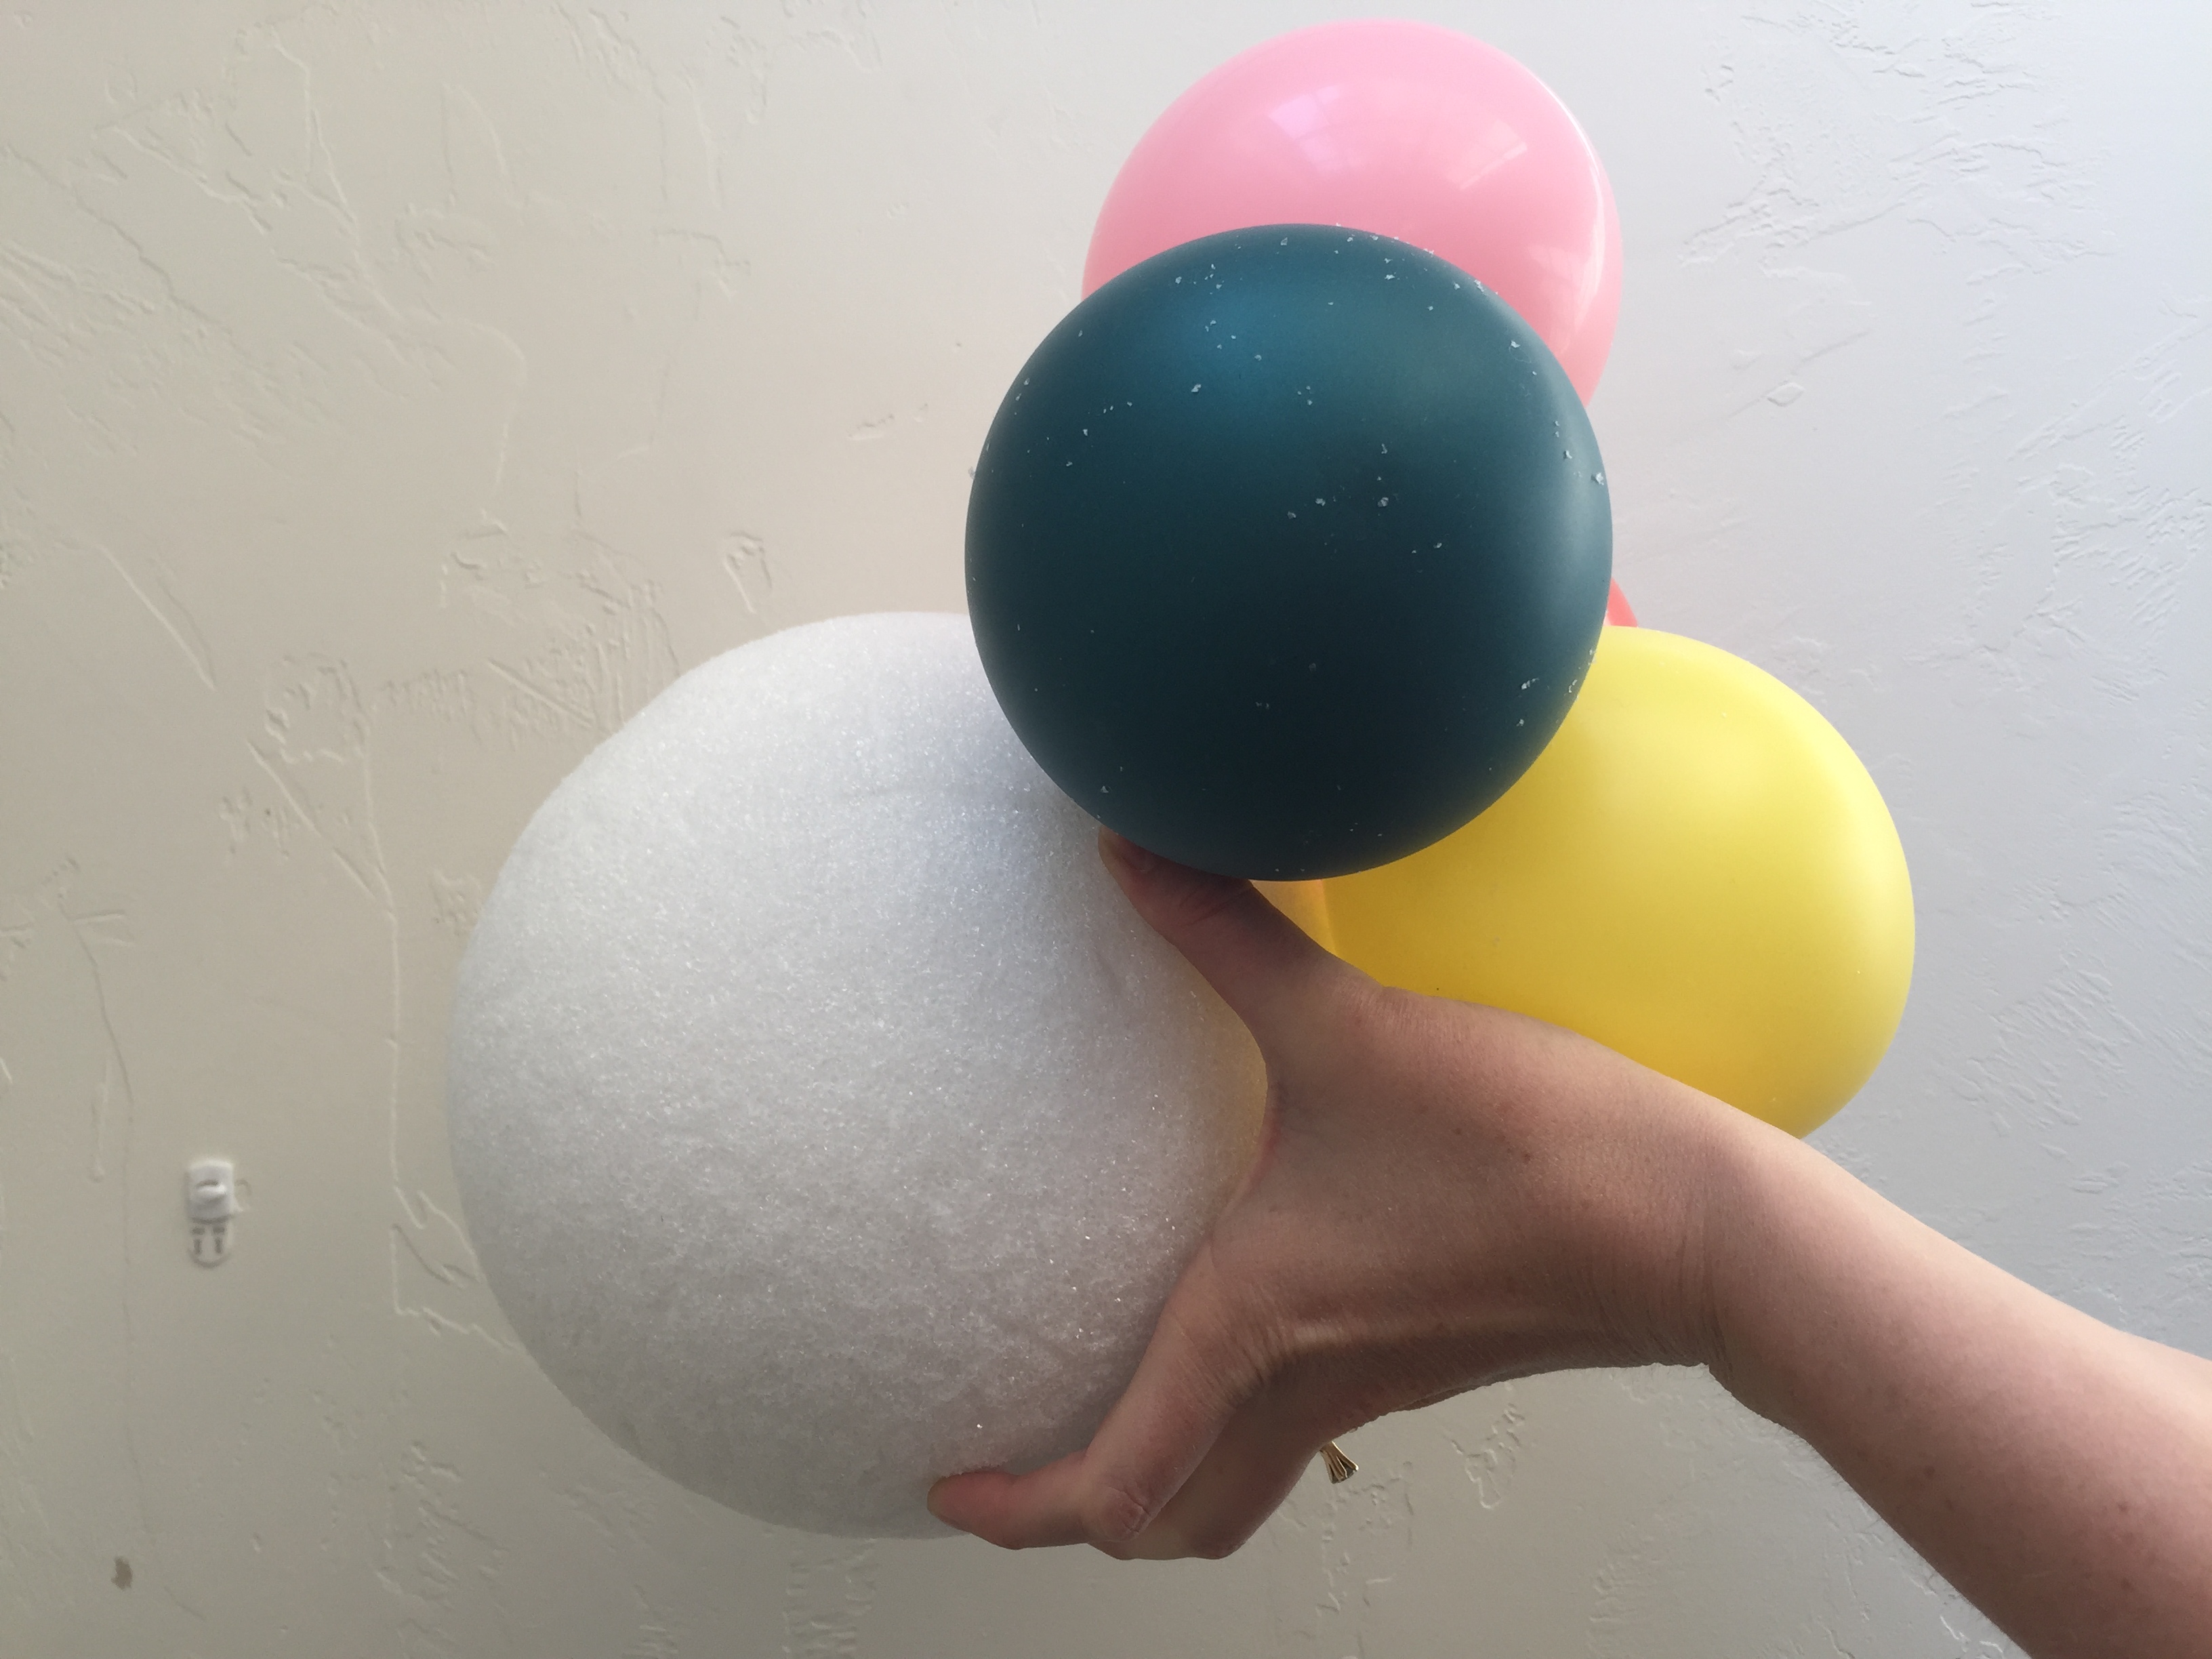
- 12″ styrofoam ball
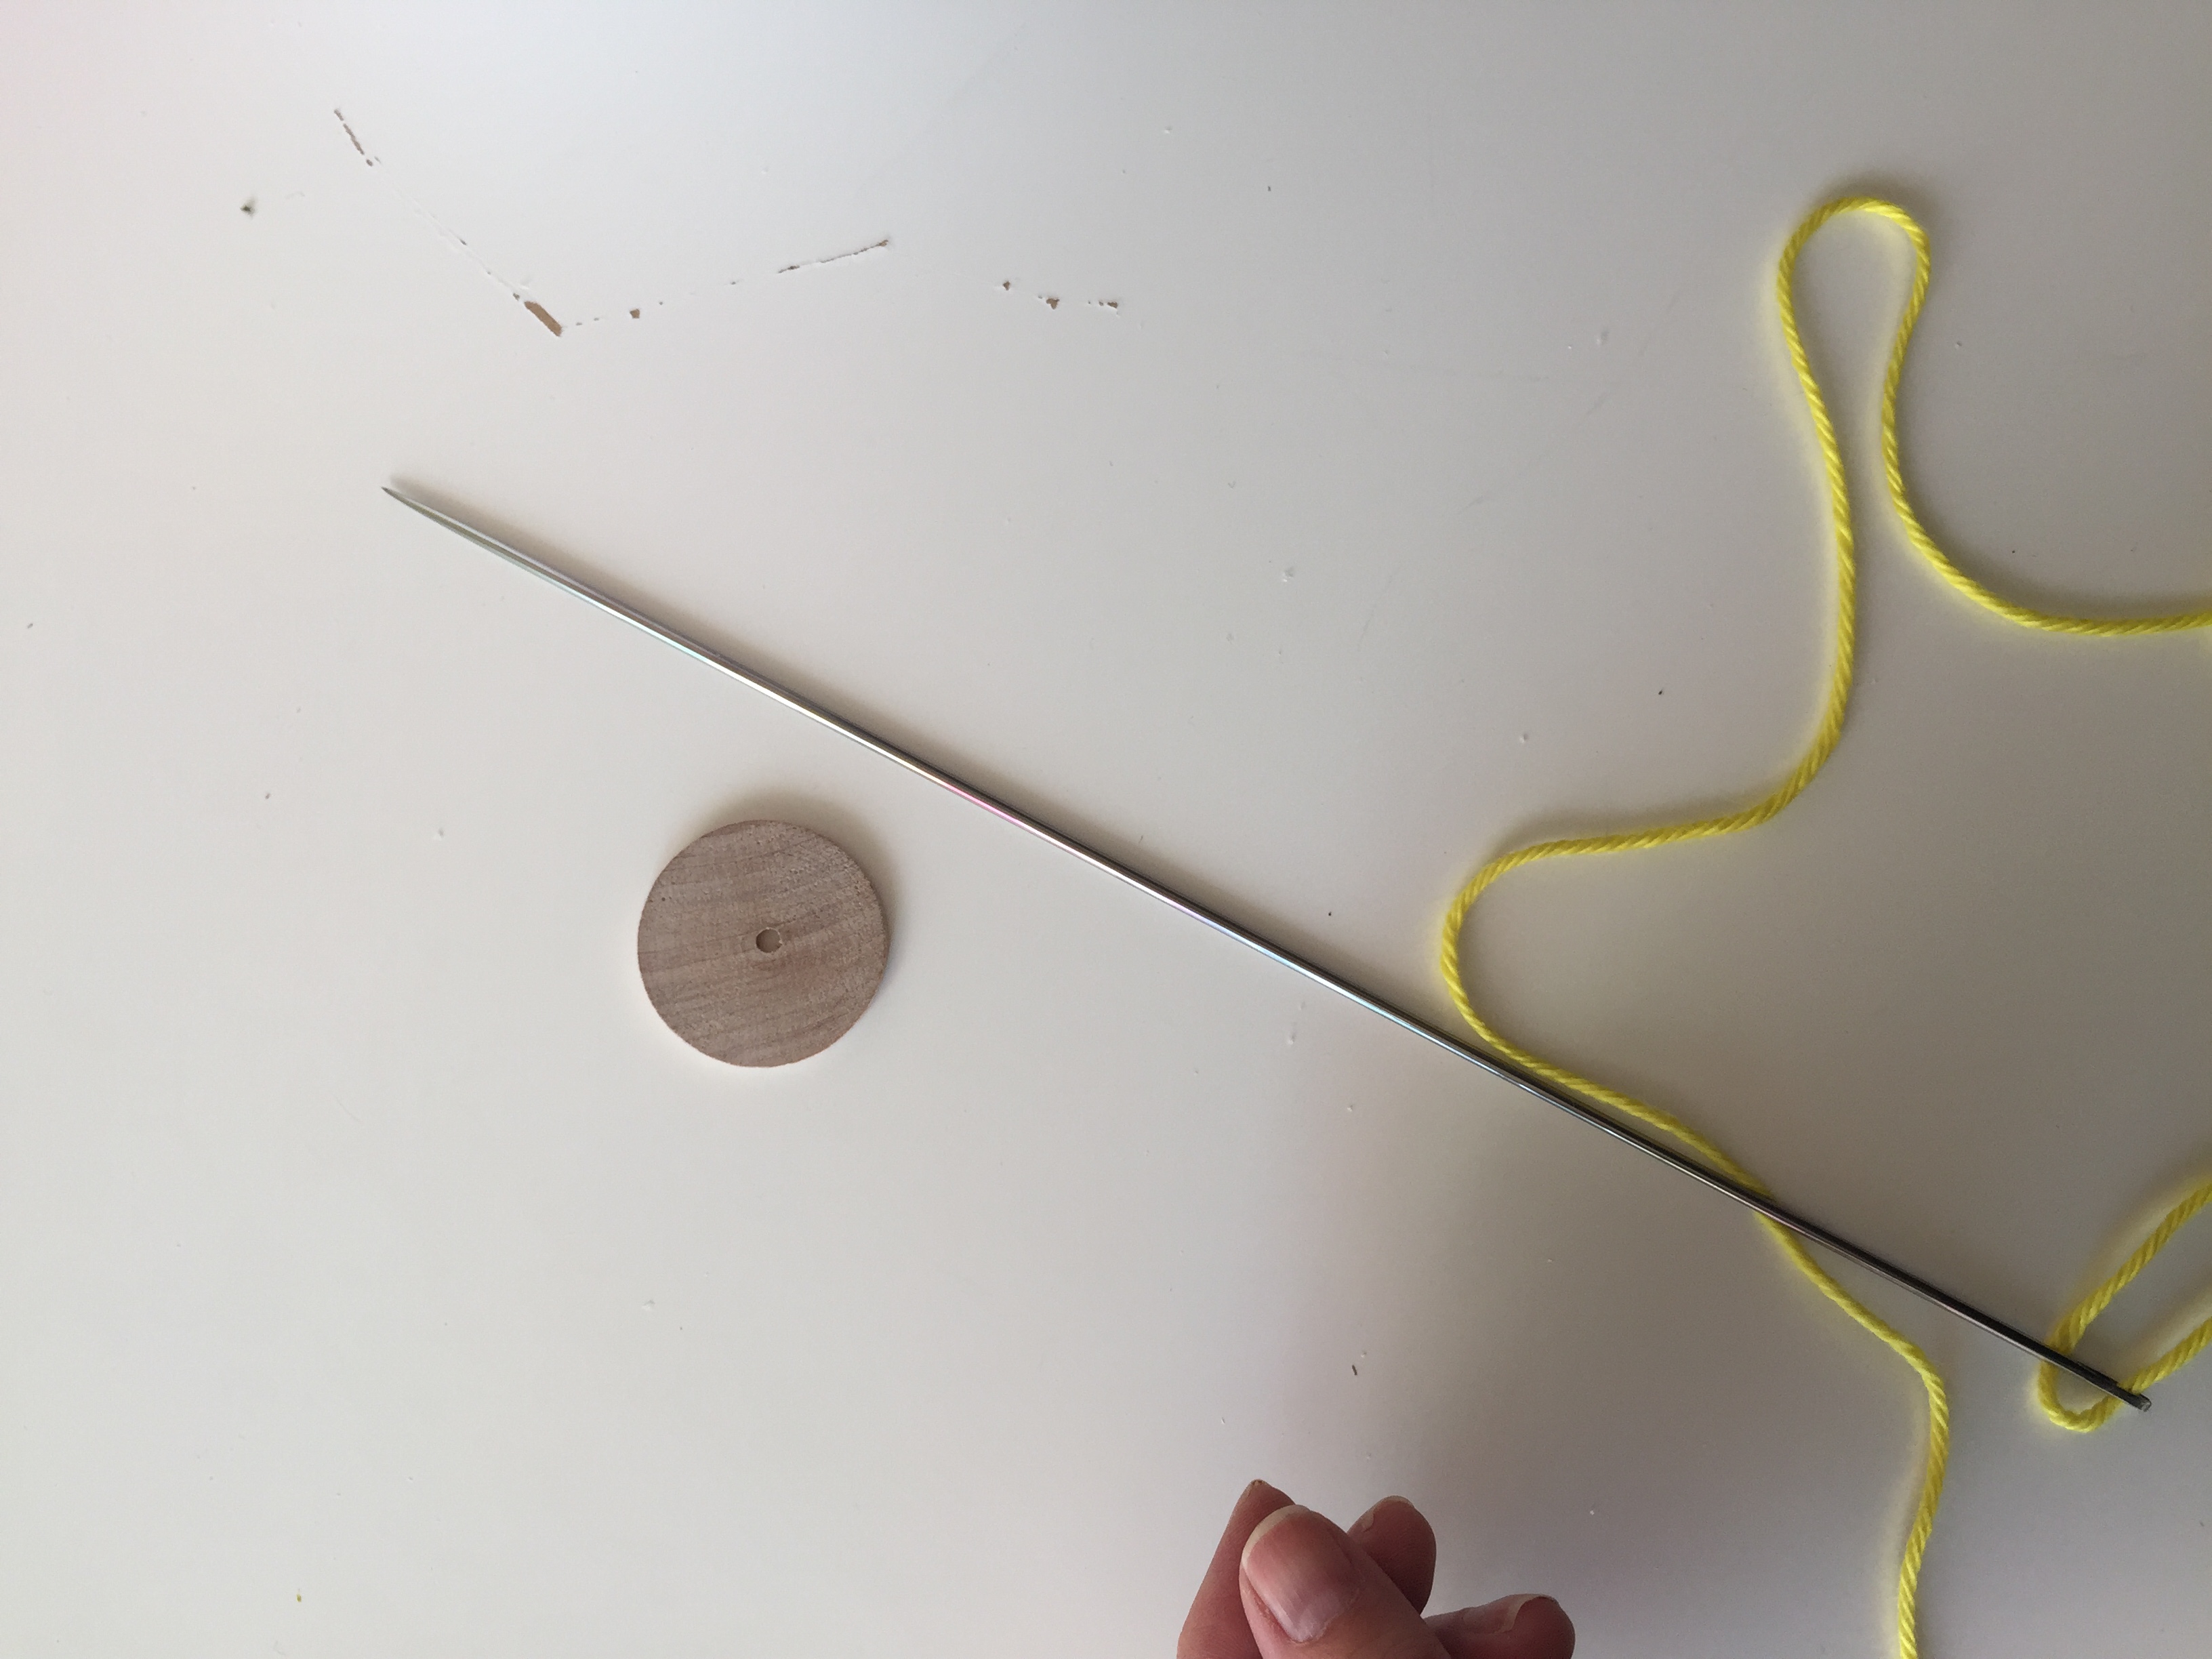
- upholstery needle (at least 12″ long)
- 8 long balloons
- balloon pump
- balloons in your choice of colors (we used about 50)
- 1″ washer (ours was wood)
- wood bead 1/4″
- yarn or string to hang
- EZ twist balloon twister
- long straight pins
- Blow up your balloons to about 4-5″ large all the same size. Make sure they are tied really tightly. Especially if you want to create this the day before and use the next day.
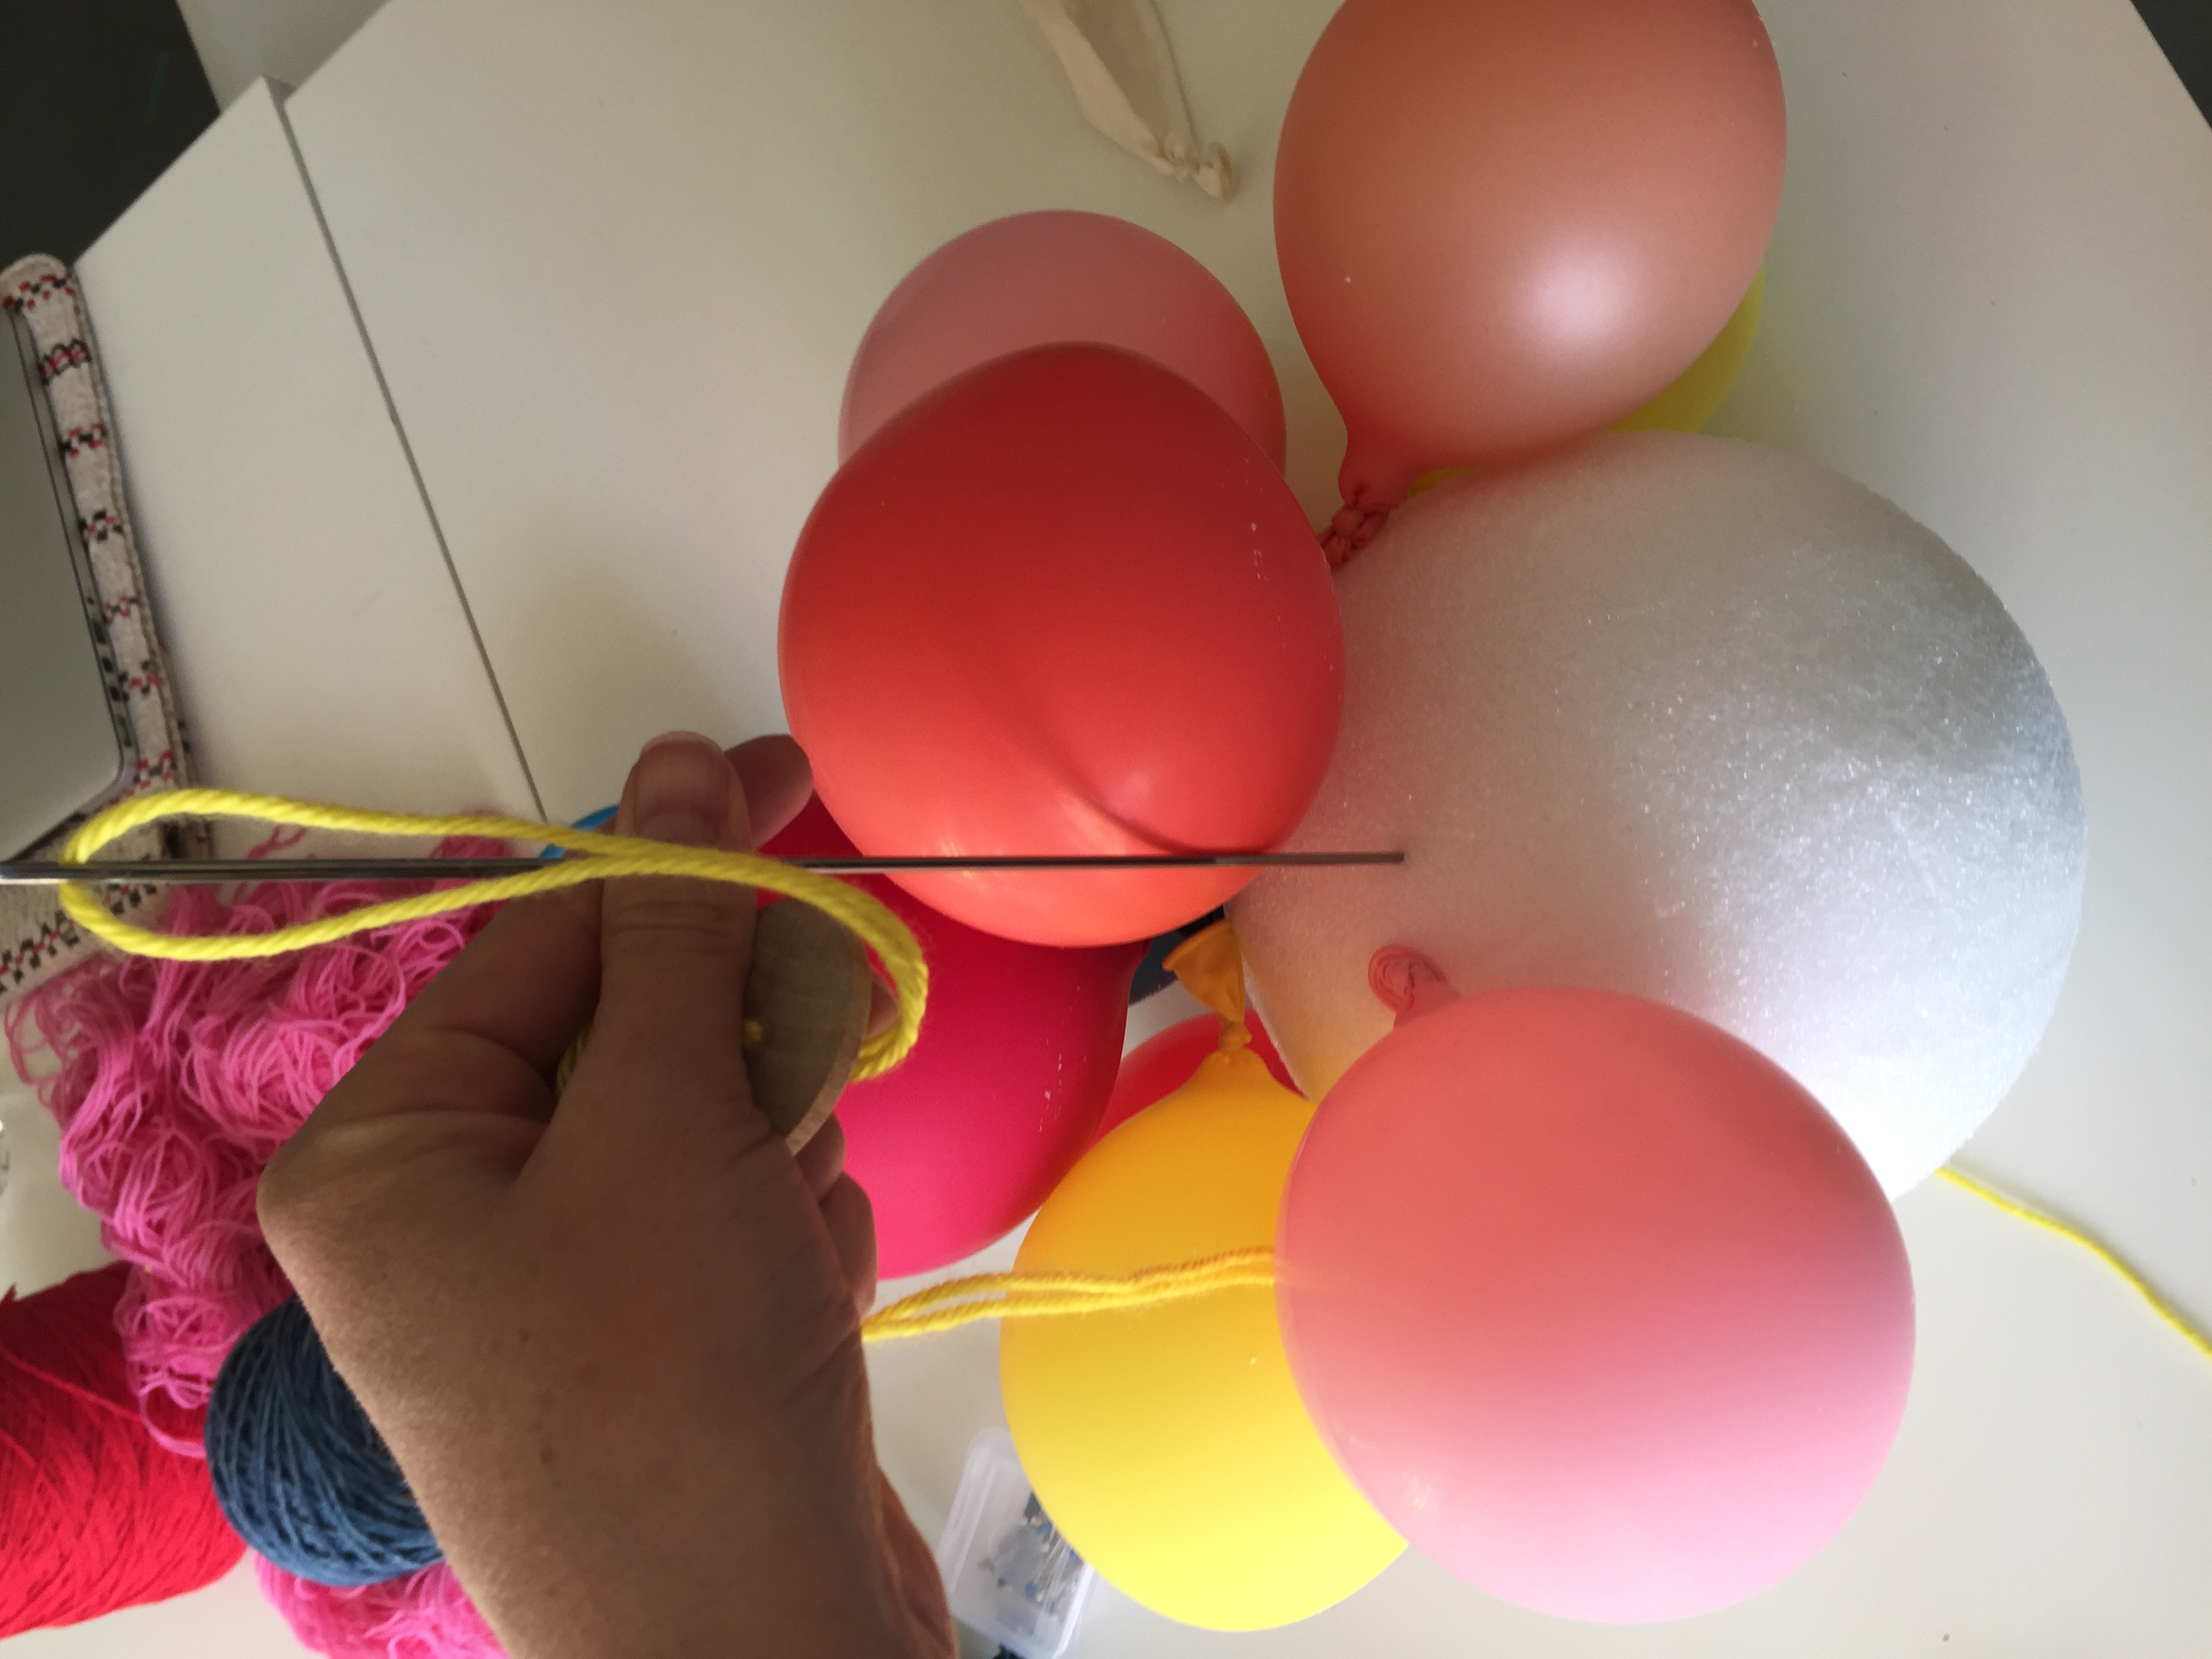
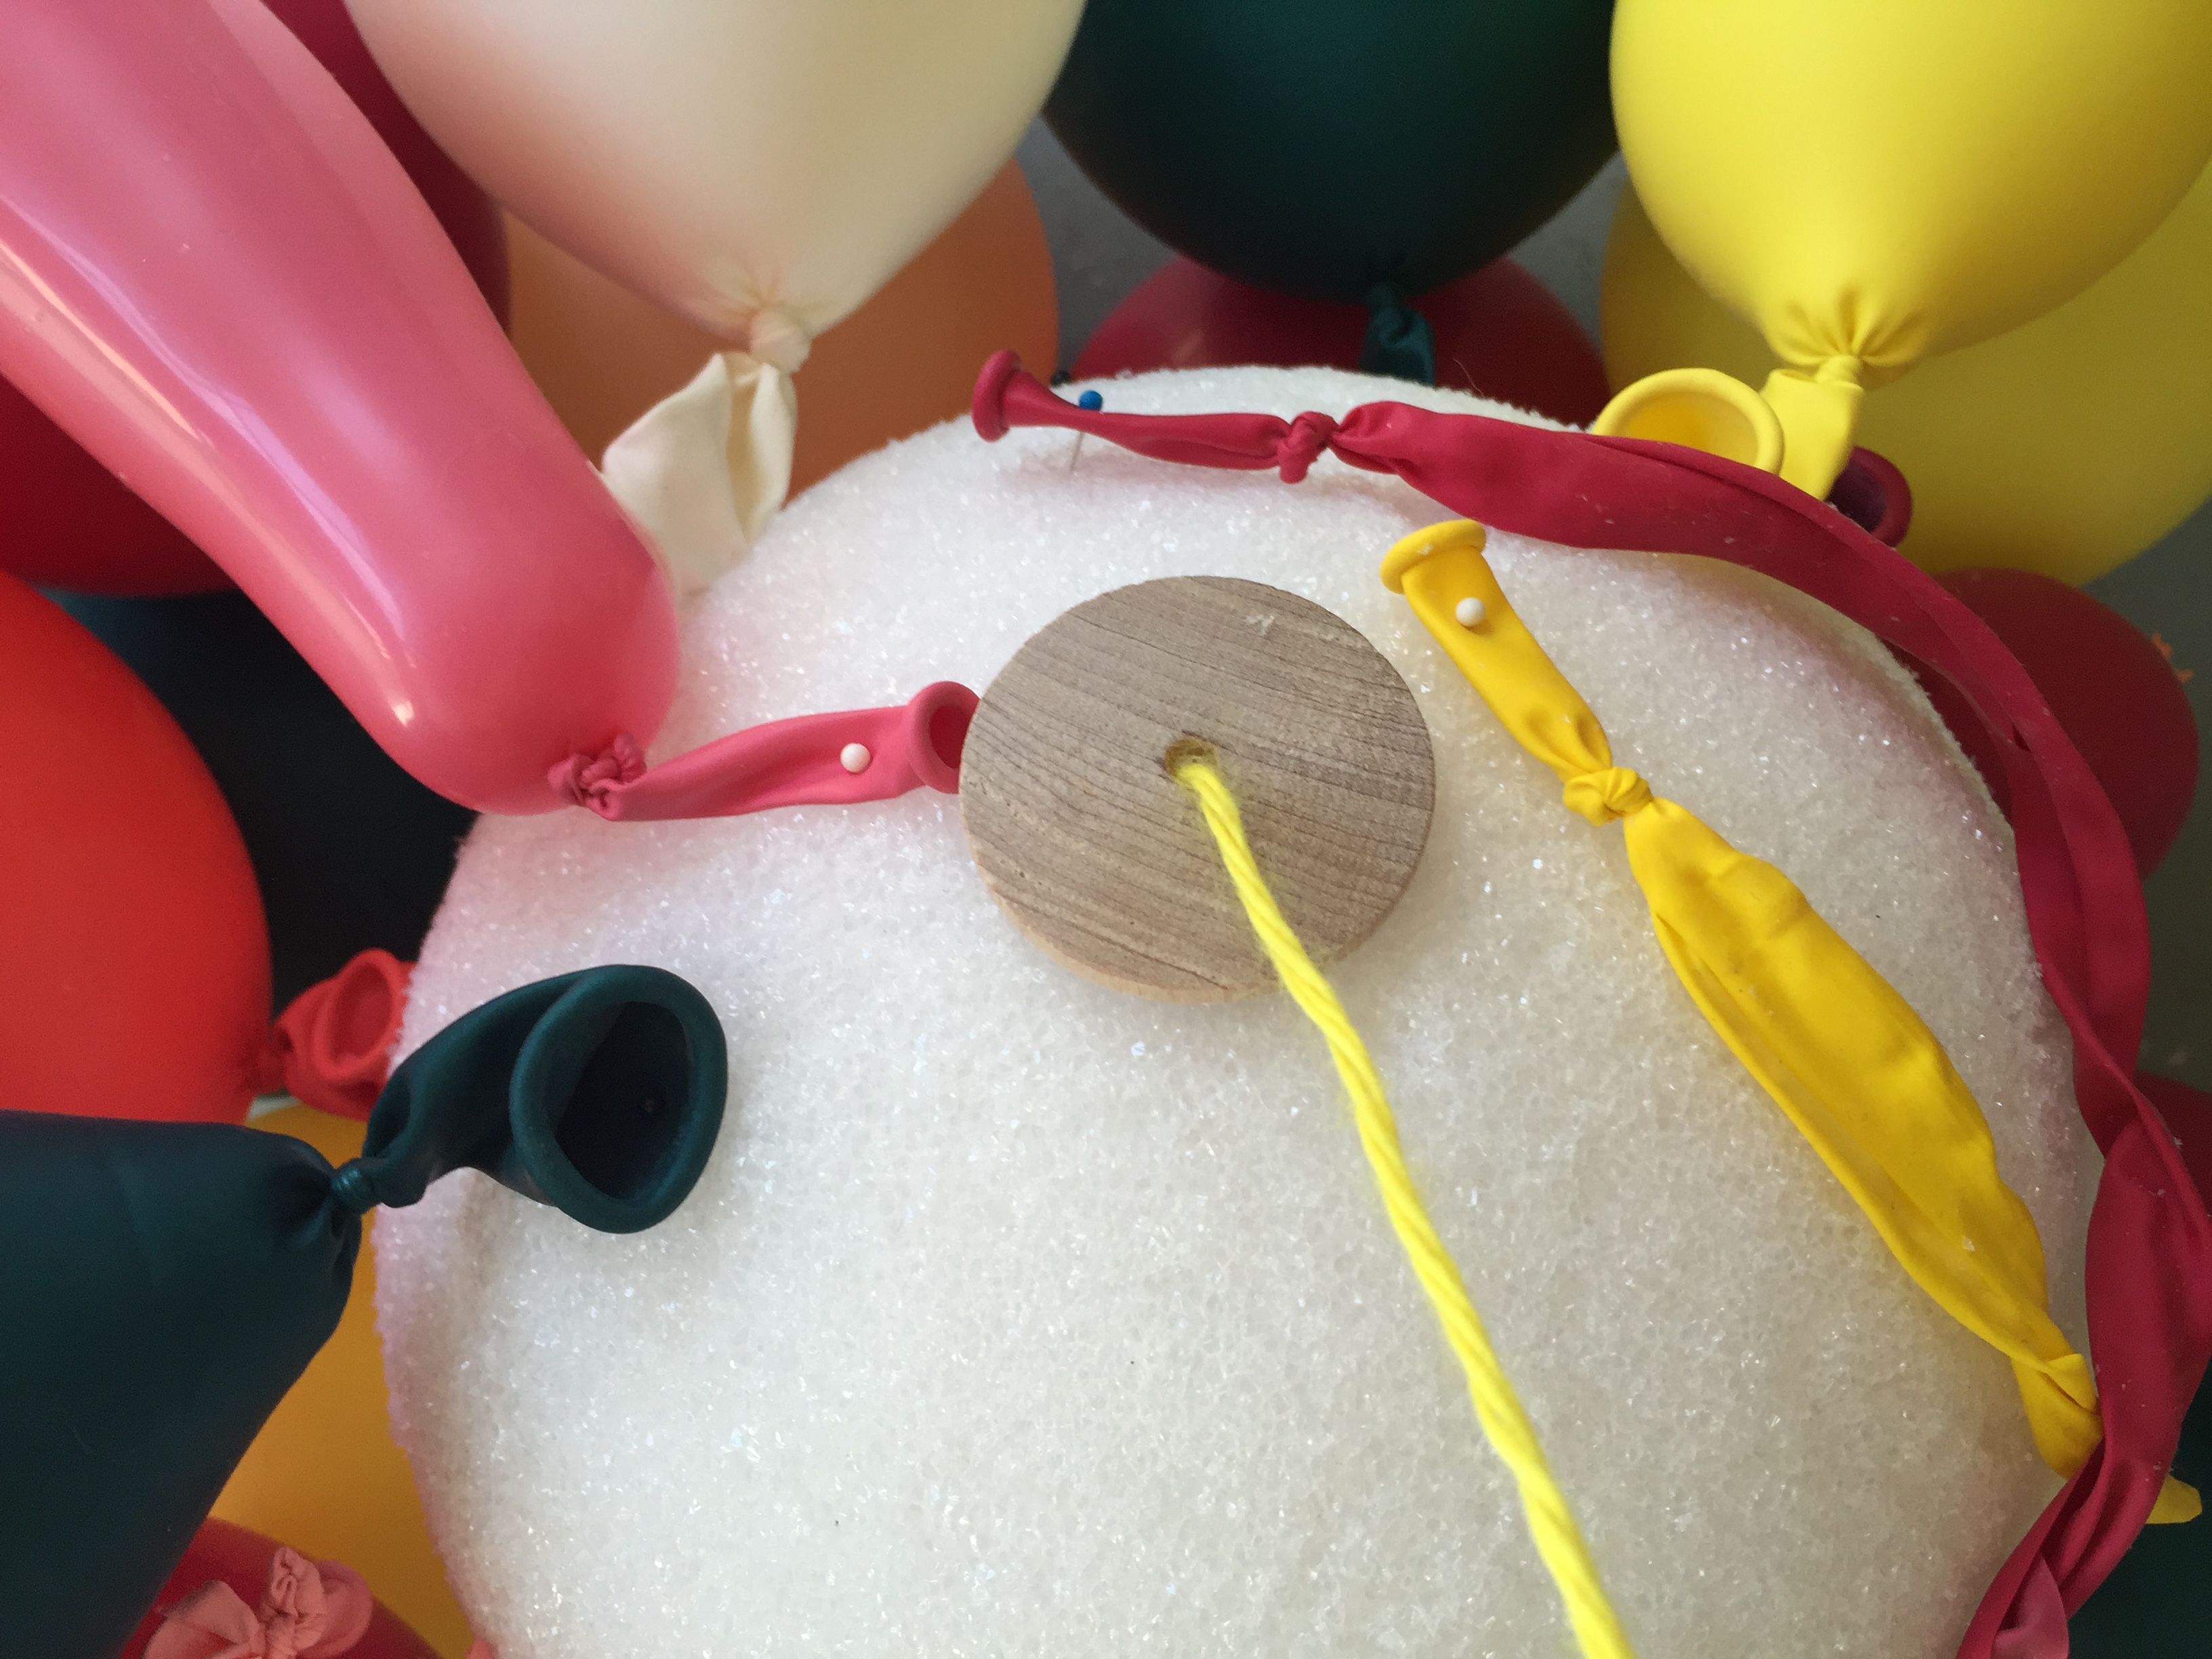
- Thread the needle with your yarn or twine and pierce it through the center of the styrofoam ball. Use the washer and bead to close it at the end. Leave a good amount of extra length, depending on how far you’d like to suspend your chandelier.
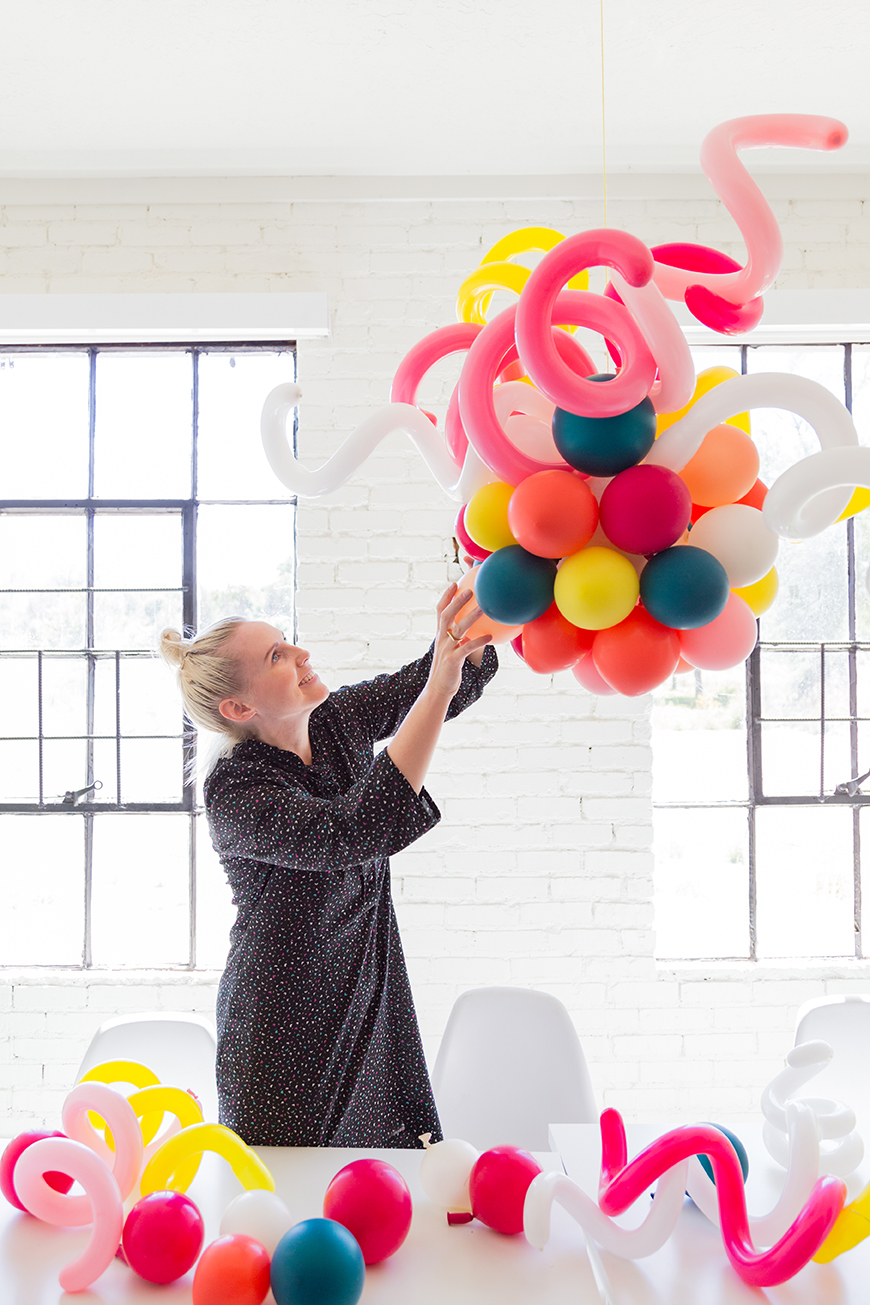
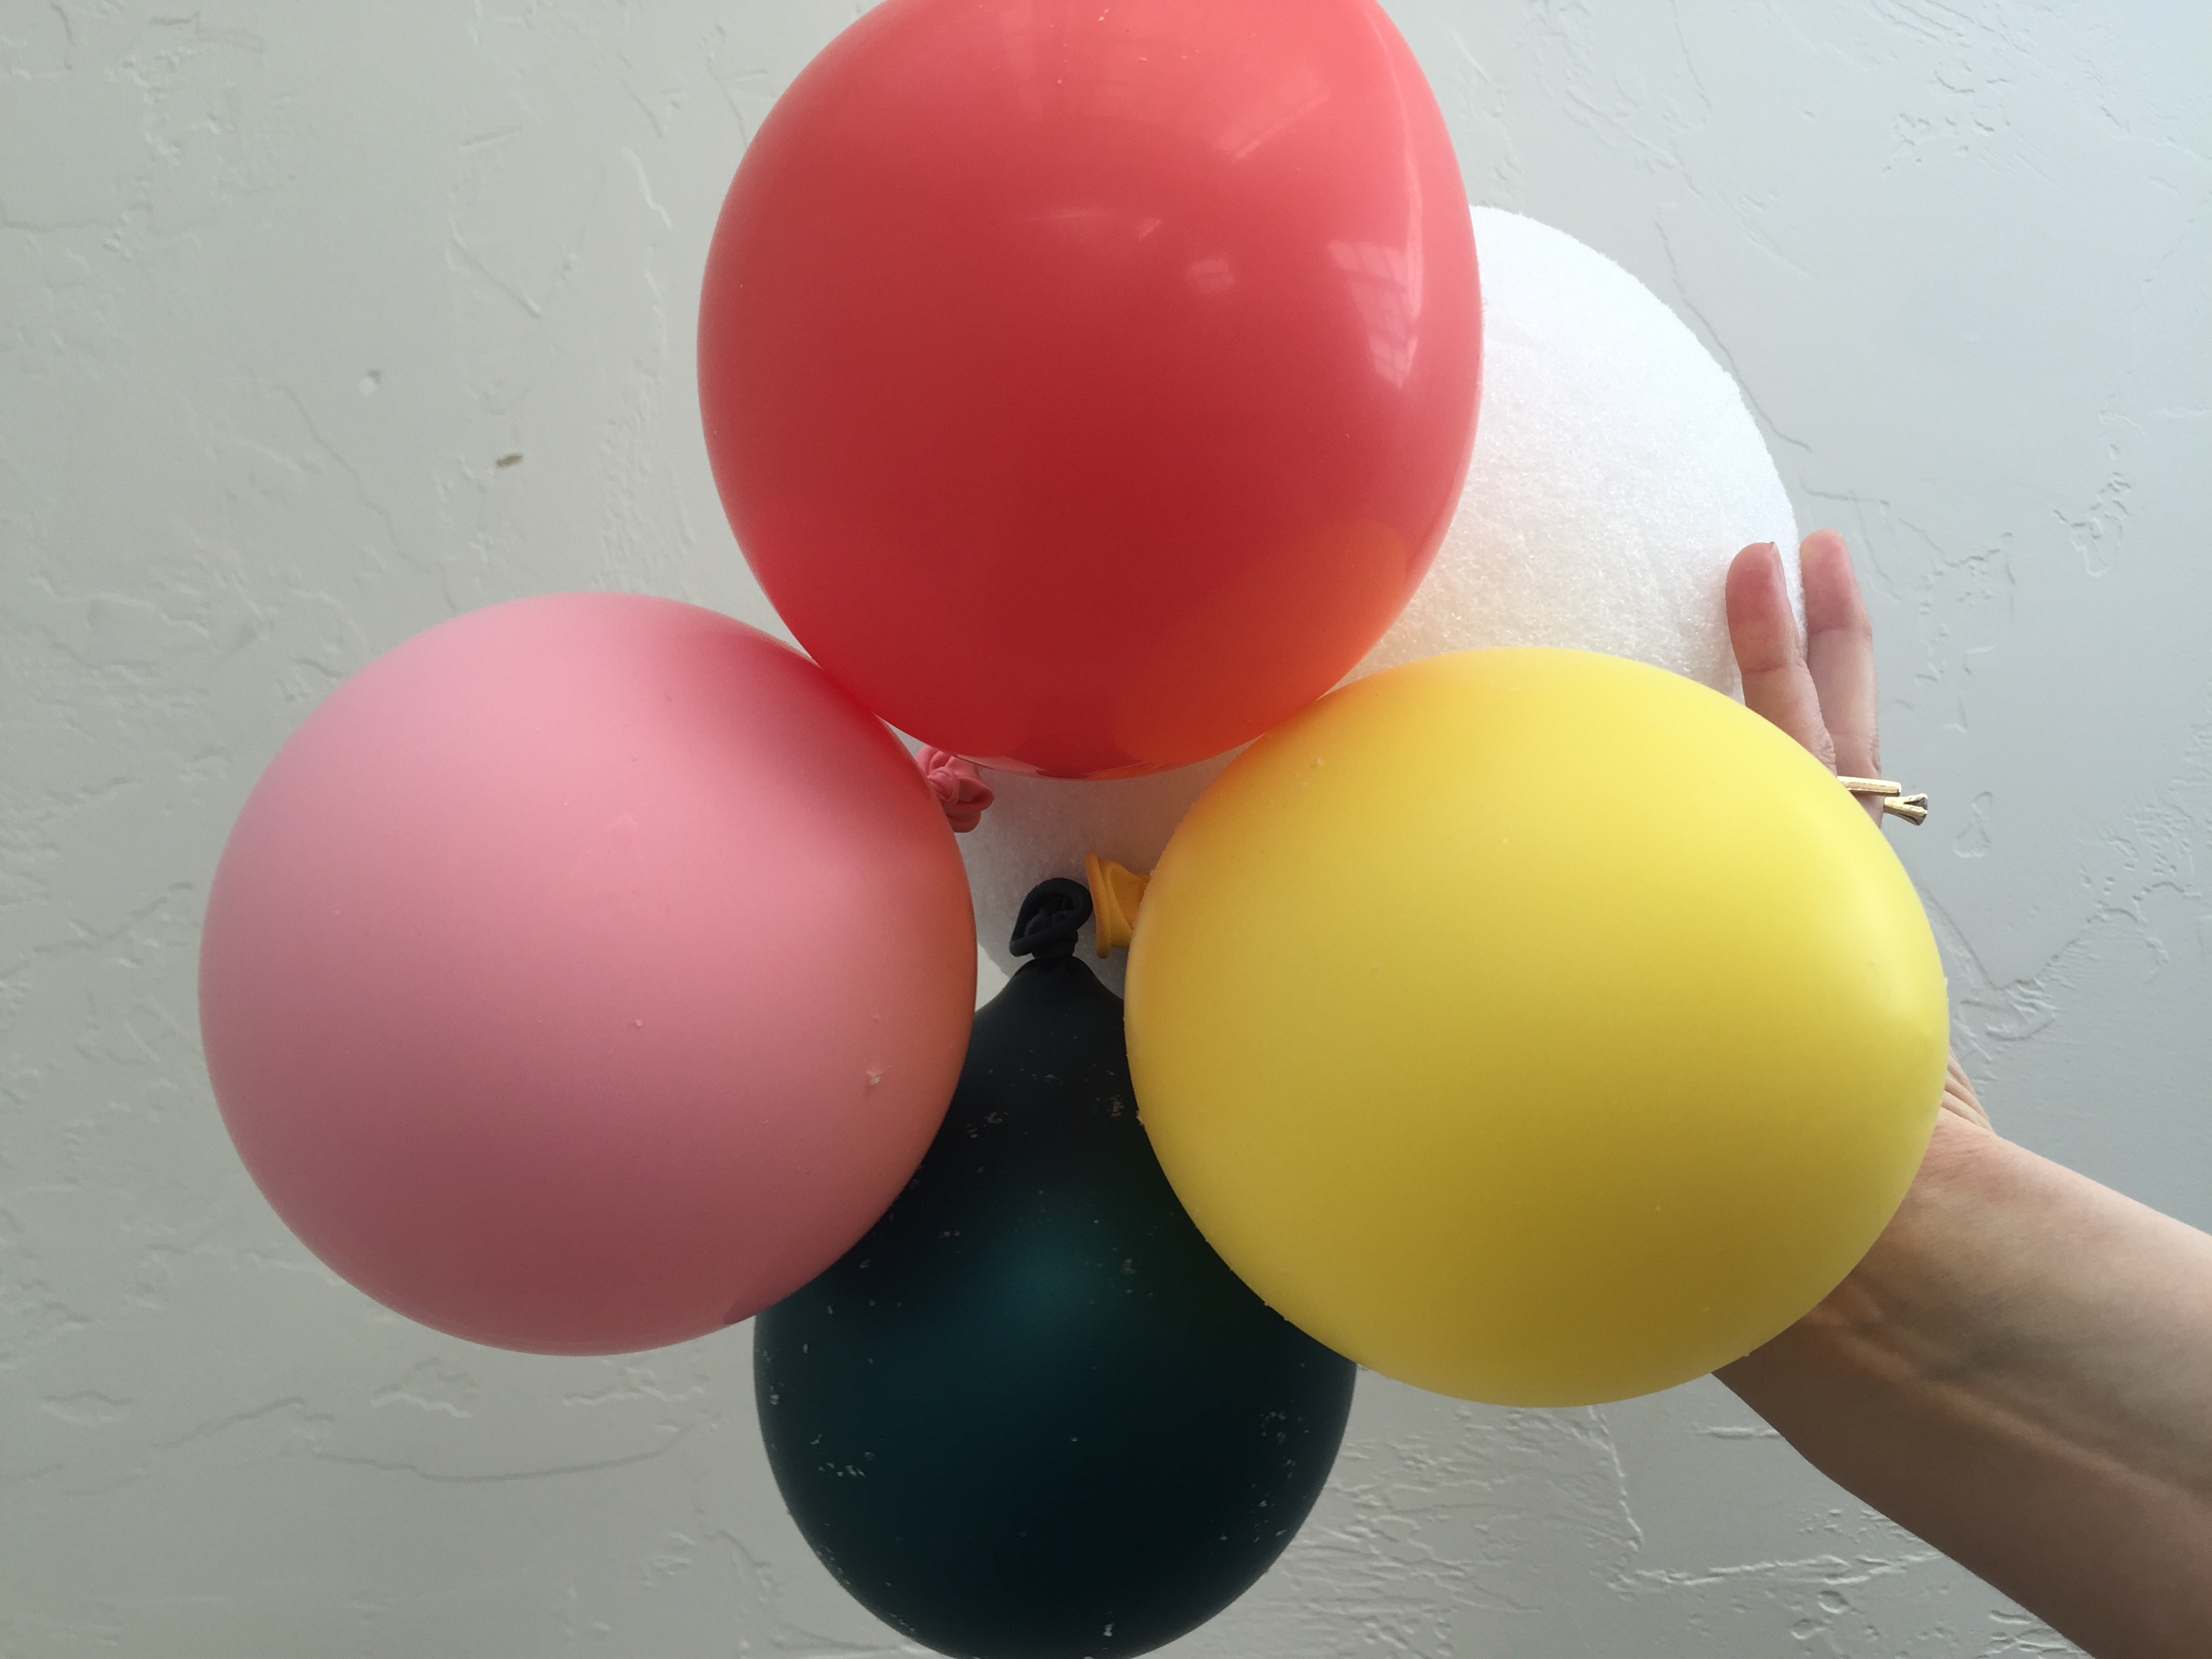
- Pin the balloons to the ball at the bottom and all around leaving it more empty at the top. I hang it from the ceiling so it was easier to work with.
- Fill up the long balloons. We used the EZ Twist machine from our local party store to create the twisty shapes. You can make your own version by using a broom and having one person wrap the balloon around the broom and the other fill it up with a balloon pump.
- Pin the long balloons to the top of the ball.
- Create a loop with the string and hang!
This chandelier won’t last for too long if you don’t tie the balloons super tight so I’d suggest making it the day of or the day before.
Happy partying!


Comments