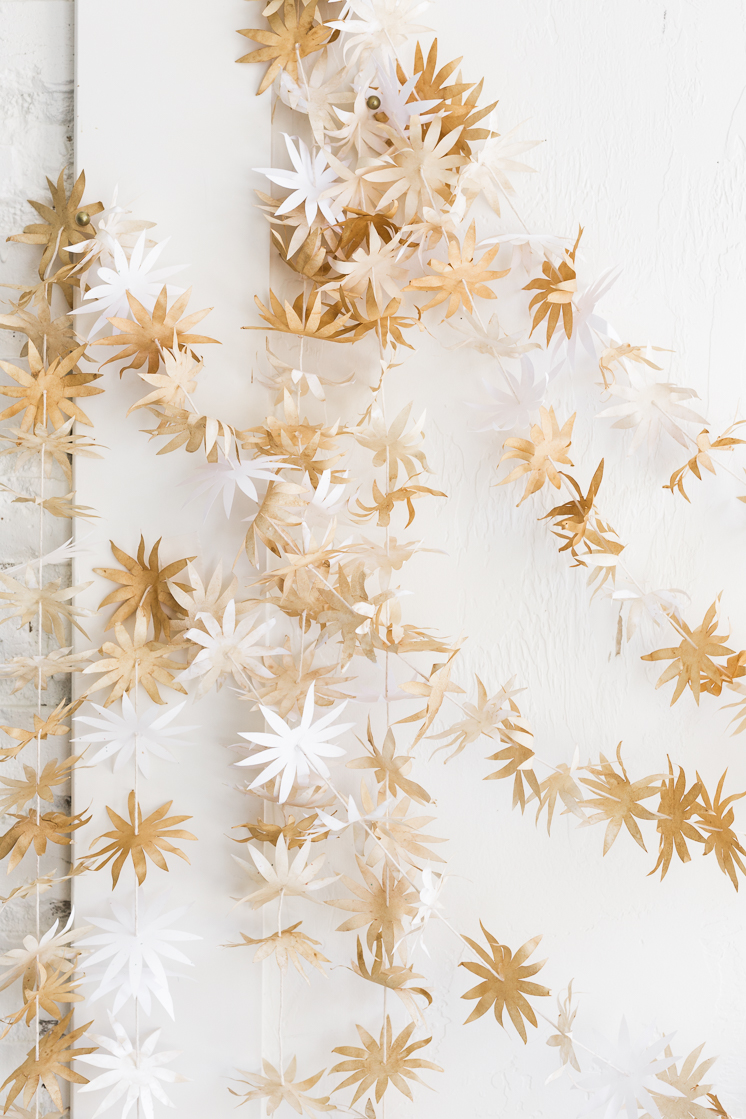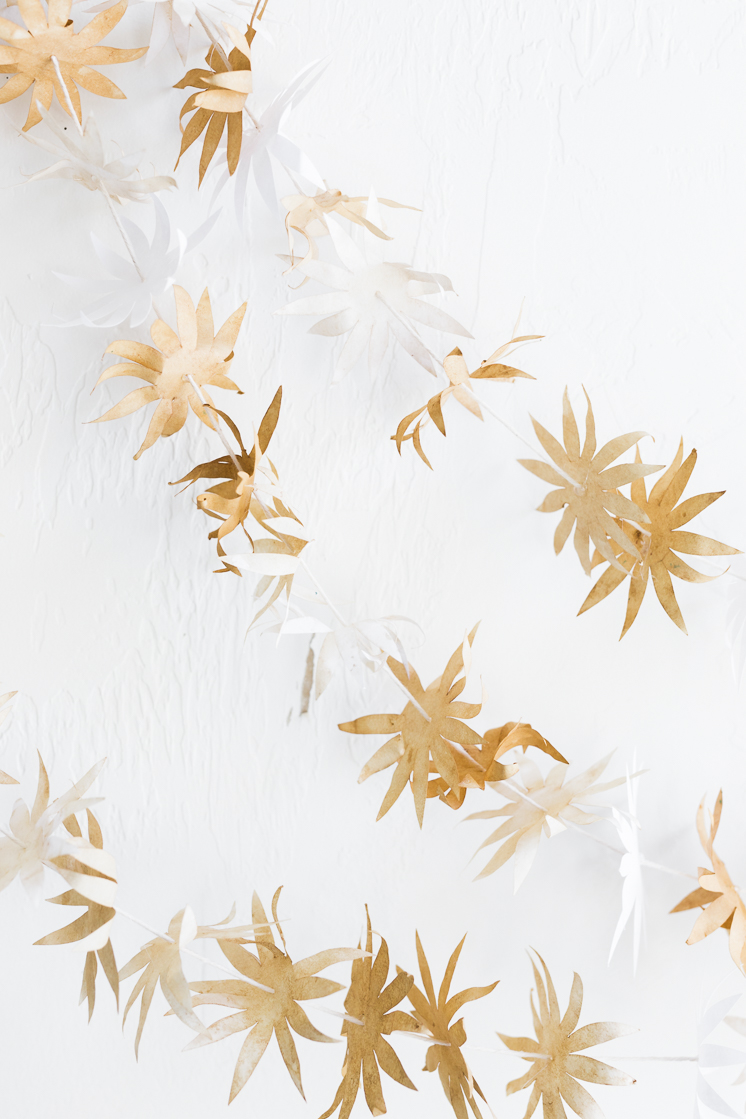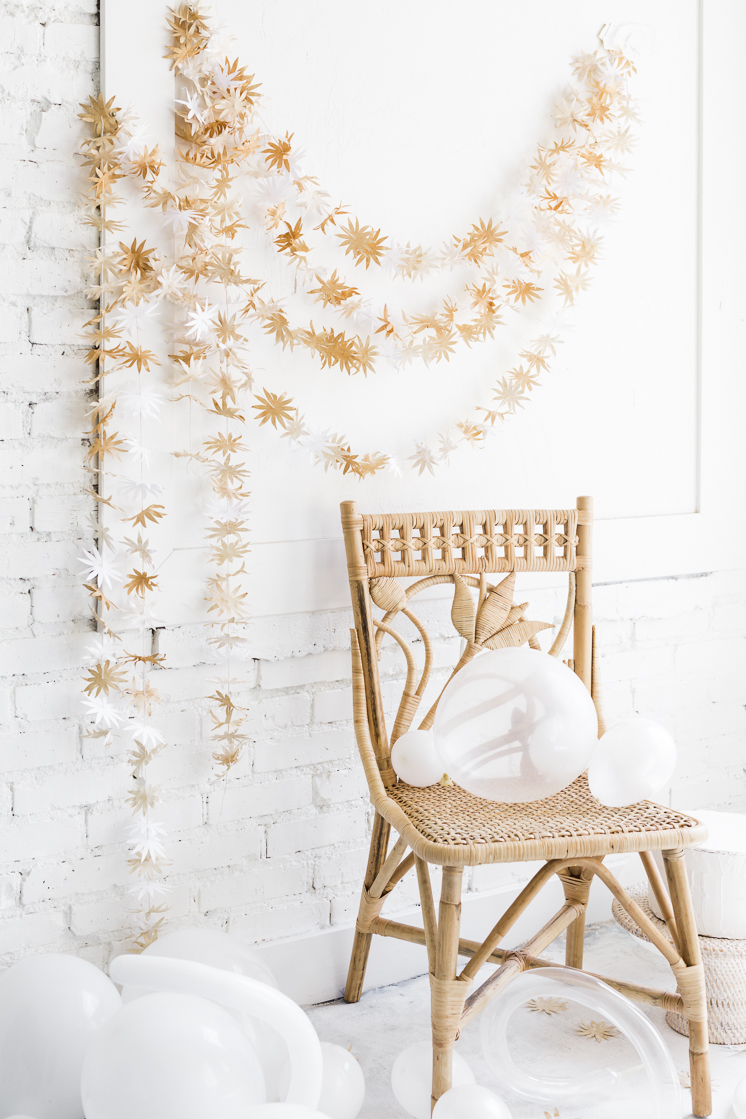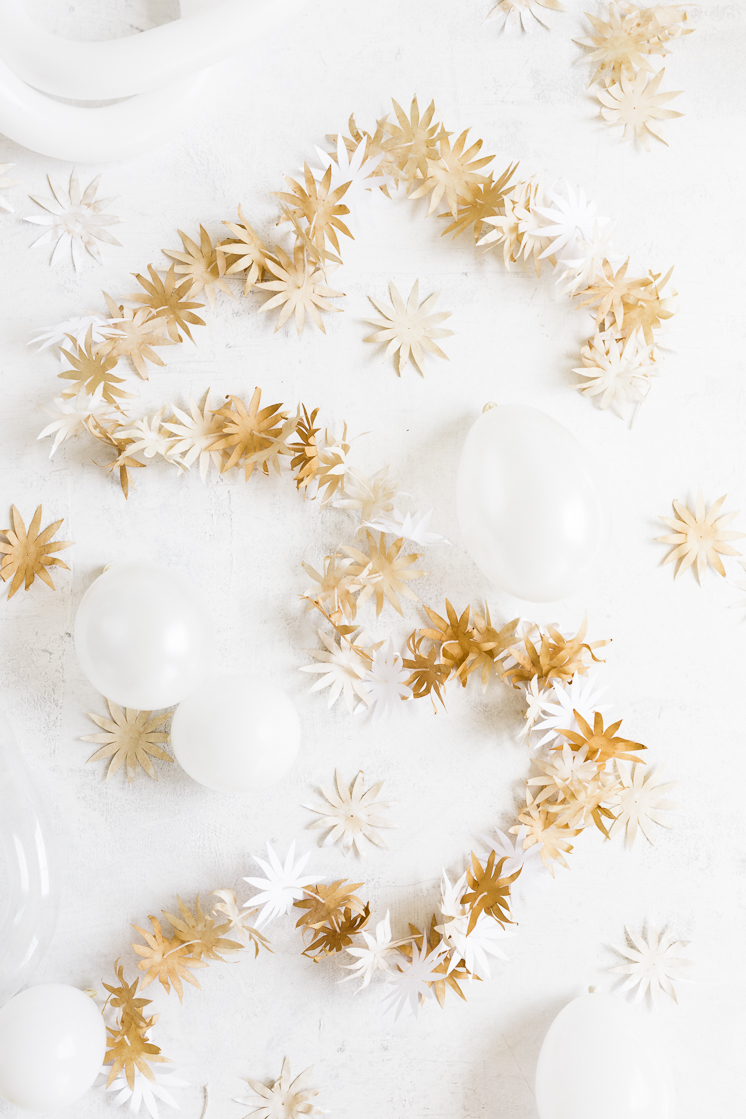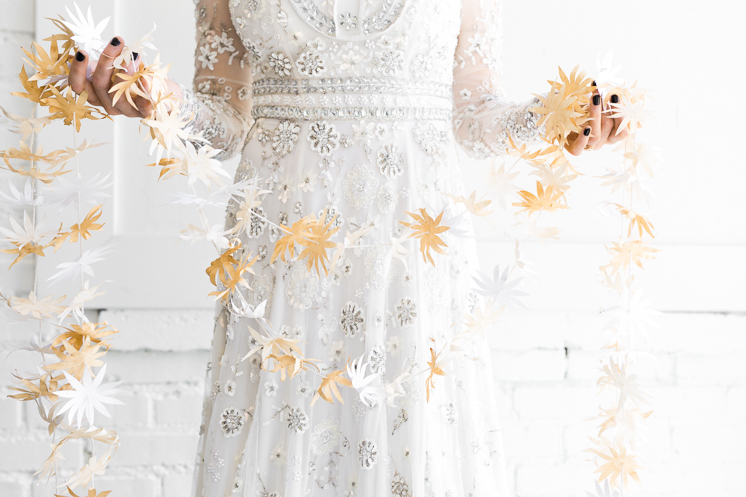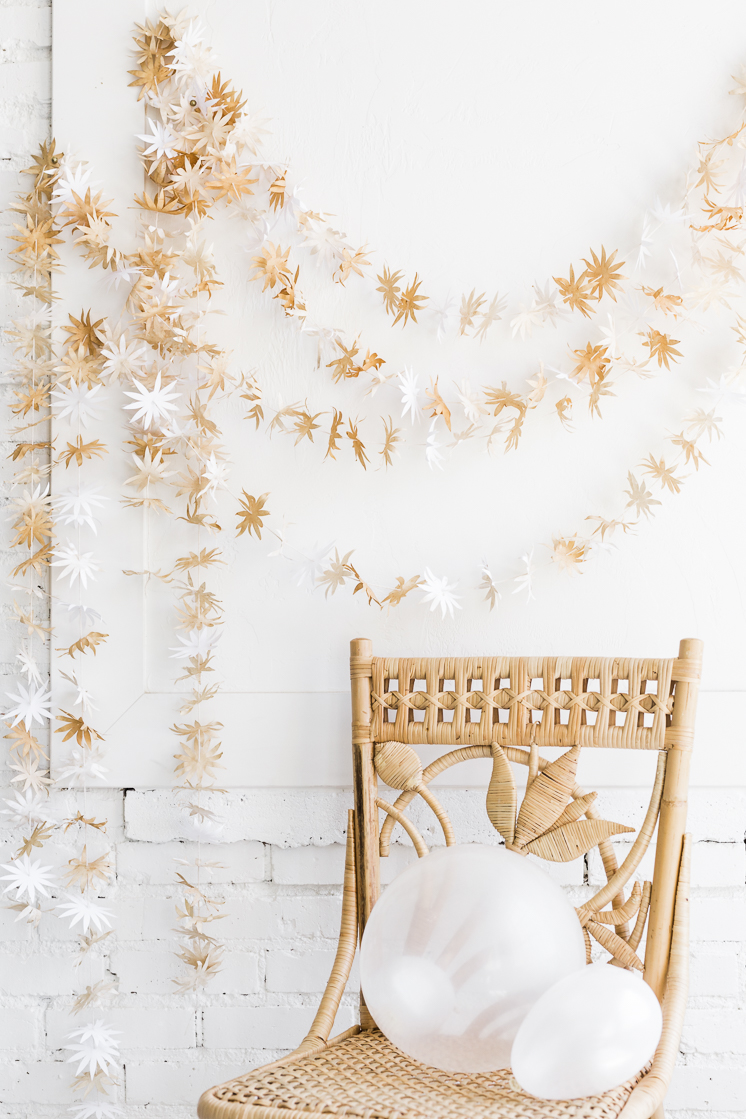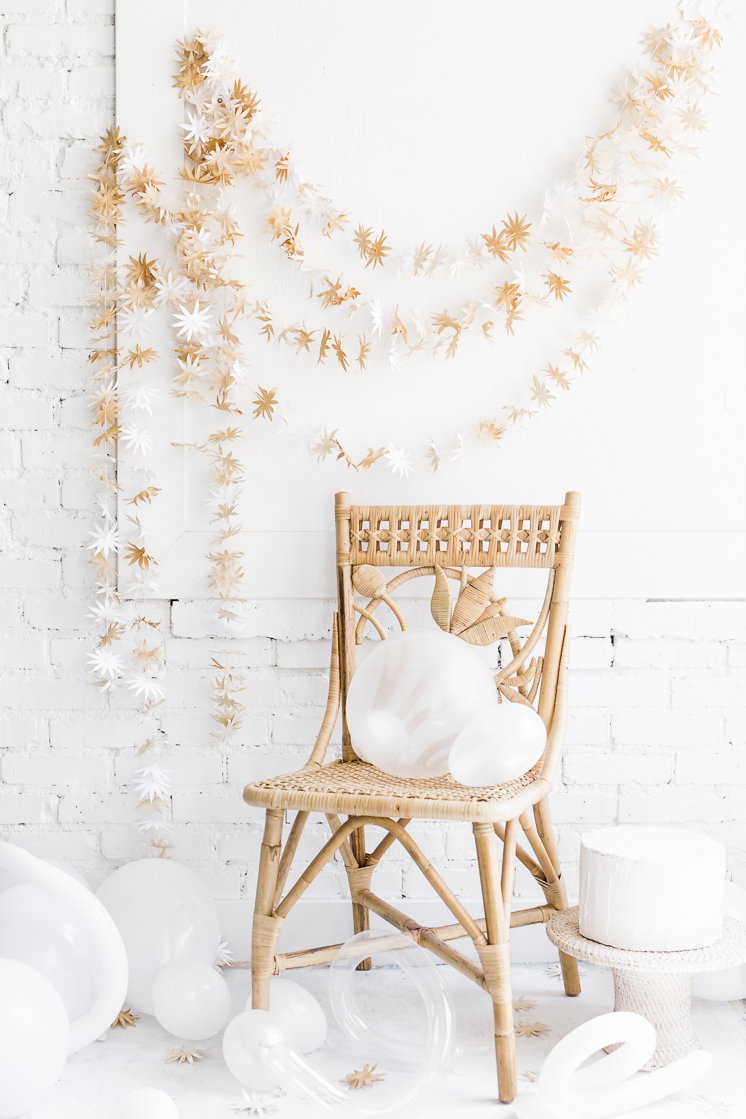
Did you ever have to distress or age an assignment in elementary school or junior high? Like burning the edges or tea staining the paper of a letter to make it look old? I remember my mom helping be brew a pot of tea for a history assignment and being fascinated by the effect. Well, we’re paying homage to those grade school assignments with this tea stained flower garland! We cut out loads of paper daisies with our die-cut machine and then painted them with tea bags to give the flowers some warmth. The result was better than we imagined, with various shades of honey-colored daisies! The best part about it? You only need regular old printer paper, a few bags of tea, and some twine. Things we all have in our cupboards. And things that are CHEAP. Beautiful in an all white setting with some neutral accents, this tea stained flower garland would be perfect for a wedding. No upcoming nuptials? Imagine a canopy of these flowers draped over a bed. Can you say dreamy?
Keep reading to download the daisy template for your die-cut machine!
Tea Stained Flower Garland
Daisy Template found HERE
Materials:
- Plain white printer paper
- Tea bags
- Hot water
- Natural Twine
- Tapestry Needle
- Hot glue gun, optional
Instructions:
- Using a die-cut machine, such as Cricut or Silhouette, and our daisy template, cut out lots of paper daisies using the printer paper. Alternatively, you can cut them out by hand with scissors. We did about 50-75 daisies per strand.
- Once you have all your daisies cut, soak a few tea bags in a cup of hot water.
- Lay out all your daisies on a large surface covered with newspaper or wax paper to protect it.
- After the tea bags have soaked for 1-2 minutes, remove a bag and begin to “paint” your daisies with the tea bag by gently pressing the tea bag onto the paper flowers.
- To achieve deeper shades, simply apply more coats of tea to the daisies to darken the color.
- We wanted various shades so left some daisies pure white, some with one coat, some with two, all the way up to five coats. Let dry
- Thread a tapestry needle with your twine and begin to thread your daisies onto the twine through the center hole, spacing them out about 1 to 1.5 inches.
- If necessary, apply a dot of hot glue at the center of the daisy to keep the string in place and eliminate any sliding daisies.
Hang them up over a door frame, across a window, or create a dramatic tent! Any interpretation is bound to be gorgeous!
Photography by Anna Killian | Crafting by Rebecca Hansen


