 I won’t try and hide my mission in life right now–get as many people to hang up wallpaper in their homes as possible. There’s just no better way to add color and pattern and really customize a space to your own taste. It’s such a part of my current repertoire that I have it all over my rental apartment. In fact, when I presented the idea to my landlords, I made a slide show presentation complete with mood boards and a top ten list as to why wallpaper belongs in their investment. I won’t bore you with the list for now…(ha, you’re safe!), but here’s the deal: Wallpaper is now made to come off like buttah. It ain’t your 80s paper, which you can never get rid of.
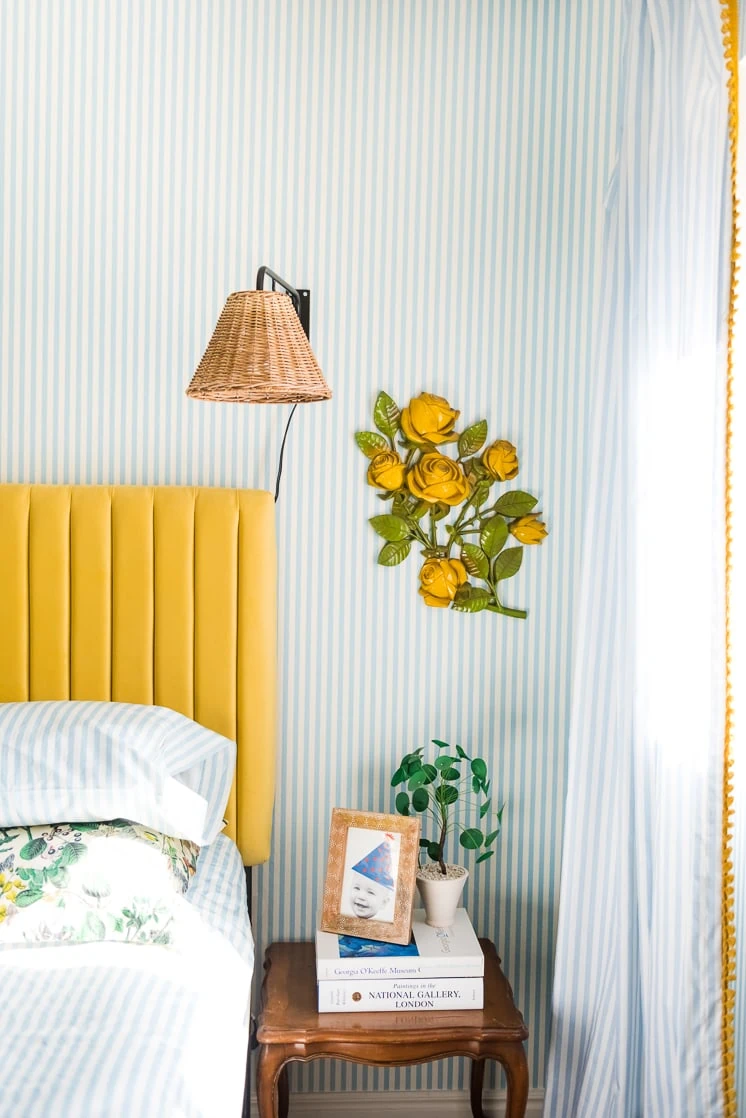
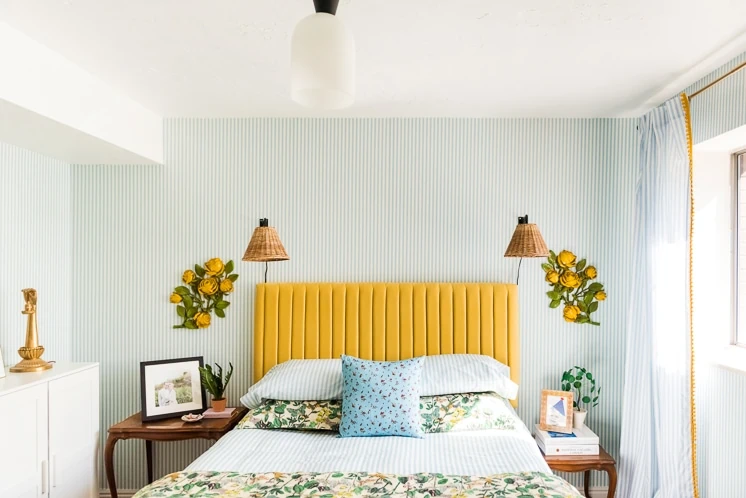
In my living room (see here), I had a professional install it. He did an amazing job. And for my bedroom (see here), we decided to take a stab and do it ourselves. And when I say “we”, I mean I watched from the sidelines as my team impressively went to town. They did a fantastic job, so I decided that we needed to share our tips and tricks on how to hang wallpaper, and in this case, Spoonflower wallpaper, since that’s what we used here.
Wallpaper tips and tricks
The Spoonflower rolls come with excellent instructions that we followed. These tips are things we had to troubleshoot in the middle of the application OR things we wish we would have known when we started!
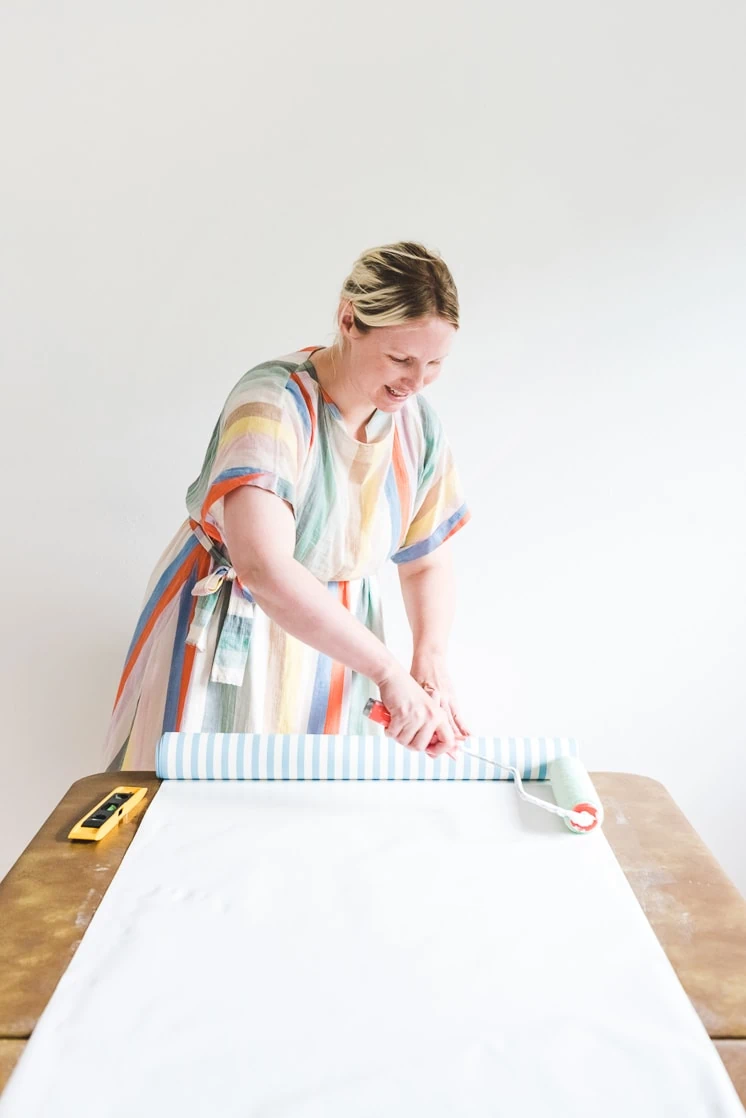
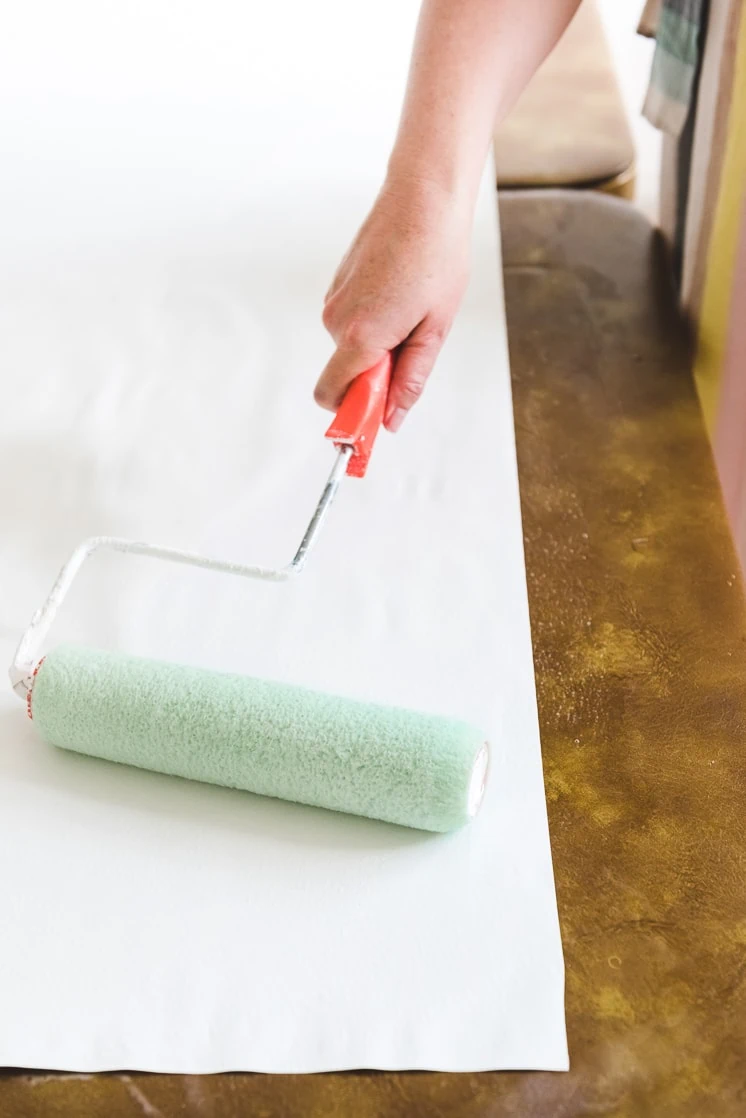
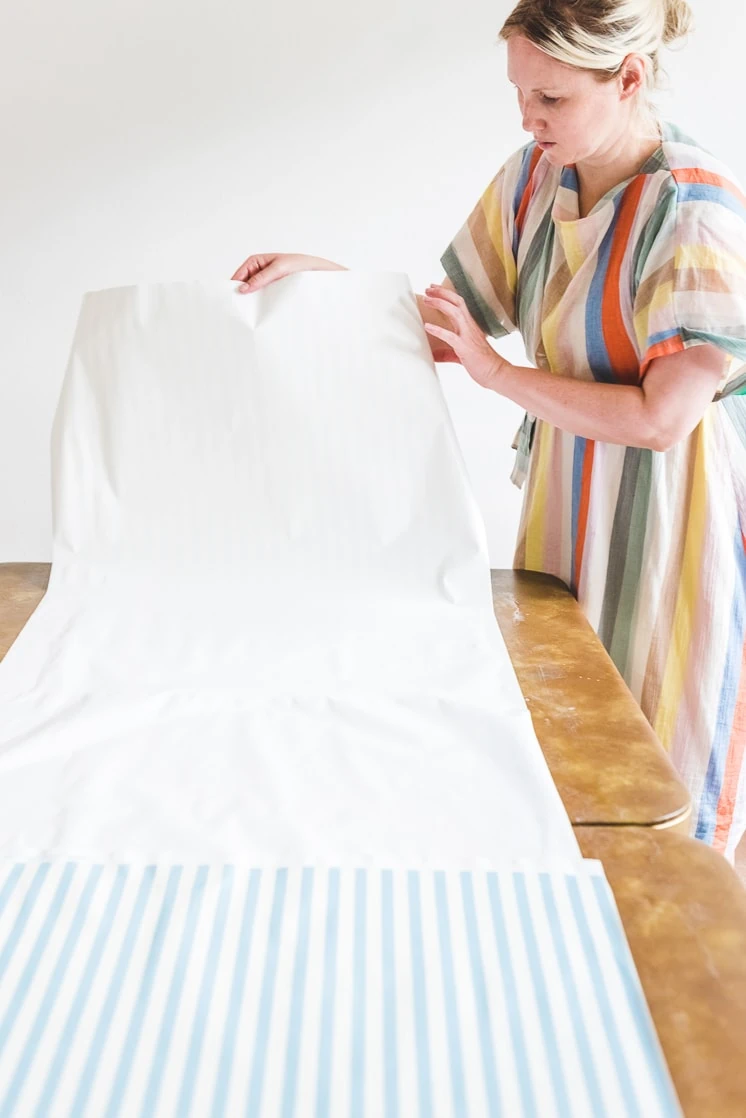
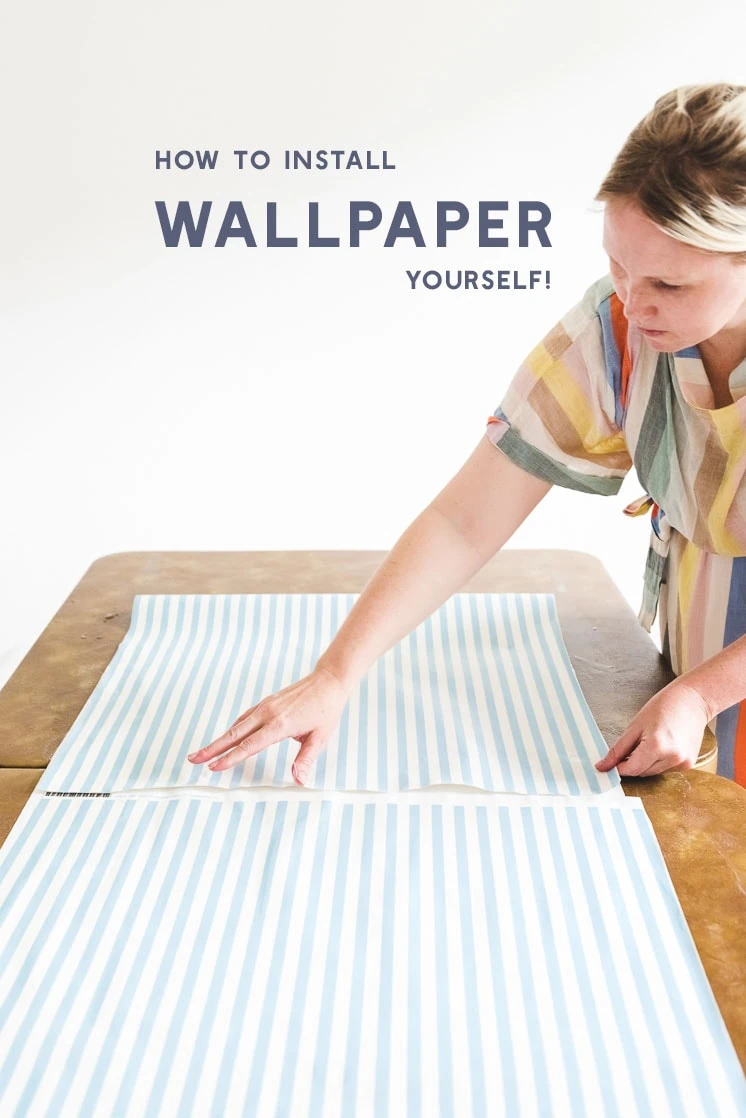
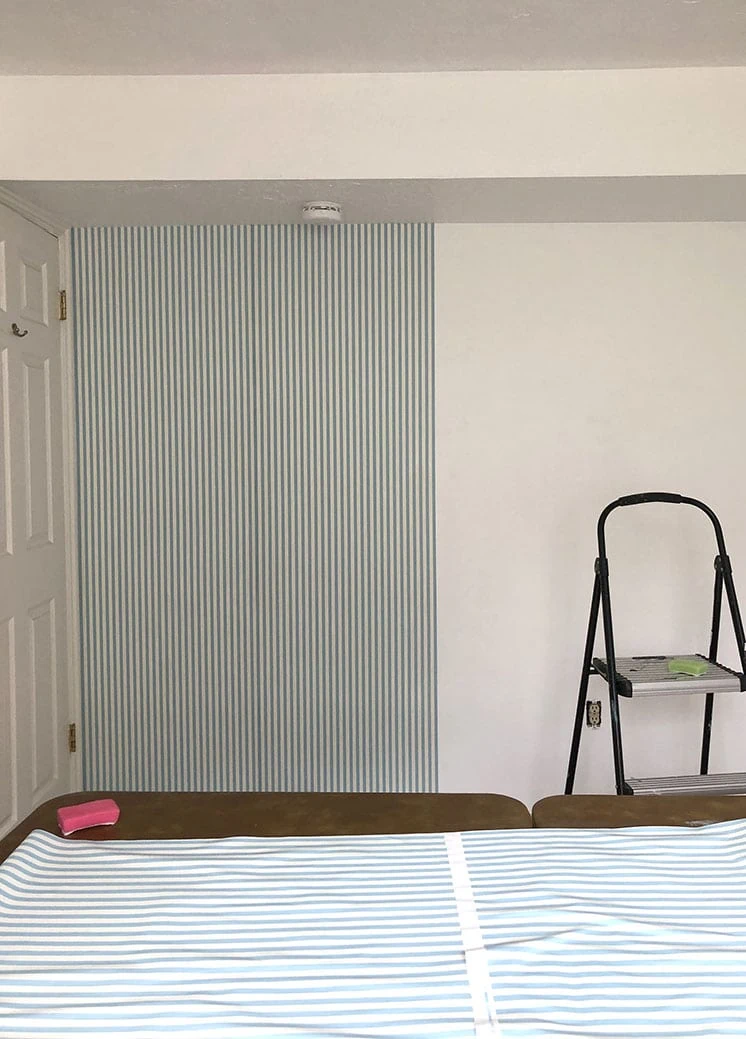
- We set up a long table in the middle of the room, the length of half the room, where we laid and prepped the wallpaper rolls. Make sure your table is clean and won’t transfer any dirt or dye onto the wallpaper once its wet. (tip: we initially started with a red table, which we didn’t realize was leather, and started to notice red dye leaking onto the paper. BAD IDEA! But it came off easily so no permanent damage done.)
- There’s a sweet spot with water usage. We found that it worked better to have water squeezed onto the paper rather than rolled. You can move the water around with your hand. Don’t completely drench the paper but it’s nice to have a little bit of runniness. Give special attention to the corners and top.
- We ran into a bit of trouble around the window. We cut the wallpaper roll into horizontal strips which ended up messing with the pattern and layout. Use full rolls only.
- Like any diy/home improvement make sure you give yourself more time than you think it’s going to take. We thought it would take a half day, but it turned into a full day for a 10×10 room and that excludes the trimming.
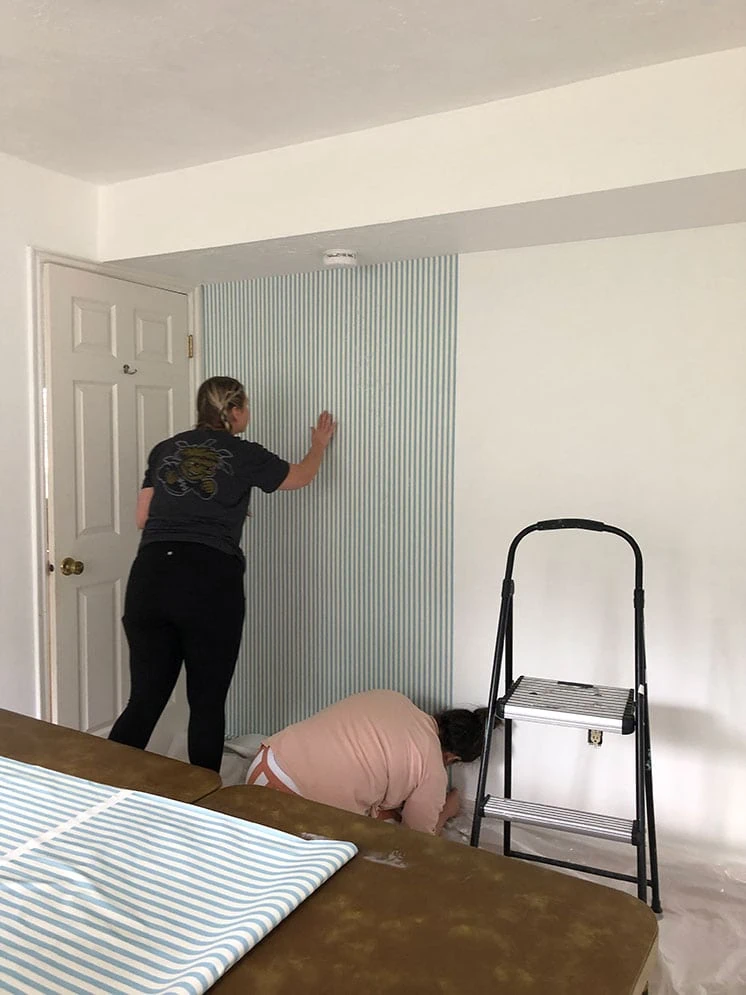
- We found that we could get into a better work rhythm with three people rather than two. Two people were necessary for hanging and the third person was great for prepping rolls and tools which sped up the process.
- Wipe down the walls to prep.
- We started with white walls which was a great canvas. Sometimes a dark color or pattern will show through your wallpaper, so beware!
- Paint any trim that will show. We should have painted the window frame before we started but c’est la vie!
- We covered the whole room floor in plastic which helped contain rogue water and sped up clean up process.
- Make sure you wait until your paper is all the way dry before trimming. We waited a whole 24 hours just to make sure. The Spoonflower instructions explained that the walls only needed three hours before trimming but we didn’t want to risk it. When trimming use a super sharp blade and a straight edge, like a metal ruler.
- Pro tip: If you keep getting bubbles in the middle of your paper and you’ve got all your stripes lined up straight and don’t want to lose your mind redoing it, you can use a verrrrrry fine blade point to poke little holes to release the air. Make sure to do this sparingly so that your wallpaper doesn’t have a billion holes in it.
How to hang striped wallpaper
Ok, now we have our tips and tricks for wallpaper in general, turns out, stripes are not for the novice and require further clarification.
- If you’re a beginner, we recommend trying out a wallpaper that has an all over repeat pattern and NOT stripes. Stripes has to be very precise and level.
- With that in mind, use a level every step of the way to make sure the stripes, whether vertical or horizontal, are straight. If you get off once, you’re off the rest of the way.
- We found that with a blue on white stripe, we would layer over one of the blue stripes. That, in turn, made one blue stripe darker than the rest since the wallpaper was not totally opaque. You can’t really see it to the naked eye, but you can see it a bit in photos.
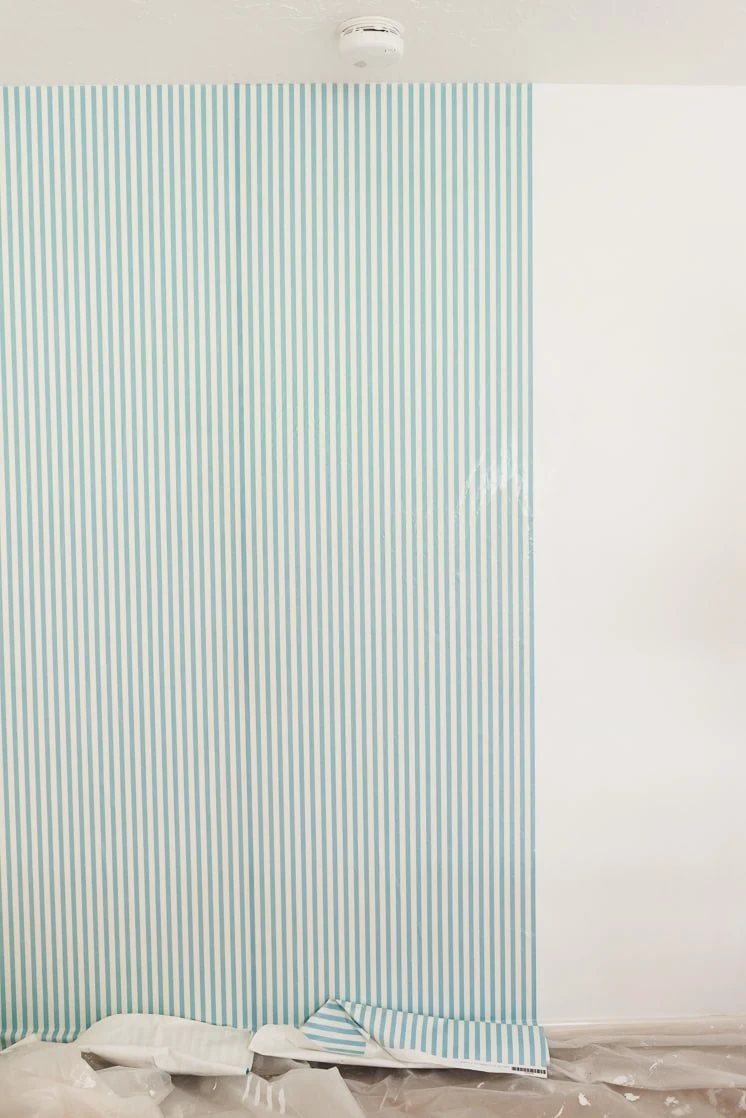
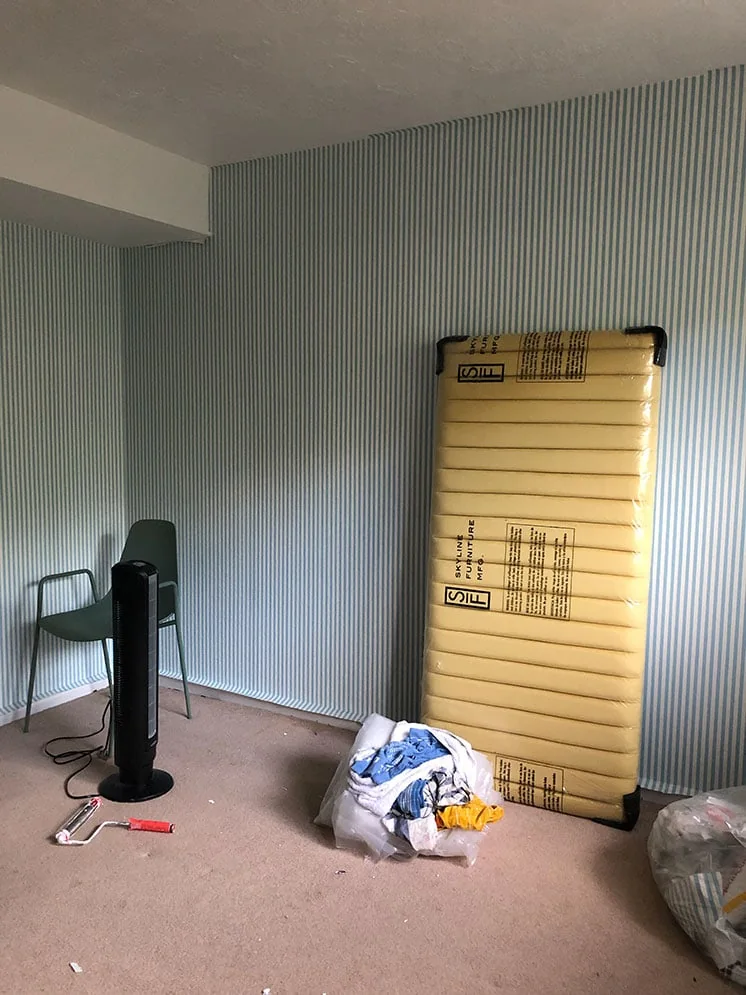
Tip: Here’s the paper applied to the walls before trimming it down. You can see some of the paper peeling down on the top left. For those little ares, we added more water onto a brush and brushed it down. Good as new.
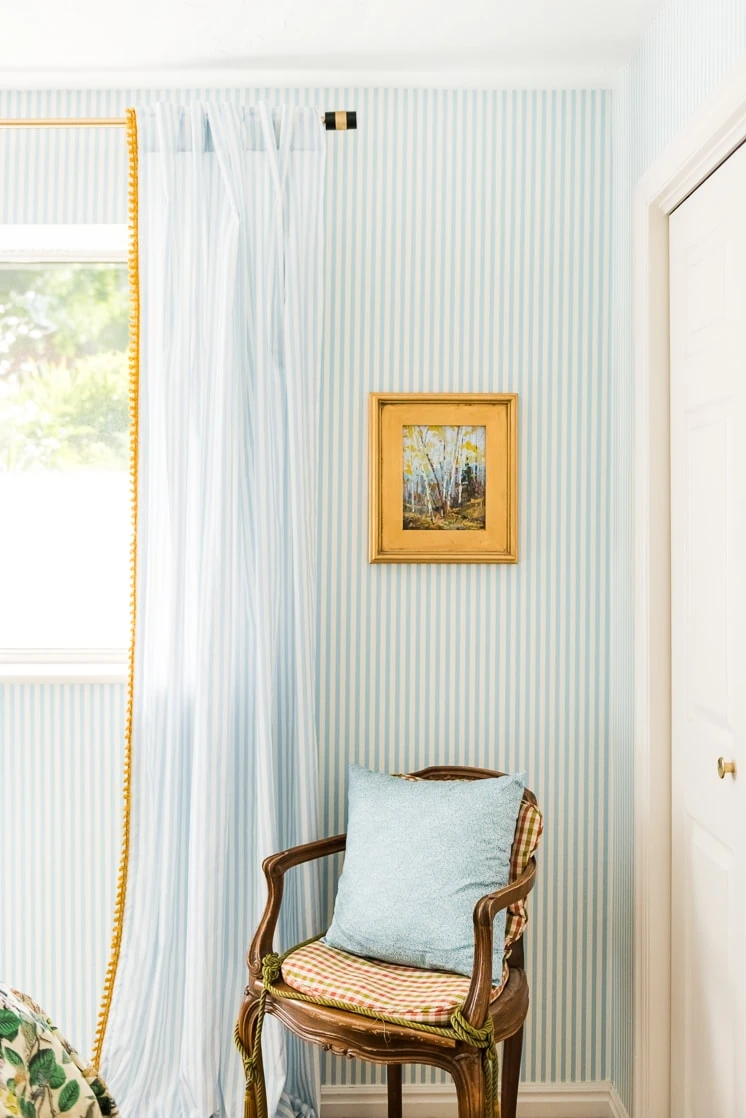
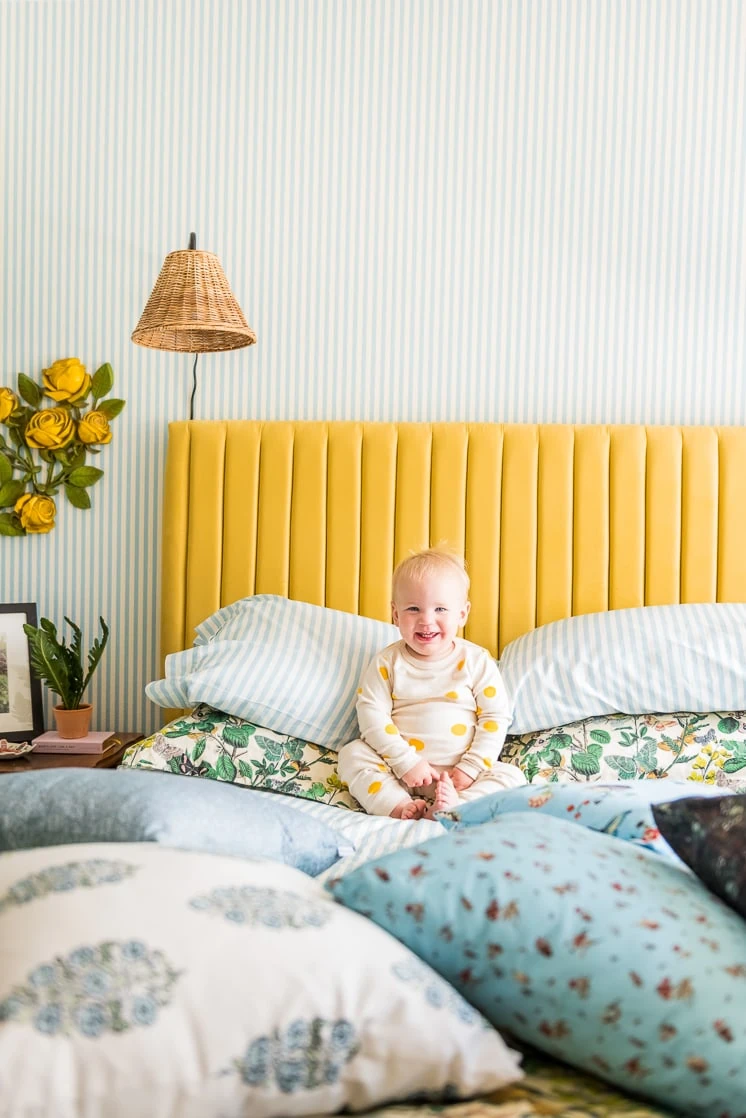
And here it is in all its glory.
I love, love, love my wallpaper. Can’t get enough of it really. Hit me up if you need any more tips or have any questions!
See the bedroom post here


Comments