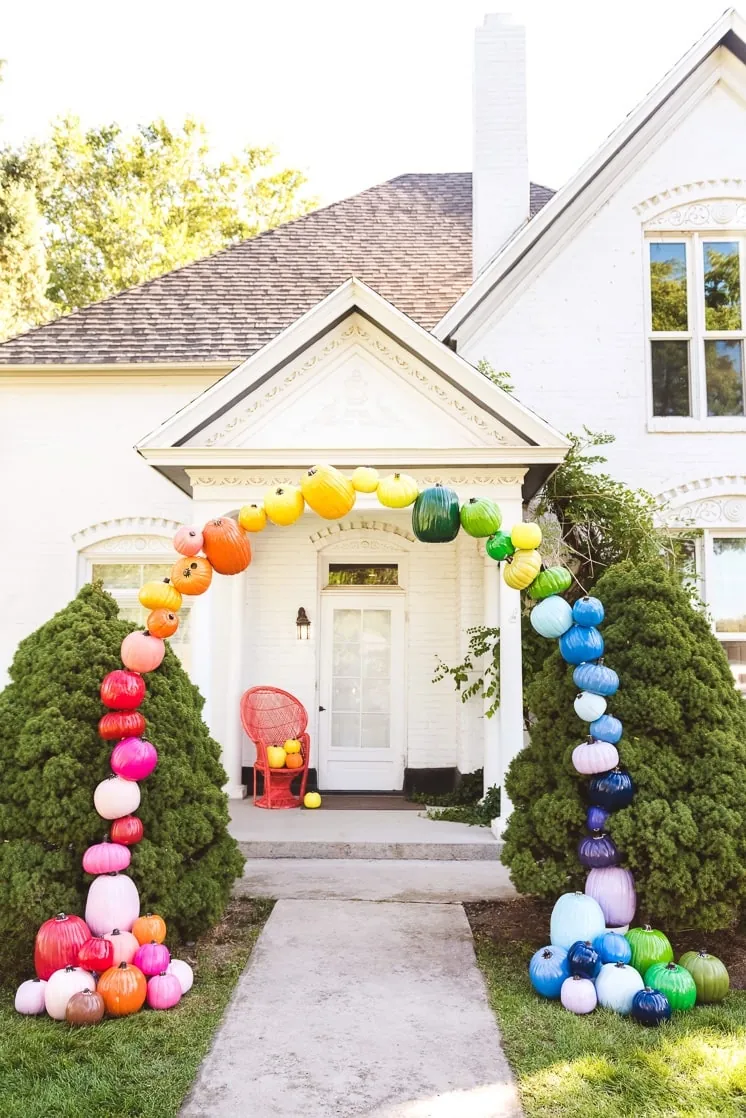
 In another life, I think I should have been an architect. Or at least just an arch-themed one. You may have noticed by now that I have a bit of a thing for balloon themed arches. Lest we forget the flamingo balloon arch, the Rainbow arch, the heart arch…I think you get it, I love a good arch!
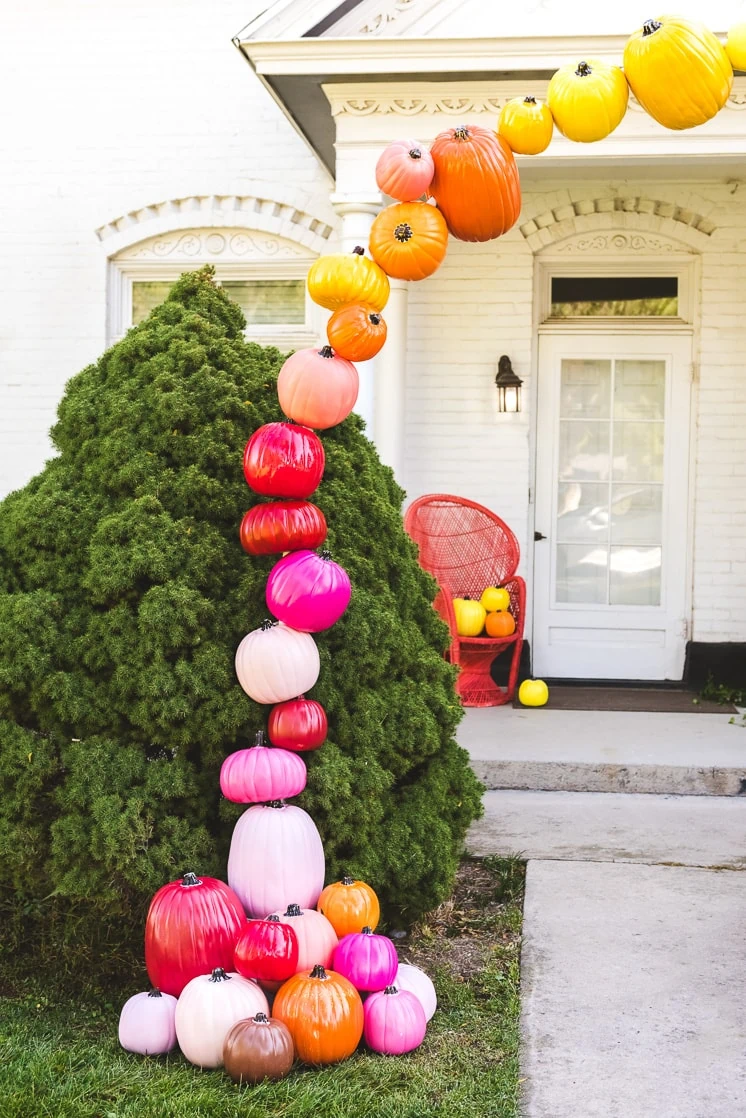
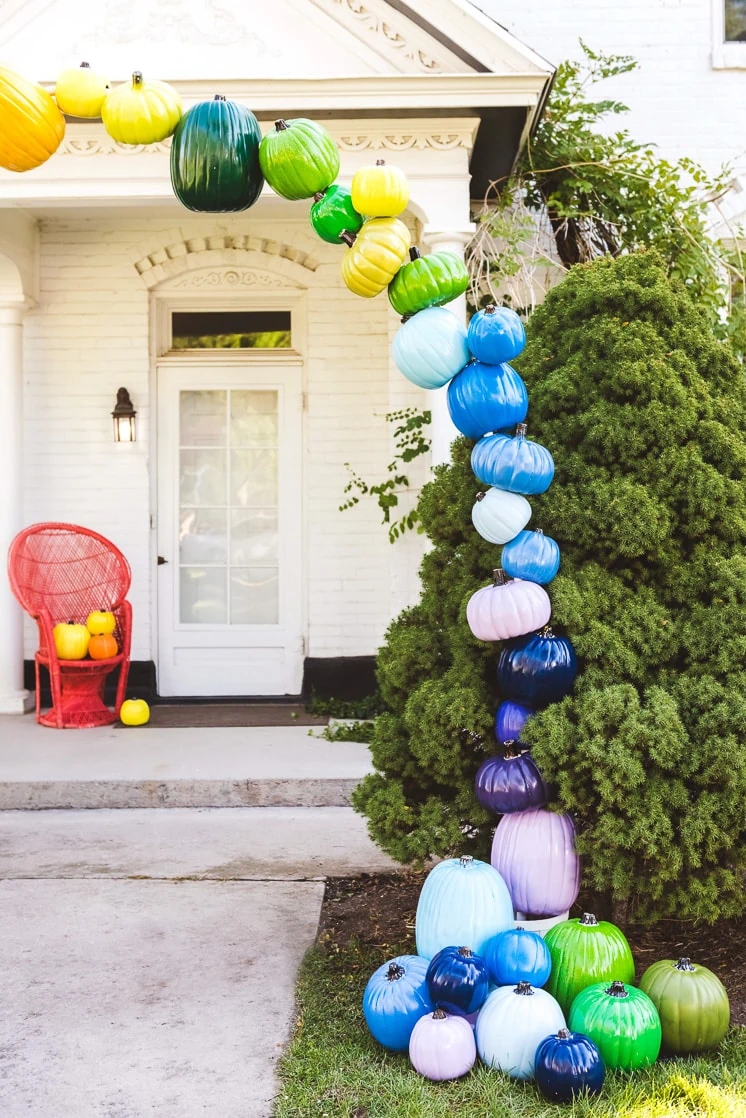
Of course, the problem with creating is that as soon as you finish one, you just want to do another, and I’ve had a hankering to make a new one as of late. As it turns out, our friends at Michaels were craving something colorful as well, so we teamed up to bring you what might just be one of my favorite arches yet. Behold, the Rainbow Pumpkin arch!
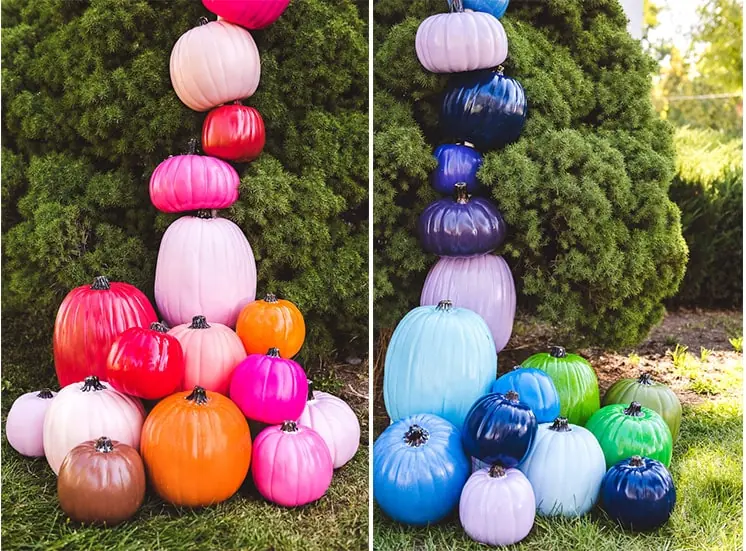
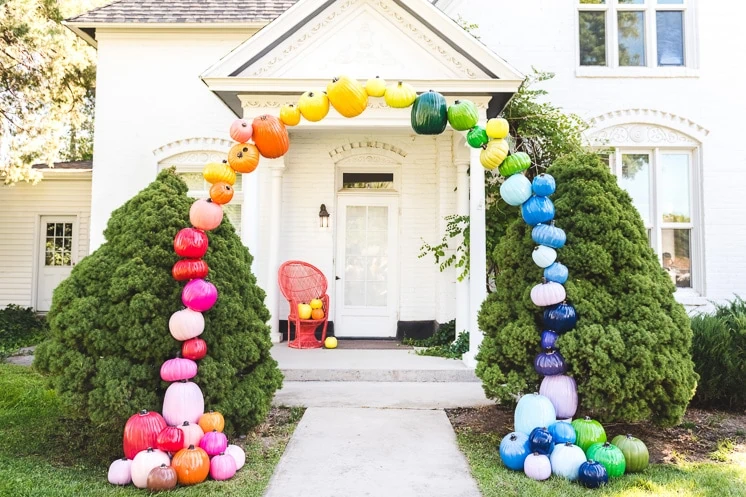
DIY Rainbow pumpkin arch
Materials:
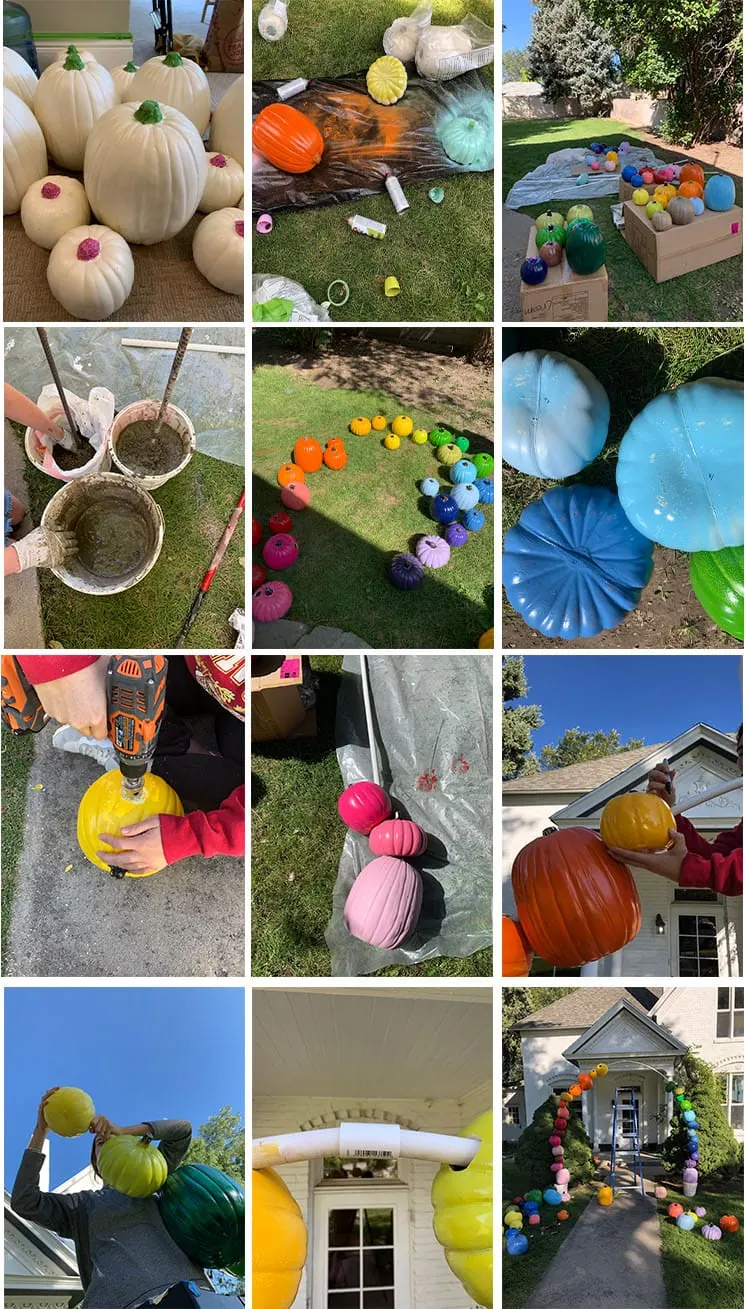
- Styrofoam Pumpkins, we found ours at Michaels. We used 34 on our arch in a variation of sizes, large, medium, small and flat.(Hint: We got ours on sale!)
- Spray paint
- PVC (amount will depend on how large your arch is, we used 20 ft)
- PVC pipe connector
- 50 lb bag of mixable cement
- 2 large buckets for bases
- Drill
- Circle drill bit
- Wire
Directions:
- Pick your color palette
- Tape off the stems of the pumpkins.
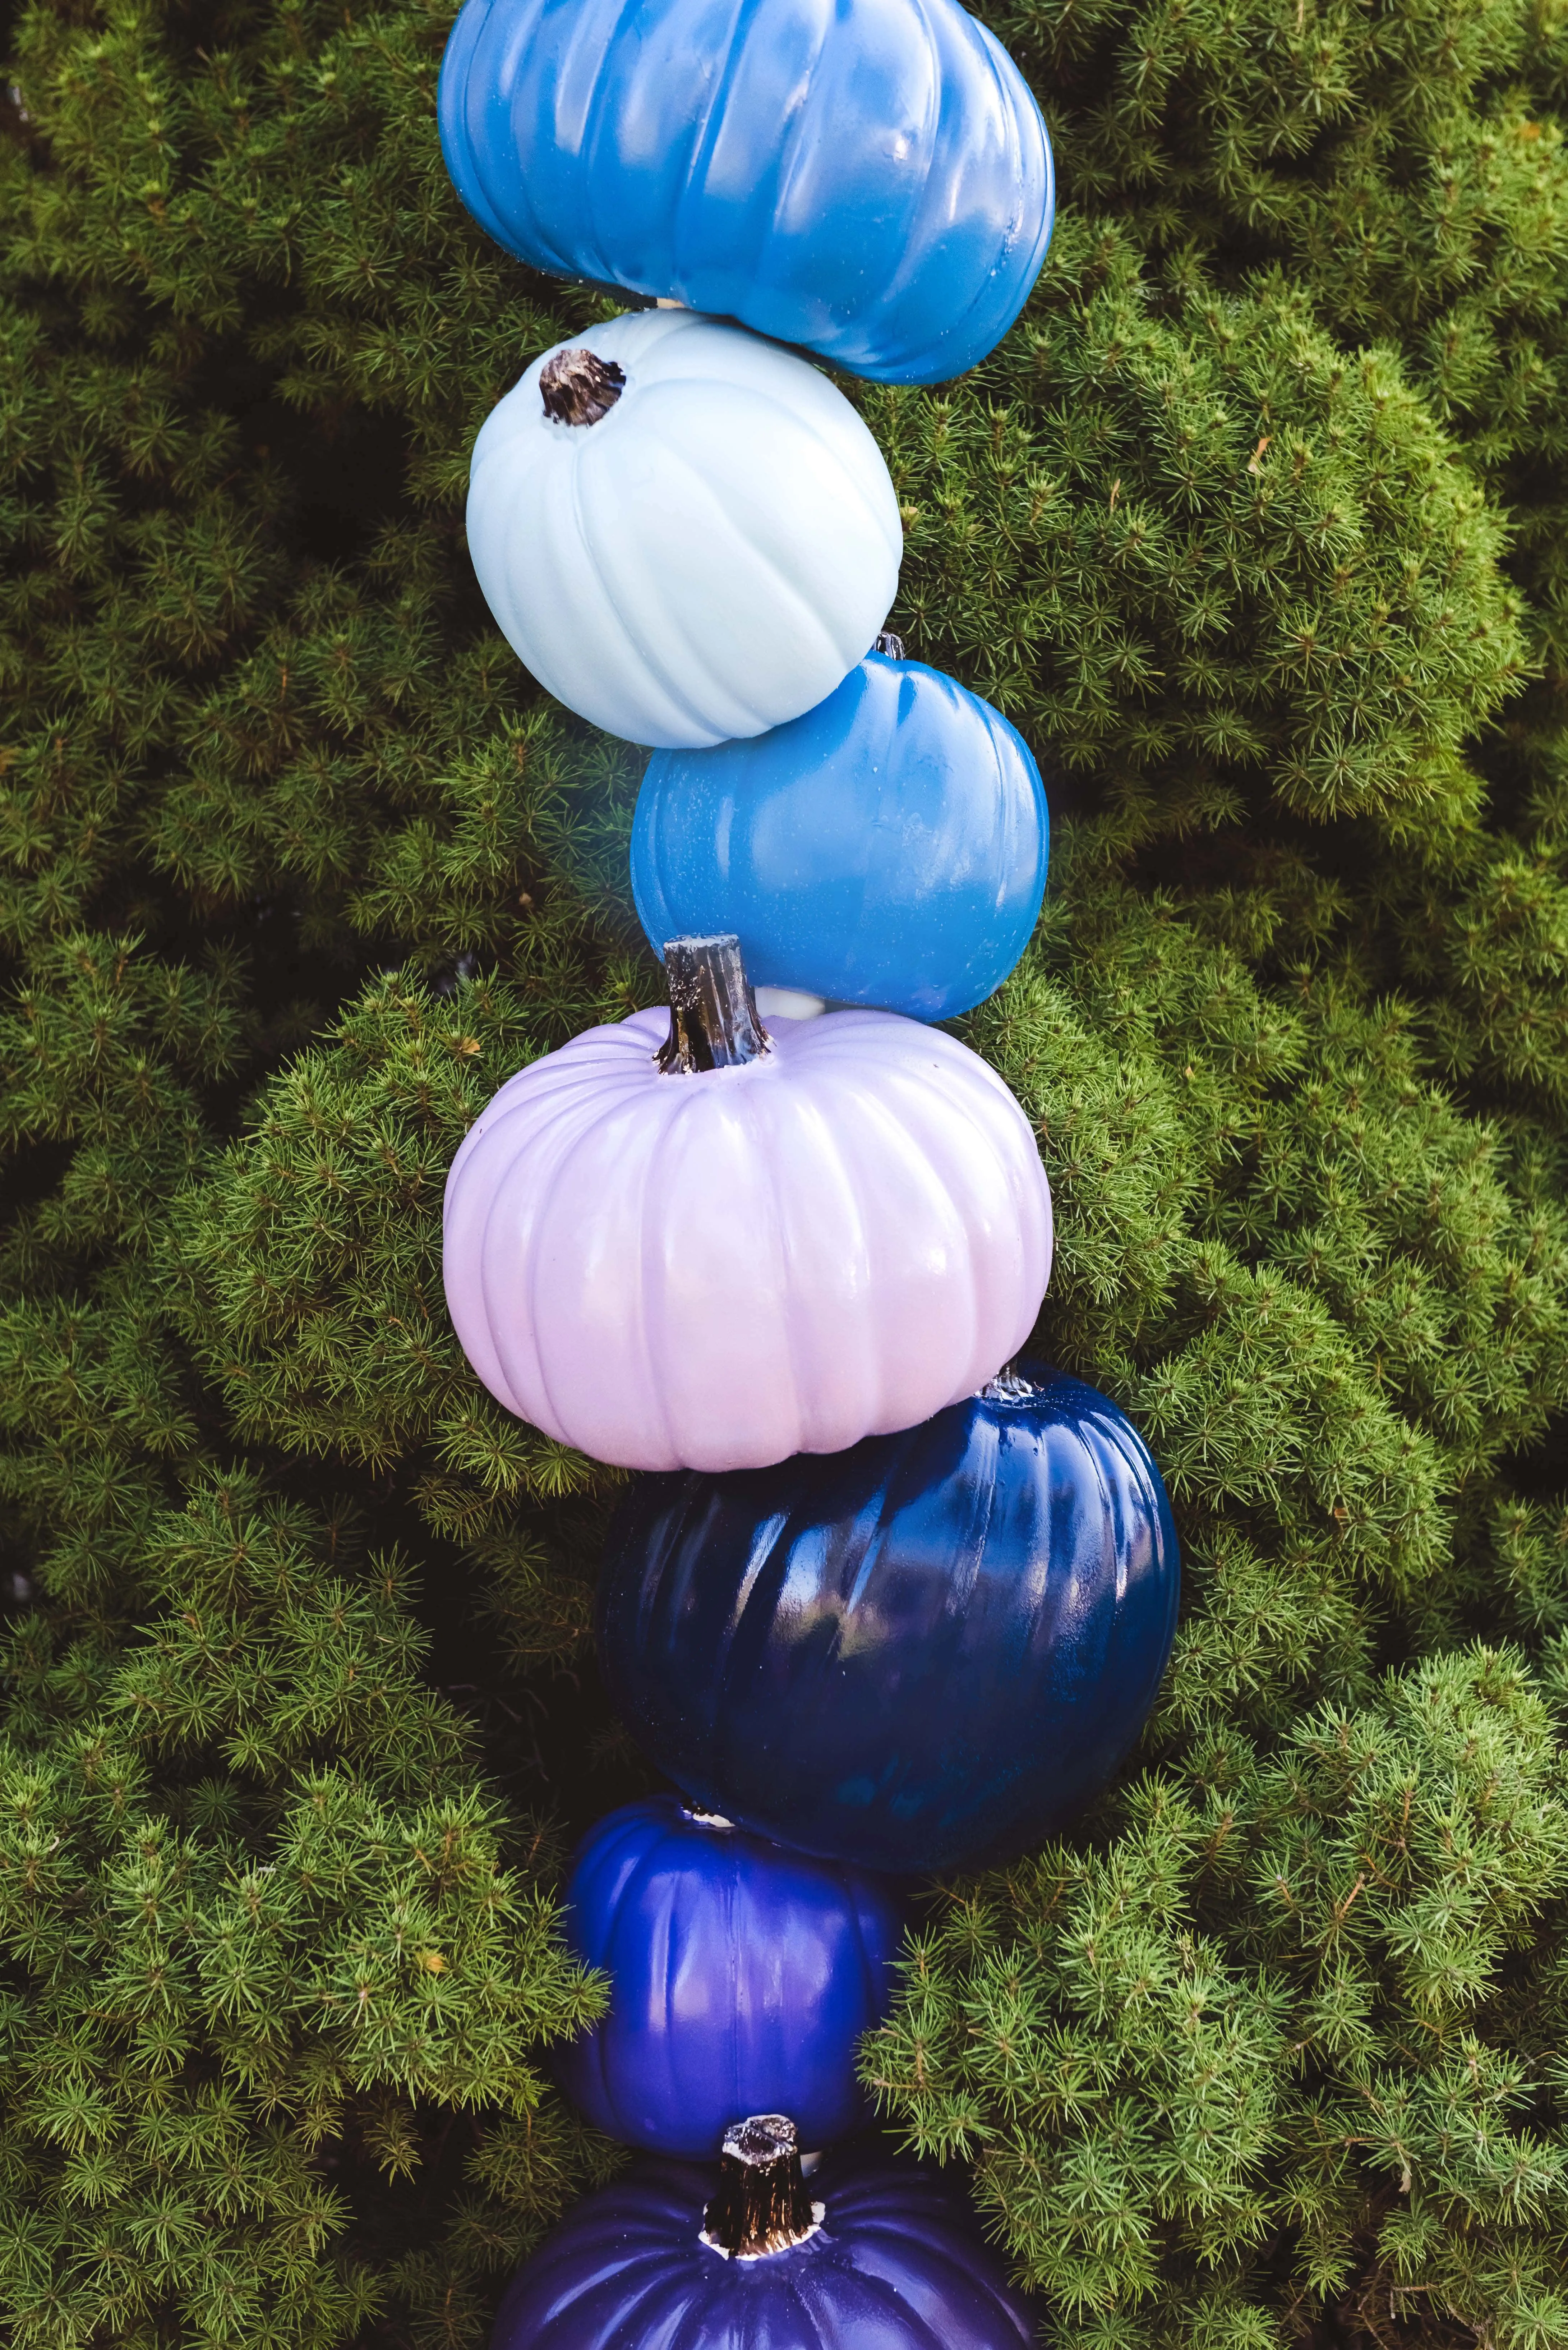
- Spray paint your pumpkins, we chose a large color palette and started spraying just one pumpkin of each color at a time. Once we had all of the colors we wanted we started adding in a second and even third of every color in varying sizes.
- Let pumpkins dry 24 hours.
- Mix and pour concrete into the containers you will be using as your stands.
- Immediately place rods into the center of your concrete and let set. The mix we bought said 45 minutes but we let ours sit overnight.
- Once pumpkins have dried start lining them up in the order you would like them to be placed in on the arch.
- Number your pumpkins on the bottom to make placement easy!
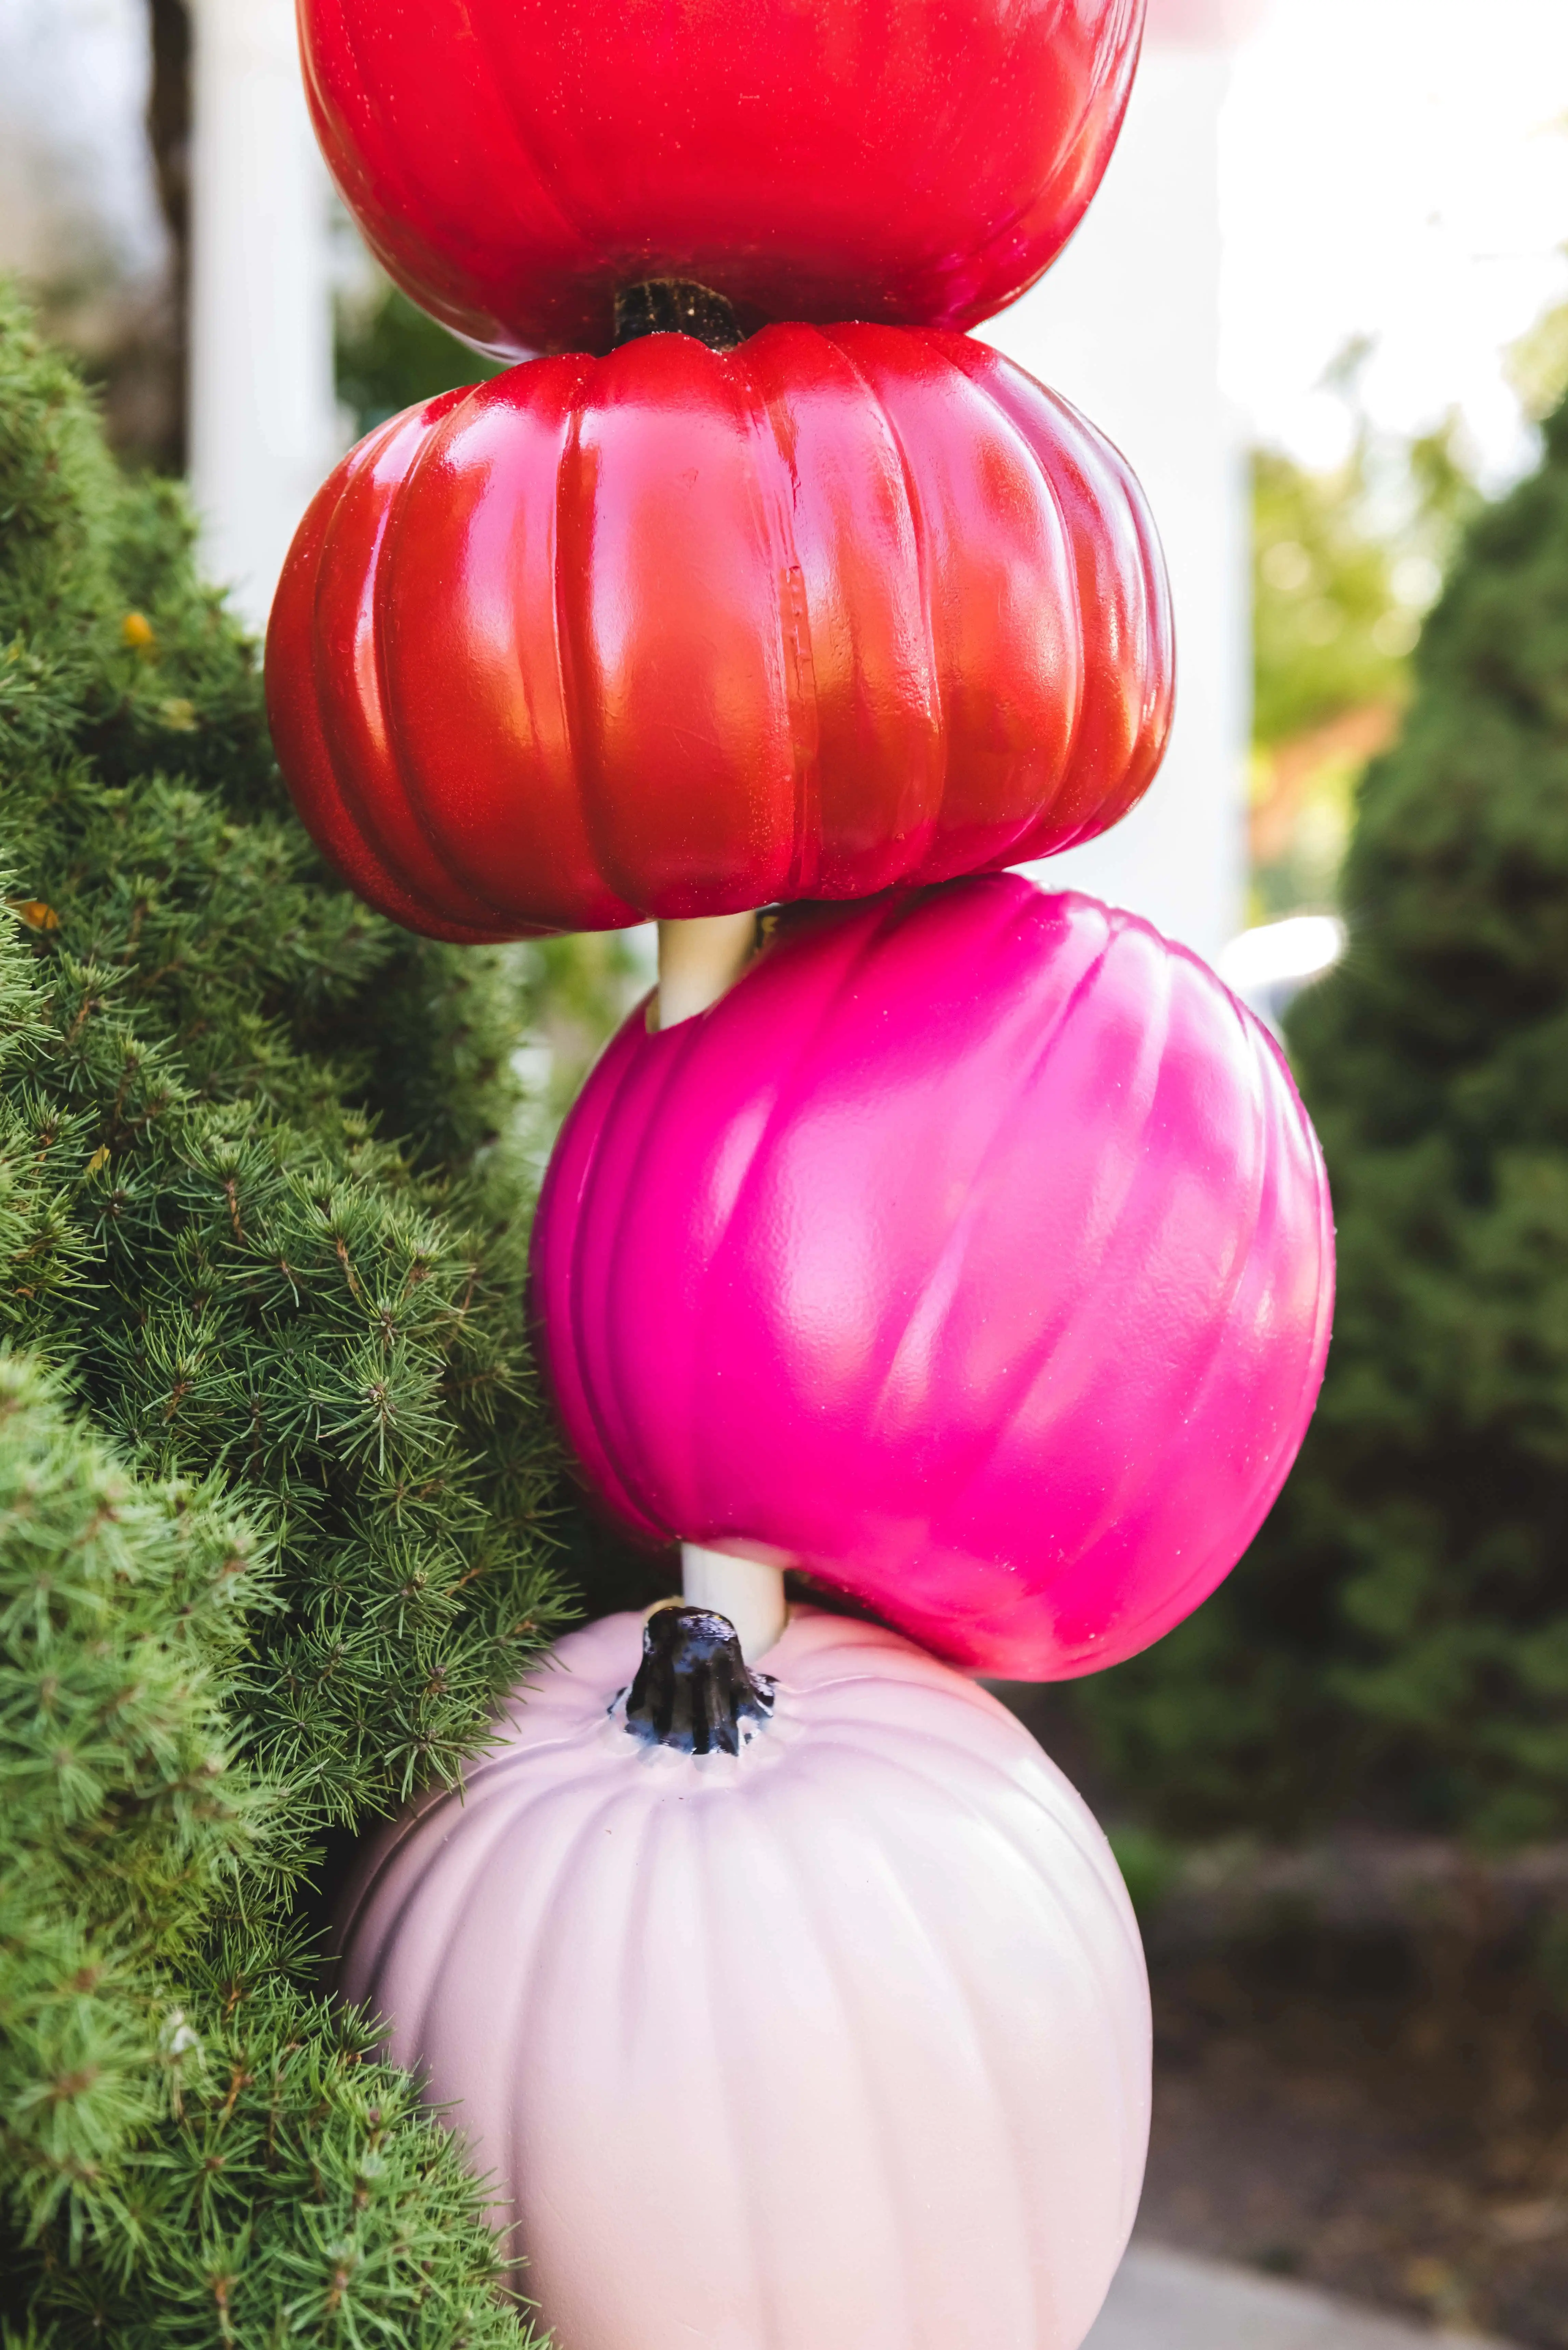
- Take one piece of the PVC and place it on one of the cement stands. 9. Start putting your pumpkins on the PVC to make sure they are fitting the right way.
- You will need to pay special attention to the pumpkin at the point of the PVC where it begins to arch. We connected our PVC multiple times to check the angles we were drilling into the pumpkins before actually drilling them.
- Repeat steps 9-10 with the other cement support and PVC pipe.
- You will need to put the PVC connecting piece in, this step gets a little tricky because you will need to bend the pipe to get them to line up and put the pieces together.
- Use extra pumpkins to adorn the bases of the cement pieces.


Comments