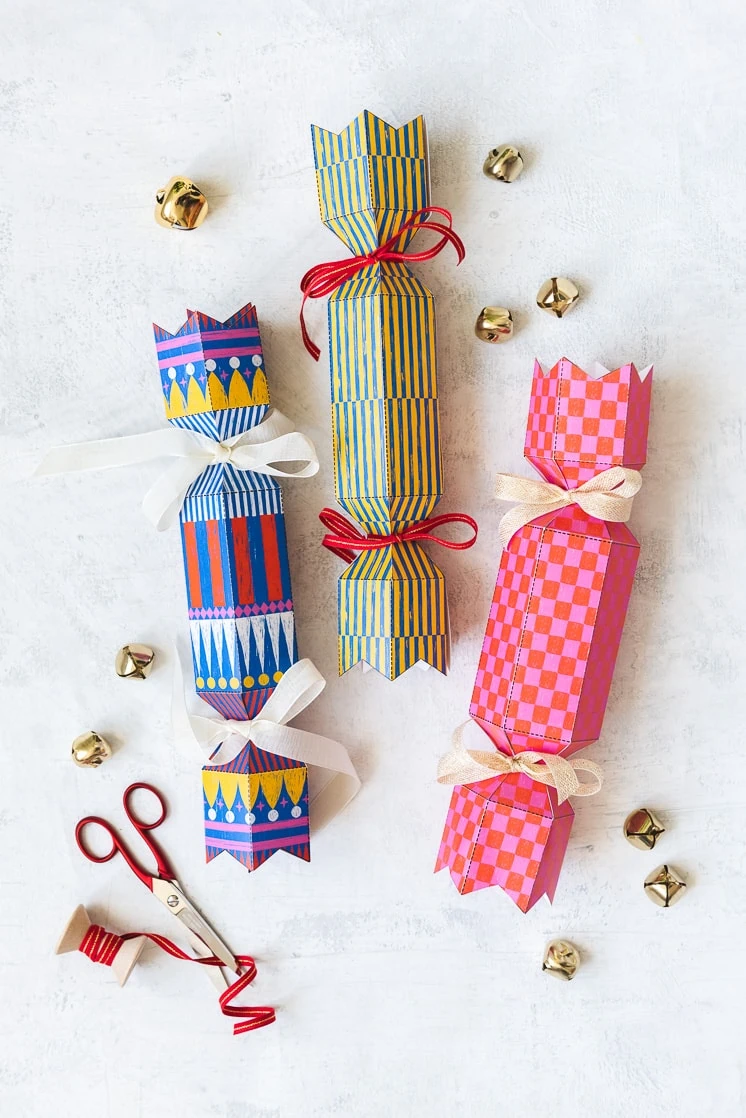
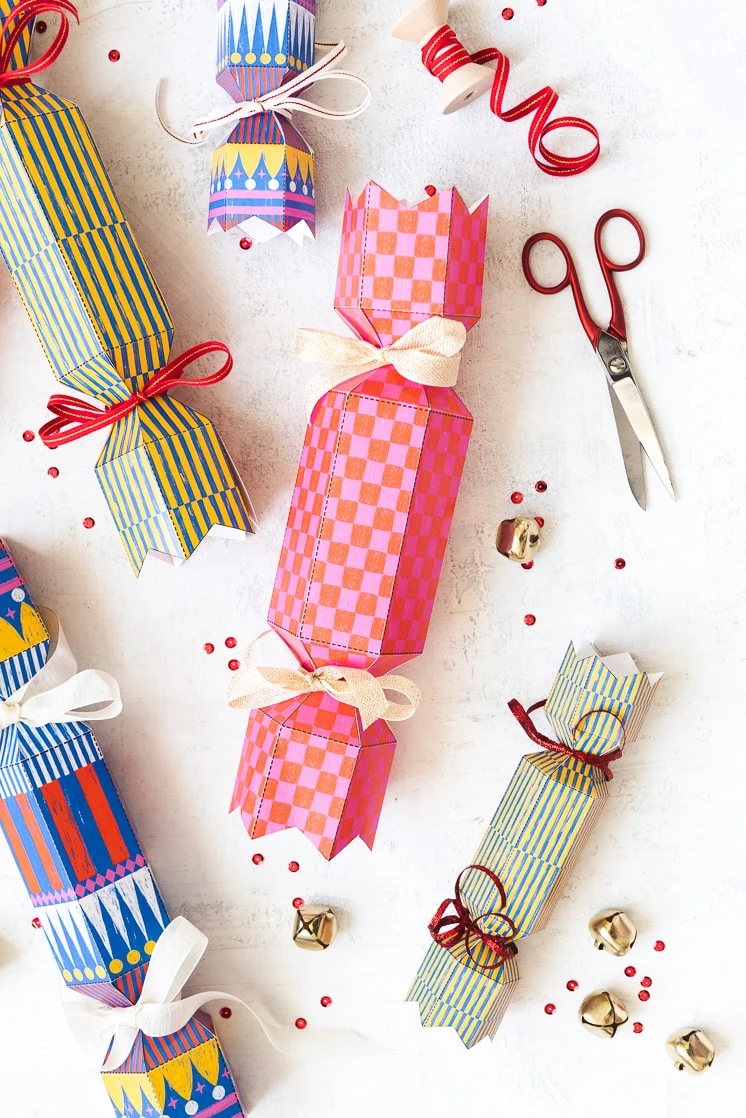
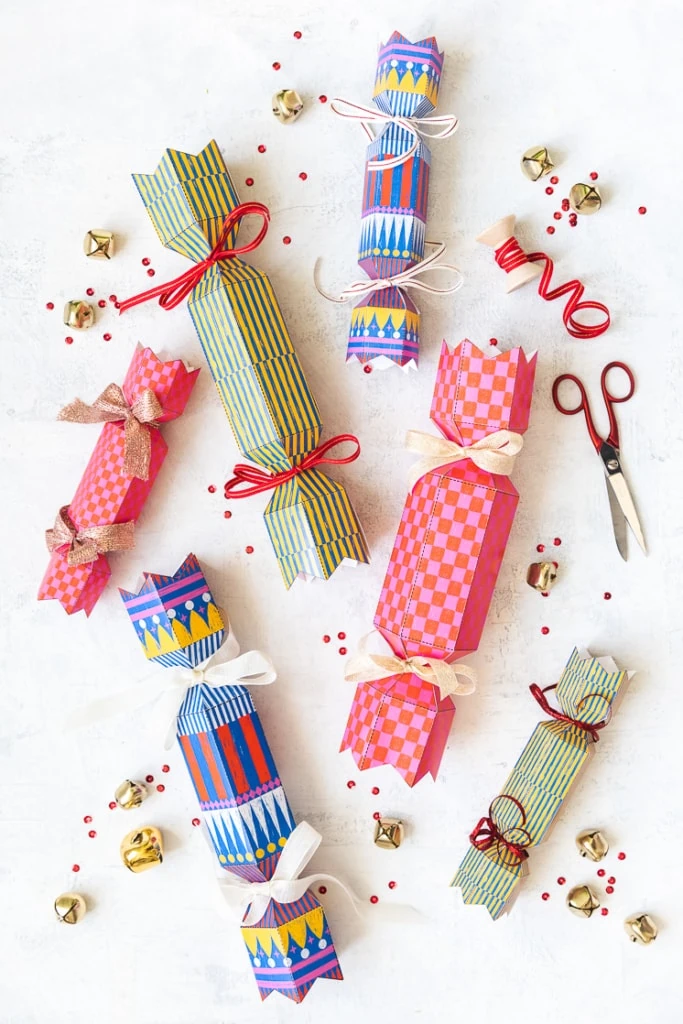
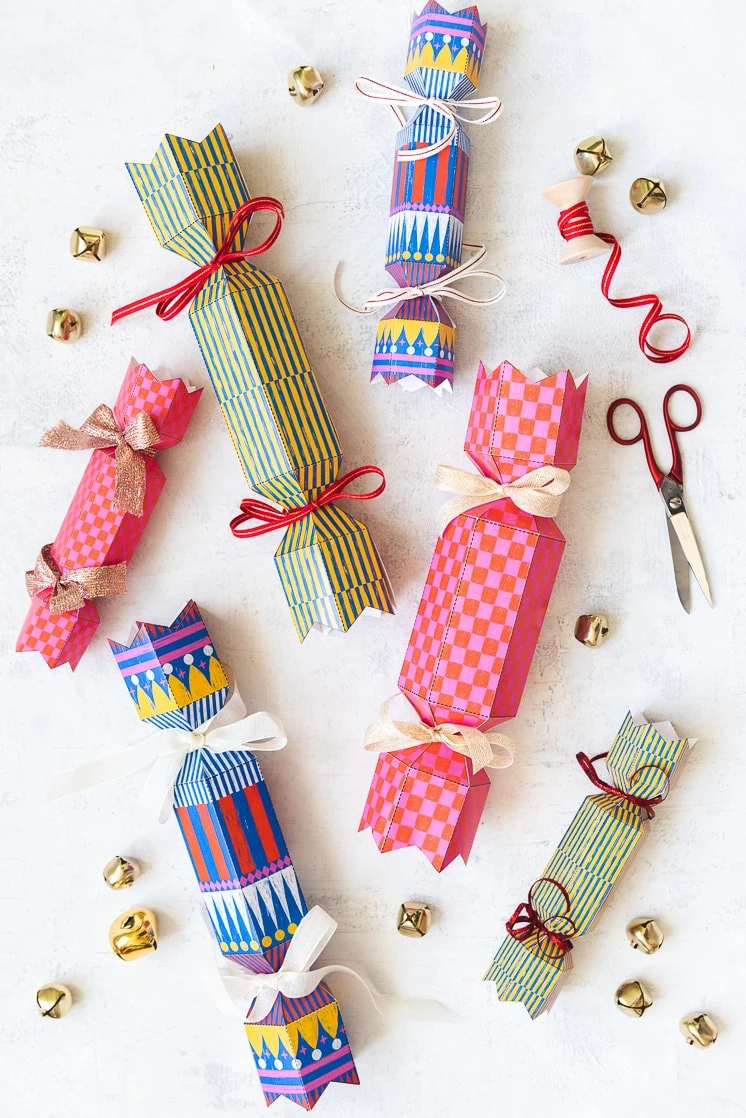
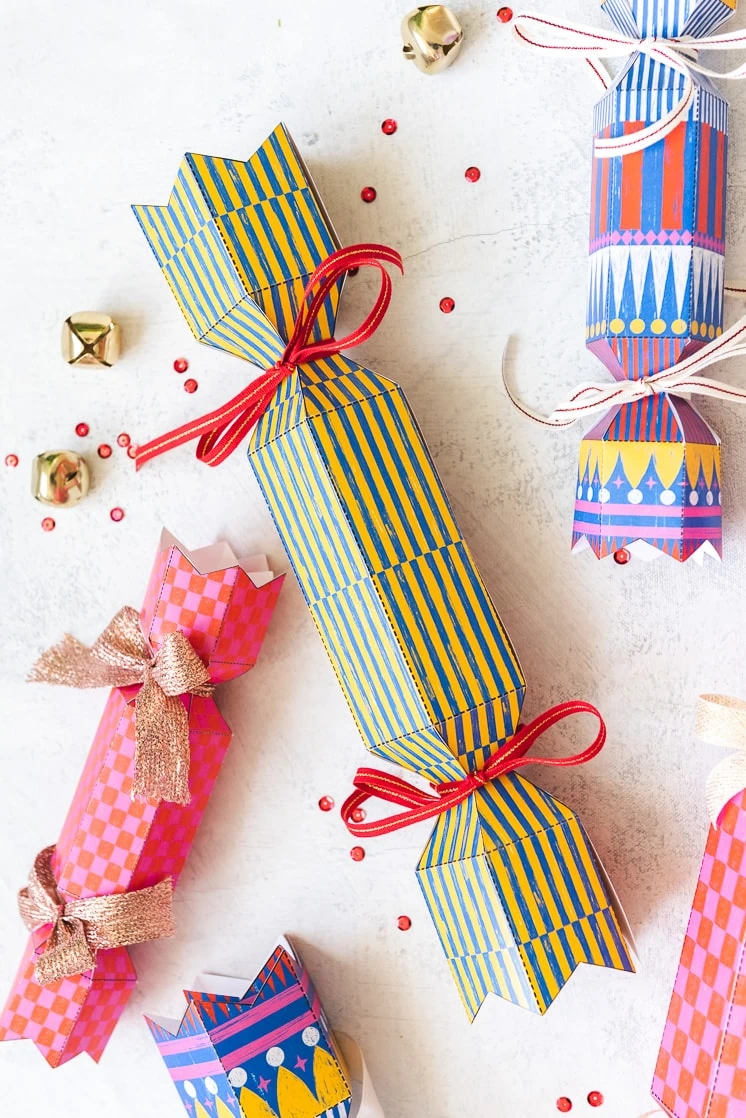
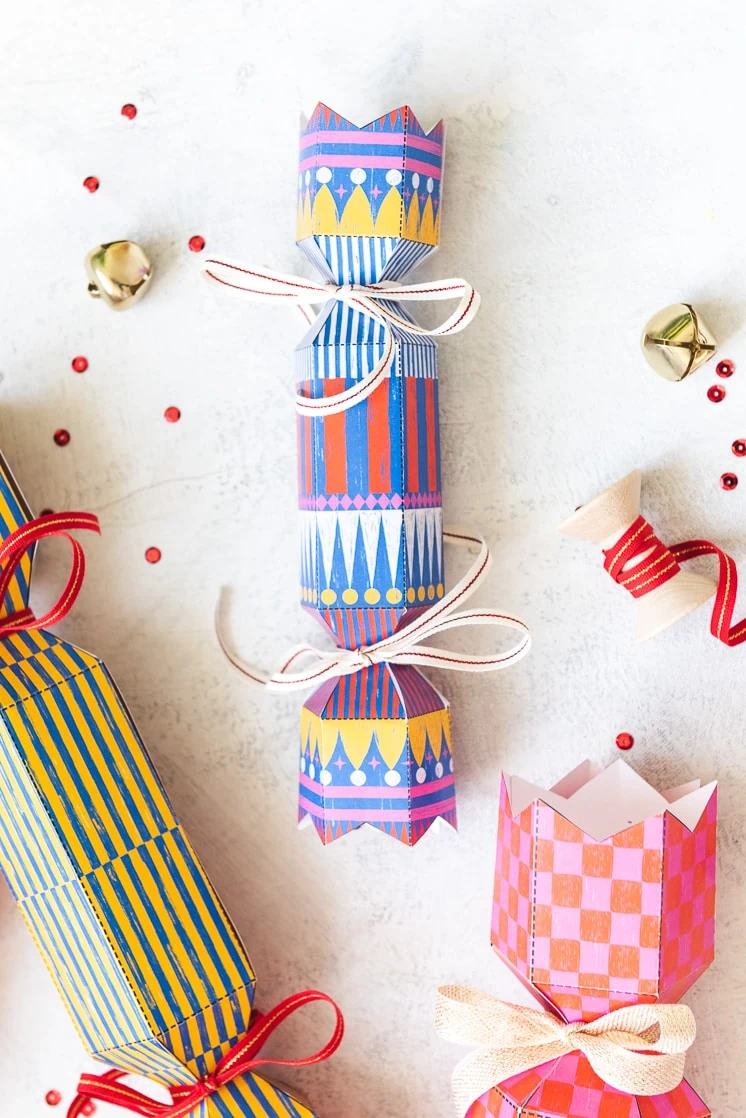
How to make DIY poppers
Materials:
- Poppers patterns (you can print large ones at your printer or smaller at your house, your printer can also resize them to create a variation of sizes!)
- Kraft paper (we used a little extra wrapping paper we had laying around!)
- Ribbon
- Exacto knife
- Cutting mat
- Ruler
- Hot glue gun
- Scoring tool
Directions:
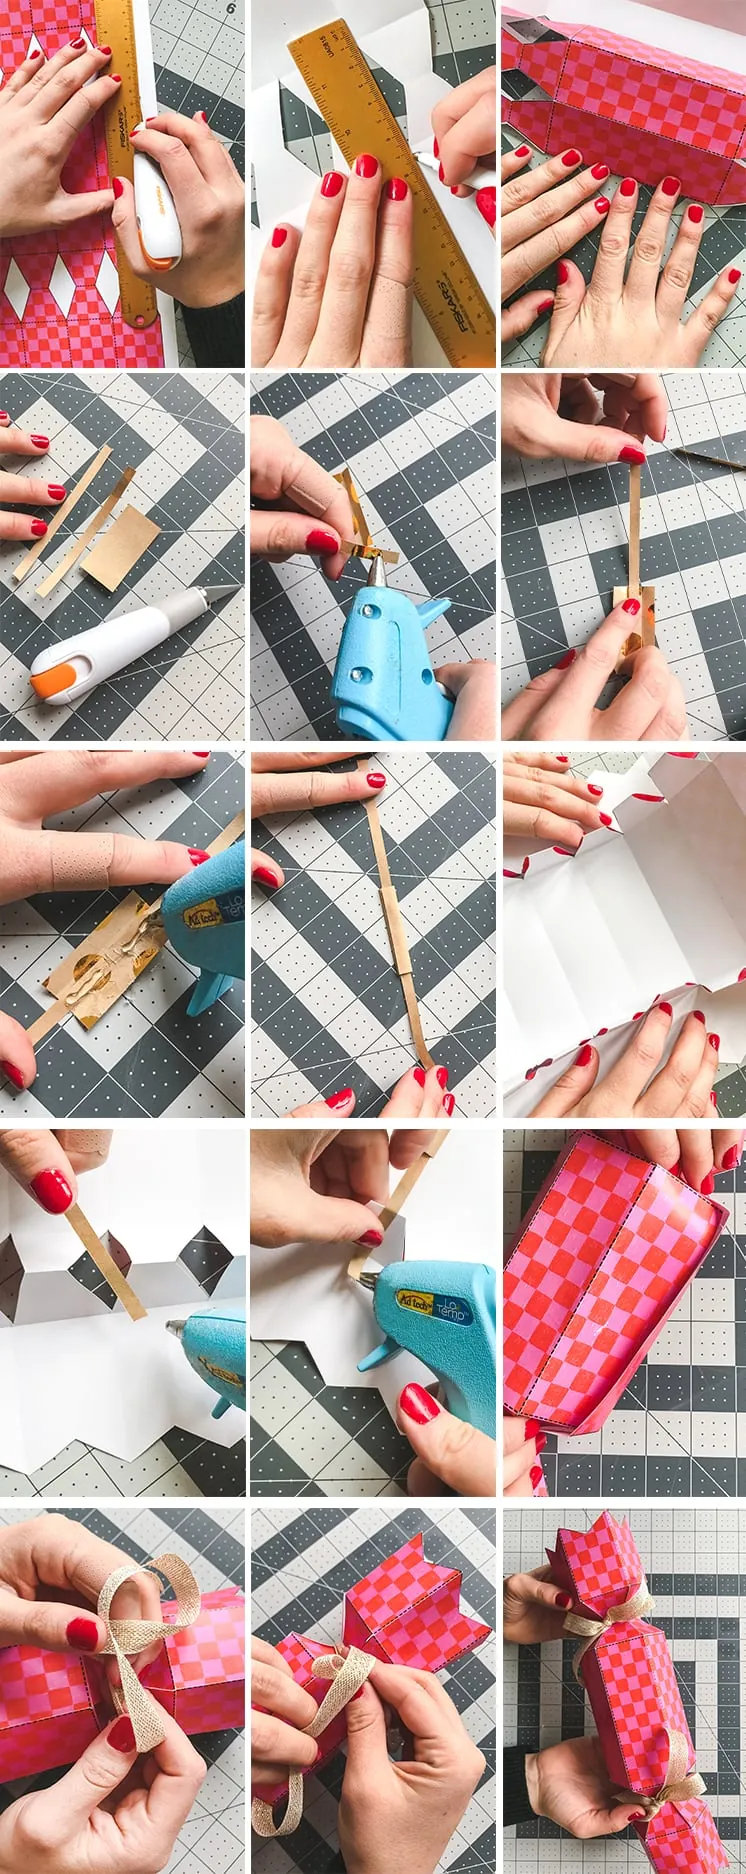
- Print out your popper patterns.
- Cut out your pattern with an exact knife of scissors.
- Use a scoring tool to score the lines that will be folded.
- Cut out your popping piece.
- Fold your 2″ rectangle into thirds.
- With the two halves of your popping pieces you will need to glue them to the 2″ rectangle in the middle fold, be sure to leave a small space between the two strips of paper.
- Take your popper template and choose which flap you would like to attach your popper to.
- Gently push your popper template edges in so you create a mountain piece at each end to mimic what it will be like all folded and use the popper piece to mark the spot where it should be places. That will be the distance apart that you need to make your poppers be placed.
- Glue your popping piece to the popper template at the measured spot from the previous step on both sides of the popper.
- Place all of your goodies in the popper.
- Roll the folded layers to create the final shape of the popper.
- Your first tab and last tab will overlap.
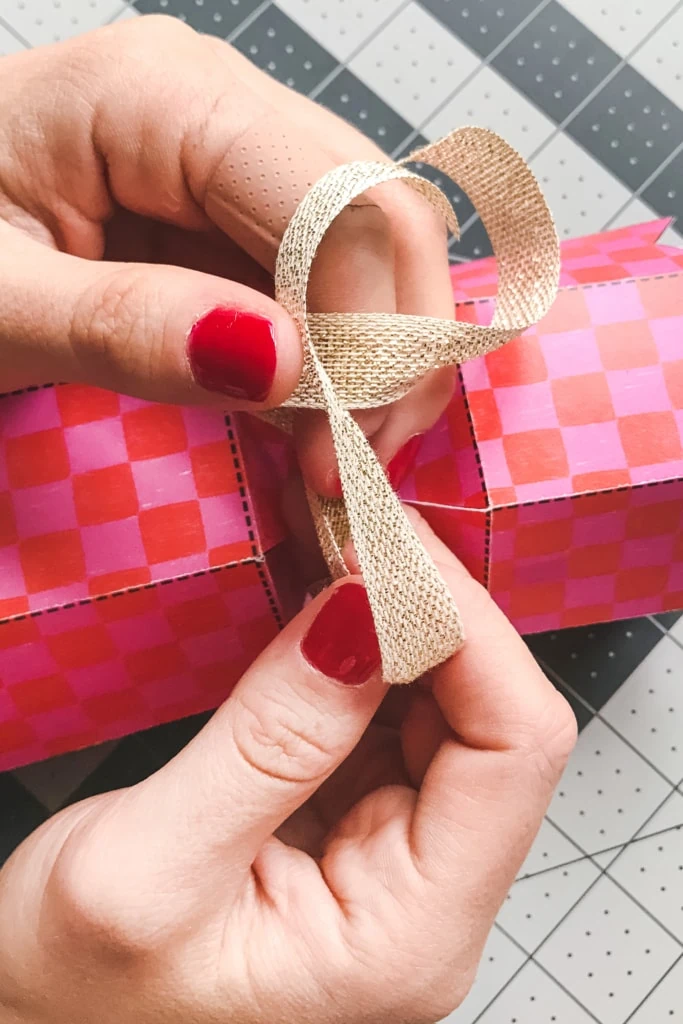
- Tie ribbons around the end to secure it closed


Comments