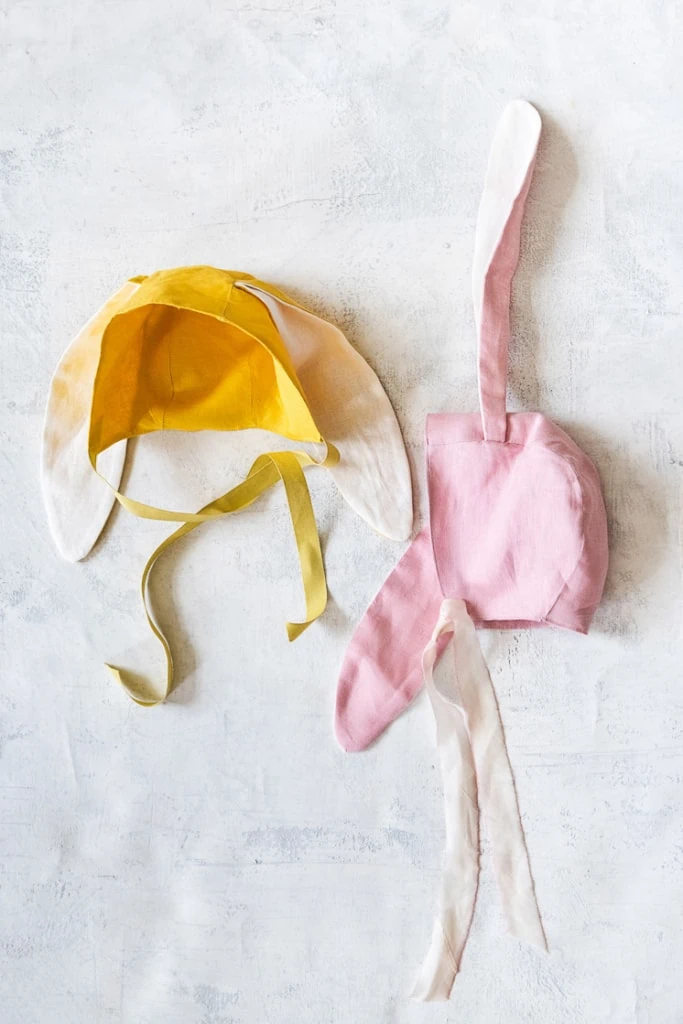
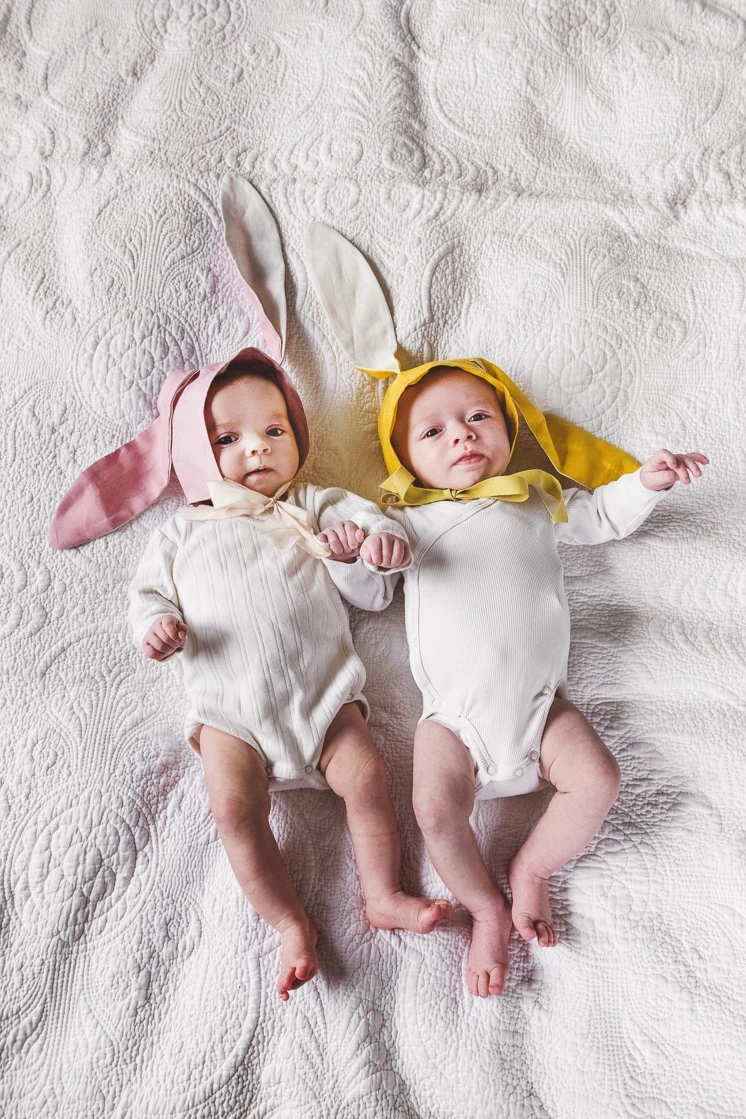
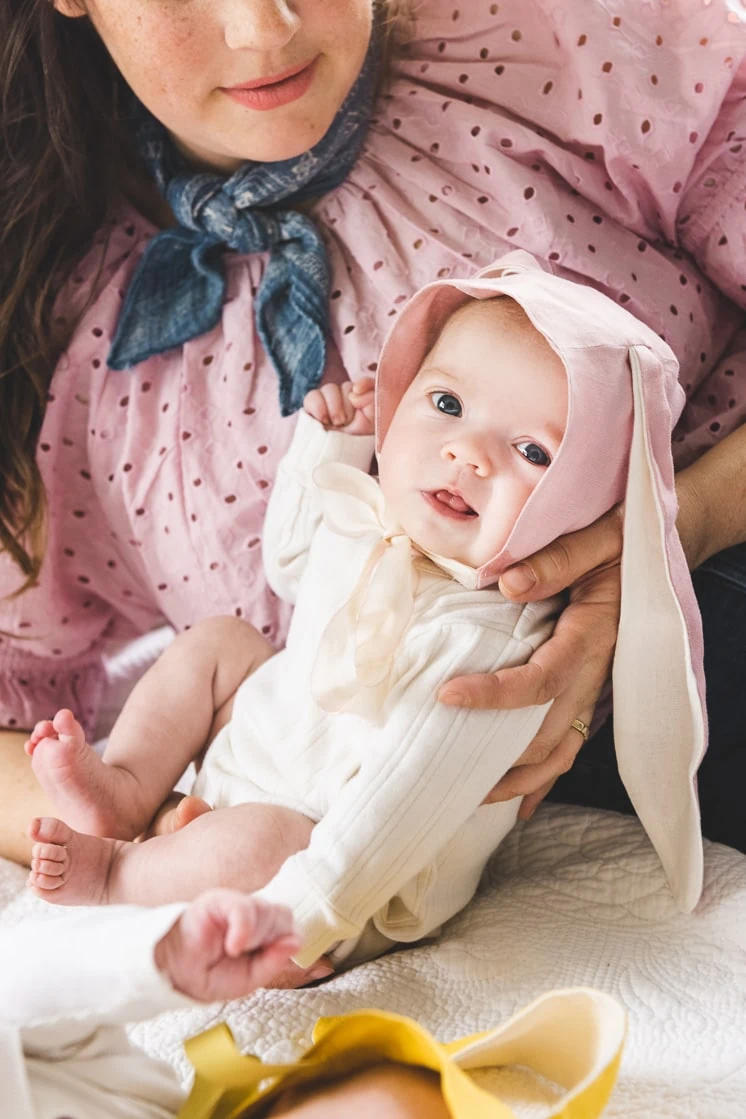
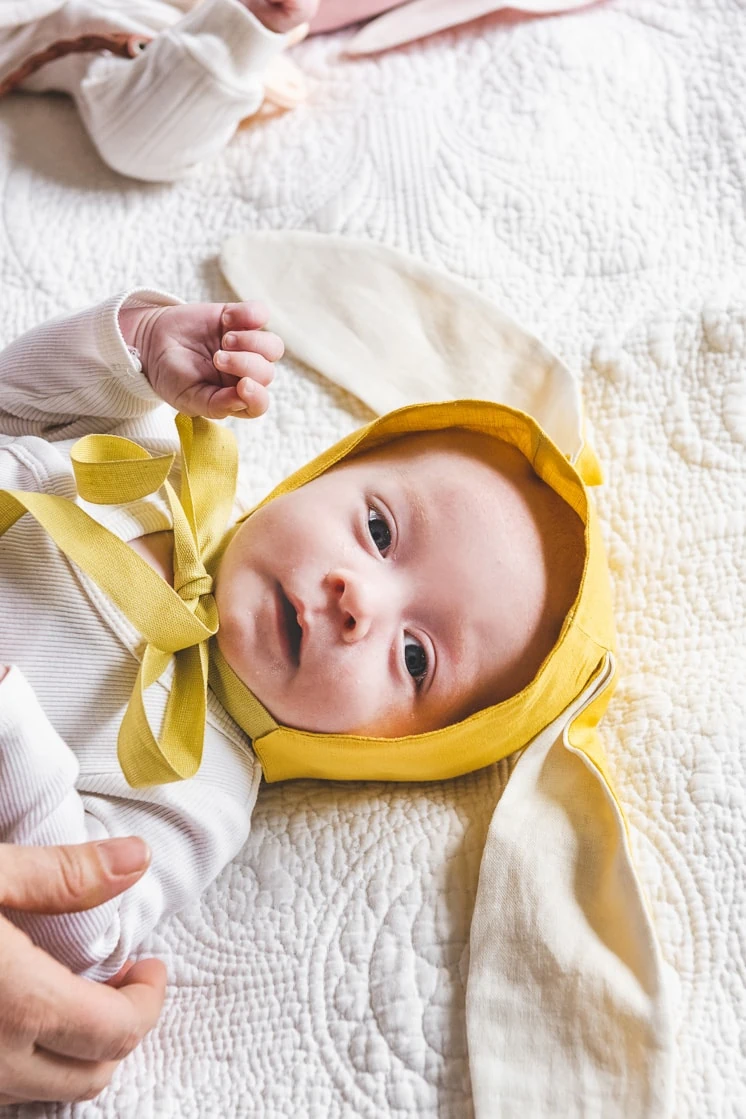
Welcome to the modeling debut of my sister Caitlin’s sweet baby twins Juniper and Donovan.
I mean, fine, welcome to our newest (and tiniest) Easter tutorial – Baby Bunny Bonnets! This will make baby’s first Easter extra precious. Just letting you know now though, you’re going to adore them so much you’ll consider making a bigger size for every child (and possibly yourself.)
This is the perfect mini sewing project while you are social distancing. You may be feeling a little discouraged, and not as motivated to celebrate without any of your regular Easter guests, but we can promise you – getting out of your funk and going all out with Easter this year will be just the fun distraction you need during this craziness. A holiday inspired by light, springtime, and new life could not have come at a better time!
Help spread that light with a creative project like this one!
Materials:
The simple printable pattern for your own Easter bunny baby bonnet can be found here! Choose any fabric you like and get started!
Our favorite springtime fabrics for this project
How to make your own baby bonnet
- Print out the pattern pieces.
- Cut out all of the printed pattern pieces.
- The “bonnet backing” paper pieces should be pinned together at the double solid line marks before cutting the fabric so the piece is the right size.
- Lay out the pattern pieces on your fabric and cut out the correct amount of each piece.
- Using a chalk pencil, mark the sewing line. This will speed up your process as you begin to begin to pin and sew.
- You will need to sew the bunny ear pieces first!
- Take two of the bunny ear pieces and place them right sides together, you can use two different fabrics if you like!
- Pin ears together.
- Once pinned sew around the ear in the indicated spot on the pattern leaving the bottom of the ear open.
- Once sewn, clip and notch any curves on the ear so that it will lay the right way.
- Flip the ear inside out, and press the ear.
- Repeat steps 7-11 for the other ear.
- Now you can start on the bonnet!
- Take one of your bonnet sides and one of your bonnet backing pieces and pin the pieces together along the sewing line. You may notice a bit of overhand at the back of the bonnet on the backing piece, that will be used to close the bonnet up later.
- Once the one side is pinned, repeat step 6 on the other side of the same bonnet piece.
- Be sure to pin so that the seams will both be facing the same direction.
- Once both sides are pinned, sew the bonnet on both sides at the line you just pinned.
- You will need to remove pins as you sew.
- Repeat steps 14-18 with the remaining bonnet pieces, only this time you will add in your bunny ears at about 2.5 inches in from the front of the bonnet.
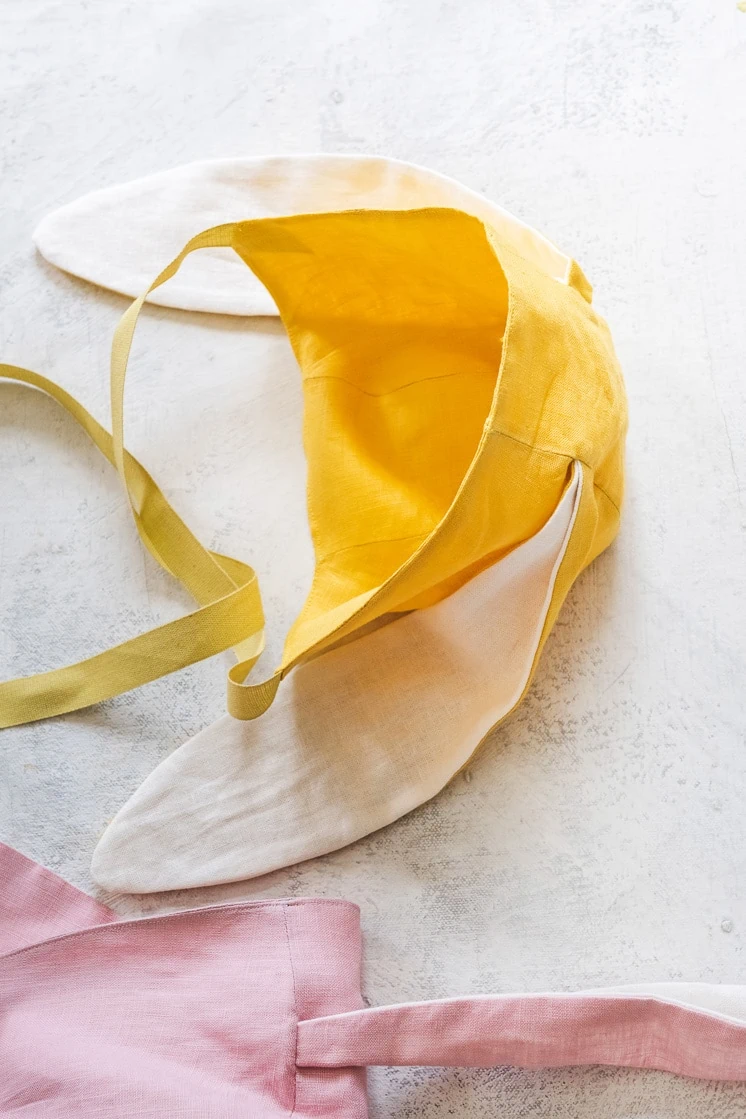
- To place the ears you will fold them in half, if there is a color you would like the inside of the ear to be make sure that color is on the inside of the fold.
- Once folded correctly you will place them front facing (check the orientation of the ears to make sure, you don’t want a backwards ear!) in at 2.5 inches in with the ear placed in between the bonnet side and the bonnet backing with the open end of the ear being the part sticking out with the seam.
- Be sure to add in the ear on both sides.
- Once both of your bonnet pieces are sewn, press open the seams of the bonnet.
- Once pressed, you will pin the two bonnet pieces together, both seams at this point will be facing outward, you will flip it inside out after sewing it together. As you pin you will need to add in your straps. Pin them in at the front bottom corners.
- When placing the straps you will place the ribbon sandwiched between the two pieces, you might find this confusing but once you flip the pieces the right way your strap will stick out.
- Make sure your seams align and leave the back of the bonnet open so you can flip it the right way later.
- If you are having a hard time with the bulk from the ears and ribbon being sandwiched between the two pieces, pull them through the back opening that you are not sewing closed yet.
- Once you have your pieces pinned together and the straps in place you can sew the two pieces together.
- Be sure to backstitch at the beginning and end of sewing these pieces together.
- Once sewn together, pull your ears that have been placed in the opening and it will pull the piece the right way out hiding any seams inside.
- Press your recently sewn pieces together flat and tuck back opening pieces up, press and pin in place.
- Once pressed you will sew as close as you can to your edge all around the bonnet to secure the hat pieces together.
- Be sure to sew closed the bottom hole which will naturally sew closed in step 32.
- Press the finished bonnet and out out on your baby!
This tutorial can also be completed without the bunny ears for a standard baby bonnet!
We love seeing what Easter looks like for you and all the great things have made! Be sure to tag us with #larsmakes so we can see how precious your bunny bonnets turn out!


